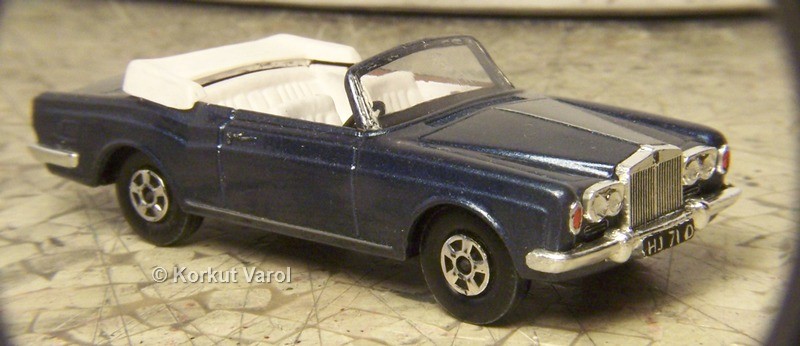
| Detailing a Matchbox #69 Rolls-Royce Coupe |  |
Start: 31 Oct. 2003 / Finish: 10 Nov. 2003
| Detailing a Matchbox #69 Rolls-Royce Coupe | |
Start: 31 Oct. 2003 / Finish: 10 Nov. 2003
Detailing this piece
has been an urge in me for a long time. This car was not in a bad
condition,
it had some minor paint chips and dull metal front.
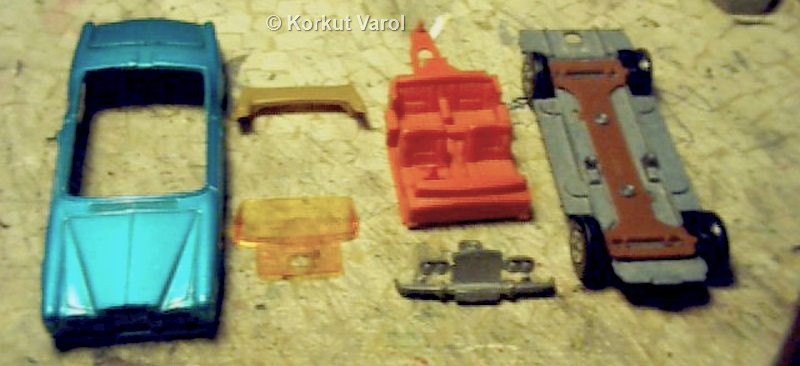
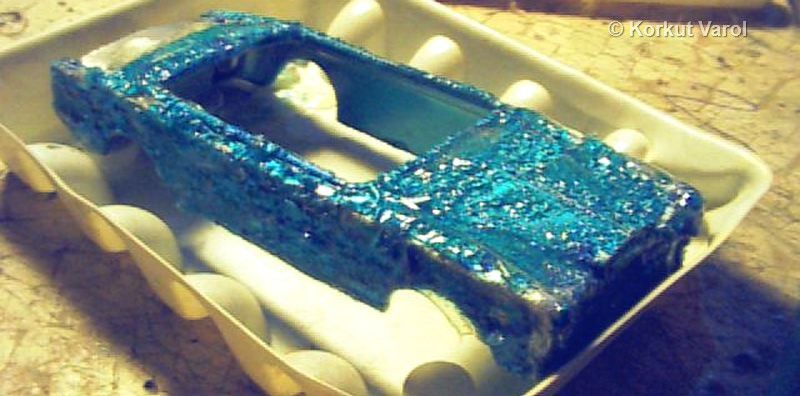
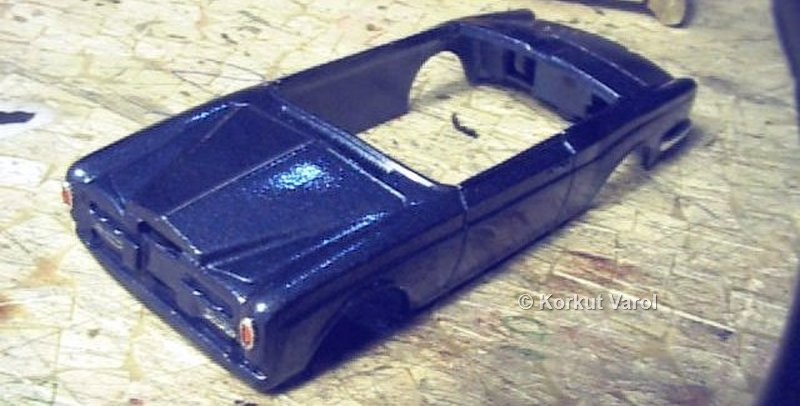
First I dismantled
the whole apart...
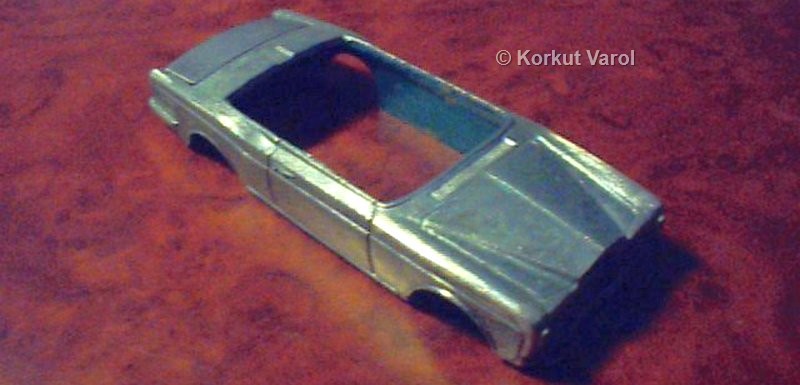
I filed and sanded the mold parting lines.
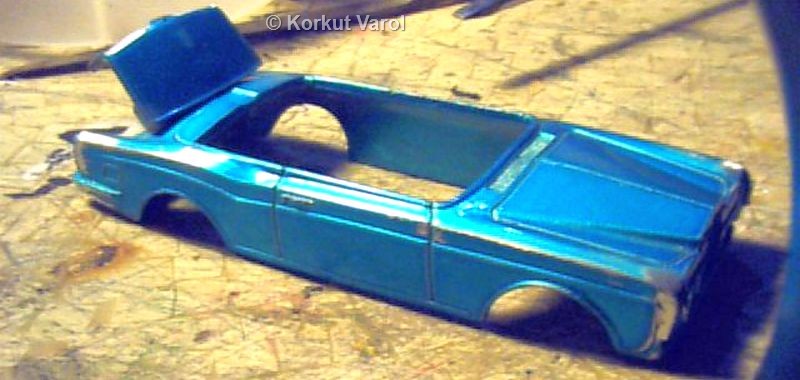
I sanded down the flange-like contour around the boot.

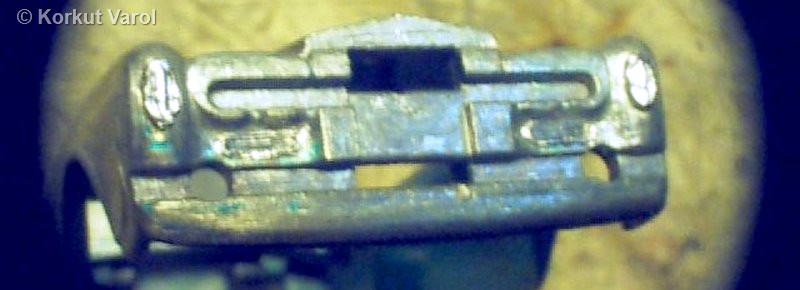
The front part also
needed good care for sanding down the parting lines, they were in
delicate
places.
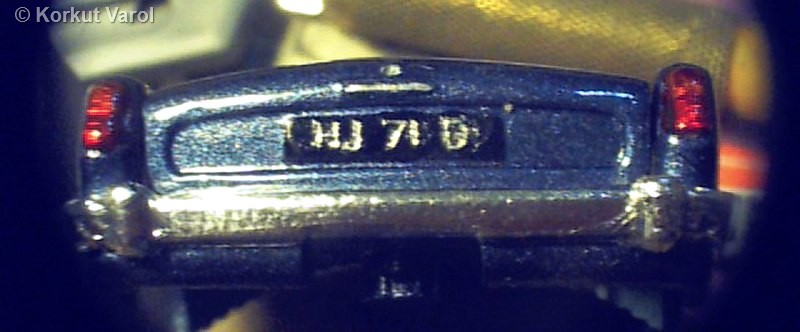
I scraped the paint
on the tail lamps and painted clear orange and red on the exposed
metal.
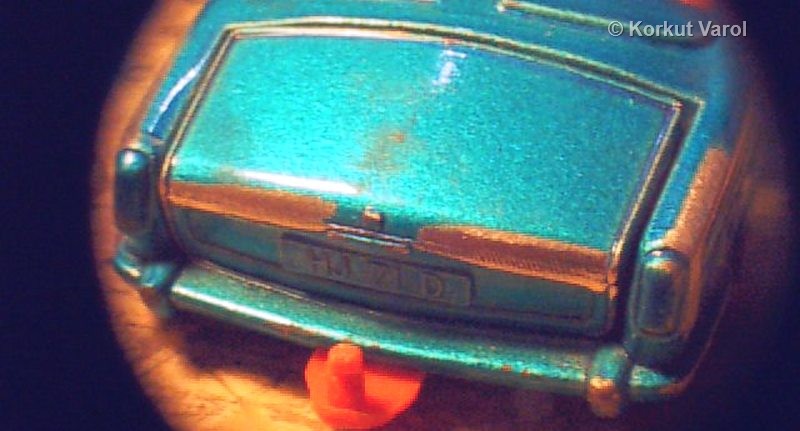
I applied BMF on the rear bumper and covered all with two thin clear
coats.
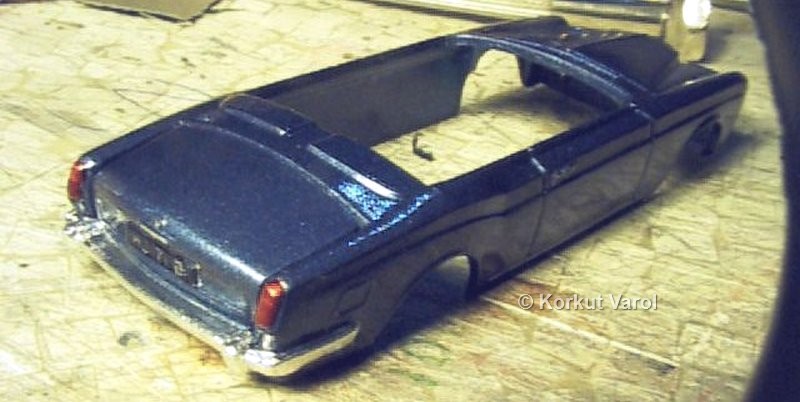
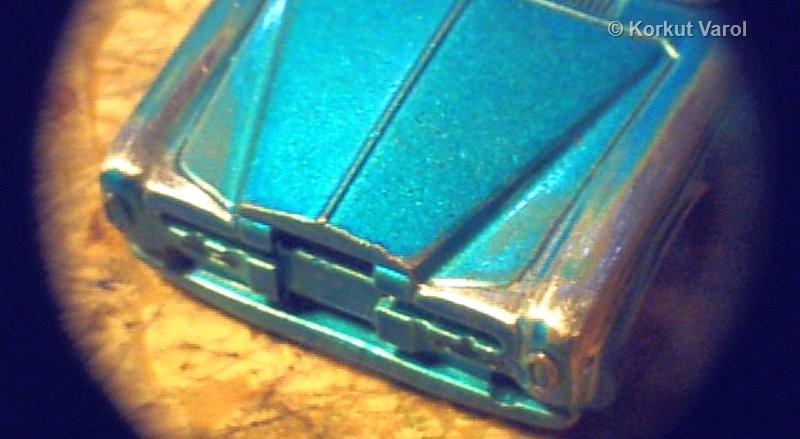
A bit paint and BMF detail at the front...
...and at the rear.
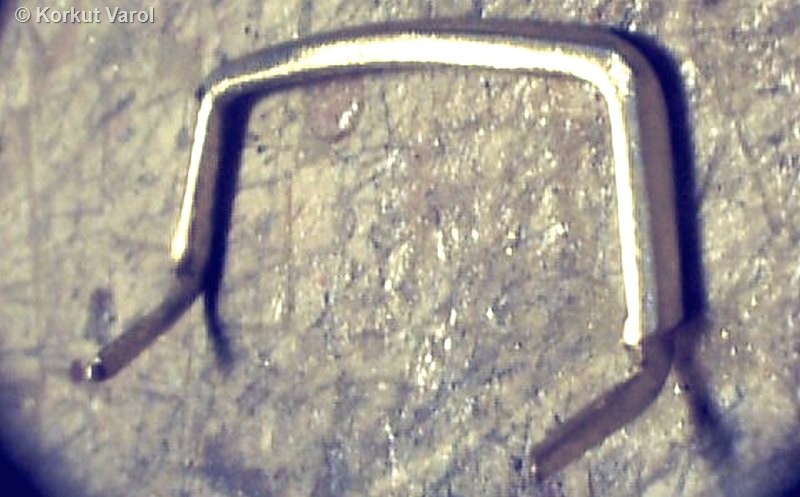
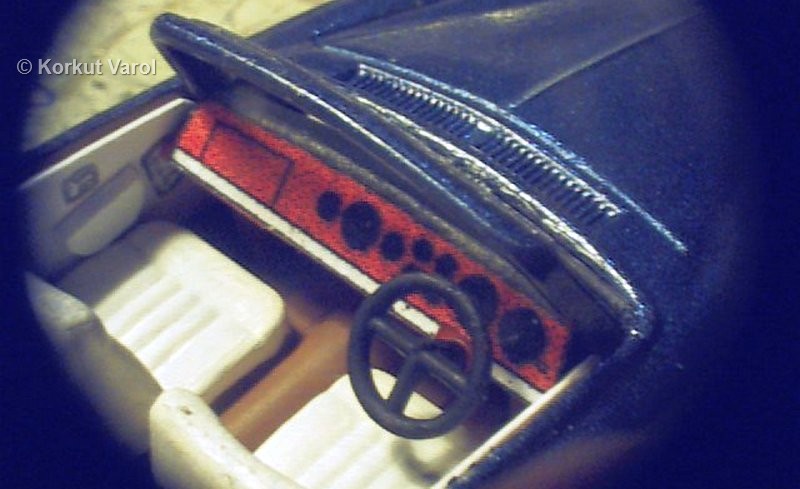
The original orange windshield was unacceptable so I manufactured a frame for a new windshield. I used a 1-mm dia. brass rod.
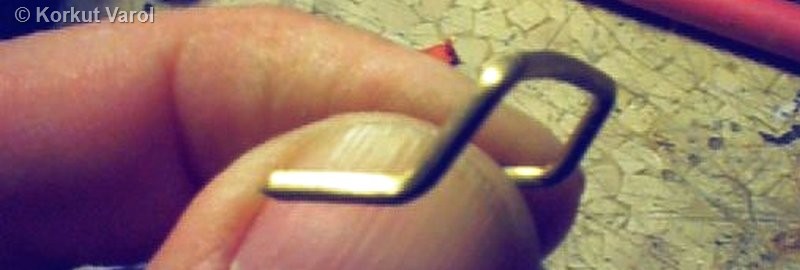
I squared the surfaces and the fixing parts.
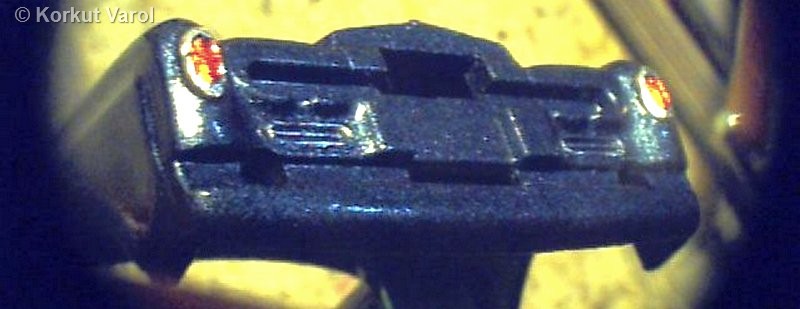
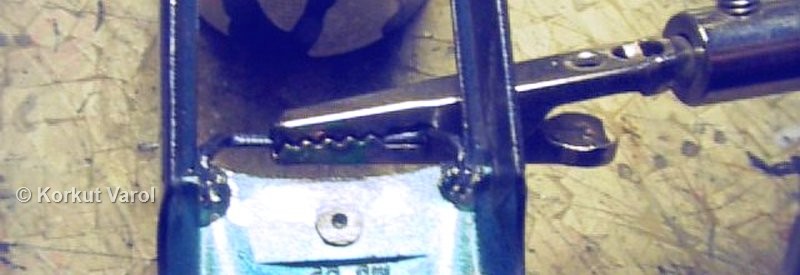
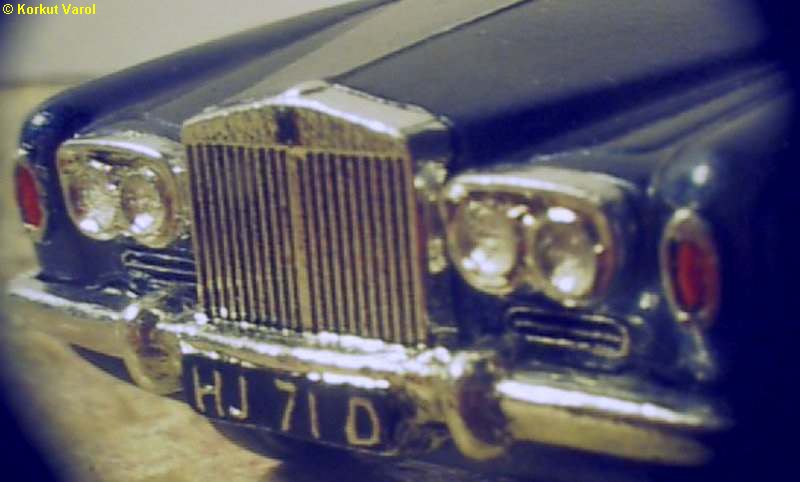
Now the hardest of
them all. I wanted realistic looking headlamps, so the bulgy metal lens
imitations had to be turned to "negative". First I drilled center holes
with a 0.5 mm drill to guide the carver.
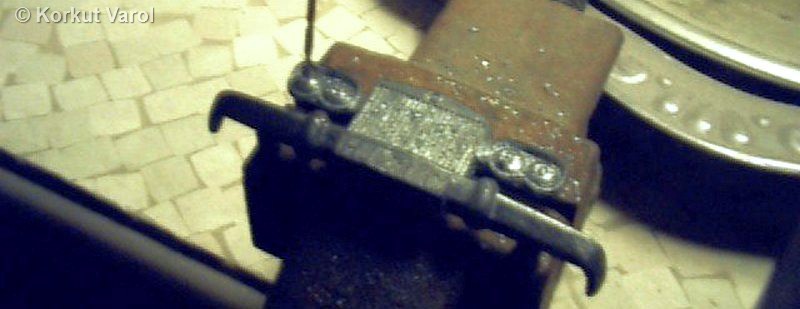
I broke apart the
headlamps from the grille and luckily, they had a small rectangular
boss
at their backs so I could fix them to a vise. I carved the reflectors
veeeery
slowly. One miss in good command would be a disaster. After they were
carved,
I covered them with BMF.

I painted the windshield
frame and fixed it into place with epoxy. I cut the windshield from
acetate
and fixed it with Testors Clear Part Cement.
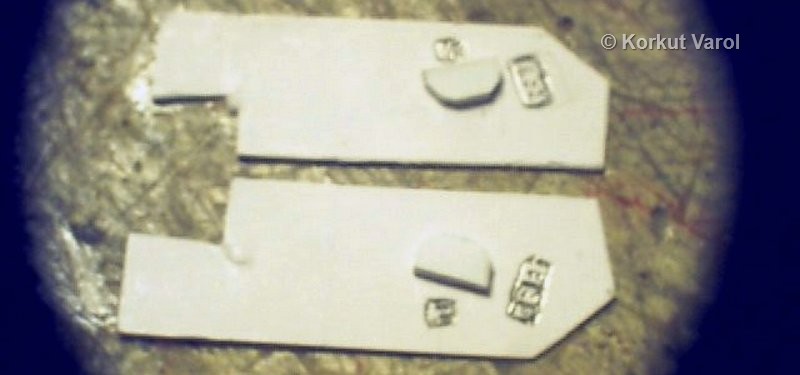
The door insides also
needed something scratcbuilt. I used white hard paper for the panels
and
some styrene for the armrests.
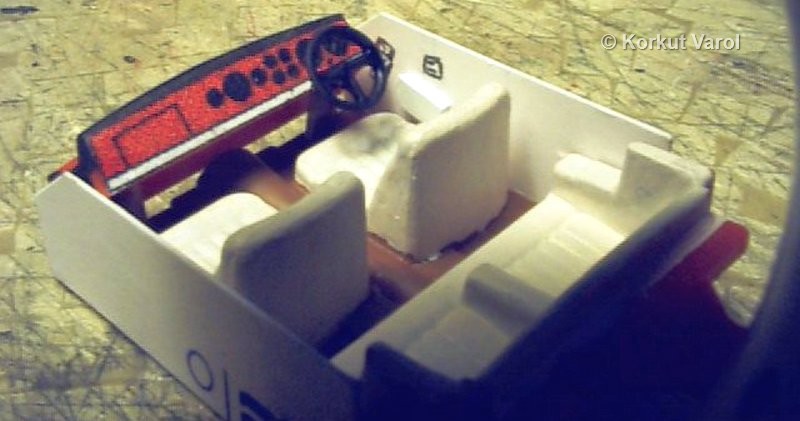
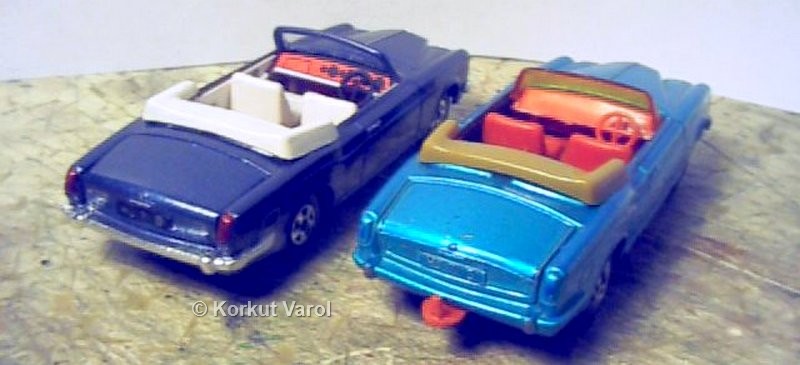
All installed in the
car...
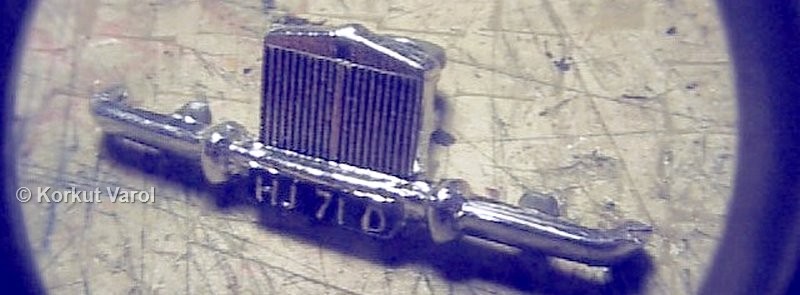
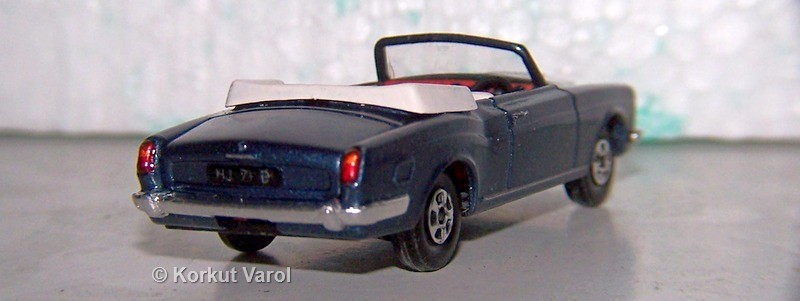
OK...Here are 3/4
frontal and rear views.
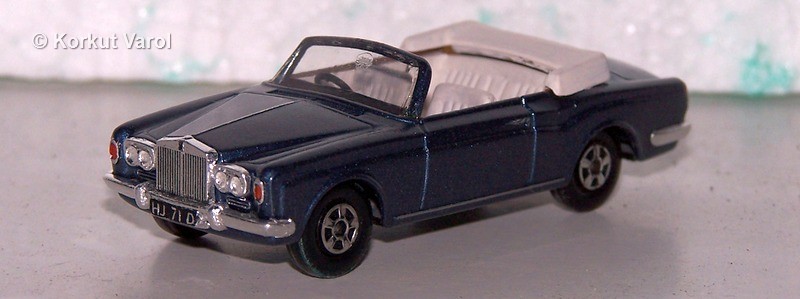

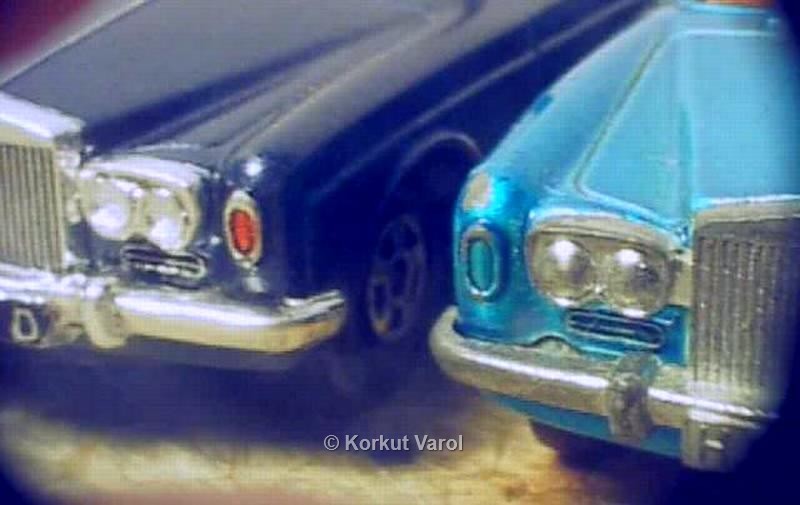
The front part is the most standing out. I manufactured the headlamp lenses by putting drops of Humbrol Clear Fix in the reflectors. I repeated these droppings 3 times after each layer was dry.
And finally, "before
and after" pictures.
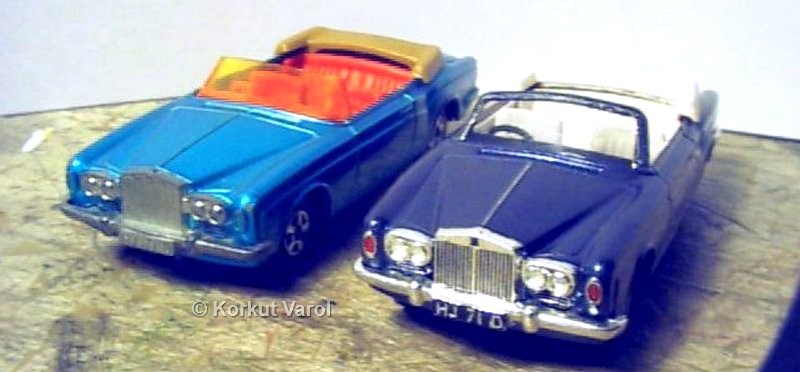
No,
I'm not planning to do the same to the other one!