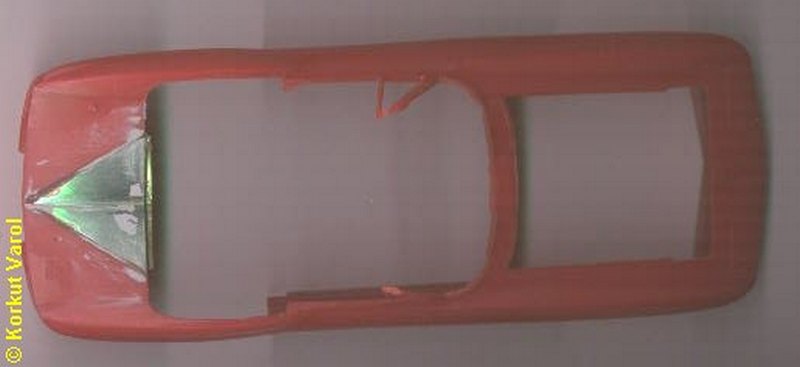
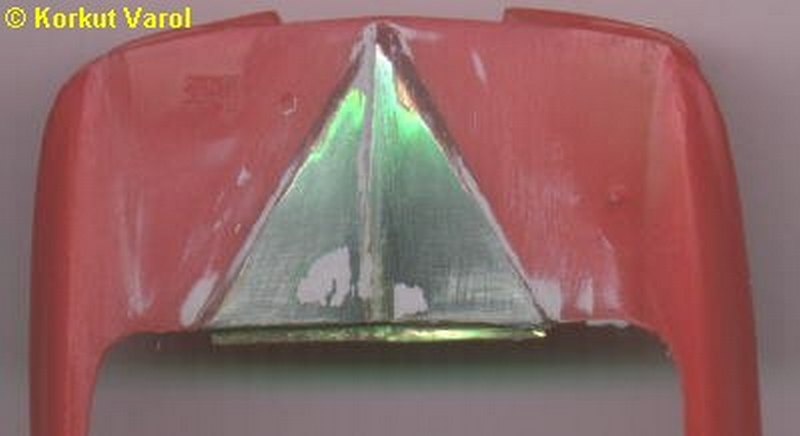
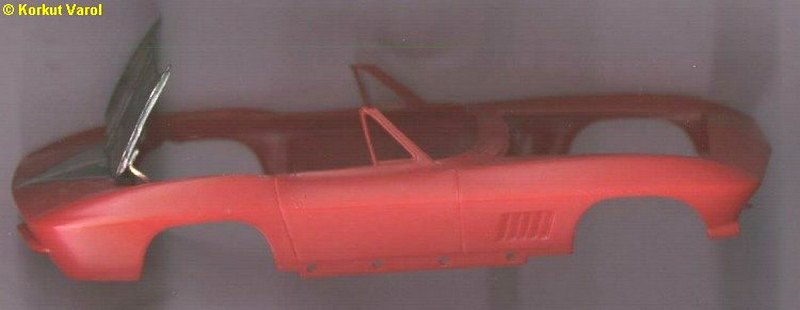
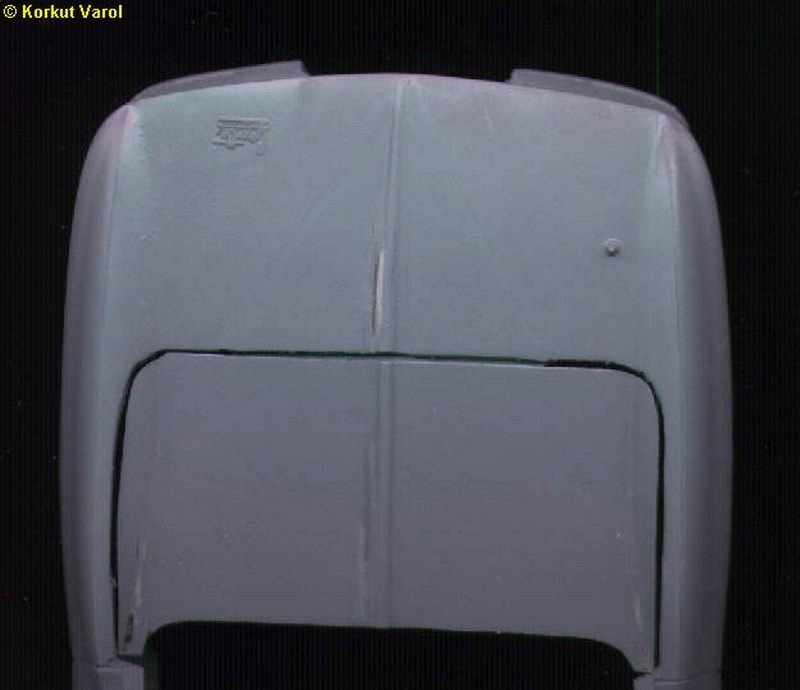
Then the bootlid was
put into place and this is how it looks now:
SEP.12th,1998
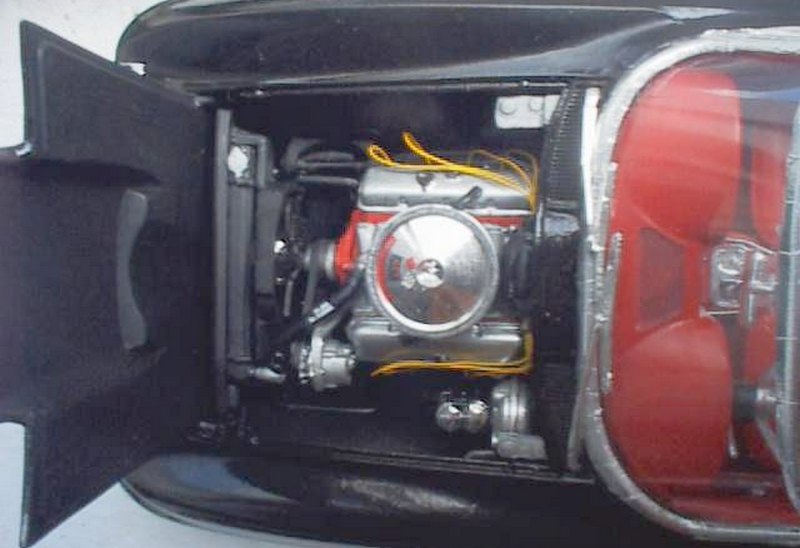
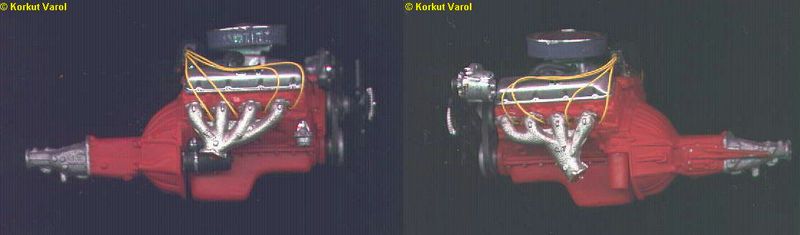
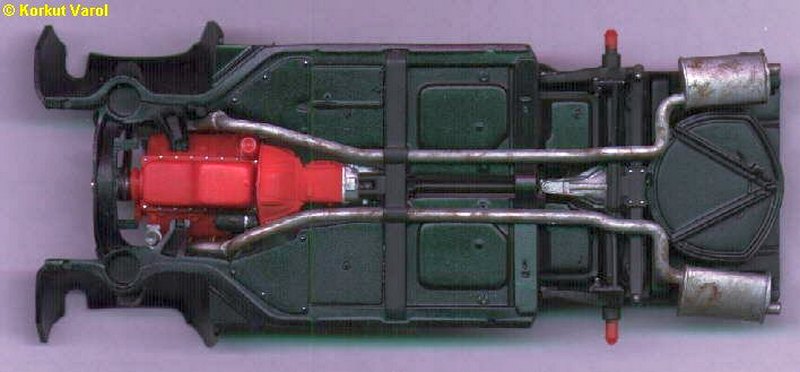
Now is the turn of the engine.
The stock engine was used, but with the addition of PCV hoses and spark
plug cables.
The
cables were made of
0.3 mm copper wires and painted semi-matt yellow ( Revell 310). The PCV
hoses are from 1.3 mm OD insulated (black) copper wire that are fitted
in the holes drilled on the rocker covers and the intake manifold.
SEPT.19th,1998
Now
back to the body again.
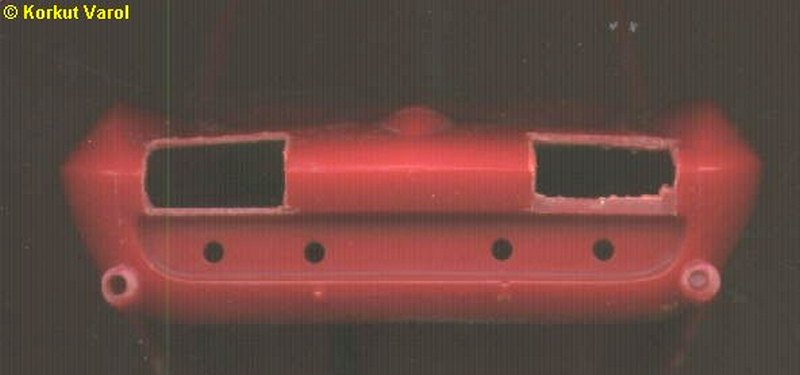
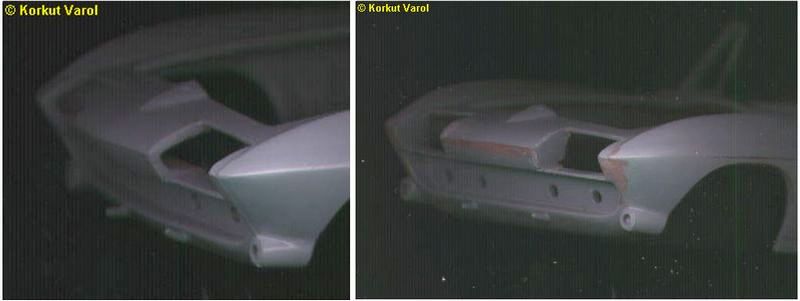
The headlamp recesses were cut out by Dremel Moto-tool,
followed
by X-acto knife to smoothen the cut. The aim is to make the headlamps
in
the open position. They will be scratchbuilt.
The
thickness of the plastic
body is too much as seen on the left headlamp recess, so it was filed
down
to 0.5mm so that it could be as close to scale and yet firm enough not
to break. The filed down recess is on the right side as you see in the
picture.
My,my,my--- A primer coat
at last!
It
was really nice to see
so few points to take care of.
It
ended up better than
I expected, so I served myself some whisky upon drying of the primer
coat.
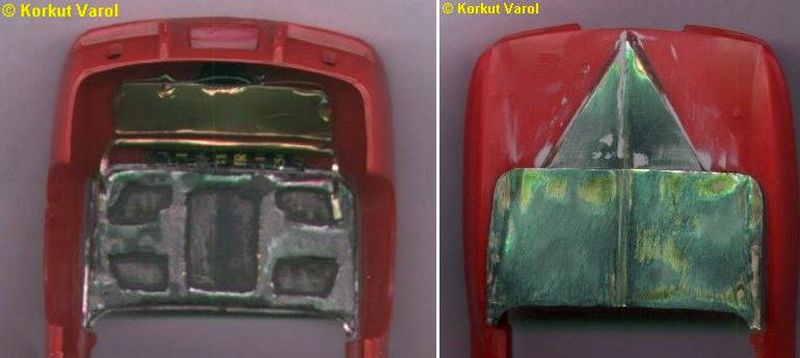
The sides of the headlight
recesses are no good like this. The gaps should be closed by some means
and seem full when viewed at an angle with the headlamps.
The side profiles were
cut from plastic sheet and glued, and then smoothed with putty and
sanded
for a flush fit with the recess edges. Fine sanding took care of the
unwanted
residues due to moulding as well.
JAN.24th,
1999
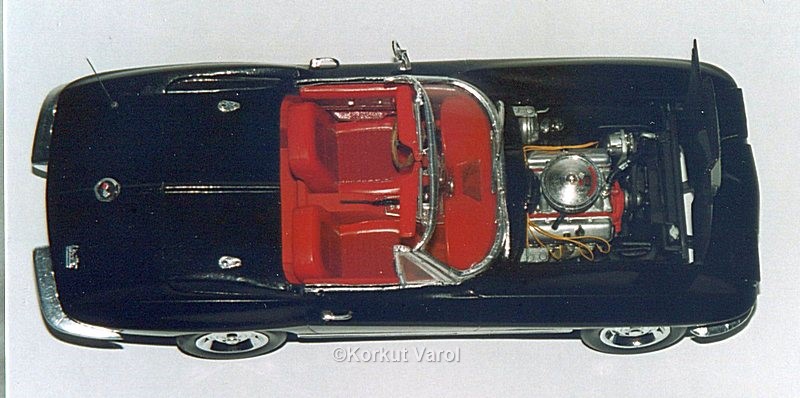
The floorpan is painted
satin black and the engine and the exhaust manifolds are assembled on.
The exhaust piping is a bit weathered.
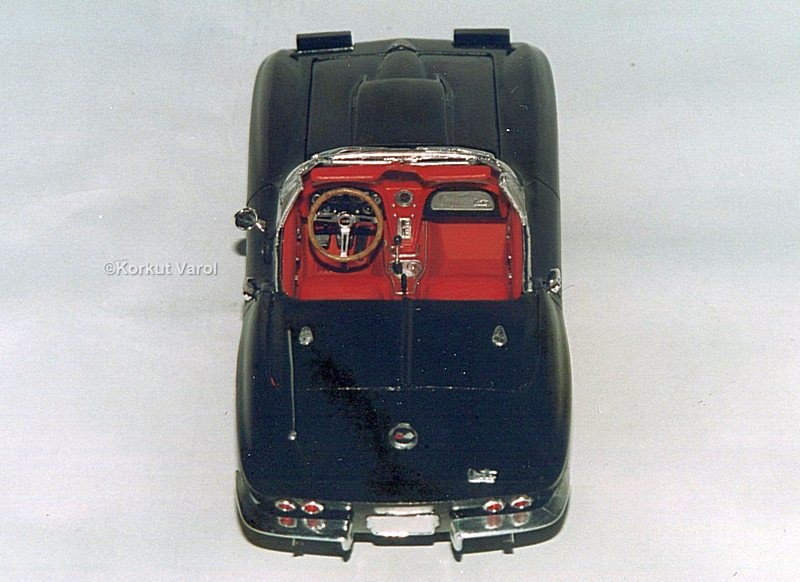
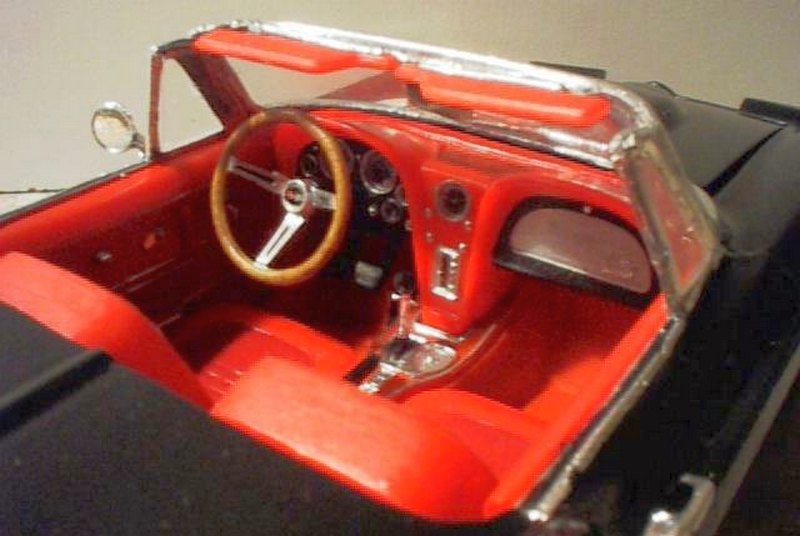
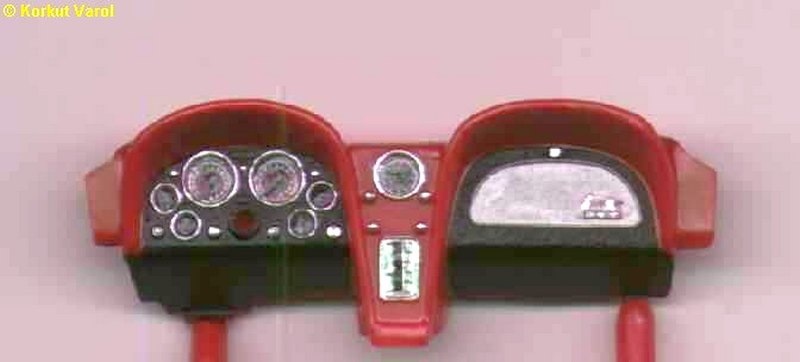
The dashboard is painted
red ( 1:1 mixture of Humbrol 60 and Humbrol 19 to give a satin effect )
and satin black (Hýmbrol 85) , the glovebox lid Aluminium (Humbrol
56) and the switches, radio, gauge bezels and emblem on the glovebox
lid
Silver ( Humbrol 11). The gauges are done with application of the
stickers.
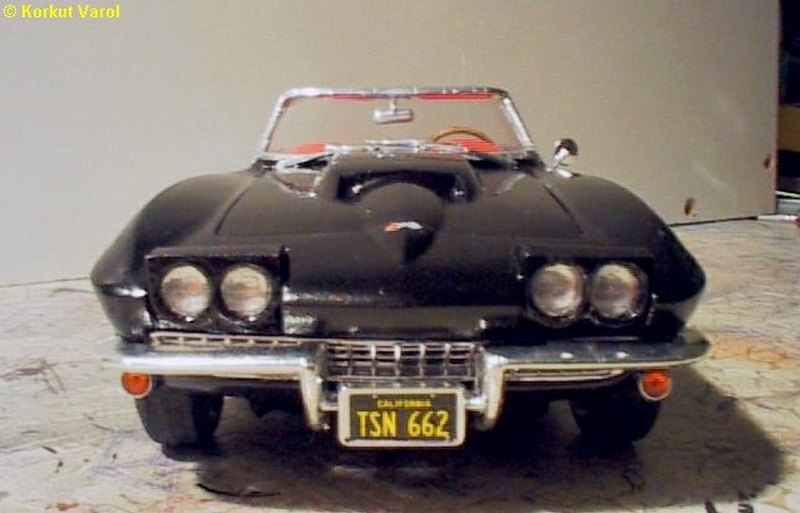
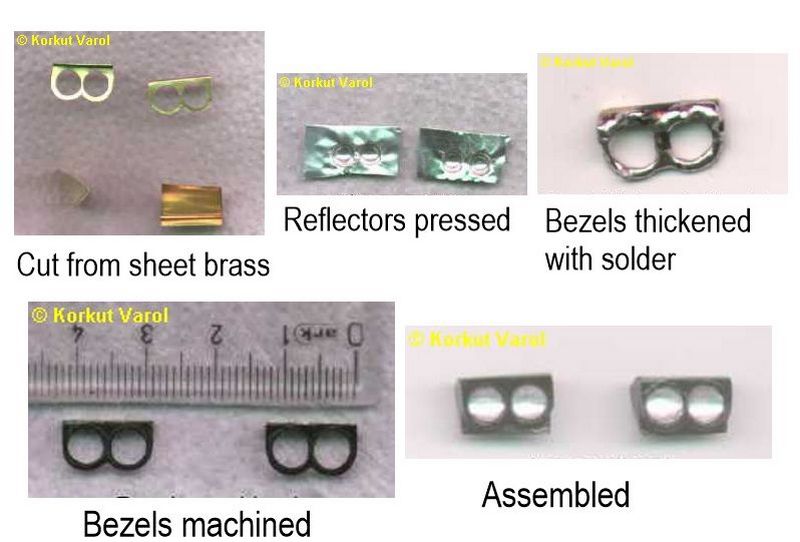
And now the headlights.
First, the bezels and headlight housings are cut from thin sheet brass.
Then the housings are bent to suit body profile(1st picture). The
reflectors
are prepared from aluminium sheet (2nd picture). The rounded tip of a
wooden
rod is used to press the aluminium inside the female part, still made
from
wood. Next, the bezels are thickened with solder(3rd picture) , filed
to
required thickness with hand, and countersinked with a proper tip of
Dremel
moto-tool (4th picture). Then the whole are assembled with 5-minute
epoxy
and painted (last picture). The lenses came from my parts box.
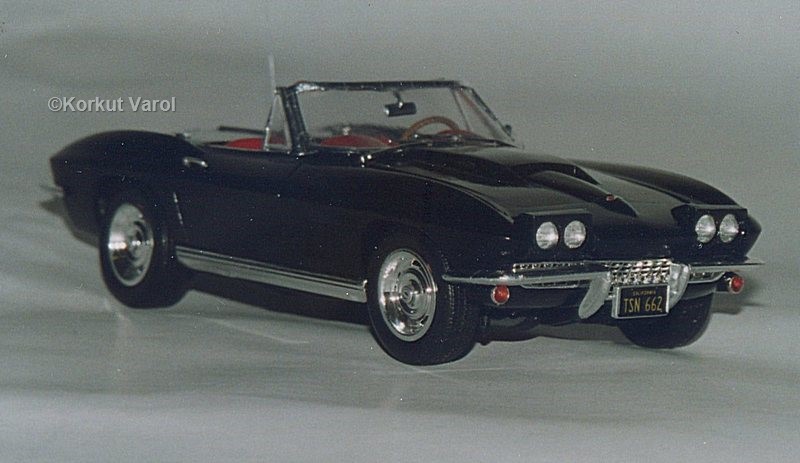
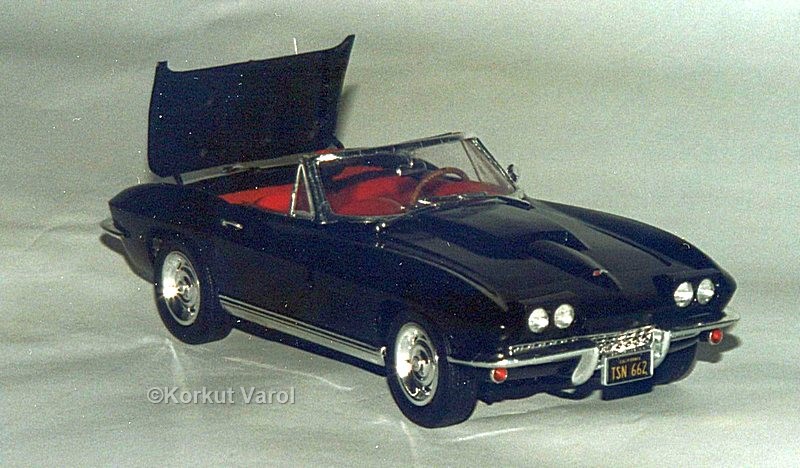
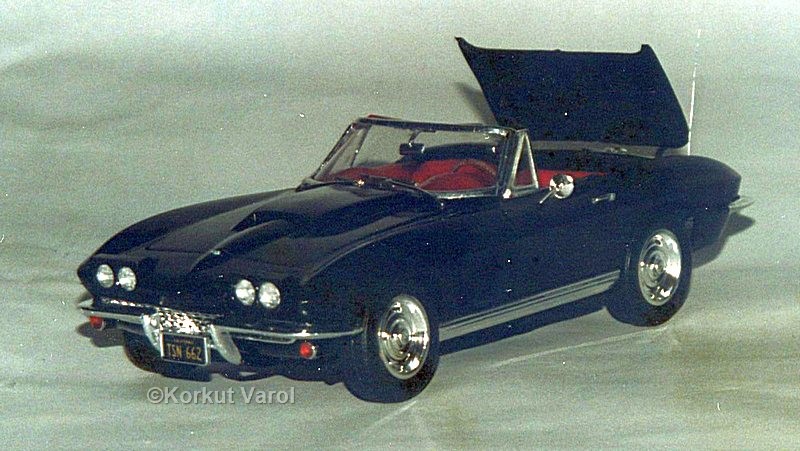
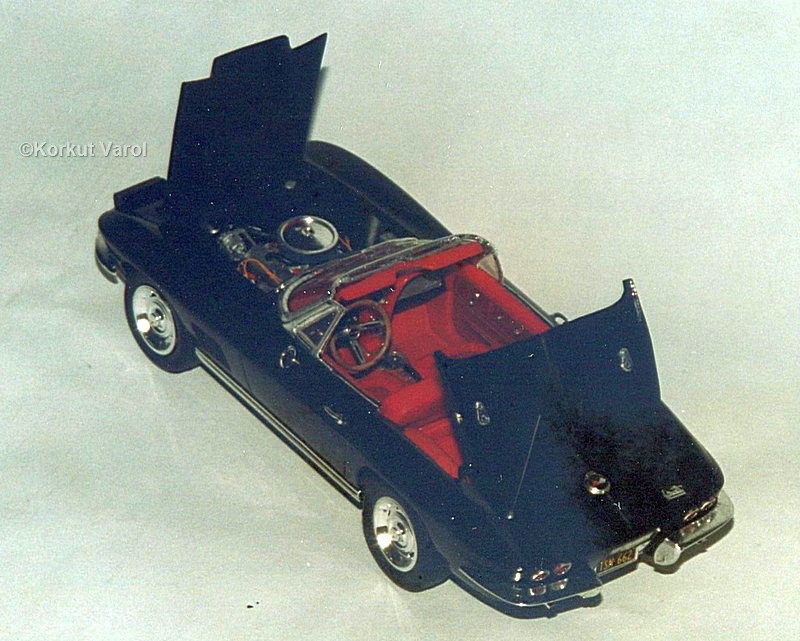
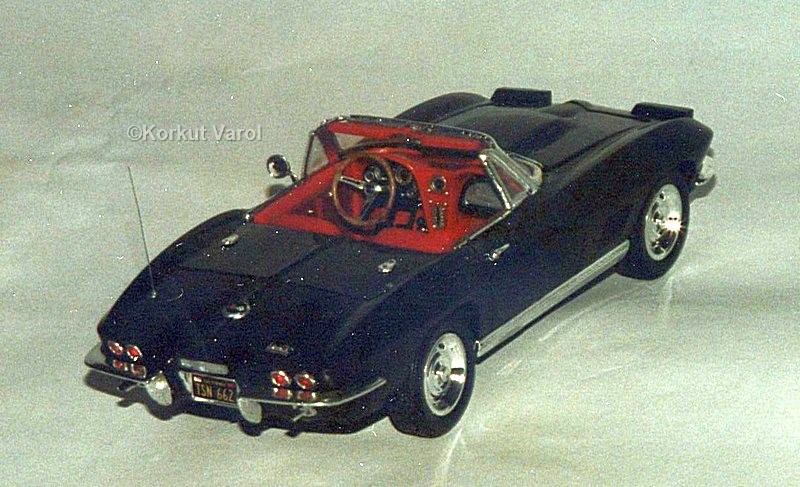
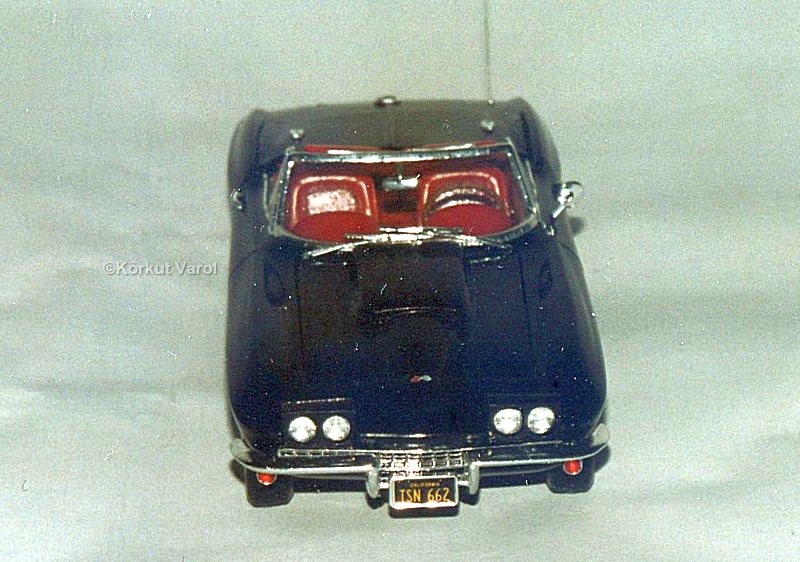
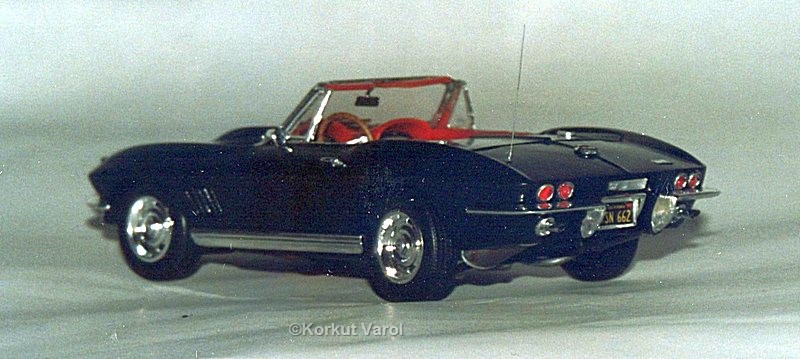
THE
FINISHED PHOTOS:
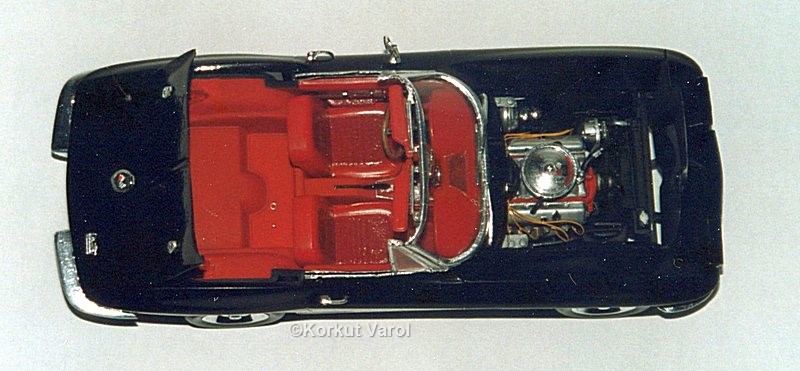
The
body is painted and overall
assembly completed. The
paint is composed of
4 colors: met.red (ModelMaster 2724 - 30%), met.dark green (ModelMaster
2716 - 30%), met.blue(Humbrol 52 - 30%) and gloss black(Humbrol 21 -
10%).
When you look at it, you see all the tiny glitters of 3 colors in
black.
The windshield is cut from acetate sheet and radio antenna from 0.2 mm
dia. copper wire is added.