To house the reflectors,
I also drilled the front side.
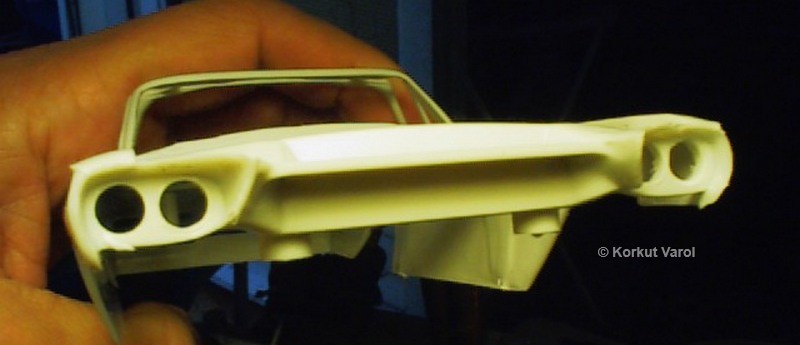
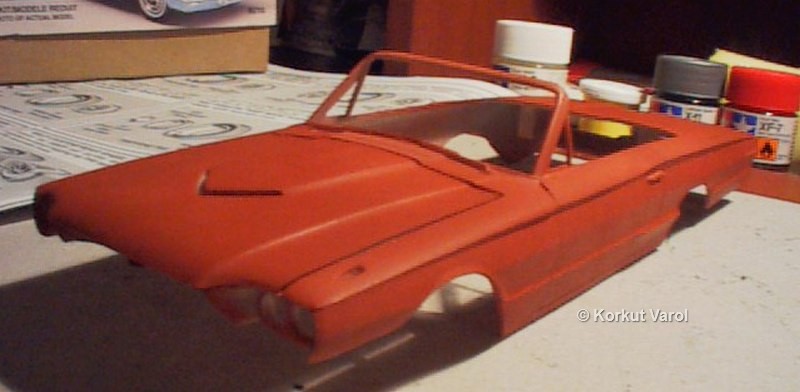
After filling and
sanding operations, I applied a primer.
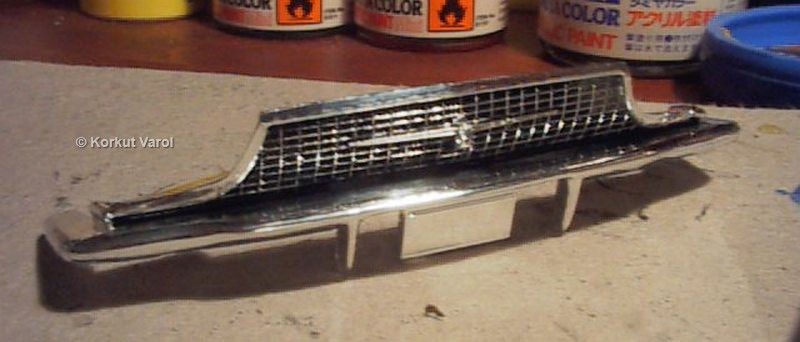
I gave a blackwash
to the front grille, and wiped off the paint at high spots.
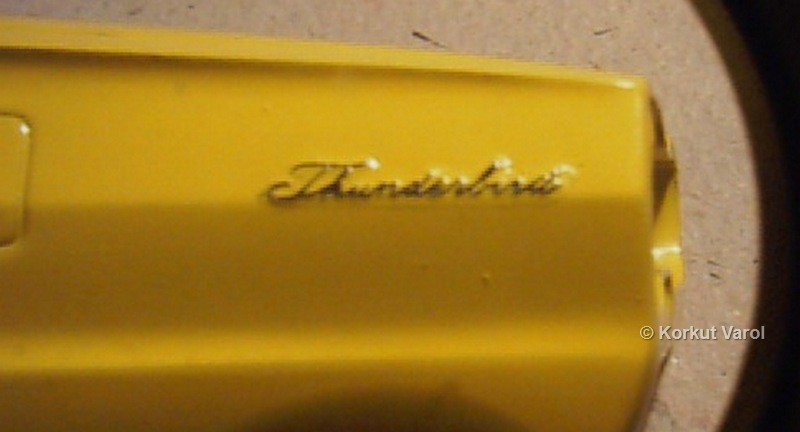
I applied BMF on
the scripts before painting. After each coat, I scraped the paint off
at
the heights. The paint I used was Mar-Hyde Fiesta 61506 yellow
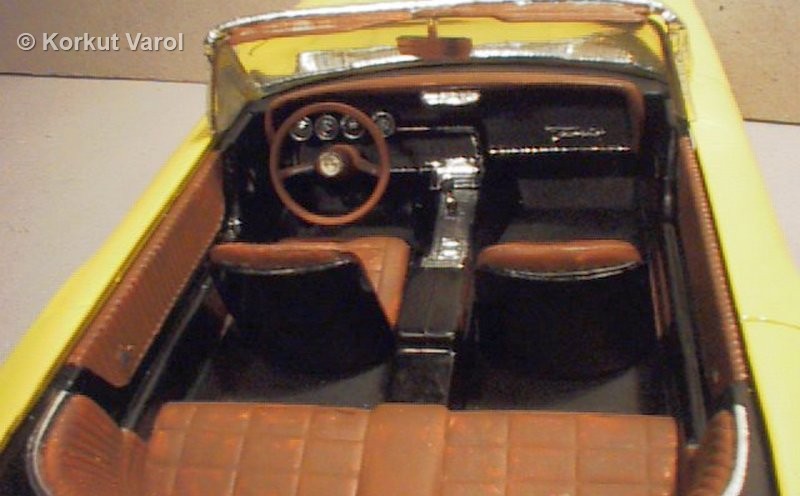
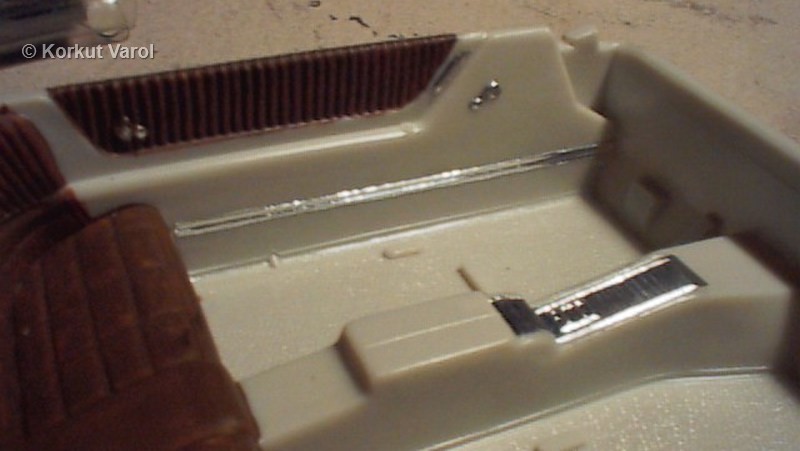
The internal tub
also had its share from the BMF.
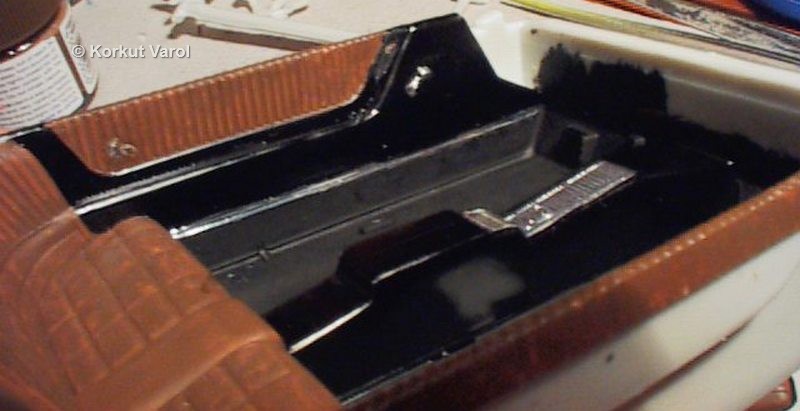
The internal tub
painted.
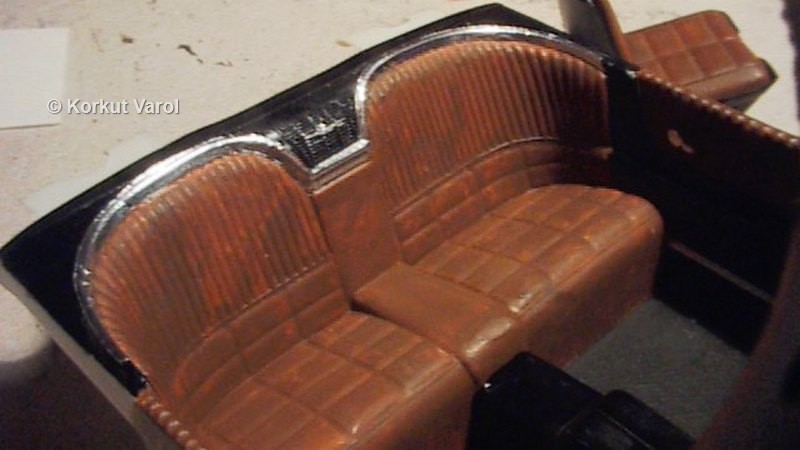
The rear seats and
BMF trimming. I applied leather paint for the seats.
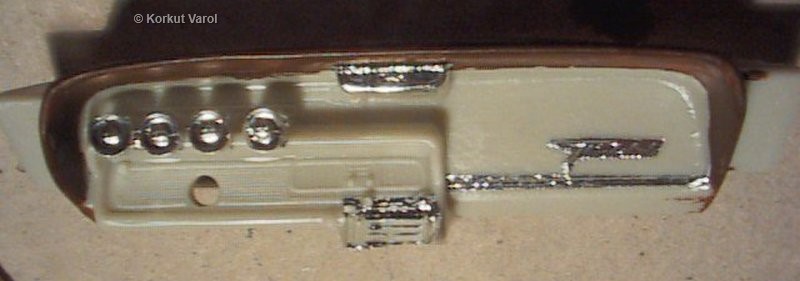
The dashboard having
BMF treatment before paint.
The inside completed.

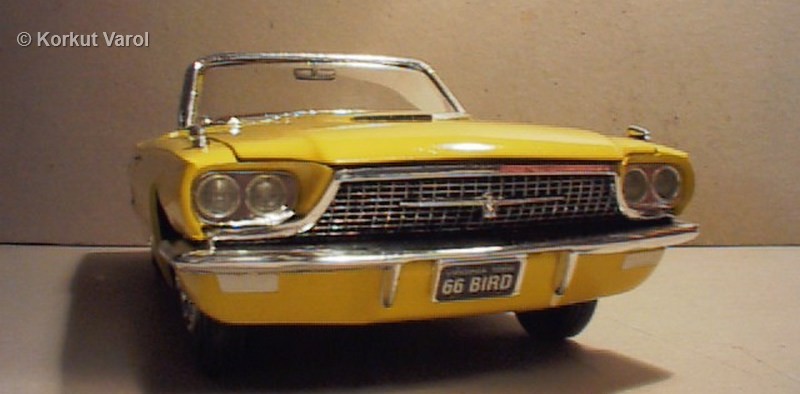
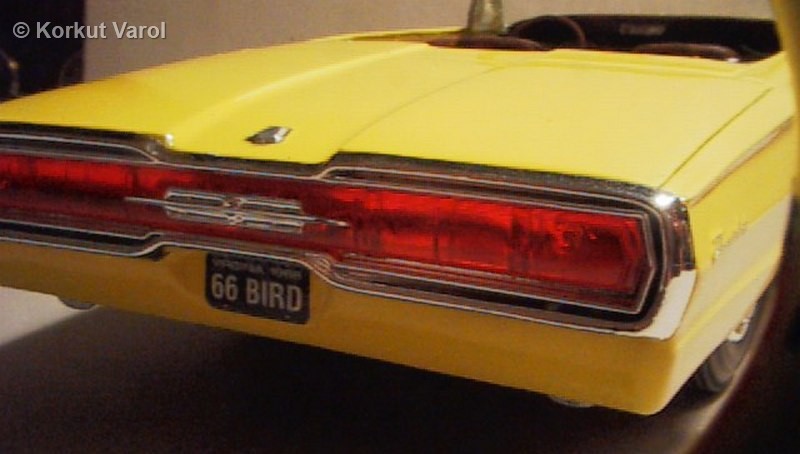
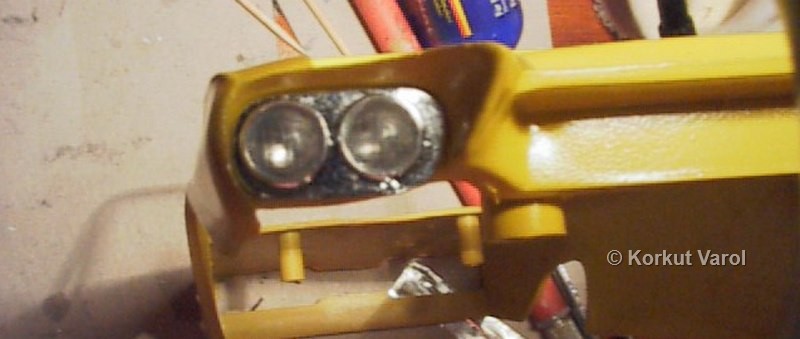
For the headlamp
lenses, I scratched acetate sheet with the reverse of #11 blade, and
cold-pressed
it with the tip of Testors Glue cap.
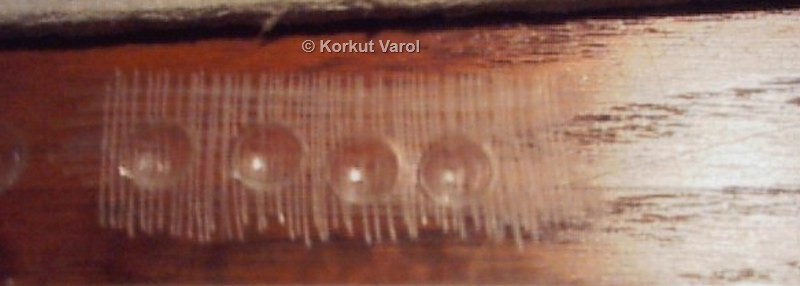
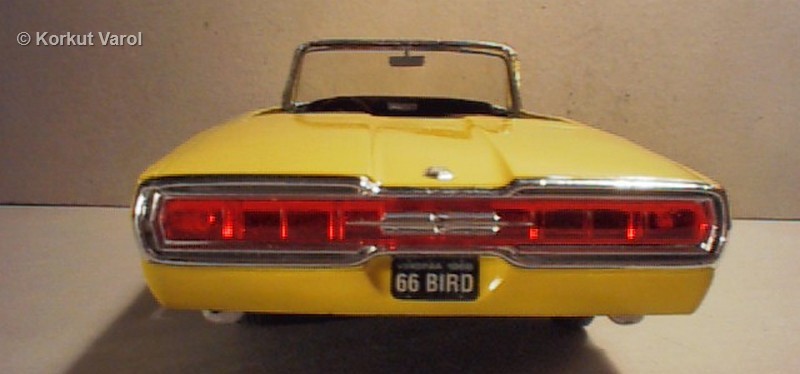
The reflectors were
formed the same way, and then treated with BMF on the insides, using
the
cap again.
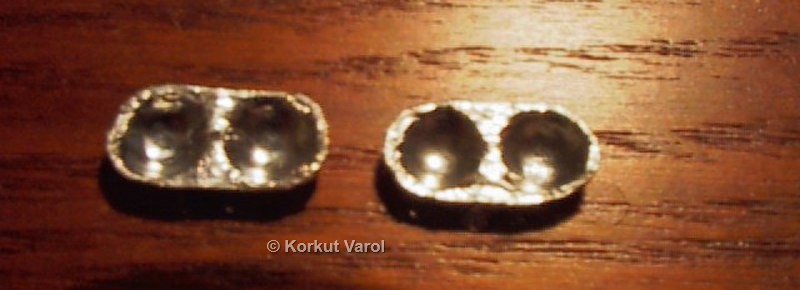
Reflectors finished
and trimmed.
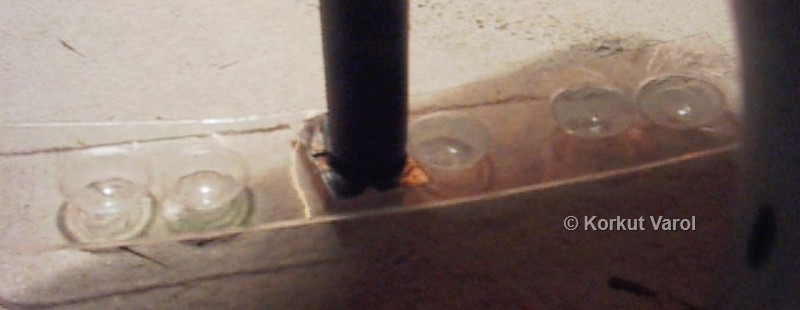
Reflectors placed
inside the body.
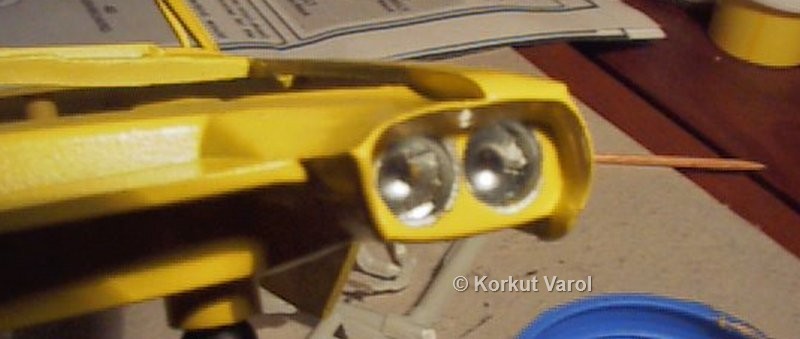
The lenses were
cut to size and fixed to the bezel plate by Testors glass maker, and
after
curing, the assembly was put on the body with the same bonder.
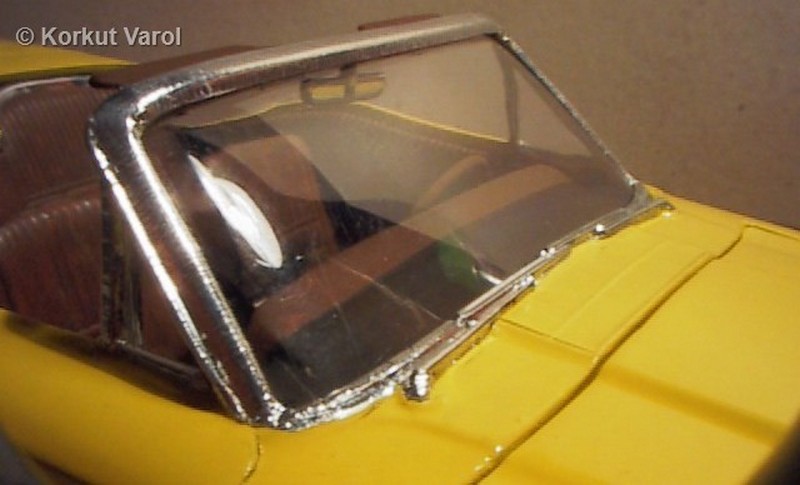
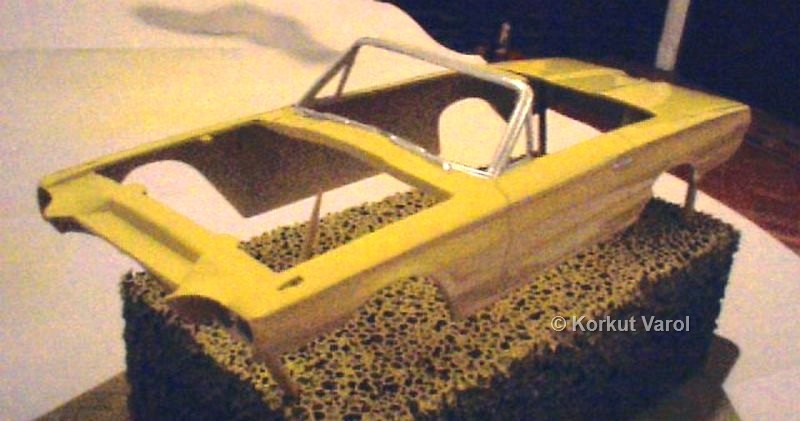
Then the body was
BMF treated on the windshield frame, wipers and door handles and
received
two layers of clear.
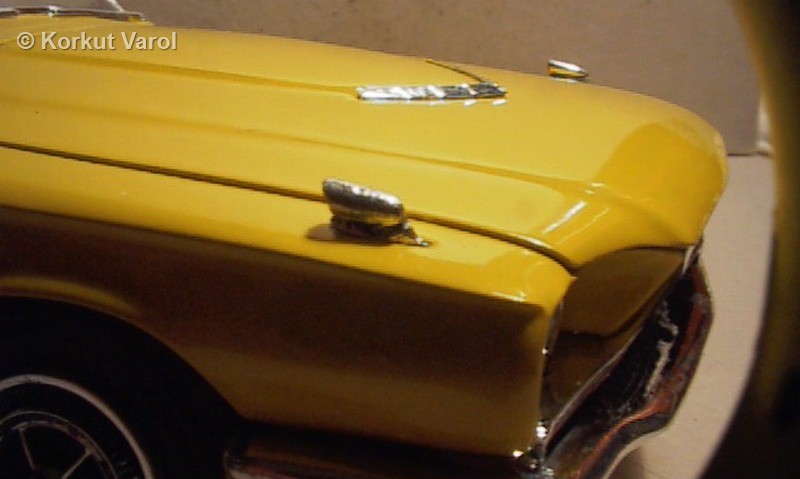
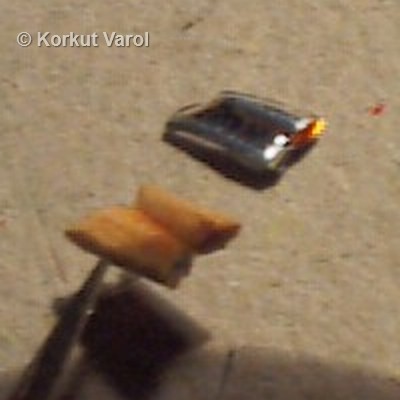
"Murphy" is at my
service again! I was cutting the chromed signal lamps on top of the
front
fenders. The second one I cut just went in the air somewhere! I even
could
not see where it went, to trace it! Big mistake not to keep a guard
with
my hand. But the plastic seemed to cut smoothly. Don't be deceived!
Always
take your guard against such jumps.....
So
I began scratchbuilding
one out of toothpick ends as in the first pic.
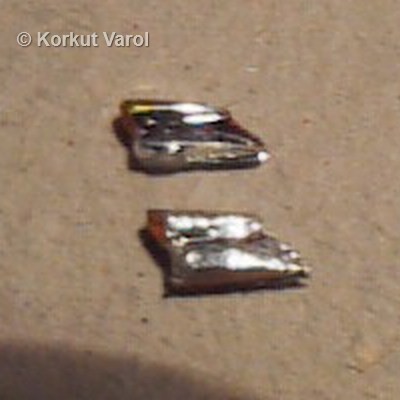
The
problem is solved
in the second pic. I think you can tell that the lower one is the BMF
covered
duplicate, but let be it! I also had to file some of my
fingernails
and skin in the process...
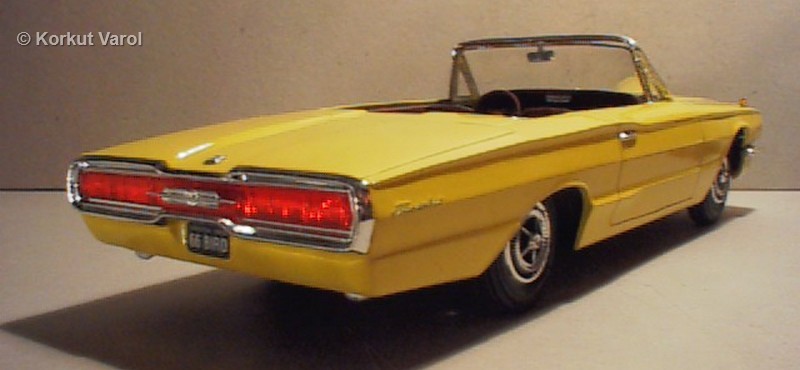
Following are the
pics of the finished model.