12 June 2019:
I prepared
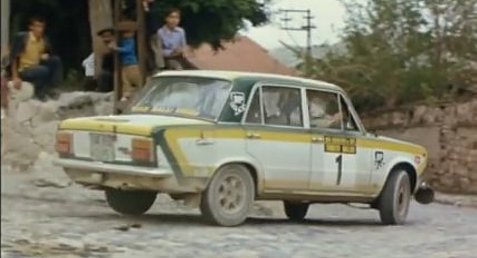
the extra headlights on the Murat-124 front grille:
1- Made cavities with Dremel
2- Applied Bare Metal Foil
3- Painted the grille
4- Made the lenses with UV curing nail builder gel.

13
June 2019:
I prepared
the decals on the computer and printed them on white decal paper.
15
June 2019:
I applied the
decals on the models. The windshield decal of the Murat-124 will be
corrected later.

16
June 2019:
Manufacturing
of the spotlights for the Renault-12:
1- I made a female in a piece of wood.
2- I made a male from iron rod with hemispherical end and shaped a 0.2
mm thick aluminum sheet by using a drill.
3- The aluminum part after shaping..
1- For the
foot of the spot, I made a hole with a pin.
2-
I inserted a 0.6 mm wire through the hole and fixed wit a piece of
tape. The inner end of the wire is flattened to preven rotation inside
the putty.
3- I applied polyester putty inside the housing.
4- After curing, I trimmed the peripherals.

17
June 2019:
1- I prepared
and printed the front covers with Cibiť logos on computer and stuck
them on the spotlight faces.
2- For the central spots, I prepared a bracket from copper sheet and
painted flat black.
3-
I fixed the central spots on the bracket and the side spots (by bending
the wires) to the lower surface of the bumper with epoxy glue.

21
June 2019:
I made the
stone-chips shoulders and grass using Woodland Scenics products.

23
June 2019:
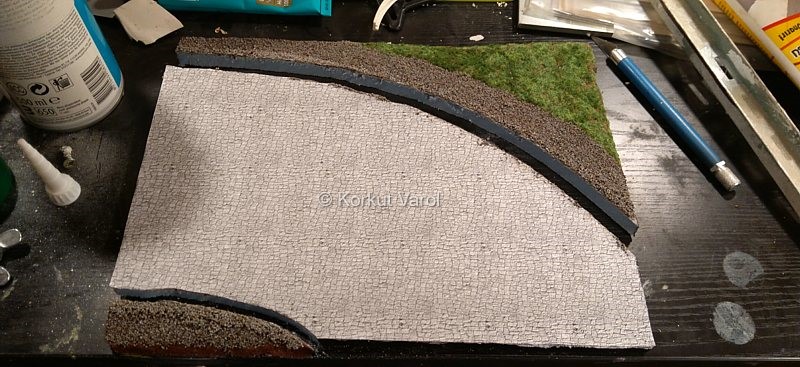
I
did not like the appearance of the road. Though looking fine in photos,
it was not so realistic actually. So I decided to make an asphalt road
and cut off the road part.
24
June 2019:
I
made a new road with a new poam plate and a sheet of sandpaper. I
painted the sandpaper with shades of grey and the stripes by masking.
It will be weathered a bit later.

27
June 2019:
I
made the delineators
from Evergreen styrene strips. In those years, the delineators were
made of concrete, unlike the flexible products of today. For a
good penetration into the foam, I sharpened the ends. For the
reflectors, I sanded the surface of sticky aluminum duct tape and
applied translucent white and clear red glass paints. Then I cut them
to size and stuck on the delineators.

15 August 2019:
I
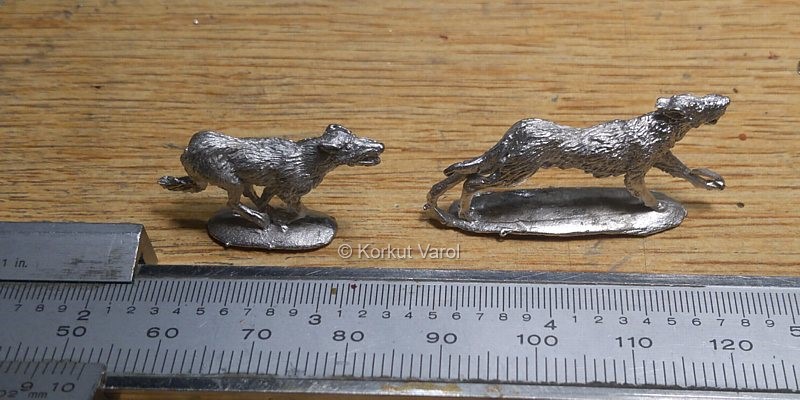
waited for a long time for the dog figures chasing the cars. I got the
28 mm running dog figures from northstarfigures.com website.
I cut the bases and drilled 0.5 mm holes through the feet and inserted copper wires through and fixed with CA glue.
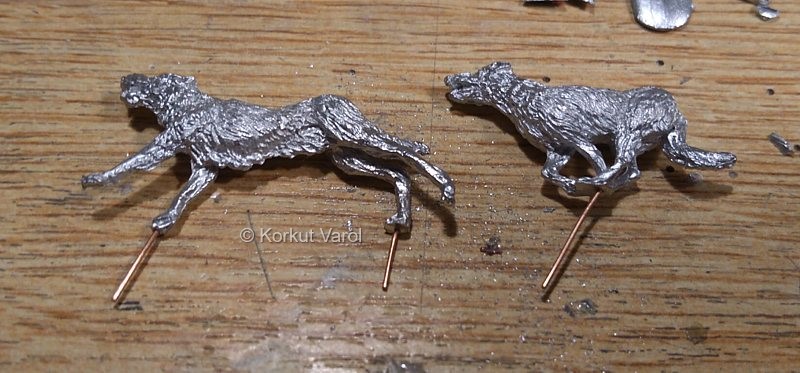
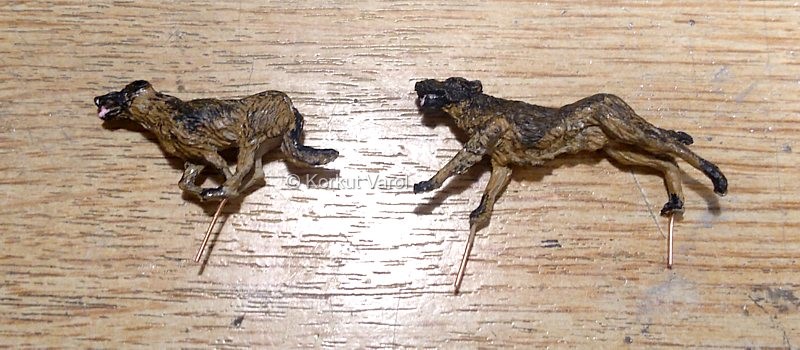
I painted the dogs.
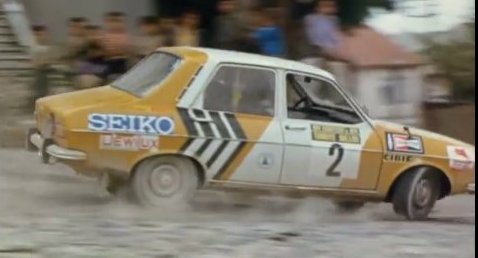
The finished photos of the diorama are on the next page.
 ...................
 ......................




 ...................
 ......................