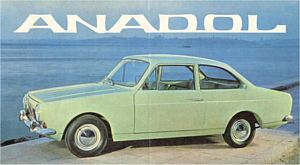
|
09 October
2009:
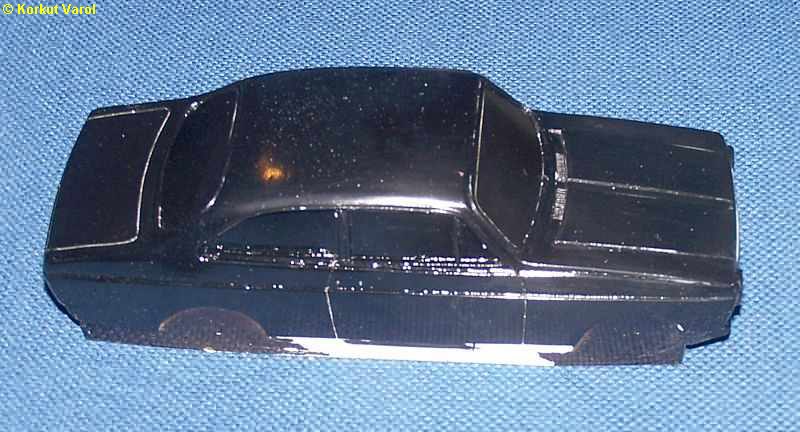
I covered all
the openings, added a molding
skirt, then sanded and painted the body gloss black to see if any
irregularities
are present. Then I went on preparing the mold.
|
|
10 October
2009:
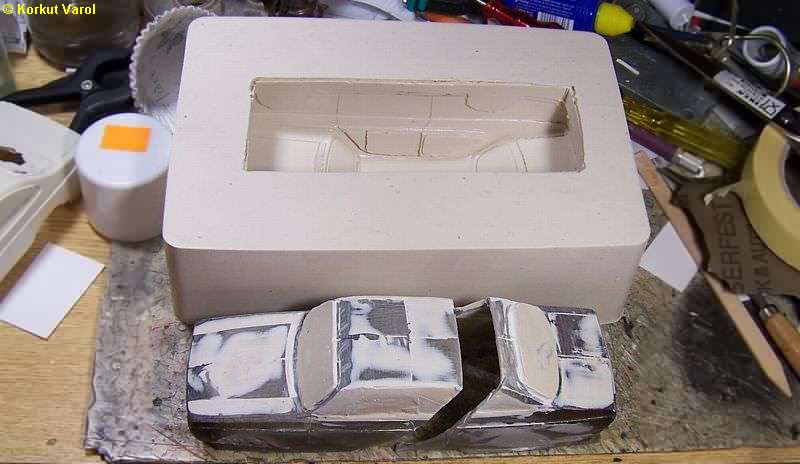
I made the
female silicone mold, then cast
a shell from resin to be the master for the male mold. I cut strips in
all axes and rejoined the parts, giving a clearance between the male
and
female parts. Then I cut the male master at an angle, to release the
part
from plaster which will be mold for the silicone male.
|
12
October 2009:
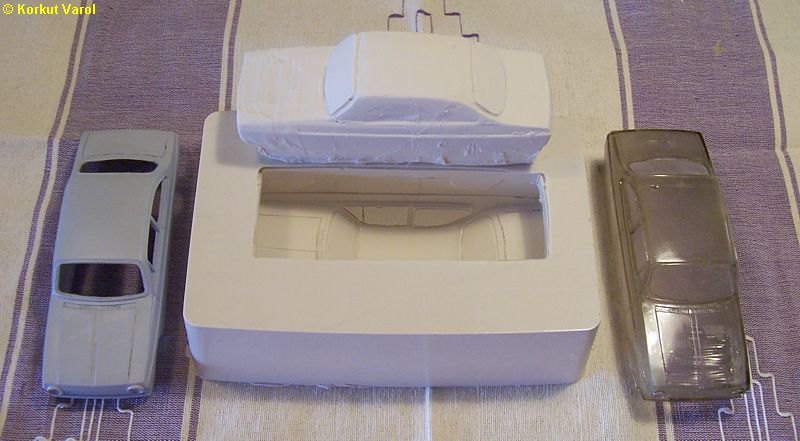
I made the
male silicone mold, then
cast two samples. The one at right is as from the mold, at the left is
machined and primed.
|
|
16
October 2009:
I began
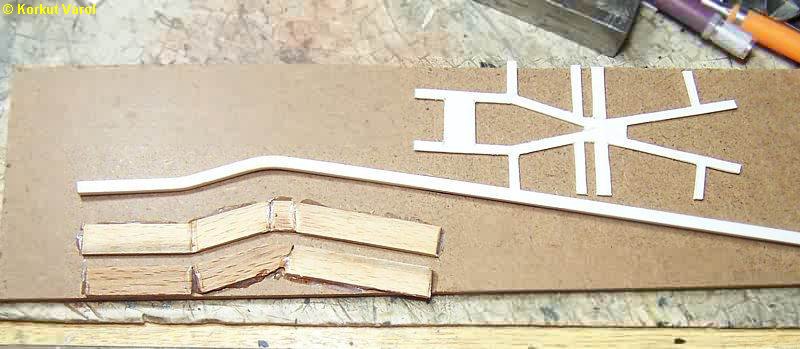
chassis manufacturing. I cut the
template with the traverses, made a bending jig for the frame members
and
bent a 4x3.2 mm styrene profile to shape by heat gun.
|
17
October 2009:
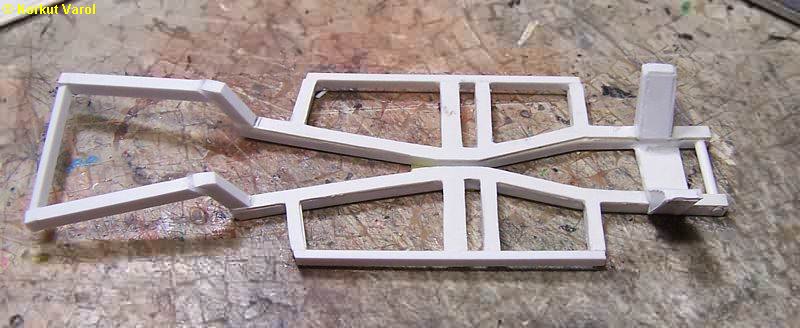
I continued
manufacturing.
|
23 October
2009:
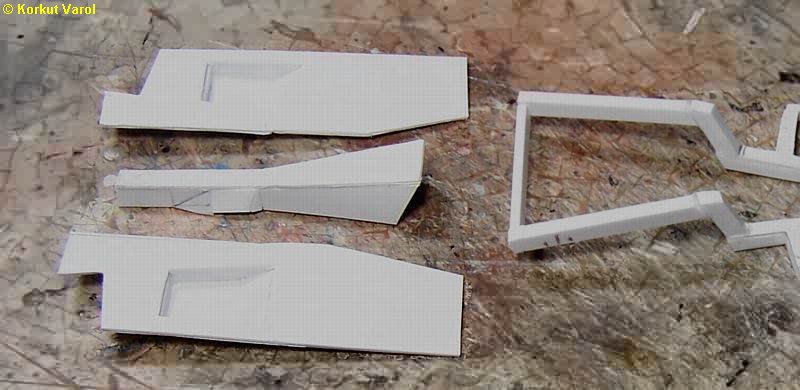
I began
manufacturing the floor panels.
|
30
October 2009:
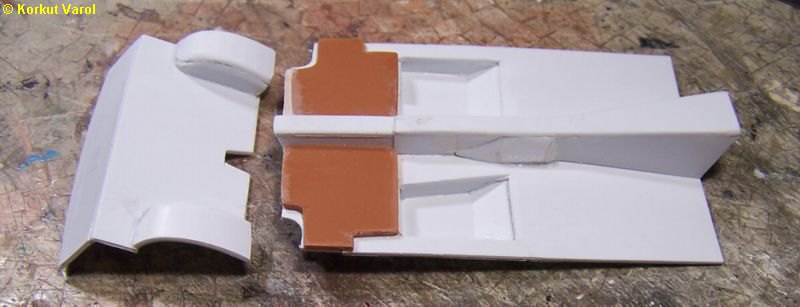
I finished
most of the front panel
and rear seat panel.
|
|
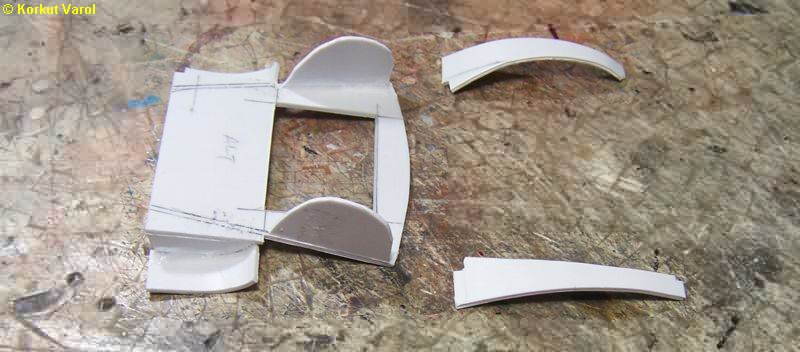
I
cut the panel parts for
the luggage floor. This view is about halfway in construction.
|
|
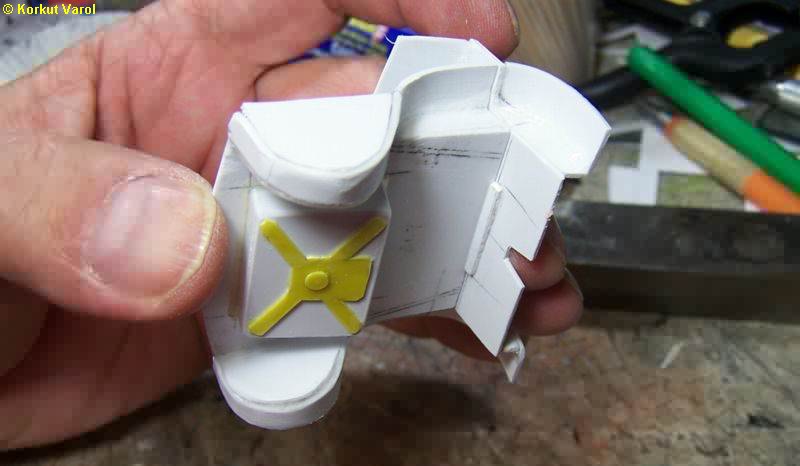
I
finished the luggage floor
and checked the mating with rear seat panel.
|
|
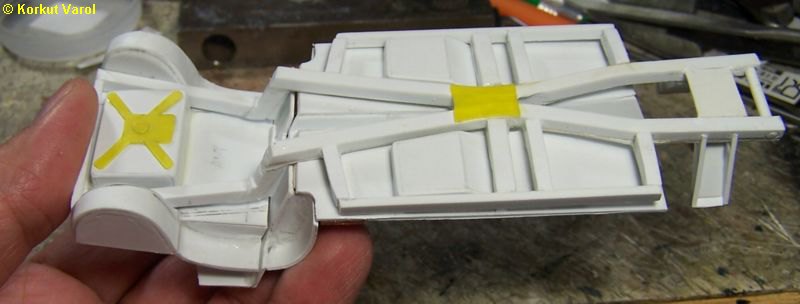
Fitting
test of the floor
panels with the chassis.
|
31
October 2009:
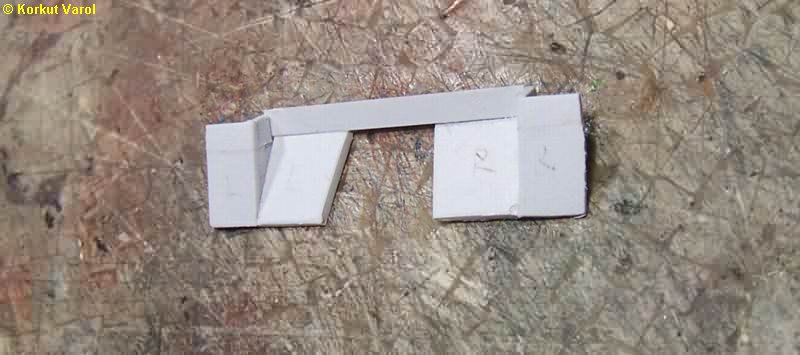
I started
constructing the firewall
panel.
|
06 November
2009:
I constructed
the dashboard. It took
2 full days.

|
11 November
2009:
I constructed
the dashboard mold and
cast a sample, then painted to see how it looked like.

|
|
30 November
2009:
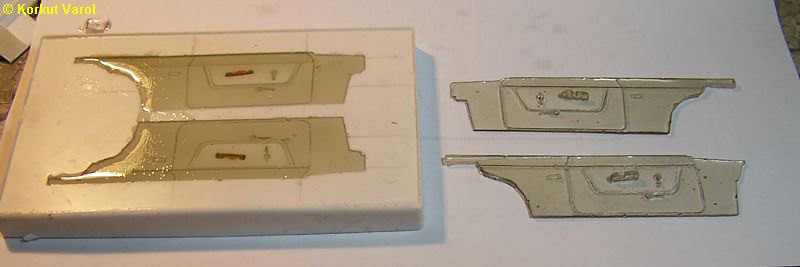
I made the
mold masters for the inner side
panels and the floor panel, and prepared the silicone molds. Here is
the
mold with poured resin (left) and a pair of cured panels
(right).
|
|
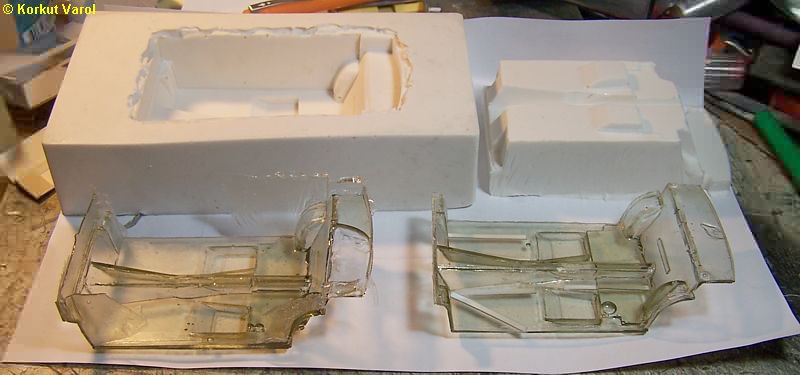
I
made a trial casting for the
floor panel. The one on the left is as it comes out from the mold and
the
right one is a trimmed part.
|
|
I
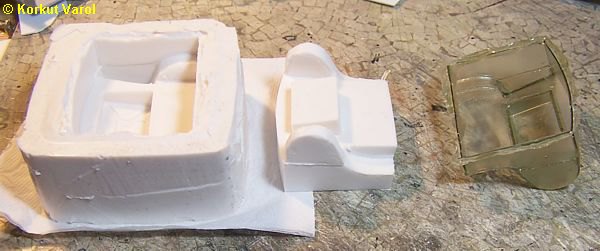
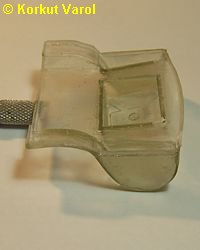
finished the mold for the boot
floor and made a sample casting. The one beside the mold is as raw and
the one on the right is as trimmed.
|
10 December
2009:
It was almost
impossible to find a scale
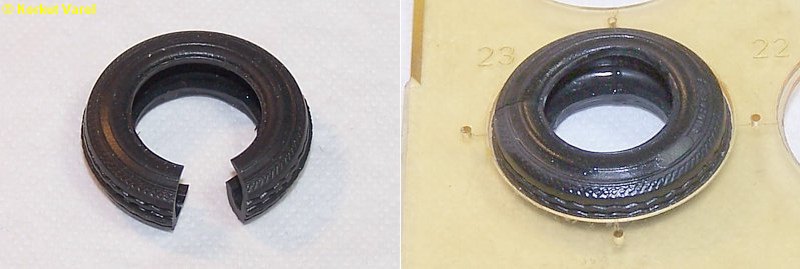
tyre to suit this model, so I had to manufacture them. I found an AMT
kit
tyre from my parts box, removed the necessary section to make the
required
perimeter, then joined the ends with CA glue using a circle stencil as
a jig. Then I filled the inside of the tyre with automotive polyester
putty
and sanded.
|
|
11 December
2009:
At the
leftmost is the master tyre that
I made. I wanted to manufacture from RTV silicone, so I had to make a
rigid
mold. After 3 trials, I made one from resin and cast a sample from RTV
silicone (white one). Being successful with the sample, I added black
powder
paint to the silicone and cast a black tyre (rightmost). The result was
very successful!

|
| |
 ...... ...... ... ...
|

