01 February
2010:
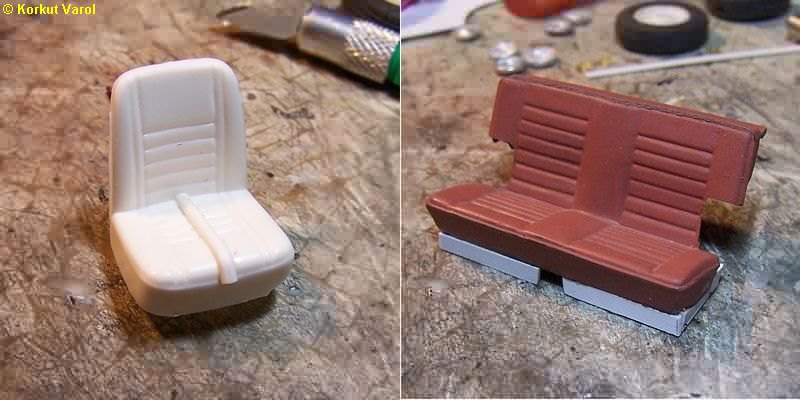
I began
manufacturing the seats. I took
suitable pieces from my parts box. For the front seat, I used half
round
strips for the seat pattern. The photo shows the first one glued in
place.
I made the bottom part for the rear seat from styrene sheet.
02 February
2010:
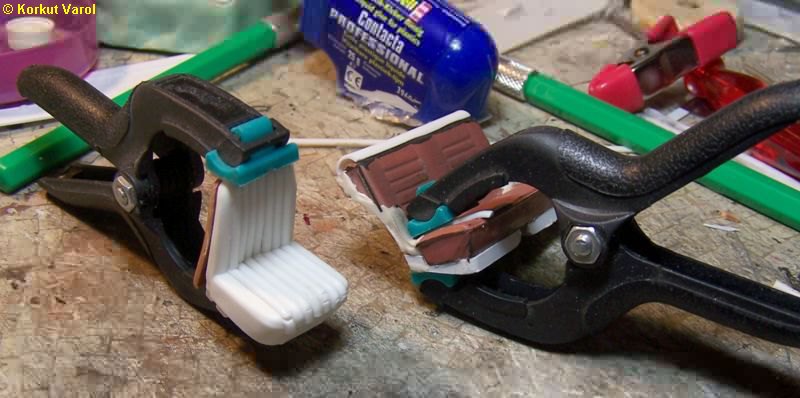
I continued
the pattern for the front seat
and added a thickening part at its rear. I filled the bottom and back
sides
of the rear seat with polyester putty, and added a rounding part at the
very top. I began making the seat pattern the same way as the front
seats.
05 February
2010:
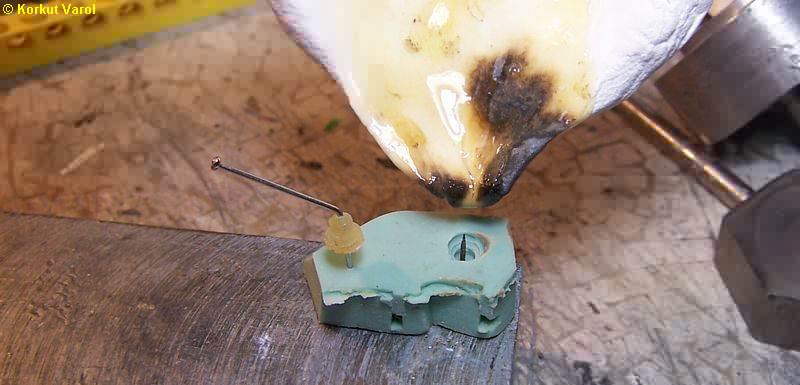
For the shift
lever boot, I made a mold.
I used a headed pin for the lever, and made the boot by melting E-Z
Water
(from Micro-Mark) in the mold. To provide easy entry for the pin, I
inserted
a pin from the backside of the mold so the boot would be cast with a
hole
inside. The lever and boot assembly is shown inserted to the left of
the
boot mold.
06 February
2010:
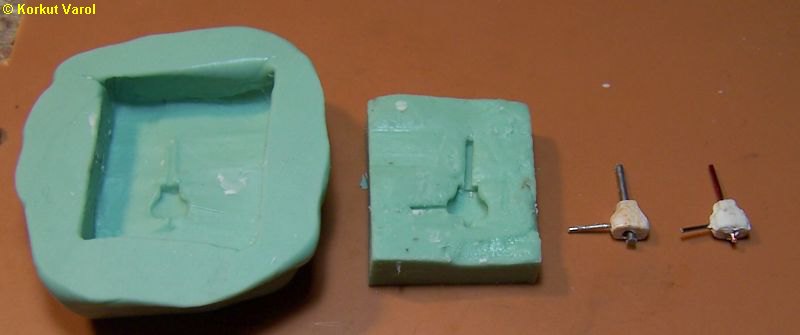
For the
steering wheel shaft and the signal
switch, I made a master from balsa and wires, then made a 2-piece mold.
For production, I located the wires in the mold, then applied marble
glue
at the center and closed the molds. The molded part is shown at the
very
right, nearby the master.
07 February
2010:
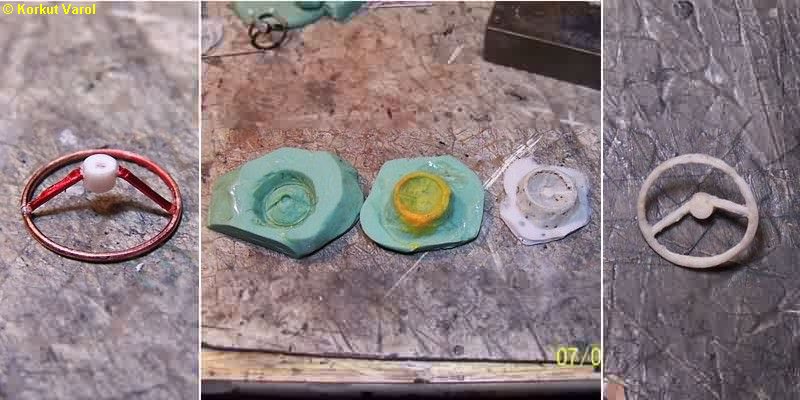
For the
steering wheel, I made a master
from wire and made a 2-piece silicone mold. In the middle photo, the
female
and male molds and the raw output is shown. At the rightmost is the
steering
wheel with rough cleaning of the flashings.
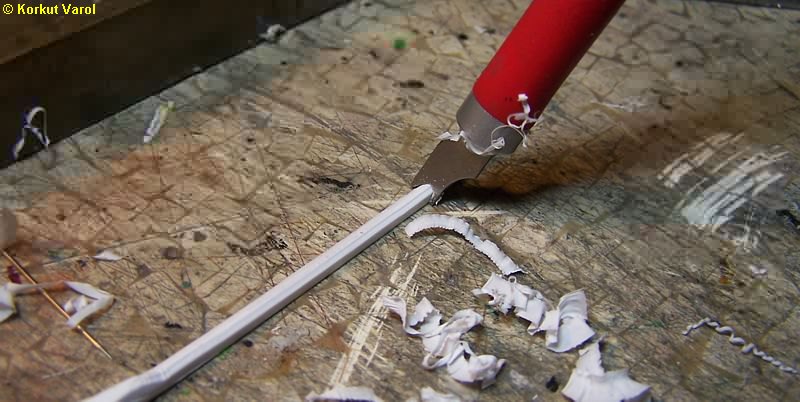
For
the front bumper, I shaped
an old cutter to the bumper profile and scraped a plastic strip over
and
over till I reached the normal profile.
Then
I shaped the bumper by heating,
sanded the ends, made the bumper horns from plastic and glued them on
the
bumper. I made the bumper brackets from wire and fixed them with CA
glue.
I will make a mold from this master.

25 February
2010:
For the
windshield and rear glass parts
from acetate, I made a male mold from galvanized steel sheet and fixed
it on a Lego block. I held the acetate sheet between two frames and
heated
vith a heat gun. After softening, I pressed the assembly over the mold
and shaped the acetate sheet.
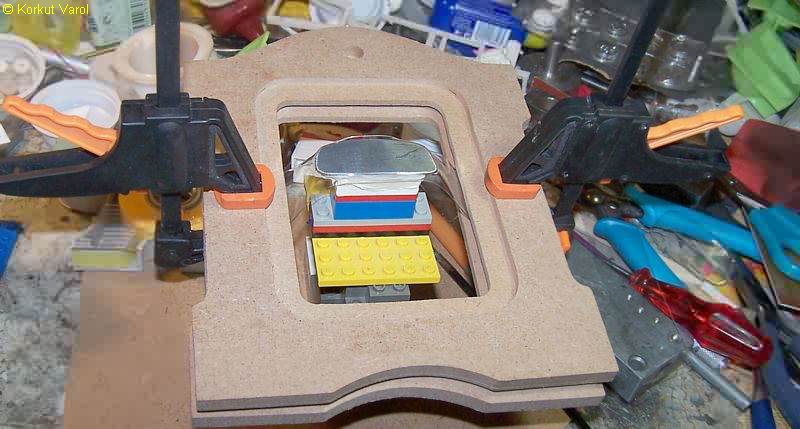
At
the left is the formed acetate
sheet, at the right is the trimmed part.

04 March
2010:
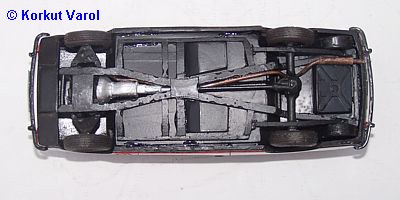
To check the
assembly steps, I began
to build the model of my Anadol that I once owned. The chassis is done
as below:
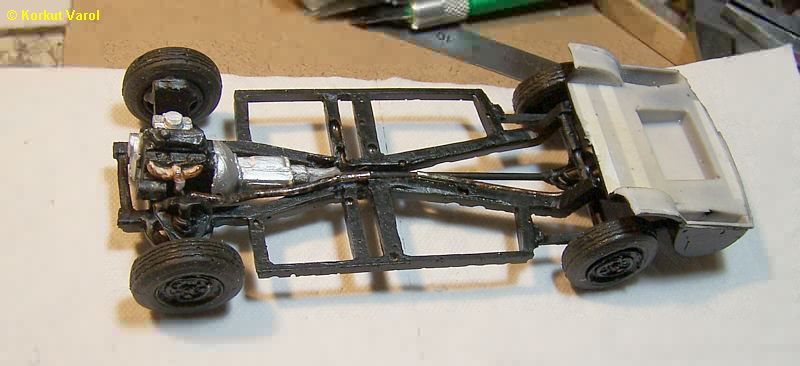
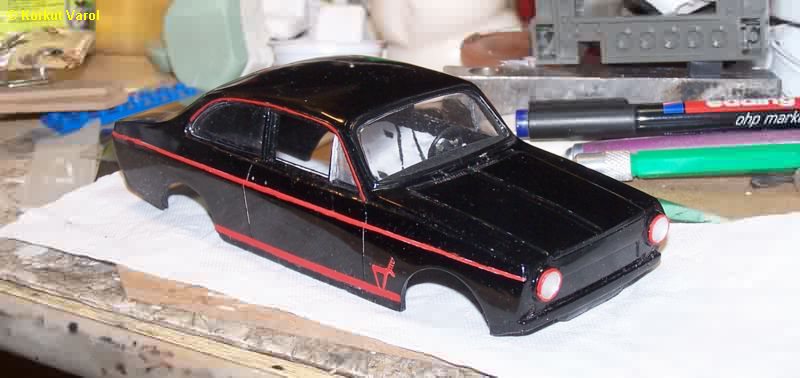
I
painted the body as by then.
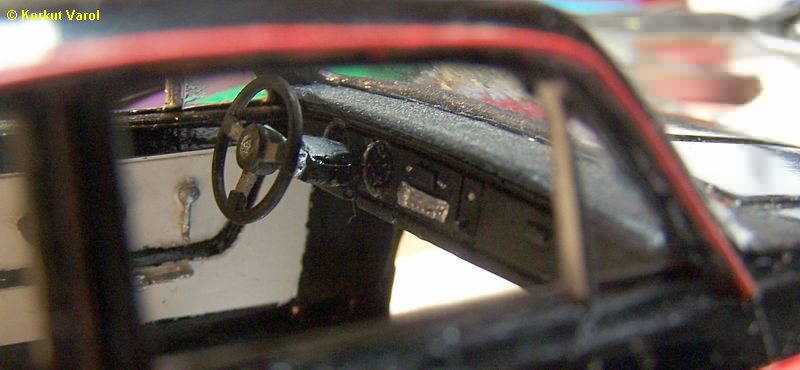
I installed the inner side panels, the dashboard and the glasses.
A
look at the dashboard from outside
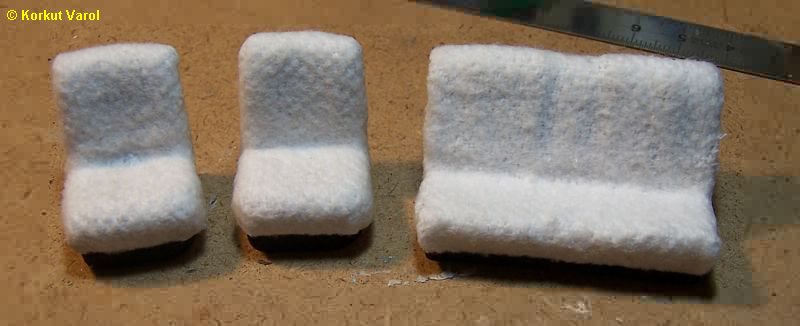
The
seats had covers made from
sheep hide. I used some dustcloth and covered the seats to depict the
original.
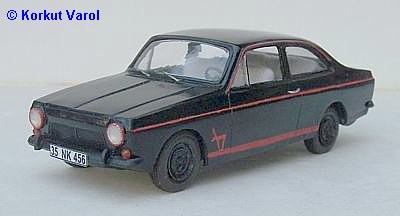
24 March
2010:
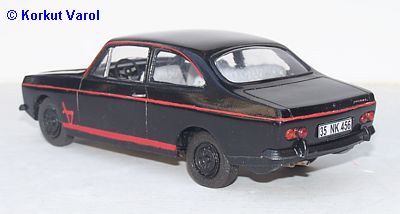
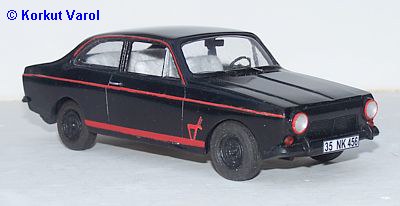
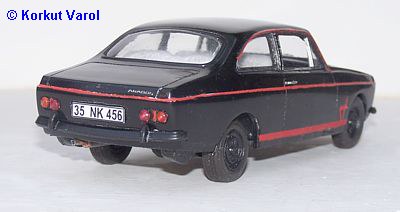
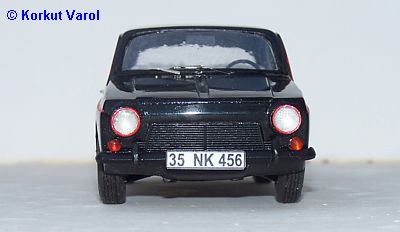
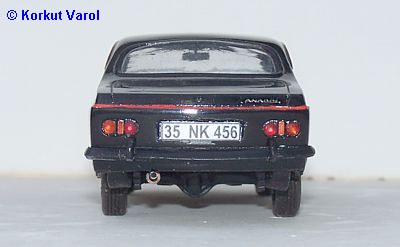
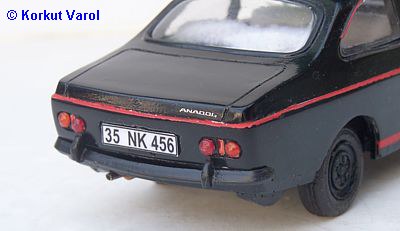
Photos of the
finished model. The red
band needs some retouch.
 ....................



 ....................