| Cars I Have Owned Series |
35 NK 307 |
|
 |
| Cars I Have Owned Series |
35 NK 307 |
|
|
Scale : 1/43
Start: 08
September 2016
Finish: 17
September 2016
Page 1 / 2
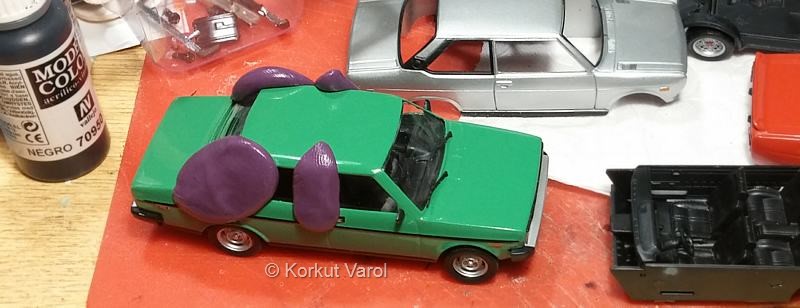
The
models initially. On the right is Starline Models which I used as the
base model, center is Norev's Abarth for donation of 4-headlights front
grille, and on the left is Edicola 131P, for details of 4-door.
|
|
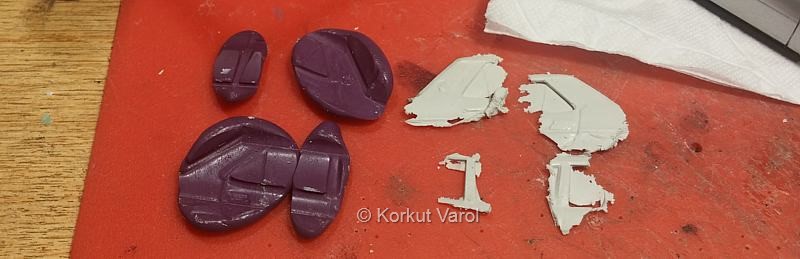
I took molds with silicone putty
from B and C pillars, which were different from 2-door type.
 |
|
I cast parts from
polyester putty.
|
|
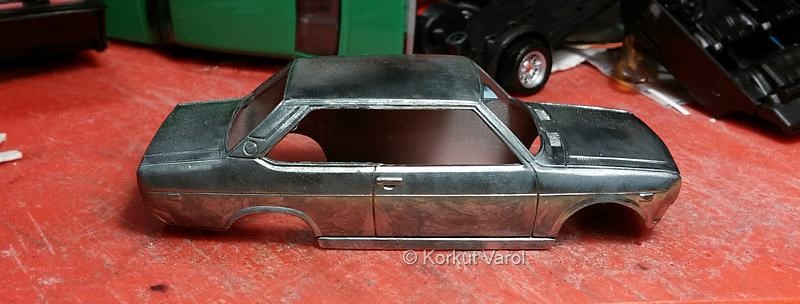
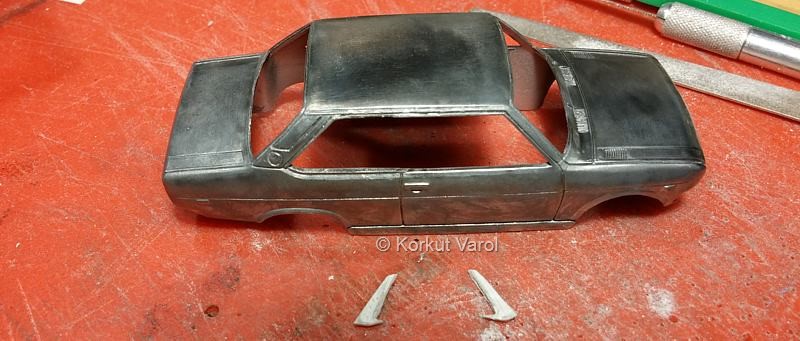
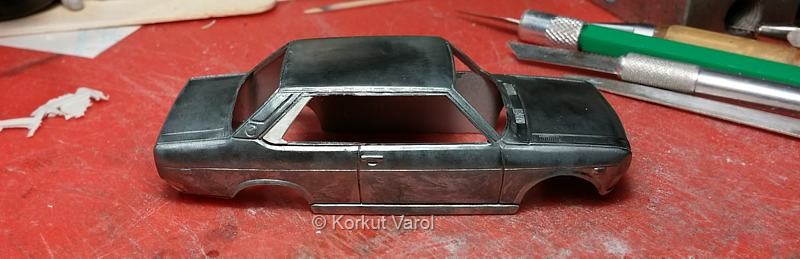
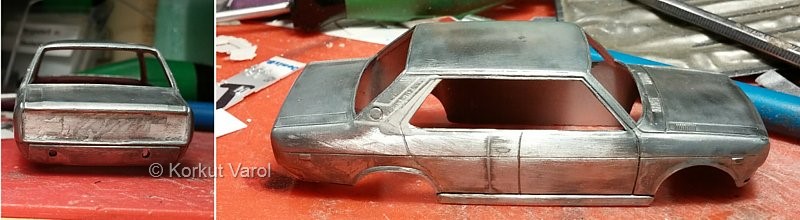
I stripped the
paint.
|
|
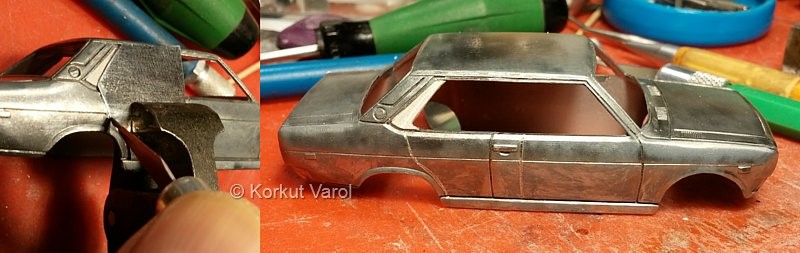
I cut the B-pillars.
|
|
I trimmed the necessary
extensions for the C-pillars from the parts I had cast before.
|
|
I
glued the extensions in place with epoxy glue.
 |
|
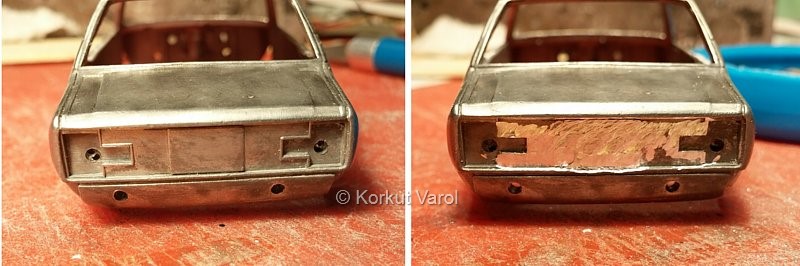
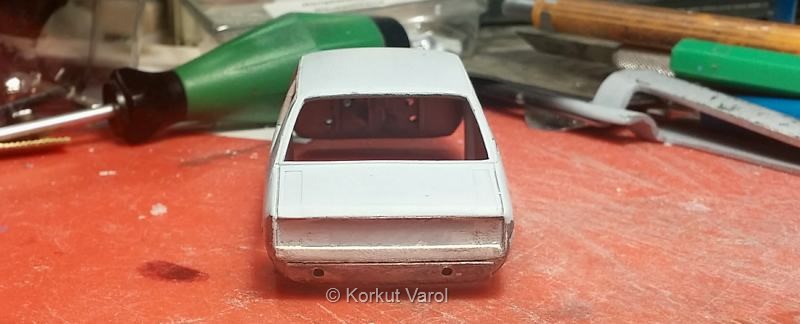
I
shaved the protrusions on the rear panel with Dremel.
 |
|
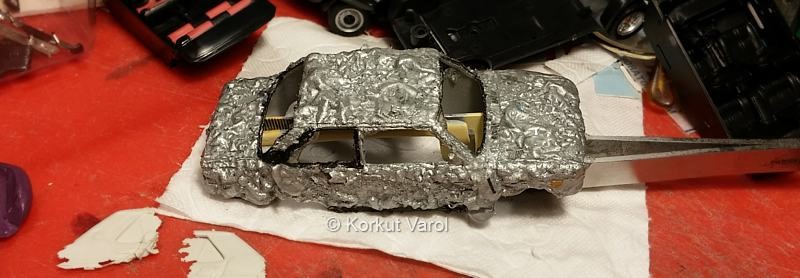
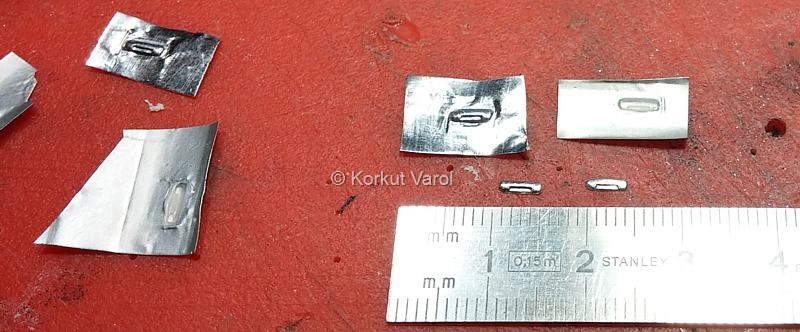
Befor shaving off the door
handles, I made foil copies of the handles.
 |
|
I filled the insides of the
copies with CA glue+activator and made solid parts.
|
|
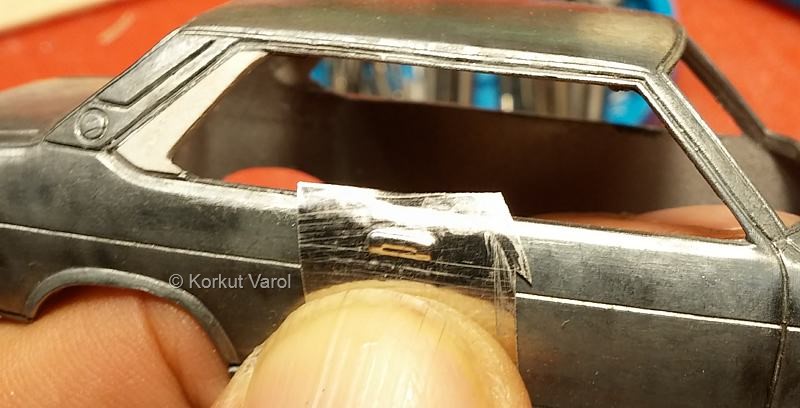
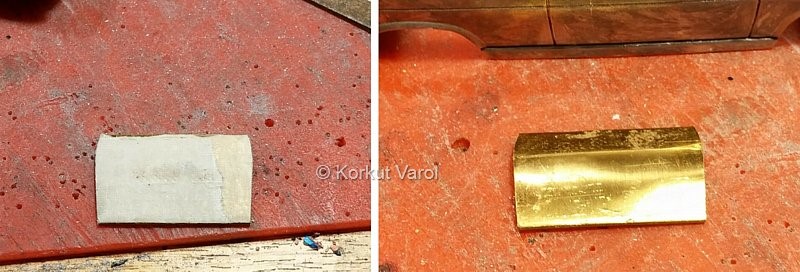
I
copied the door parting line on a masking tape and using this tape, I
cut a symmetrical stencil from brass sheet for right / left doors.
 |
|
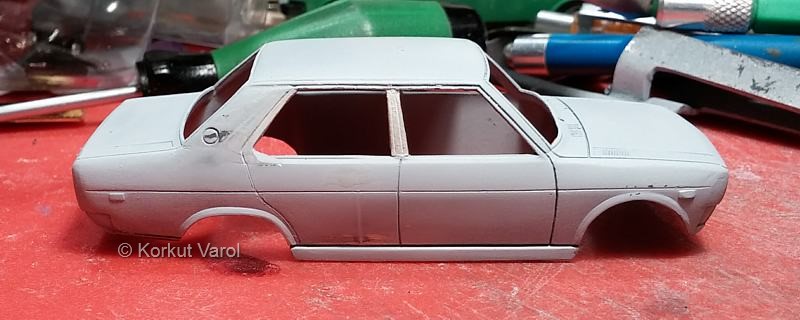
Using this
stencil, I scribed the door parting lines.
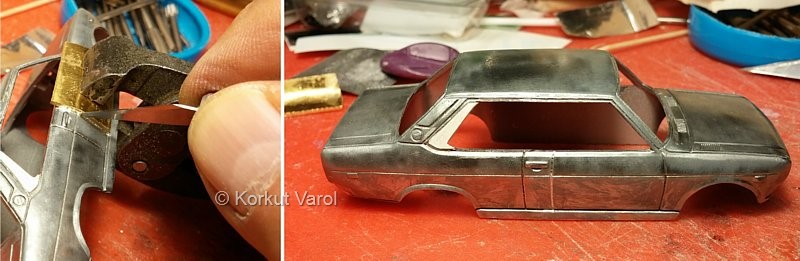 |
I made the rear door lines with
the same method.
 |
|
I applied polyester putty on the
rear panel and sides, then sanded.
 |
|
I applied a
test primer and glued the B-posts in place.
 |
|
I glued a
styrene strip at the lower side of the rear panel and applied polyester
putty.
 |
|
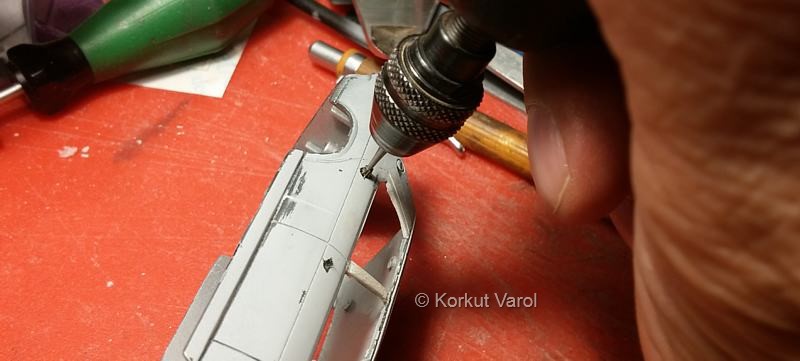
I machined
the door handle recesses on the doors with Dremel.
 |
|
Covering the
seats.
I printed the the texture on a paper napkin. To prevent the see-through through the single layer of paper, I painted the seats to a suitable shade. 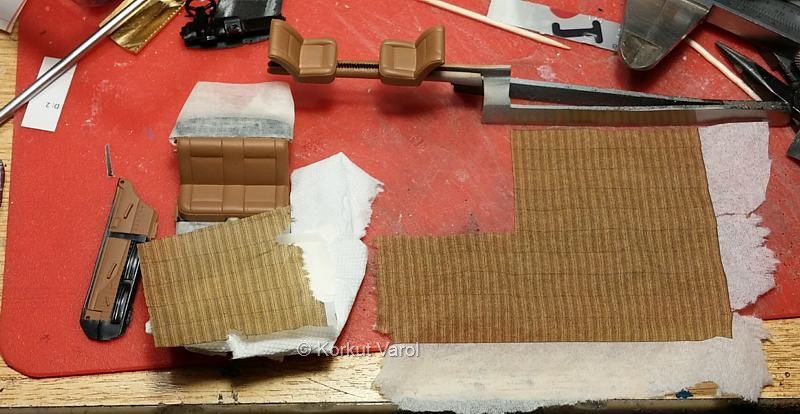 |
|
After
masking the necessary places, I sprayed the seats with Bison spray
glue. I laid the "cloth" over the seats, by pressing over the surface.
I trimmed off the flashings with #11 blade. I glued the front seats in place. 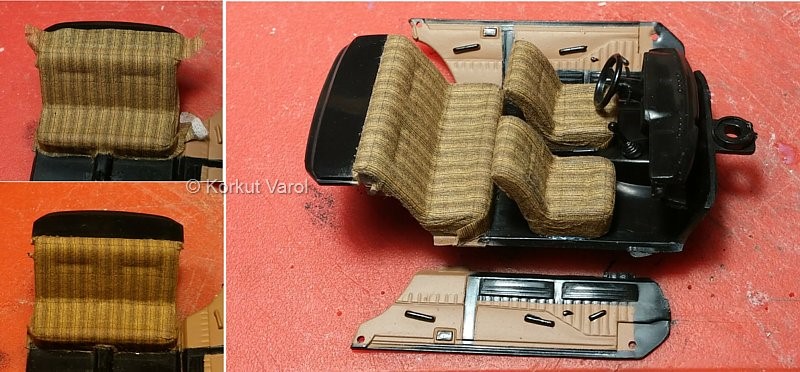 |
|
Preparing the
rear lights.
I took a piece of sticker folio carrier film with patterned surface and stuck it to the back side of aluminum duct tape. I fixed this combination on a styrene strip with 0.1 mm double-sided adhesive tape. I left a 0.5 mm overhang for the overlap zone with the rear fender. Then I painted the areas with clear glass paints. 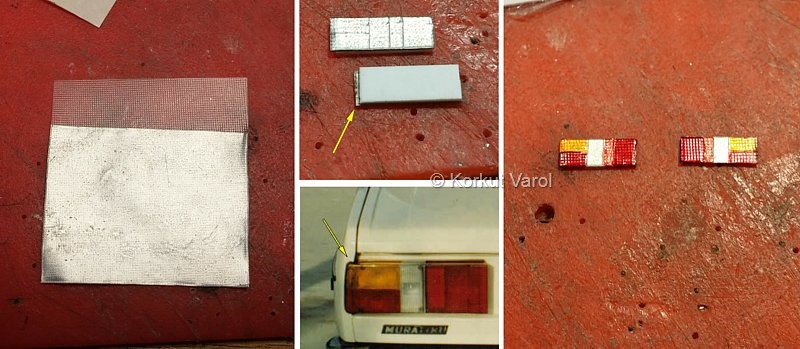 |
 ..... ..... ...... ...... |