26 June
2011:
The
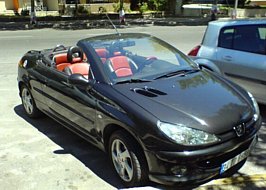
model as original, before disassembly.
|
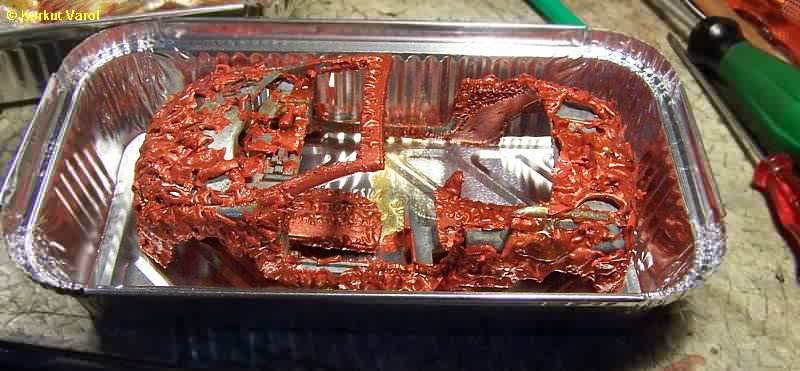
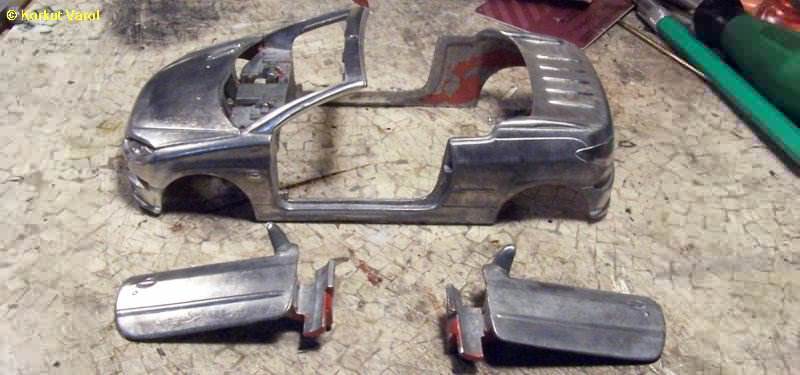
After disassembling the model, I
removed all the paint with automotive paint remover.
|
|
I
sanded down the mold marks at the front and rear.

|
I
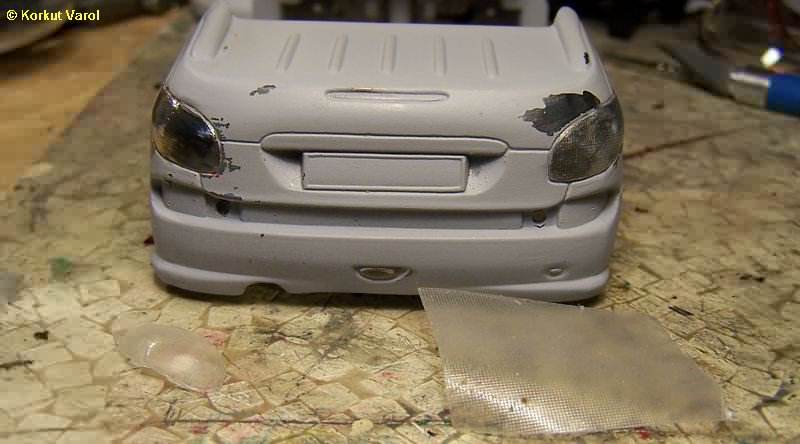
applied a primer and checked the body. To depict the rear lamps more
authentic, I used a carrier film for PVC stickers and shaped it by
stretching and heating over the metal. The shaped and cut sample is
seen as textured on the rear right lamp.
|
27 June 2011:
I removed the full-cast
roll bars and manufactured bars from brass rod and put in place.
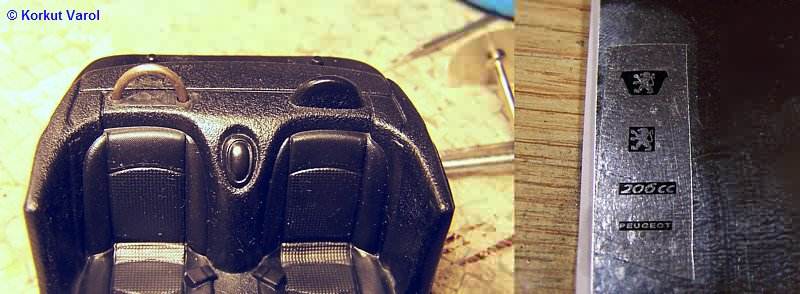
For the chromed emblems and scripts, I printed them on clear decal
paper and applied the decal on Bare Metal Foil.
|
|
28 June 2011:
The
original model's mirror was molded in clear and had much irregularities
on the surface, so I sanded it flat, painted flat black and applied
Bare Metal Foil on the surface.
|
|
I
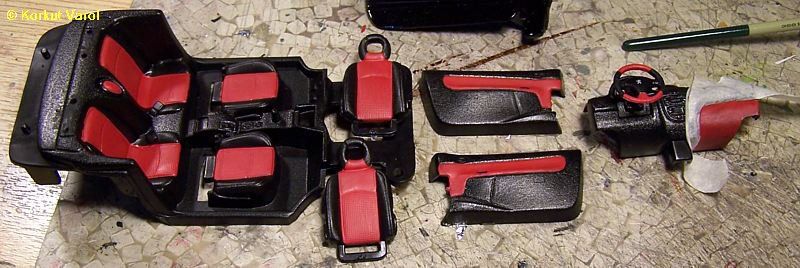
painted the insides with red, like the real one.
|
The
model's gear shift level was cast blunt and thick. To add a realistic
knob, I first drilled the shift stick at its middle. I made a knob from
plastic and inserted a heted pin in the bottom. I painted the knob as
in the real one and glued in place after inserting the pin in the hole.
I painted the release buttons of the safety belts with fluorescent
orange.
|
To
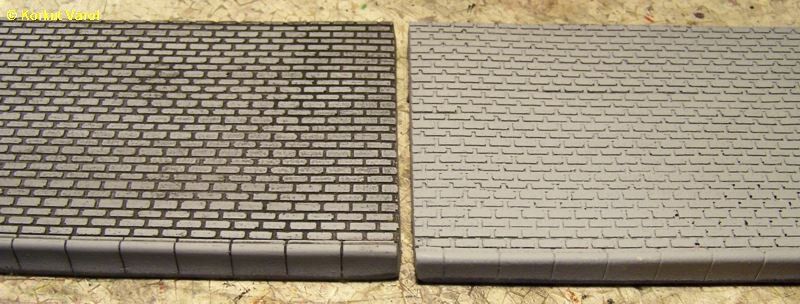
manufacture the display base, I used two walls from Noch railroad
accessories. On the right is the original part, and on the left is
after I made a blackwash. I will make the other part as a brick wall.
|
|
To
fix the model to the base, I made use of the model's original fixing
element. I engraved a housing to take the fixing part and drilled the
necessary holes. In the centre the fixing element is shown as inserted.
Rightmost is the wall fixed to
the base.

|
28 June 2011:
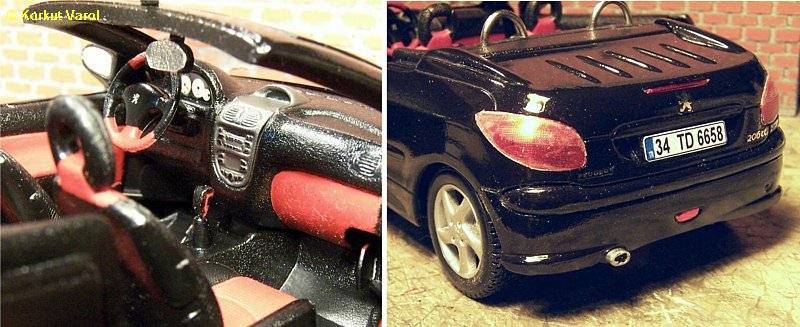
I
painted the center of the dashboard with titanium metalizer and
highlighted the buttons. I painted the roll bars with Alclad chrome and
the body metallic black. I fixed the emblems and scripts in place, then
applied a clear coat for protection. I covered the rear lamps with Bare
Metal Foil and painted the upper regions with clear light red, and the
lower regions with clear dark red. Then I fixed the previously made
textured plastic covers over them. I made the third brake and fog lamps
by painting dark red over Bare Metal Foil. I engraved the inside of the
exhaust pipe and painted the outside with chrome. Finally, I printed
the licence plates and glued them on.
|
29 June
2011:
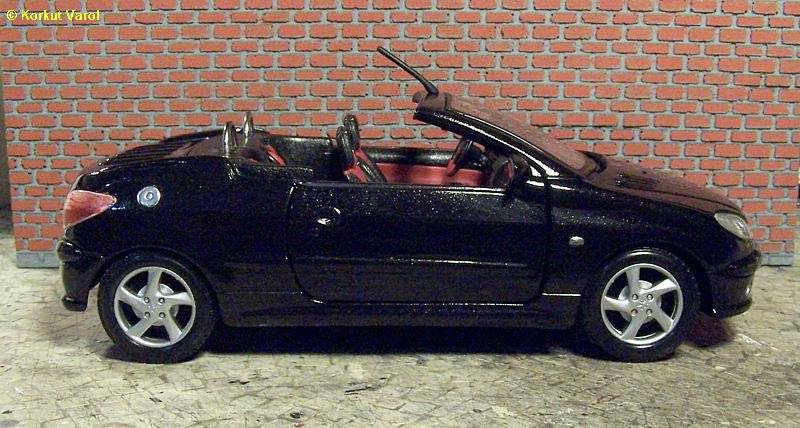
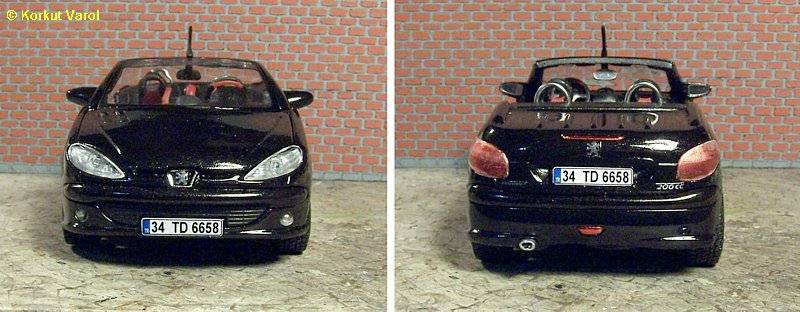
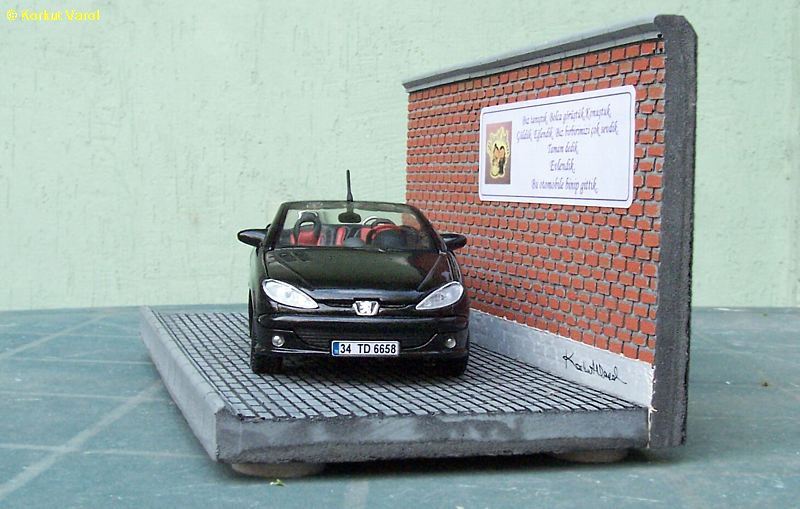
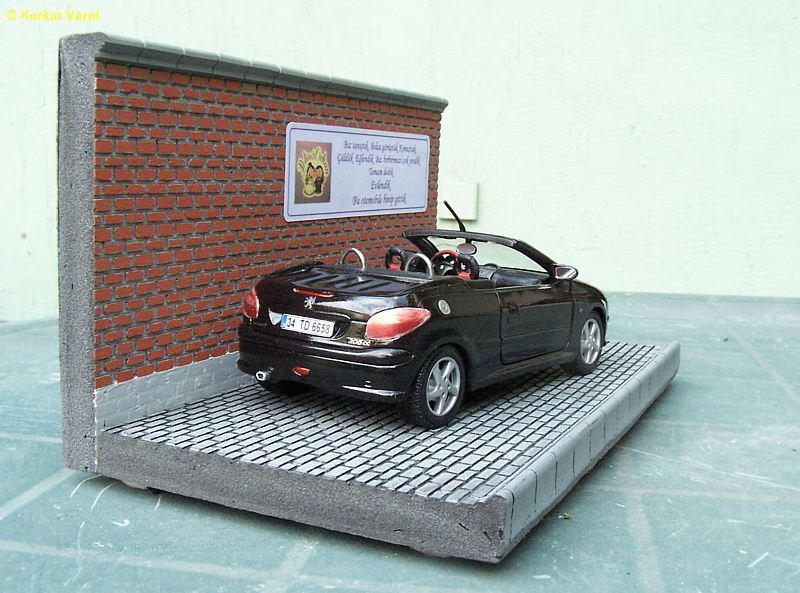
The model as finished...
|

|
|
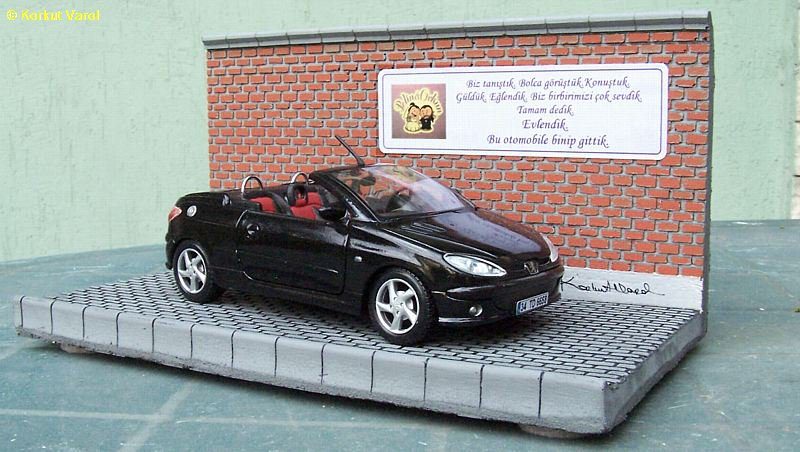
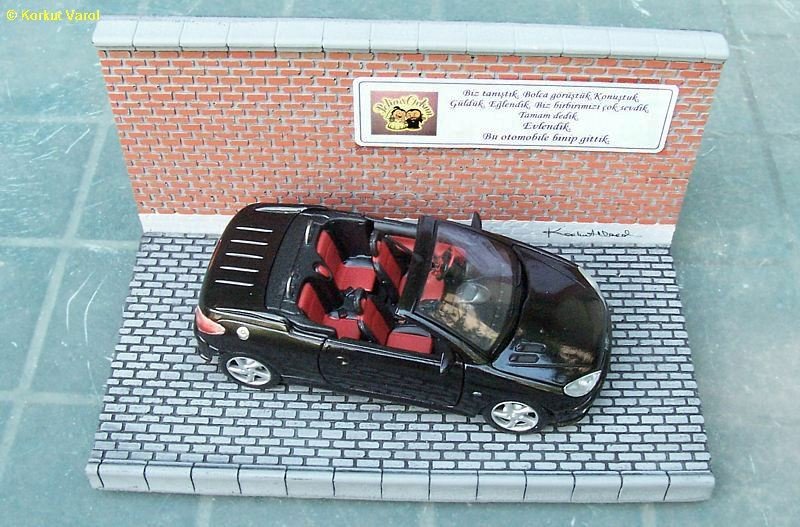
The upper
three lines are from their wedding invitation, the last two lines I
added. It says;
We met. We've been together a lot. We talked.
We laughed. We had fun. We loved each other a lot.
We said alright.
We married.
We got on this car and drove away.
|
|
|
|
|

|
