|
I planned the
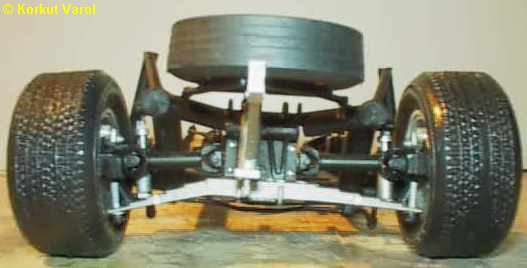
diorama as the Grand Sport to be in the lead, outgoing a left-bend and
having some oversteer which is countersteered by the pilot. So, the car
has leaned to its right. To give this motion, the suspension was
altered.
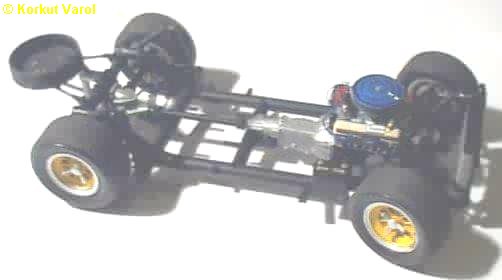
The left-hand side suspension elements were stretched whereas the
right-hand
side ones compressed to give the car a lean of about 3 degrees. On the
right, you see the front and rear suspension systems. The tires were
weathered
afterwards to look like in use. |
 .. 
|
| As usual, the
engine is constructed. I learned that this specific car did not have
the
engine given with the kit ( Horizontal carbs ) but the first L-88
engine
with the vertical draft carb. So I converted this engine to the L-88 .
See the pics of the original engine and the model under construction.
Ignition
wiring and breather tubes are added. |
 . 
|
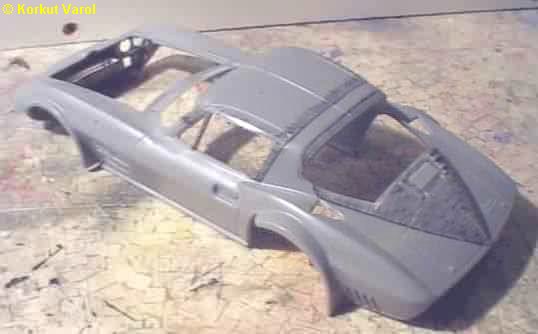
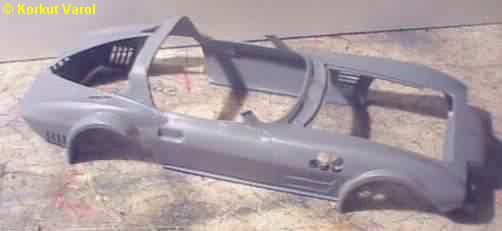
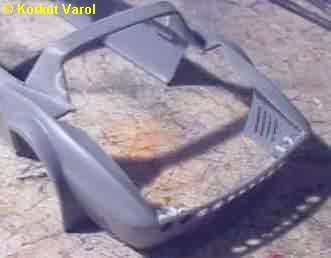
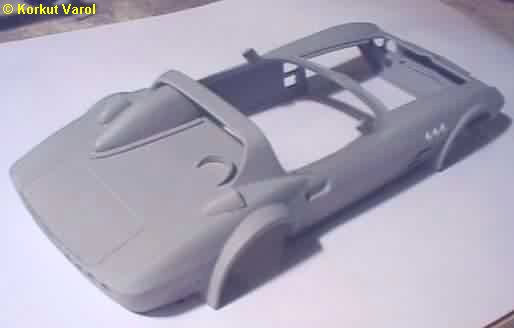
| Now was the turn
of the bodywork. I marked the areas to be cut (right) and cut
them
out (bottom) and placed a plastic insert in the triangular recess left
on the boot. But it was impossible to make the joint invisible due to
flexibility,
so I had to cut out the whole boot area and put a new sheet of plastic,
as seen at the bottom right. The aerodynamic roll-bar cover was
thickened
by glueing a plastic sheet to the inside of the car body and sanded
smooth. |
 .. 
|
 .. 
|
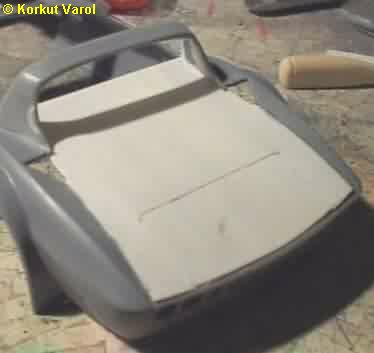
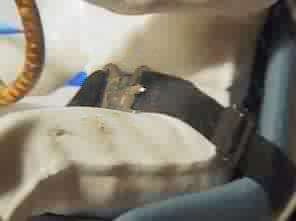
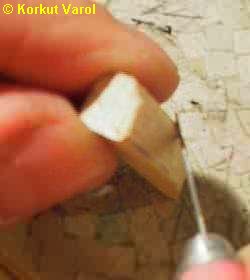
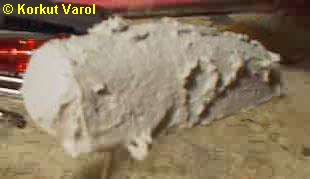
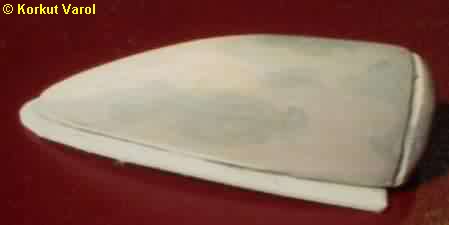
| The headrest
bulge was carved from wood, covered with automotive polyester putty and
sanded down to shape as appears at the right. |
|
| The two holes
on the right fender were covered with automotive polyester putty and
three
holes drilled as in the real car. The headrest bulge was put into
place,
the fuel filler shield was made from plastic sheet and also glued in
place.
Then the primer coat was painted. |
 .. 
|
| Well, the body
is painted at last. It was really a challenge to match the tone as
explained
in the preceding page. |
|
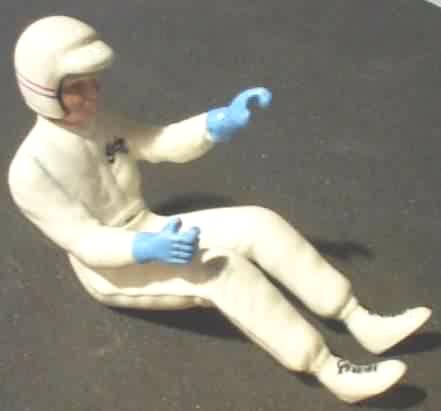
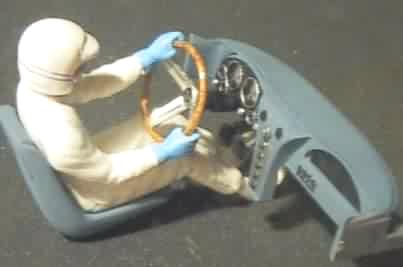
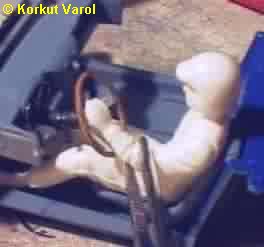
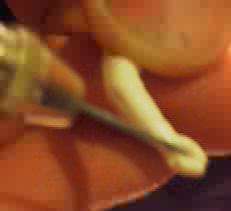
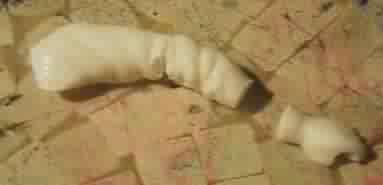
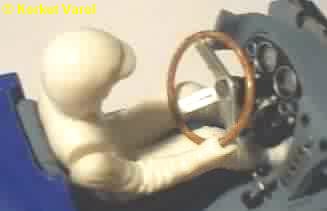
| Now is the driver's
turn. I used Fujimi's driver figures for the purpose. But obviously,
the
standard arm positions were not what I would like, so I checked the
angular
positions. The arms were cut at appropriate points, test-fitted and
glued
to final position. The center of the fists were drilled so that he
could
grab the steering wheel. Then of course came putty and painting. |
|
|
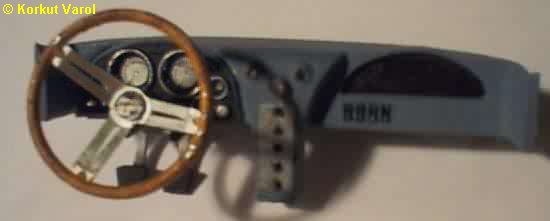
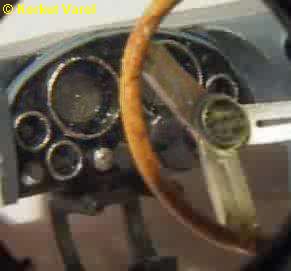
| I
made the instrument panel. |
 .. 
|
| The driver was
then put together with the dashboard assembly and the seat so that he
could
be belted. The belt accessories were from the box as photoetched parts
and the belt was scratchbuilt from masking tape and painted. |
 .. 
|
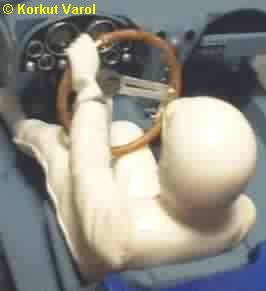
| Then the driver
was put into the cockpit and the cockpit assembly into the body. The
windshield
was cut to the special profile and the periphery was treated with Bare
Metal Foil. The headlamp covers were also treated the same way. |
|
| The engine was
put on the chassis and the previously prepared wheels were glued in
place.
The steering was given the preferred angle for the aimed motion and
glued. |
|
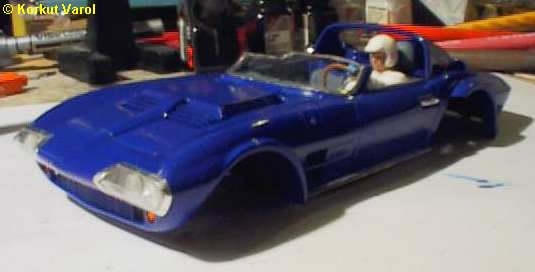
| The car was finished
with the application of the stickers. The stickers were
computer-generated
and color-copied on decal paper. This photo shows the car with "Roger
Penske
Chevrolet" on the front fenders missing. This is due to the fact that
the
copier ink proved to be transparent when applied on the dark blue body.
So I had to go and have the writing applied on the decal
paper at
an advertiser's, with printing ink. |
|
|
|
 ..
..  ..
.. 

 ..
..  ..
.. 
 ..
..  ..
..