|
|
Winter Diorama |
 |
|
|
Winter Diorama |
|
.
Started:
01 August 2006
Finished:
03 August 2006
Page 1 of 2
| My
better part Nazli and I got married
on August 3rd, 1984. This was our 22nd anniversary and I was thinking
about
a gift for her. I remembered that she had wanted a small snowy diorama
with a Mini, just before 3 days before our anniversary... Too late?
Hopefully
not.
I searched for a 1/43 or 1/32 scale, even a diecast but no way... The only instantly available was Tamiya's 1/24 kit no. 24039. I quickly composed a theme; a parked Mini beside a street lamp (the lamp being a working one; now that the scale was 1/24) , in front of a corrugated metal blind and some new fallen snow. Due to working days, I had only 3 night times ahead to build this... |
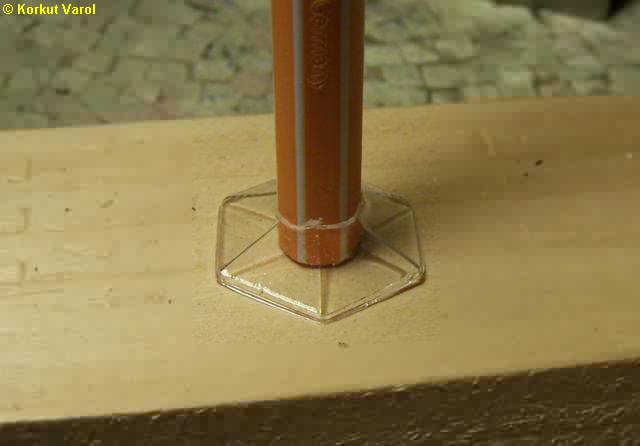
| 01 August
2006:
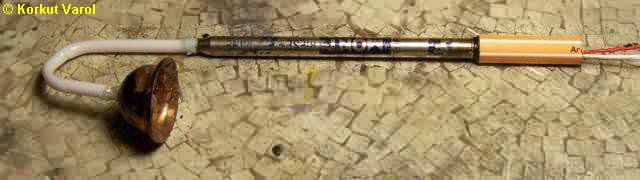
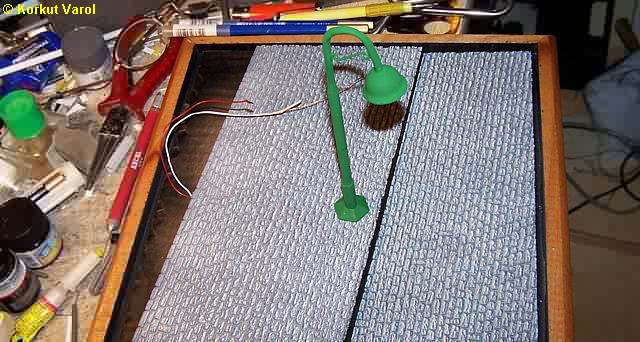
I started with the lamppost. The pedestal is made from an architectural scale glass dome. The lower part of the post is cut from a felt tip pen. |
 |
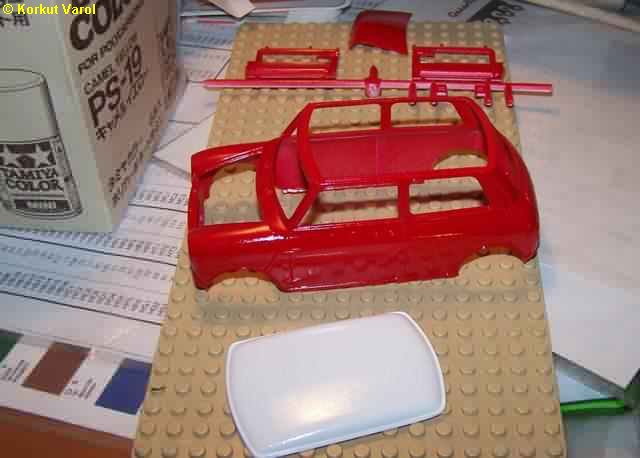
| While building the post, the car was painted after some sanding, and let to dry. I used acrylic spray cans for the paint. |
 |
| I made the central part of the post from a ball-point refill and used a styrene tubing for the top part. I bent the styrene by heating. I also cleaned the insides of the pens so that I could run a pair of cables through. I mated the elements by heating and pushing over. |
 |
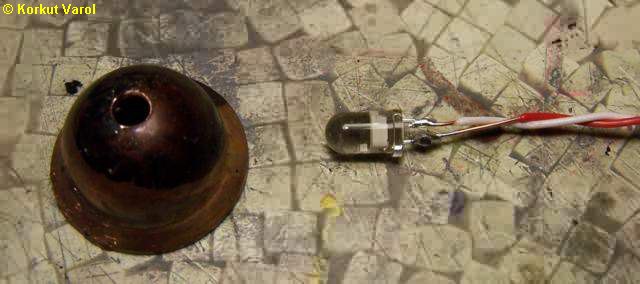
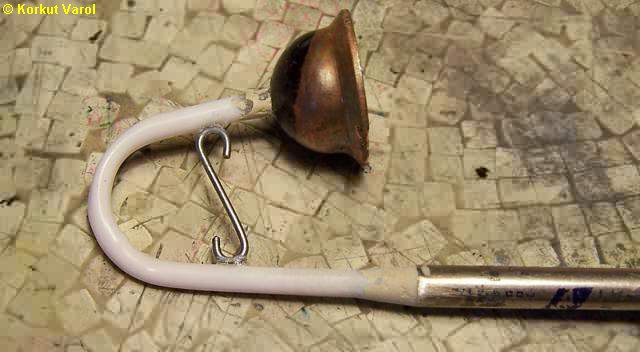
| For the lamp reflector, I used a copper plug from a refrigerating equipment. I drilled the top to suit the tubing. I prepared a white LED with soldered telephone cables. |
 |
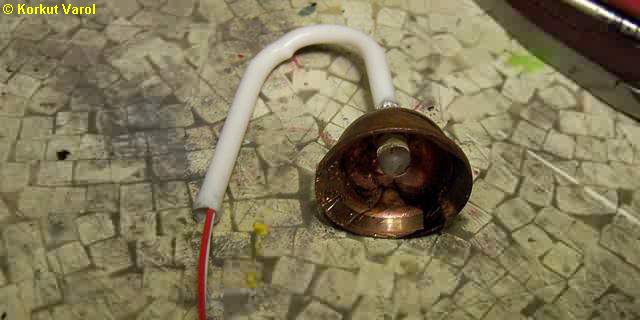
| First I passed the cables through the reflector, then the tube. I fixed the reflector to the tube by CA glue, followed by a hot melt glue gun for reinforcing. |
 |
| I passed the cable through the whole assembly. |
 |
| I made a decorative cross-member from solder wire and fixed with CA glue. |
 |
| 02 August
2006:
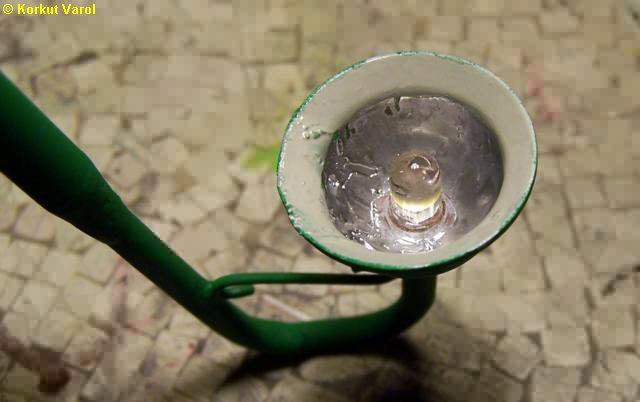
Then I painted the post flat green and the reflector inside with chrome silver. |
 |
| Now to the base... I built the frame from my frame profiles in stock, glued a corrugated cardboard base inside. For the road and pavement, I used Faller's ready coated foam plates. |
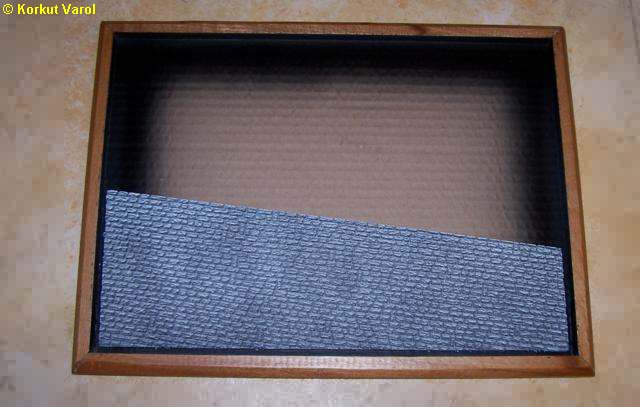 |
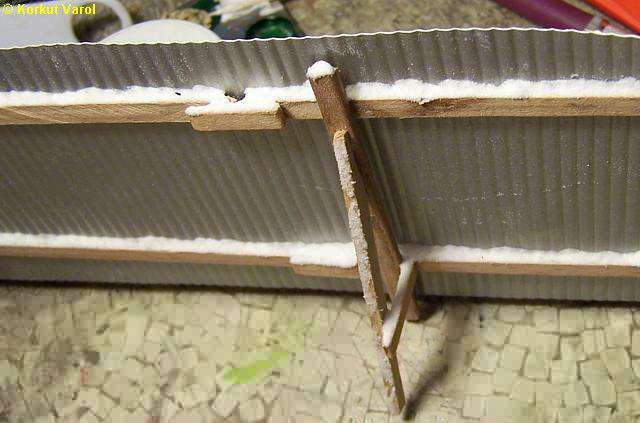
| I put another layer of corrugated cardboard below the pavement for elevation. I drilled a hole through for the lamppost, and traced a groove underside for the cable and fixed all with white wood glue. |
 |
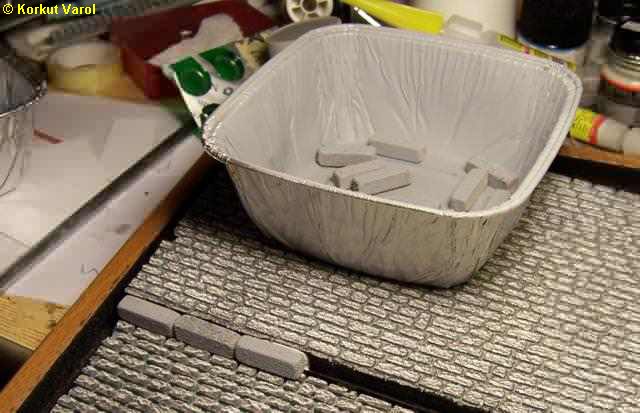
| I made the pavement border stones from 6x6 mm balsa wood, painted and fixed with white glue. |
 |
| The finished combination... |
 |
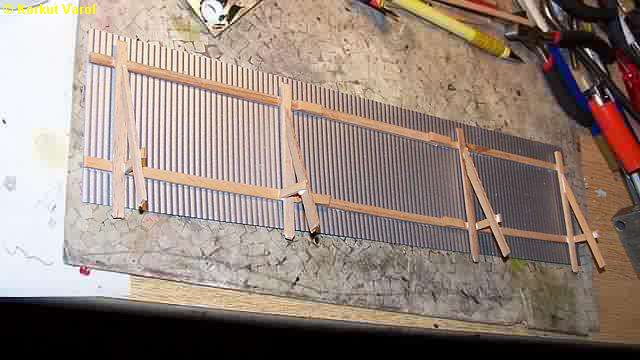
| For the corrugated metal blind, I used a ready-made cardboard with one side coated like galvanized steel. I painted the back dide with bright aluminum spray paint. I cut the wood from BBQ sticks and made the assembly. |
 |
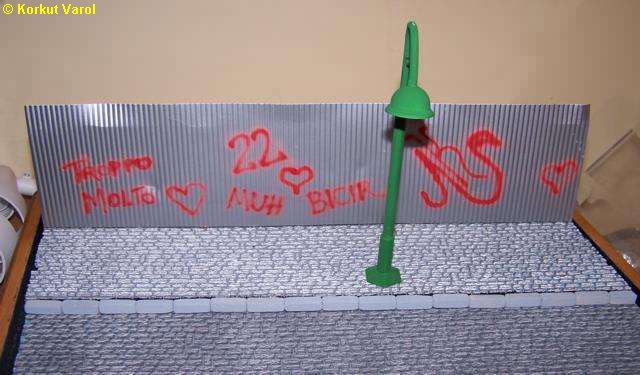
| I airbrushed my love messages for her.... |
 |
| 03 August
2006 (Final Day):
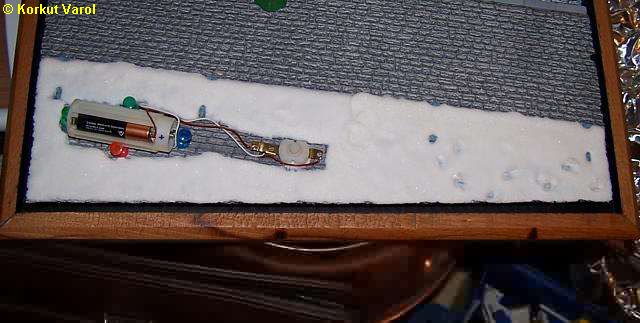
The powerplant for the lighting is a battery pack from a LED flashlight and a button switch. I applied a thick coat of white glue to the back side and sprinkled sodium bicarbonate over for snow effect. I made some footsteps too... |
 |
| The horizontals of the blind had their share of accumulated snow too.. |
 |
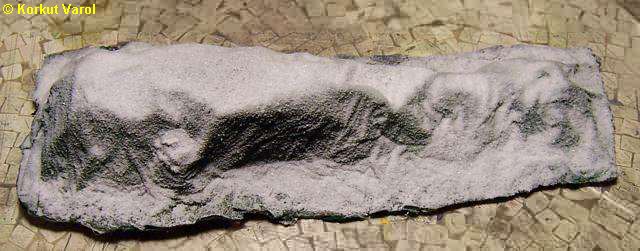
| To cover the powerplant, I made a depicting of a fabric cover over "something below". First I formed a crushed aluminum sheet over the powerplant, then applied white glue all over and embedded a piece of toilet paper. Gave the wrinkle effects and let dry. Then I painted the "fabric" with flat green, sprayed flat clear vertically down, and sprinkled sodium bicarbonate over.. |
 |
 |
|