| "SERDAR'S VW" |  |
Page 1 of 2
Built during Jan 03rd-08th, 2003
| "SERDAR'S VW" | |
Page 1 of 2
Built during Jan 03rd-08th, 2003
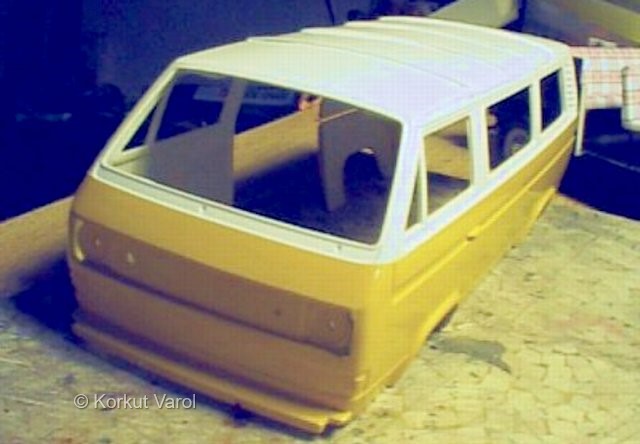
| The Story: A very dear friend of mine, Serdar Gul, owns a VW minibus-microbus, whatever you call it. What makes his vehicle stand out from a normal VW minibus is its right rear view mirror...It has a defect at its base and so cannot be held firmly in its place. What he has found as a solution is to tie the mirror to the door frame with a piece of rope! He is a very busy man, so cannot really find the time to search for a new mirror, so he keeps on driving with the aid of a rope. This drew my attention and I felt that I had to fix this period of the VW permanently, by building a model of it; since the vehicle was lucky enough to have a similar model kit in production. It would not be too hard for me to convert a camper kit to a normal minibus. The major parts would be converting the roof from the camper to a standard one, and constructing extra seats. But, this task had to be completed in a very short period of time, that I was back home for 10 days from work; and which turned out to last for 6 days-in fact, for 6 nights because I was busy during the day! So, on we go to the construction story... |
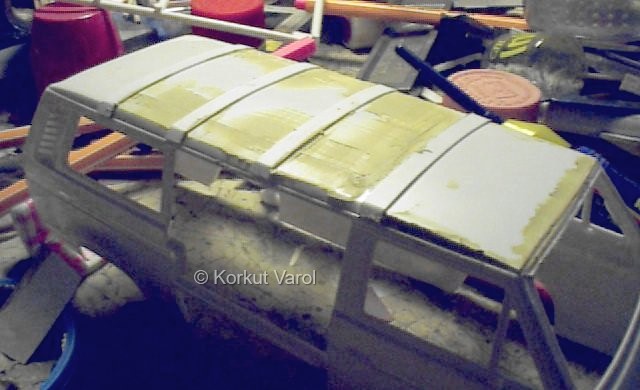
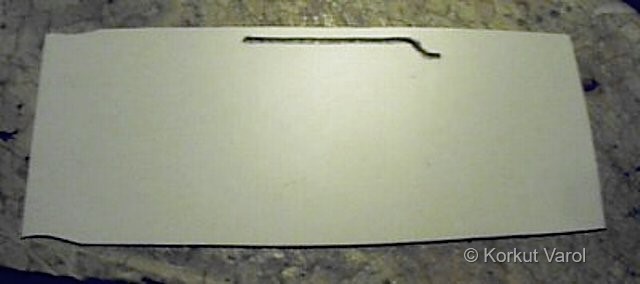
| The pics have to start not from the very beginning. I had already taken some way along when I remembered that I had a camera...I decided to use the inner roof for the roof. I cut a mating piece of styrene for the gap in the middle of the panel. The front part of the roof was cut off, and a styrene piece was tailored for the front of the roof. For the roof reinforcements, strips of styrene were cut and glued at their ends. That catches up with the pic!!! |
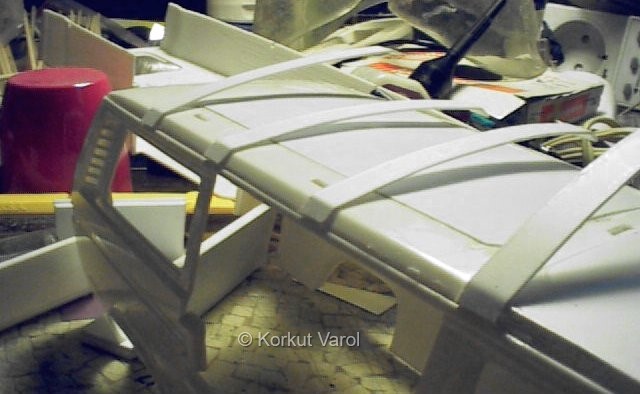 |
| The strips were glued on the roof and held in place by rubber bands. |
 |
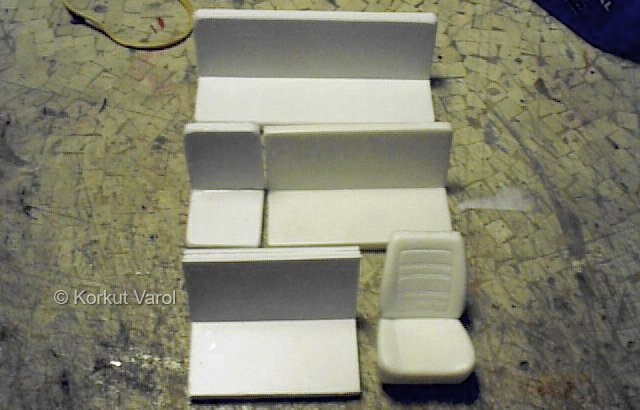
| Only the driver's seat was used from the kit. The rest of the seats were built by glueing layers of sheet styrene, and sanding them smooth. |
 |
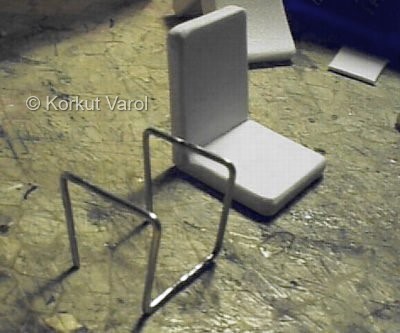
| The legs for the rightmost seat of the middle row was made from paper clip wire. |
 |
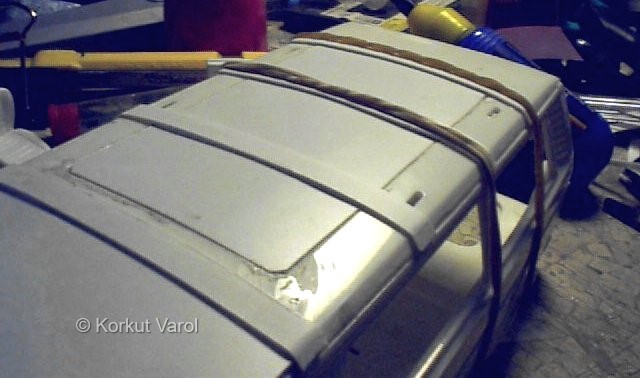
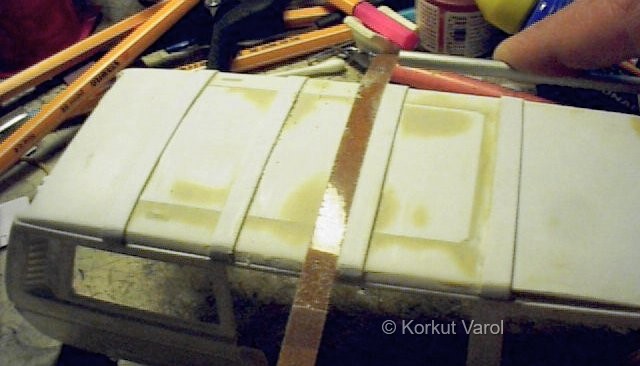
| The roof was traeted with polyester putty |
 |
| ....and sanded smooth as how it should be. |
 |
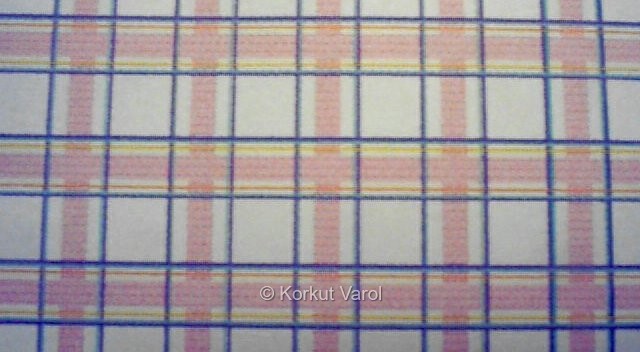
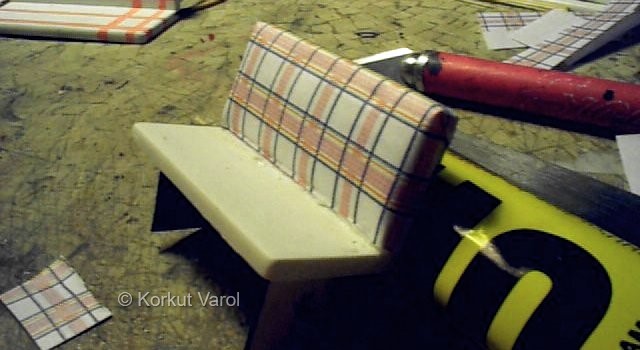
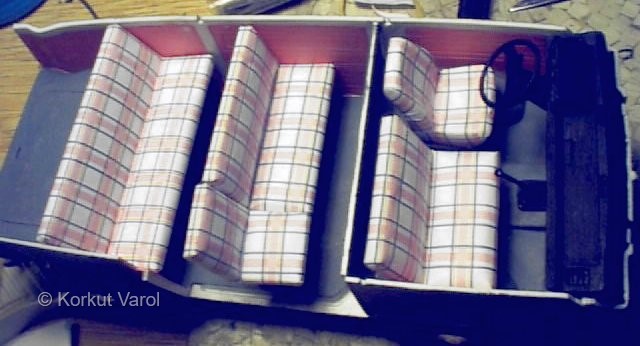
| The cloth pattern was created on the computer and printed on a sheet of paper. But how I came to this point? My first trials for duplicating the pattern was painting the seats flat white and drawing the pattern with a felt tip pen. I definitely did not like (which means did not succeed) the job. Then I tried to cover the seats with paper, and seeing that it would be OK, I drew the pattern on the computer. It took some trial and error time to match the real tones. |
 |
| Here's the driver's seat covered with printed paper. |
 |
| The bottom was just done and painted as per box-stock instructions. |
 |
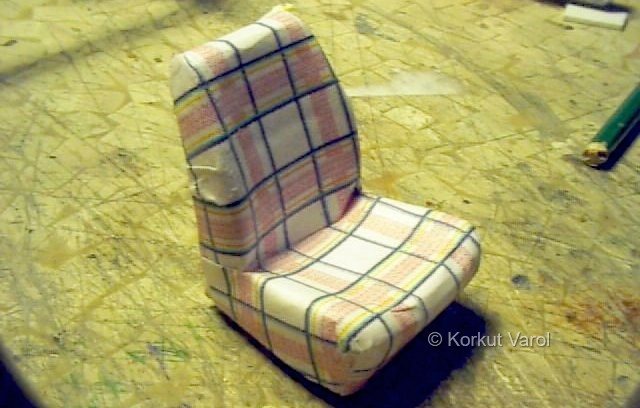
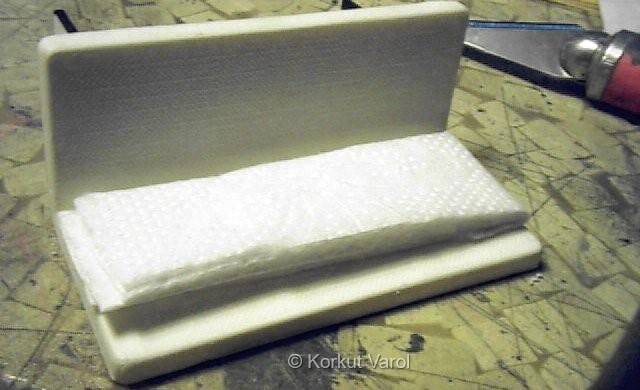
| The seats looked like a garden bench, so I thought of a way to make them look like real seats. I folded tissue paper for cushion effect and made a try to cover it with the printed pattern paper.... |
 |
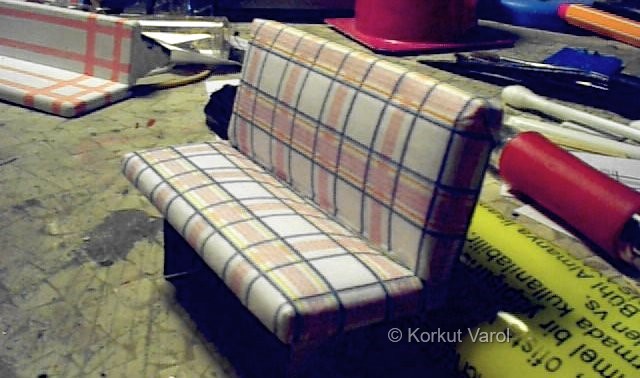
| .....and VOILA!!!!!! Liked the looks and went on. |
 |
| This is the first seat completed that looks like a seat. |
 |
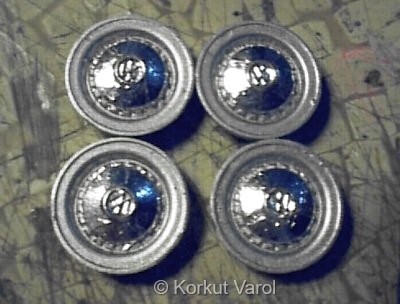
| Unfortunate for duplicating was the rims. The real vehicle had no chromed covers; but the kit's rims had them molded as one piece, so I had no chances of manufacturing the rims without the caps (at least for the time ahead) so I covered the caps with Bare Metal Foil and painted the rims aluminum as in the real case. |
 |
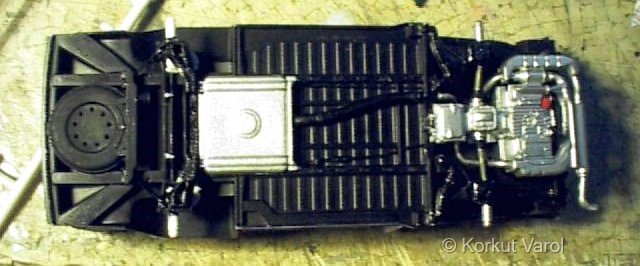
| The rolling chassis. |
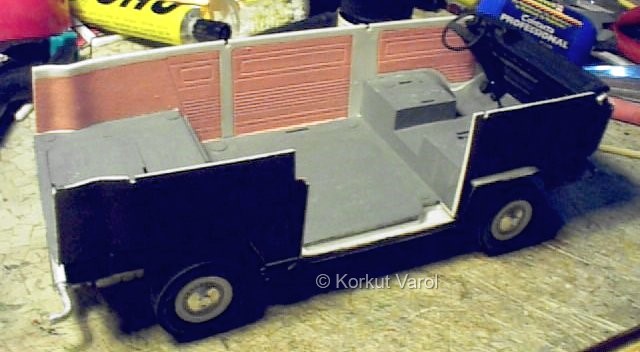 |
| I installed the seats in place. They look good now... |
 |
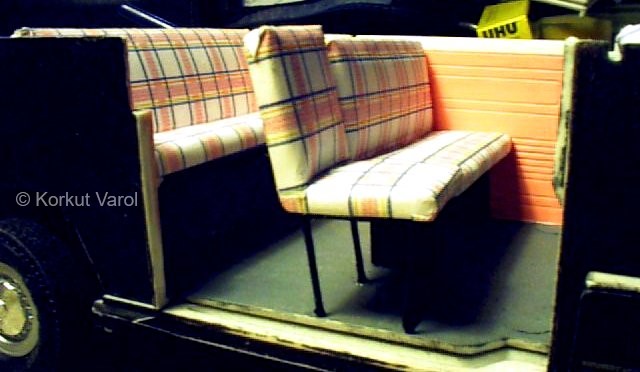
| Another view of the mid and rear seats. |
 |
| I painted the body white first, then masked and painted the yellow tone. |
 |
| The internal roof lining was tailored from styrene sheet. I overlooked the fact that it was looking flat white; but I would regret it after installation, when I saw that the sheet was reflecting images! |
 |
| I drilled a hole for the radio antenna and fixed an aluminum piece of wire with CA glue. |
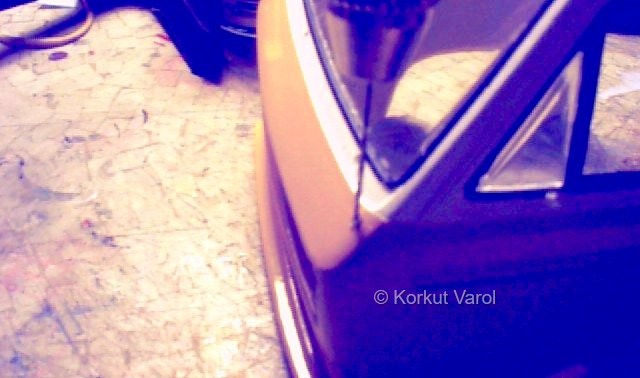 |
| Now a bit detailing...The front grille emblem was treated with Bare Metal Foil, and the mirrors were given a BMF treatment, then painted flat black. |
 .. .. |
| On the roof lining, I drilled holes for hanging cables for dome lights. I imitated the cables as per the real case and glued them in place with CA glue. |
 |
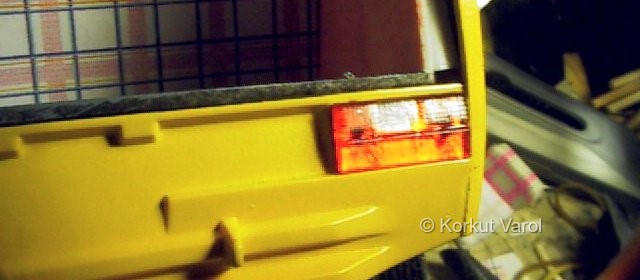
| I put BMF under the rear lamp lenses and then fixed them in place. The BMF really makes a difference in the looks of the lenses. |
 |
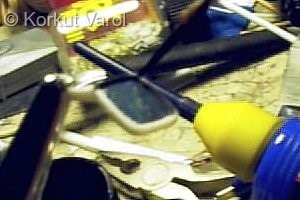
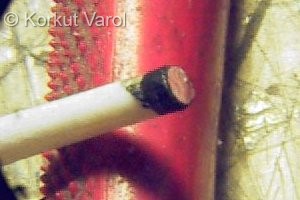
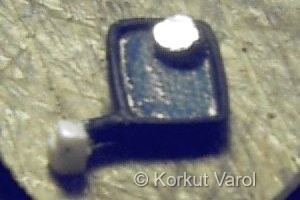
| Now for the "wide-angle mirror inserts" on the rear view mirrors. I covered the end of a styrene rod with BMF and painted the circumference flat black, as in the first pic. Then I cut the rod at an angle and glued the final part on the mirror with Testors window maker. |
  |
 |
|