|
(Roadster) |
 |
|
(Roadster) |
|
Kit No: 7335
Revell Germany
.
Built
during: 27 May - 05 June 2004
.
| It all started by cutting off the rear part of the roof and checking how the rear part of a PT Cruiser would look like. |
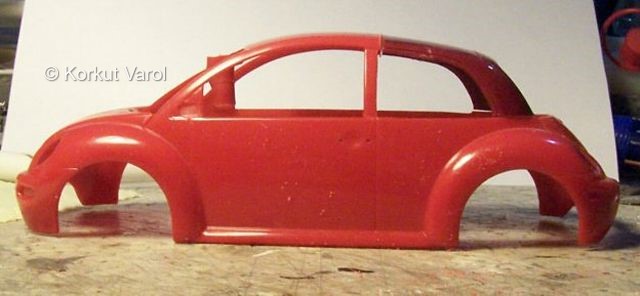 |
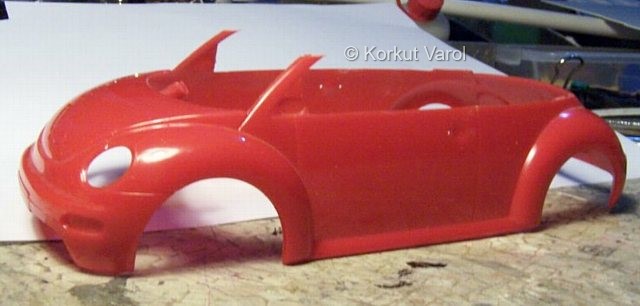
| Then all of a sudden, I ended up with a full chop of the roof and a half-high roadster windshield frame. So, this would be a 2-seater roadster with some luggage space that the current New Beetle lacks. |
 |
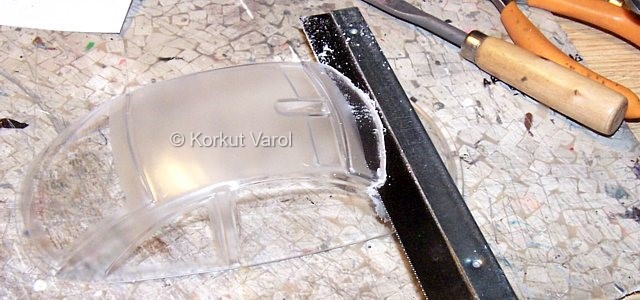
| I marked the pillar heights and cut the windshield accordingly, with a saw. |
 |
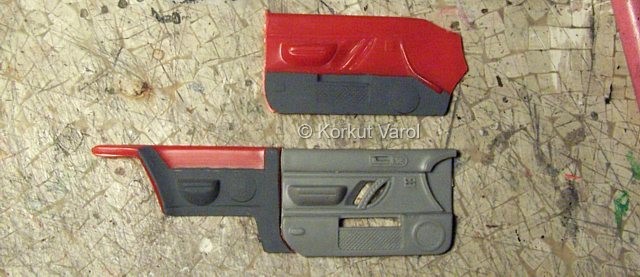
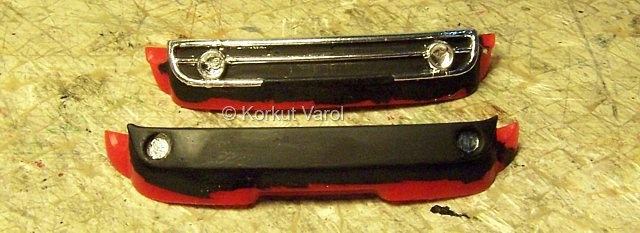
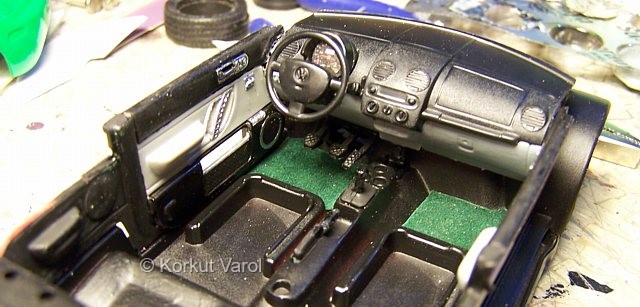
| The kit's inner door panels were lacking detail, so I used the ones from Revell Snap Kit. This kit has the best detail for door inner panels. Even Tamiya lacks the detail. Though the car would be a 2-seater roadster, I kept the rear inner panels for aiding in correct positioning to the base. |
 |
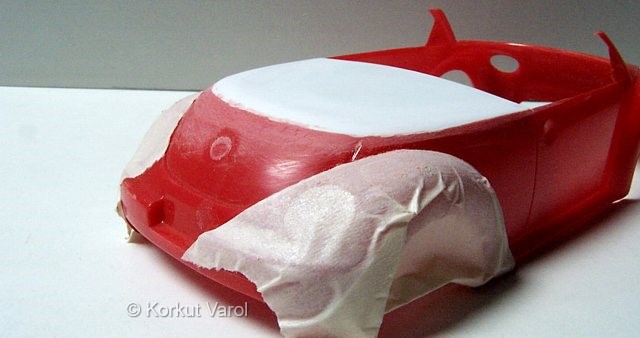
| I cut a styrene cover for the top of the trunk and glued some layers of styrene on the inner edges for providing some meat to sand and shape. The masking tape on the fender is to protect the fender from potential scratches by file or sandpaper. |
 |
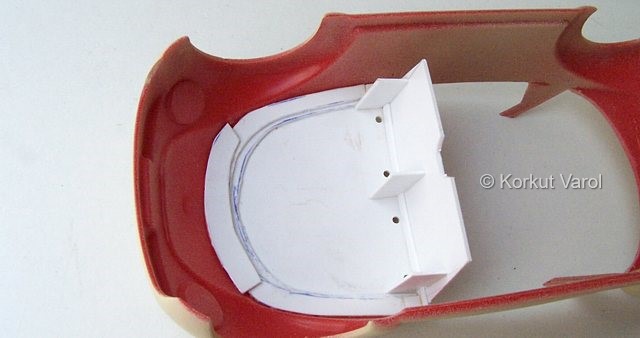
| This is the view from underneath. The "meat layers" and the trunk front panel are seen as assembled. |
 |
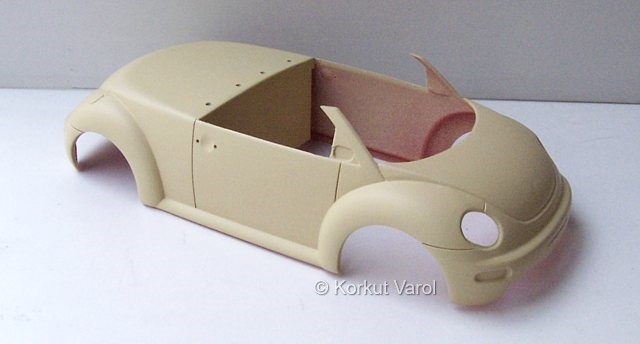
| After sanding fine, I applied the primer coat. The 4 holes on the top are for roll-bars. |
 |
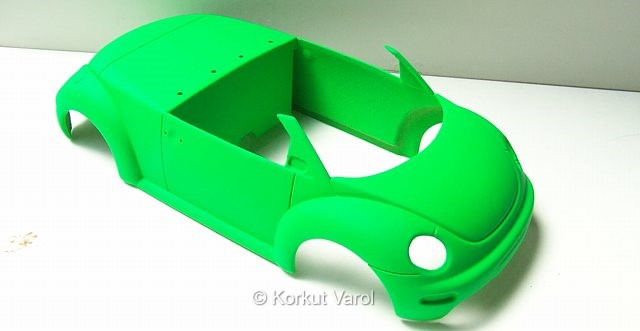
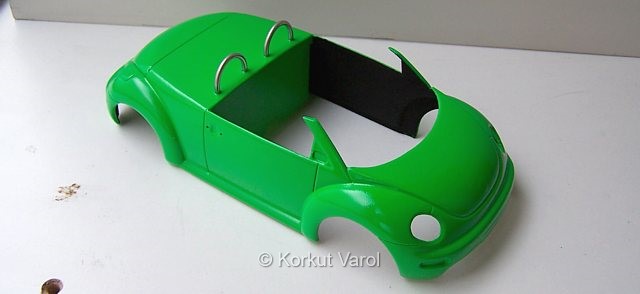
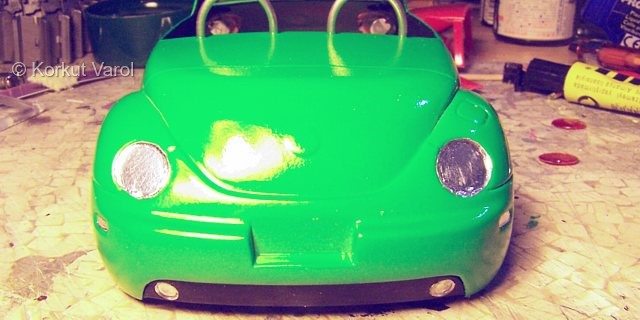
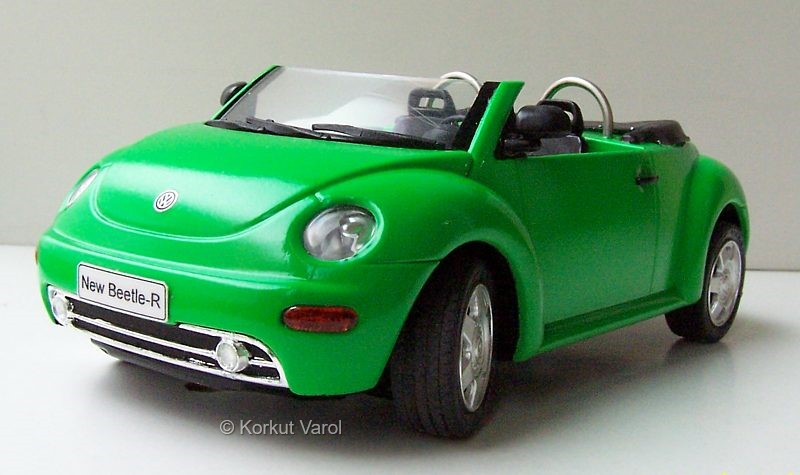
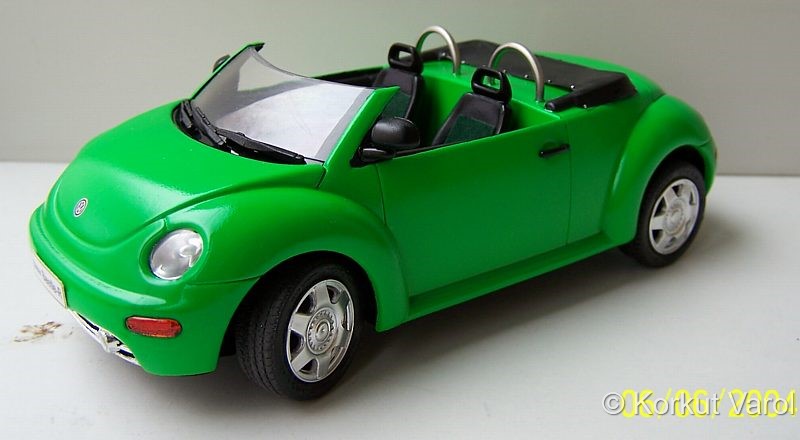
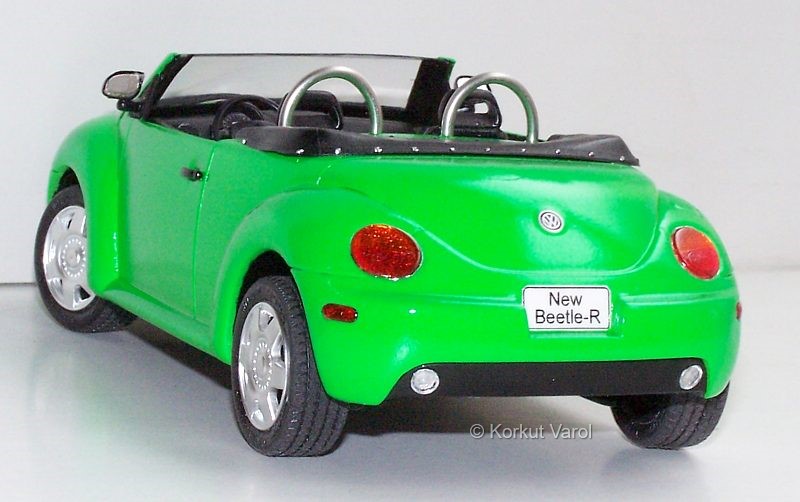
| I painted the car fluorescent green, which neither the camera can capture, nor a monitor can display. |
 |
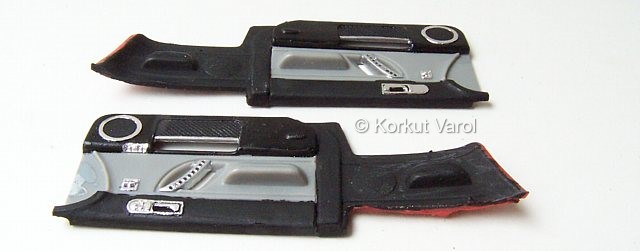
| I furnished the door inners with BMF and drilled the holes on the grab handle for more realistic looks. |
 |
| I also applied BMF on the front grille bars and lightreflectors, frront and rear. |
 |
| I painted the door inners as flat black and grey. |
 |
| Then I manufactured the roll-bars from solder wire and fixed them with epoxy glue. I applied a clear coat after this step. |
 |
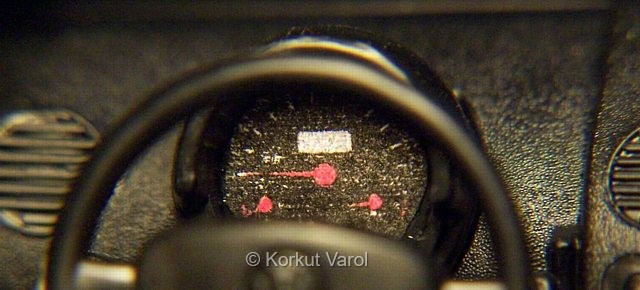
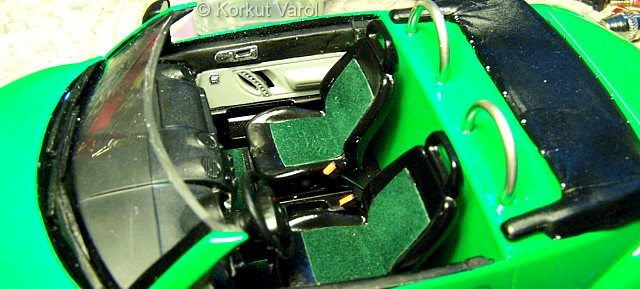
| For the dashboard, I use the Snap Kit's panel, since the kit's original would not match with Snap Kit's door panels. I drew the gauges on the computer and had a printout, then glued it in place. |
 |
| Now the internal tub is ready except for the seats. For the floor matting, I used self-sticking velvet sheet. |
 |
| I applied BMF for the rear lamps too, for a better shine beneath the rear light lenses. |
 |
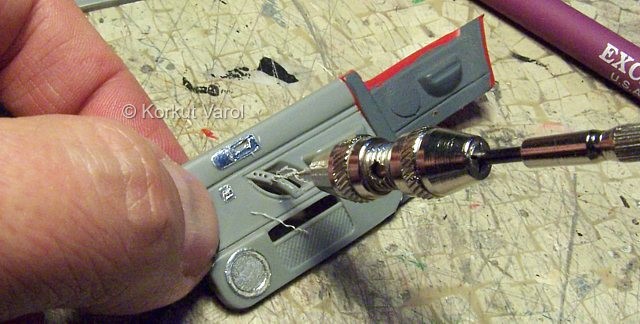
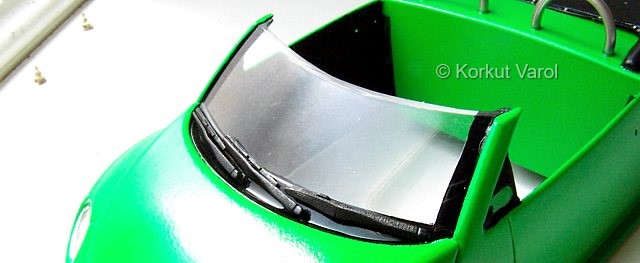
| The windshield was too low to handle the original wiper arms, so I took 3 small ones from my parts box and formed them to fit the windshield contour. |
 |
| I manufactured the safety belt locks by pressing the head of a pin into a styrene piece, then applying CA glue to the joint. Then I painted the head with flat black and fluorescent orange. |
 |
| I
drilled holes on the floor and inserted
the belt locks andfixed them with CA glue.
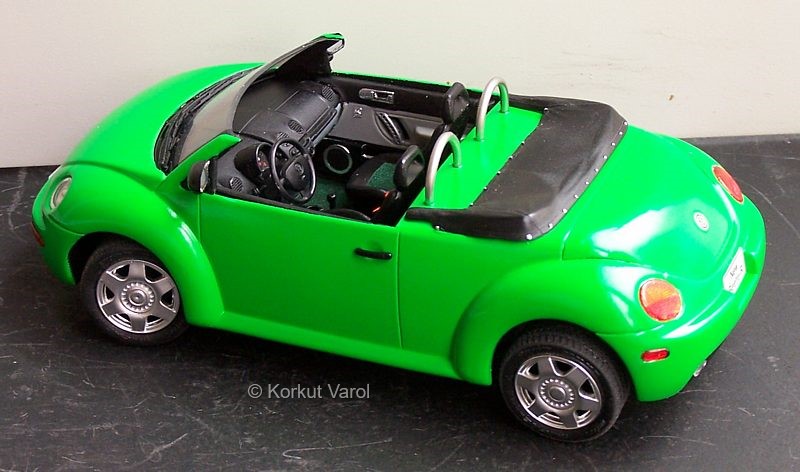
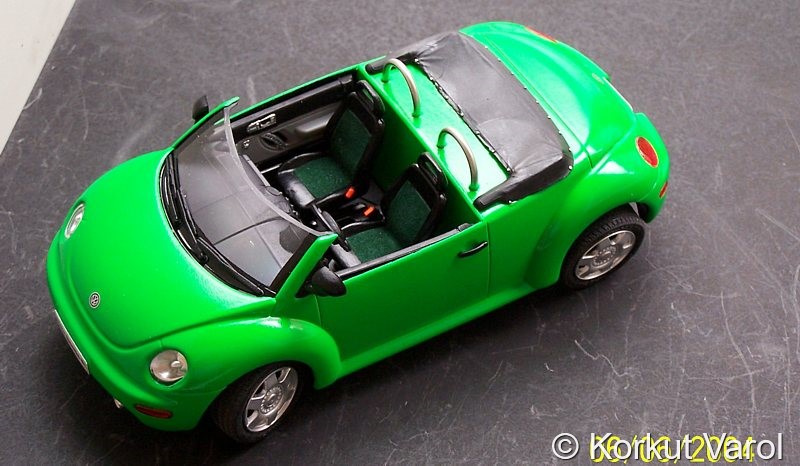
I painted the seats satin black and applied self-sticking velvet sheet as the inserts. The convertible roof cover is from the 50 Ford kit. Fitted just fine without ant conversions. Below are the finished pictures of the model. |
 |
 |
|
 |
|
 |
|
 |
|
 |
|
 |
|