| 20
May 2006:
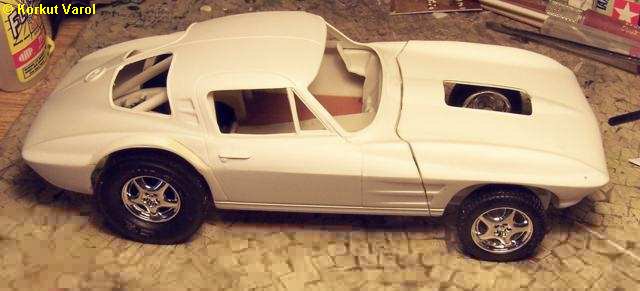
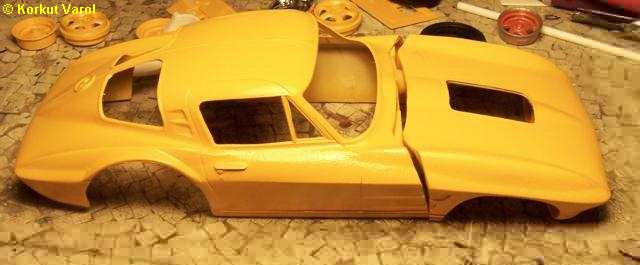
I filled the headlamp parting lines and rear lamp, bumper holes etc. with polyester putty and gave a first base coat. |
 |
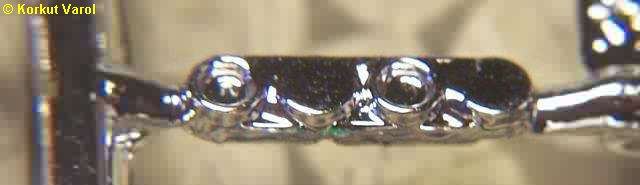
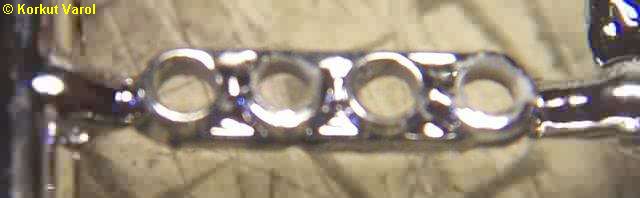
| For ignition wiring preparation, I drilled the distributor ends with 0.5 mm drill. |
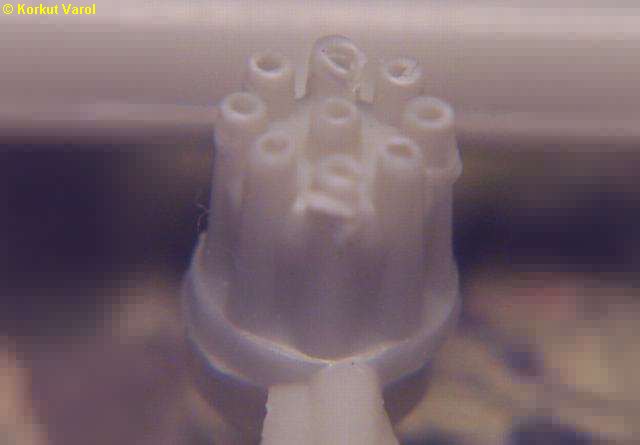 |
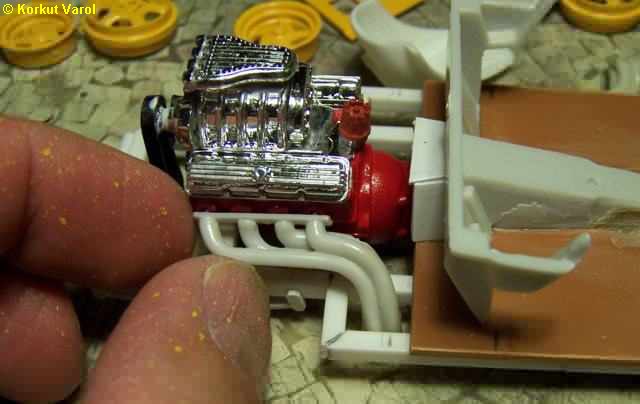
| The intake was very rough as seen in the upper photo. So I drilled the intakes. |
  |
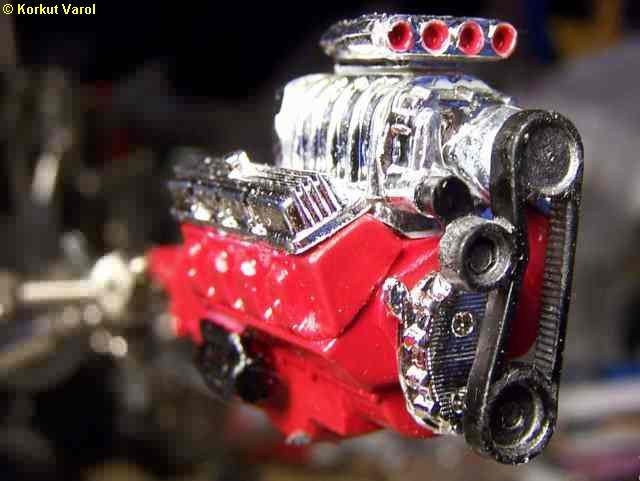
| This is the engine without the exhaust pipes and wiring. |
 |
| 21 May 2006:
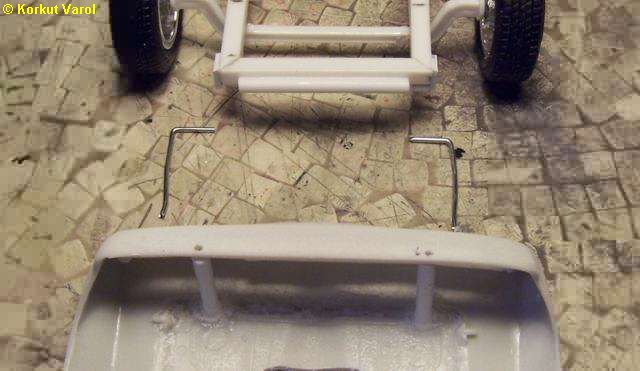
For the tilting hood, I glued a styrene tube in front of the chassis. I drilled the bottom of the front panel and glued two tubes there as well. Then I bent two paper clip wires to serve as the hinge pins. To install, First the pins are inserted in the chassis tube, then the hood is pressed over the pins which go inside the hood tubes. The pins are irregular along their axes, so exerting some force to the tube insides and keep the hood at the adjusted height. |
 |
| The installed view of the hood hinging. |
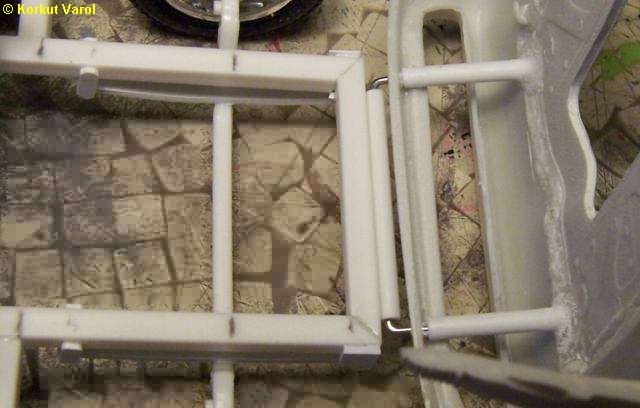 |
| Checking the fits, I made small adjustments on the pins for a good fit with the body. |
 |
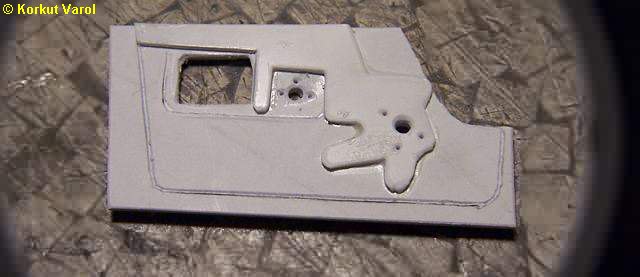
| Since the inside would be stripped from any upholstery, I had to make bare inner door panels. I searched the internet for pictures and depending on them, manufactured the inner panels layer by layer. |
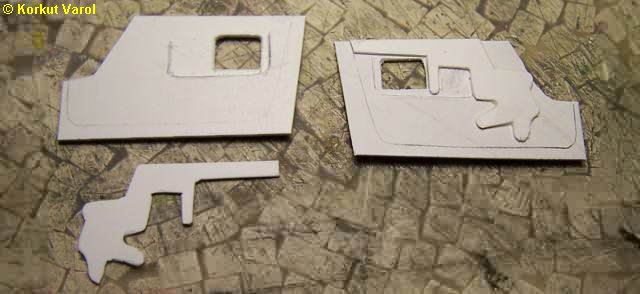 |
| Scribing the door parting line and drilling the holes, the inner panels were prepared. |
 |
| 24 May 2006:
I made the exhaust assemblies from the kit, and reshaped to fit in the chassis by heating over a flame. |
 |
| I applied the first coat. The color is RAL 1033, acrylic. |
 |
| 27 May 2006:
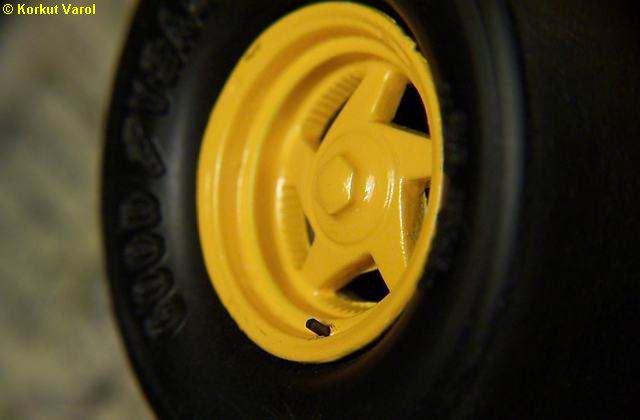
I made my first ever application of a valve stem by drilling a 0.5 mm hole in the rim and inserting a 0.5 mm graphite pencil lead. Looks very realistic.... |
 |
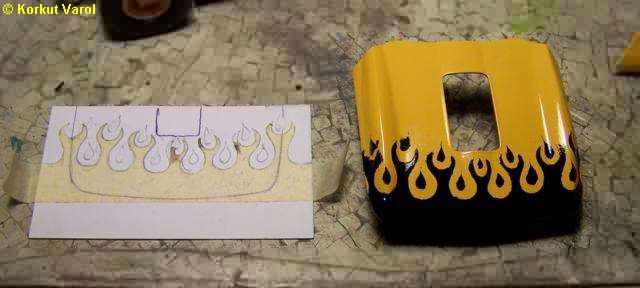
| 29 May 2006:
I applied a black flame pattern by trimming a masking tape. |
 |
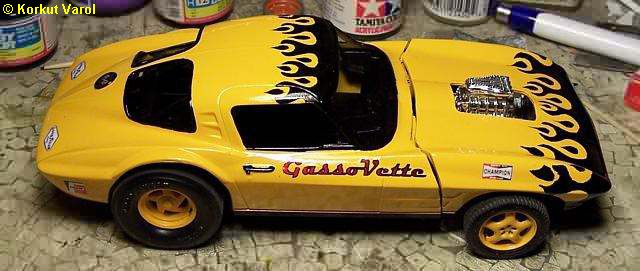
| 11 June 2006:
I made the flames on the roof by preparing a decal on the computer, as well as the other stickers on the body. I named the car as "Gassovette", due to being a gasser. This is a temporary mockup... |
 |
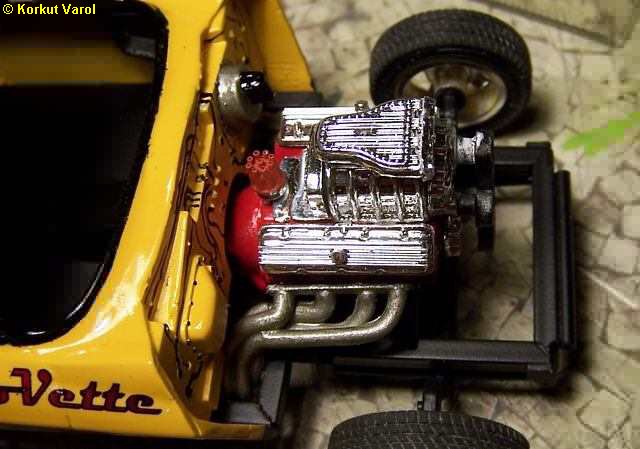
| 19 June 2006:
I painted the headers and glued them in place. |
 |
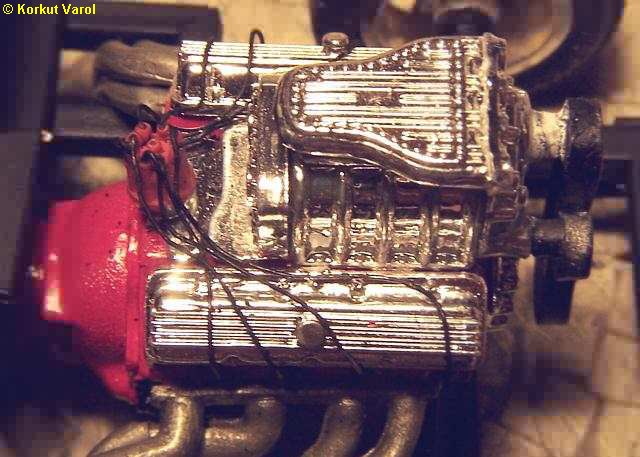
| 02 July 2006:
I made the distributor-plugs wiring from 0.35 mm aluminum wire and painted flat black. Then I installed the cables in the right firing order... |
 |
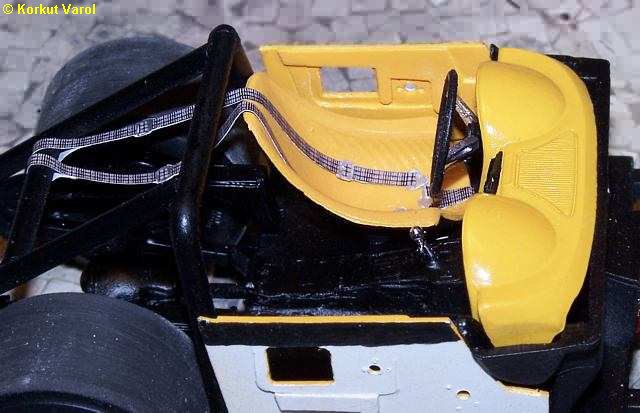
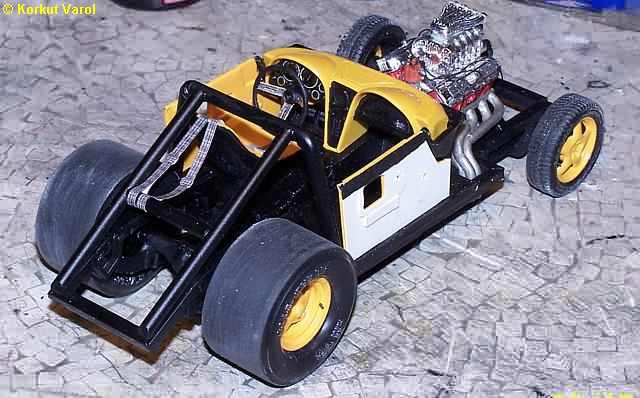
| 09 July 2006:
I made the seat belts with the computer and printed them on paper, then painted the metal parts with chrome silver. The bucket seat is from my parts box. |
 |
| So now the rolling chassis is completed. Next is to put on the body... |
 |
 |
|