| NASCAR BEETLE |  |
| NASCAR BEETLE | |
Page 1 of 2
Contest Winner - C.A.R.S. On-Line Contest, December 1998.
| It all began while
surfing in the site of CARS-Chattanooga
Auto
Replicas
in Scale. There
was an on-line contest about Tamiya's VW New Beetle. It immediately
came
to my mind to make a stock car racer out of it. It would definitely be
a demanding task. However, the deadline was 31st of December and the
date
I knew about the contest was the third week of November. I immediately
ordered two kits- Tamiya's New Beetle and Monogram's #99 Ford Taurus.
The
chassis and mechanics of the Taurus were to be adapted and put under
the
bug's shell. But by then, I knew almost nothing about Stock car racing.
So I also ordered "Building and Detailing Stock Cars" from Kalmbach,
and
also detailing items from Detail Master and Slixx Decals. It was the
end
of the first week of December when the kits arrived, so I had three
weeks
left. Fortunately, the book had arrived earlier and I had time to read
all about stock car races and regulations, and keep on surfing about
NASCAR.
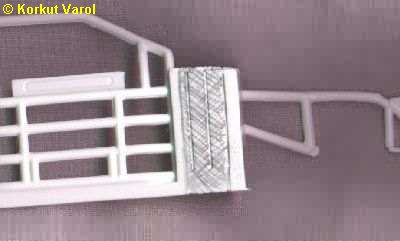
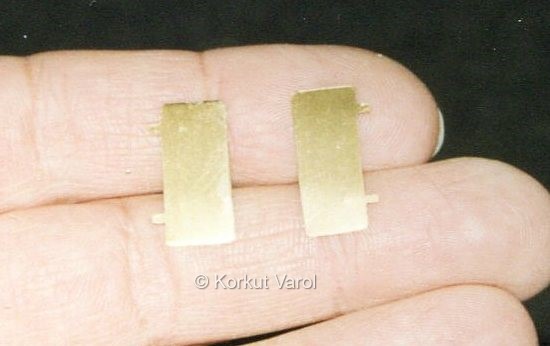
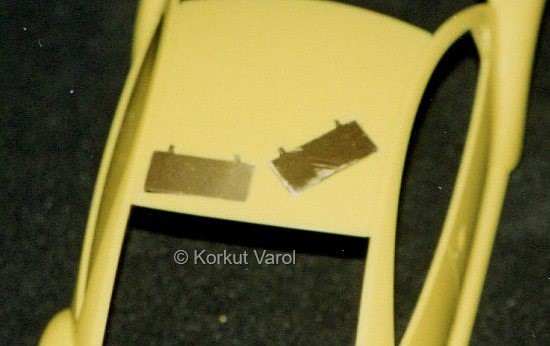
The first measurements showed that the widths of the cars were suitable, but the Taurus wheelbase was 10 mm longer and it had to be cut as shown at right. Extensive cutting and shaping would follow. |
 .  |
|
|
|
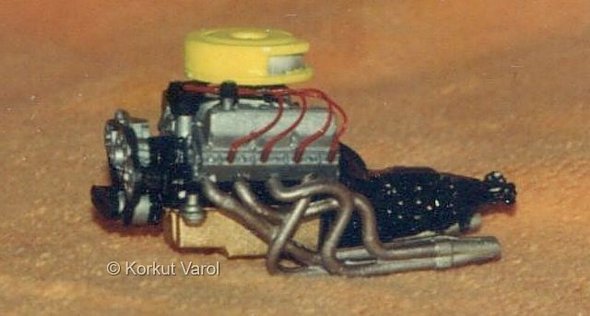
| As usual, the engine
was constructed first. For better details, the spark plug wires that
came
moulded with the distributor were cut and replaced by copper wires and
painted red. The pulleys were drilled at their holes for better
appearance.
|
 |
|
|
|
|
(Right and below) 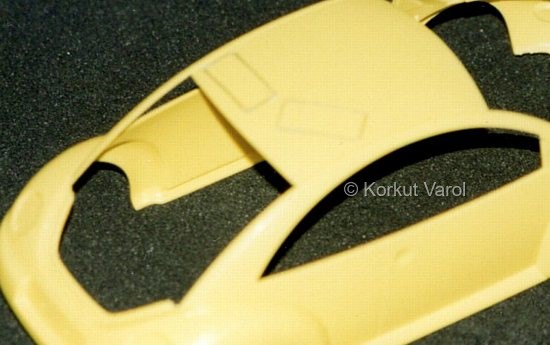 |
 |
 |
 |
|
|
|
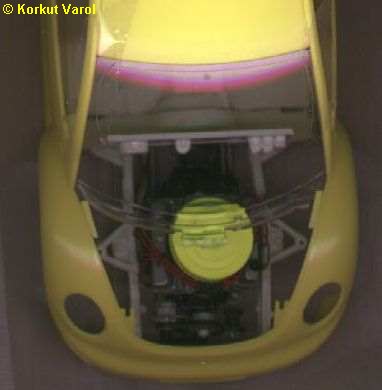
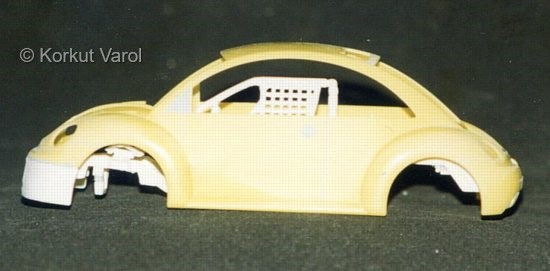
| Test assembly showed
that the engine would be too much backwards that it would almost
completely
be under the dashboard, so it was re-located to the front as much as
possible.
The picture at right shows the new position but still, maintenance
would
be a big problem since the air filter was partially beneath the
windshield.
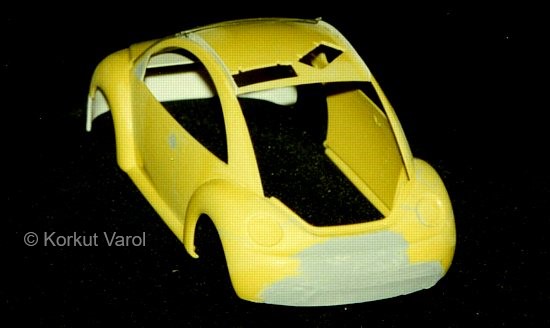
So a radical solution to make the car with a "hatch-front" was made.
The
engine hood would open together with the windshield to provide easy
access
to the engine compartment.
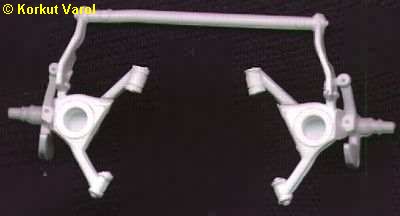
Shifting the engine to the front also required the lower wishbones have their front mounts shifted, so they were cut and front parts elongated with scratchbuilt parts. |
 .  |
|
|
|
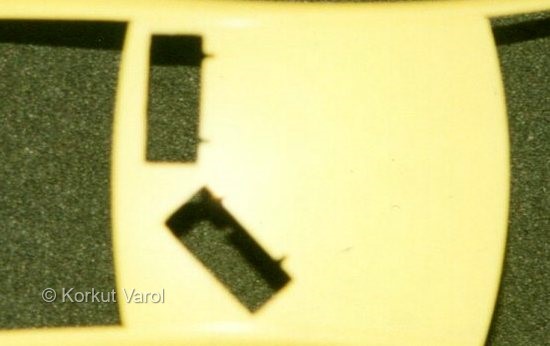
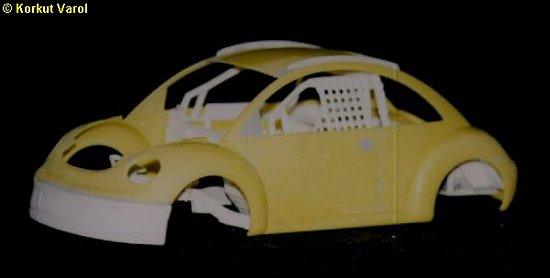
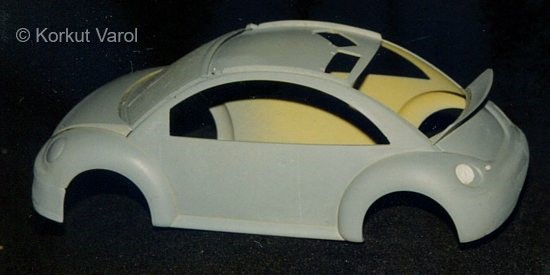
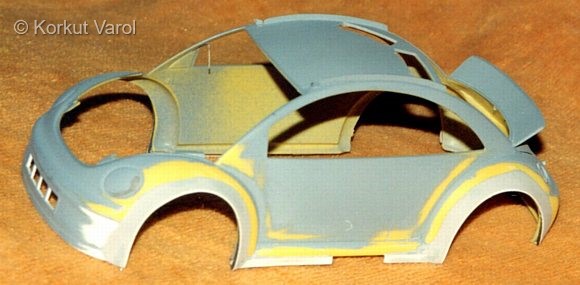
| The recess under
the bumper was cut for completing to a front spoiler at first; but
seeing
that the Taurus front spoiler fitted almost perfectly, the front bumper
was cut off at the marked line and Taurus spoiler glued to the beetle.
Then came of course filling with putty.
(Below and right)  |
 |
|
|
|
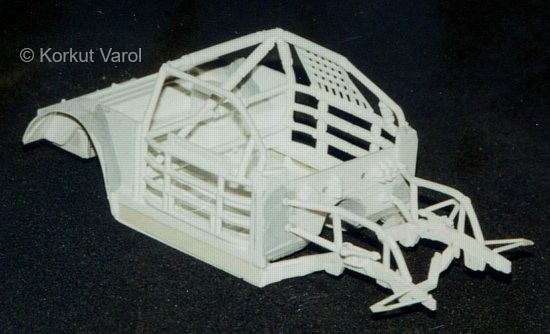
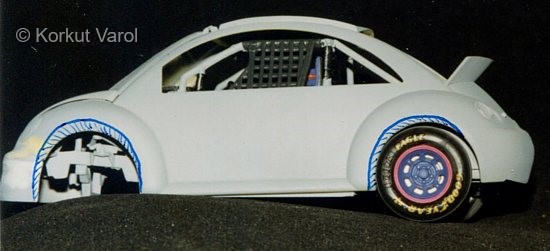
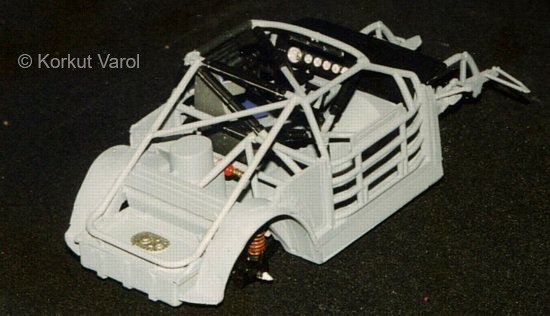
| Test-fitting the shell and the chassis showed that the roll-cage was too low, so was the driver's level. The side bars and so the driver's seat was lifted by 6mm. and levels became all right. ( Right and below ) |
 |
 |
 |
|
|
|
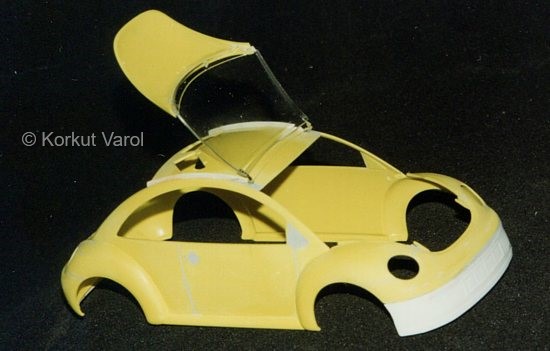
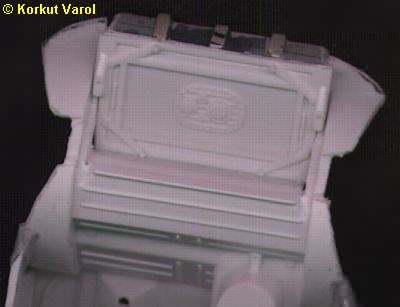
| Now was the turn of the hatch-front assembly. First, roof rails were cut from sheet styrene and glued into the recesses made along the roof. Then, the hinges from Detail Master were glued with CA glue to the roof and to the windshield. The hinges were put together temporarily and the hood glued to the windshield with Bison 5-minute epoxy glue after trimming the bottom of the windshield to fit to the hood. ( It had been displaced to the front by 2 mm being mounted externally.) |
 |
|
|
|
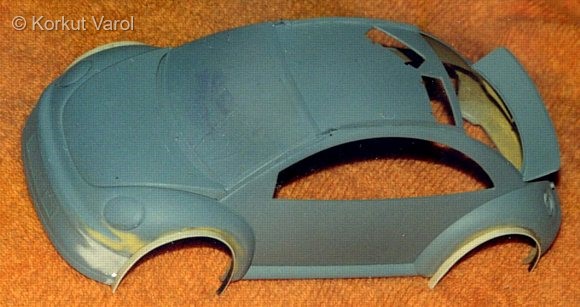
| At the back, recesses for the VW-emblem, license plate and the bottom of the rear bumper were filled with styrene sheets, putty applied and sanded smooth. A hole for the fuel filler cap was drilled on the left fender, using the recess for rear lamps. |
 |
|
|
|
| A rear spoiler wing was cut from sheet styrene and glued at the bottom of the rear window gap. The first primer paint was applied and the fuel cap and overflow pipe cut from the Taurus glued into place. |
 |
|
|
|
| Test-fitting the body, chassis and wheels defined the contour where the wheelarches had to be cut. |
 |
|
|
|
| Meanwhile, the chassis was prepared. Since the rear overhang of the Taurus was larger than the Beetle, the profile between the wheel housings was cut off and the fuel cell located as displaced towards the front so as not to interfere with the rear axle. The fuel cell was made from scratch styrene sheet and the Taurus fuel cell top was used as its top. |
 |
|
|
|
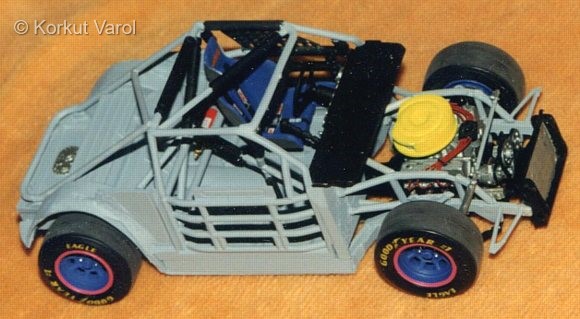
| The kicker bar assembly was also altered due to shortening at the rear and things began to come out more physically. |
 |
|
|
|
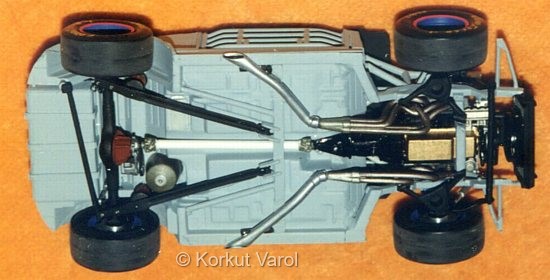
| This is the bottom side as finished. The exhaust pipes had to be cut and bending angles changed due to the shortening of the wheelbase. The driveshaft was also shortened. |
 |
|
|
|
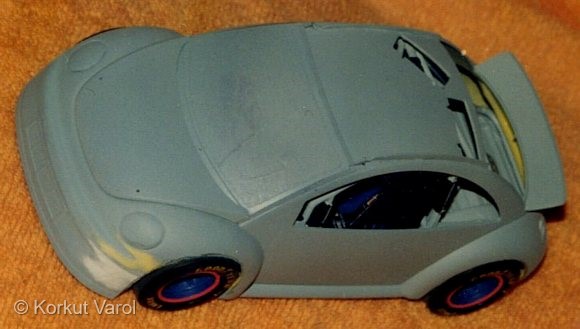
| The wheels stood a bit outside the fenders, so small styrene slabs were cut and glued to the fenders and as a skirt to get closer to the ground. Then the joined edges were filled with automotive polyester putty and sanded to smooth. ( Right and below ) |
 |
 |
 |
|
|
|
| Then the rear and front axles were glued into place and wheels added on. Before that, the tires were sanded to give the look like they had taken a few tours around the track. |
 |
|
|
|
 |
 |
|
|
|