|
The
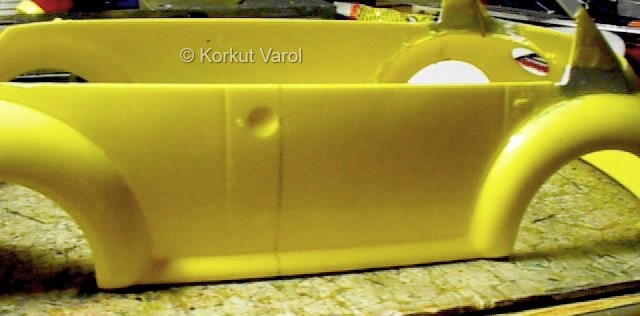
parting line was drawn on the sides. To avoid filling, care was taken
to draw in front of the door handle recesses.
|
|
01 June 2000:
3
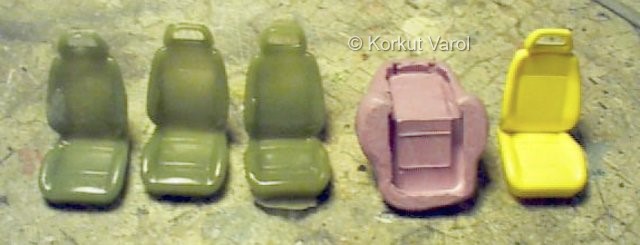
resin copies of the seats were made. These will be the back seats.
5-minute mold putty from Micro-Mark was used for the mold. |
|
| Front
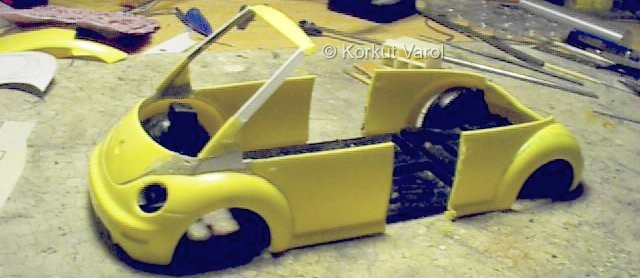
and rear parts put over the stretched chassis for examination. At this
stage, a number of designs were thought of, for the rear of the vehicle. |
|
| The
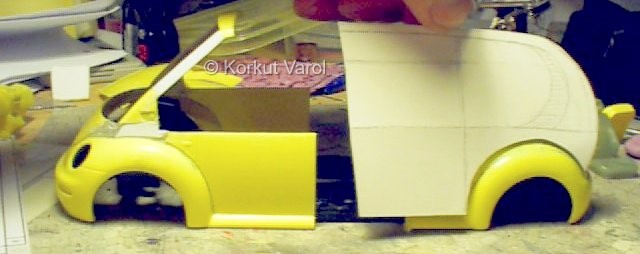
one that seemed best among the designs was cut from cardboard as a
profile and test-viewed on the model. |
|
| OK--
manufacturing now! Two sides were cut from 0.8 mm thick styrene sheet. |
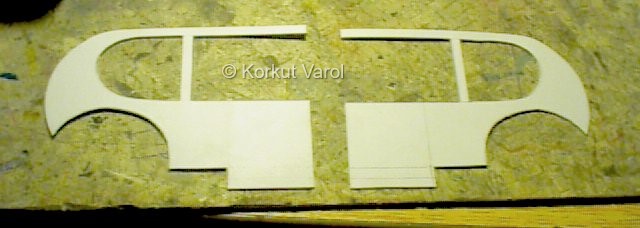
|
| The
rear side panels were removed by a scriber. Notice the blue line that
shows how the side panel will rest on the rear fender. |
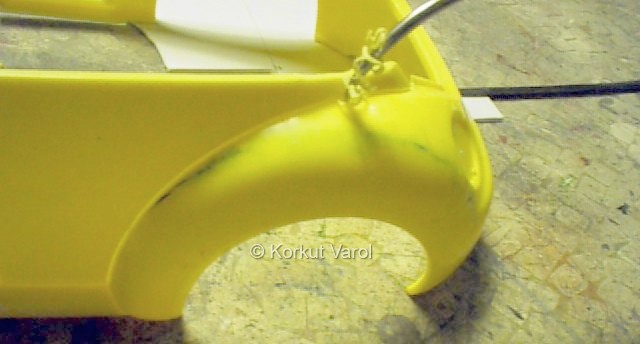
|
| The
rear part separated from its side panels. |
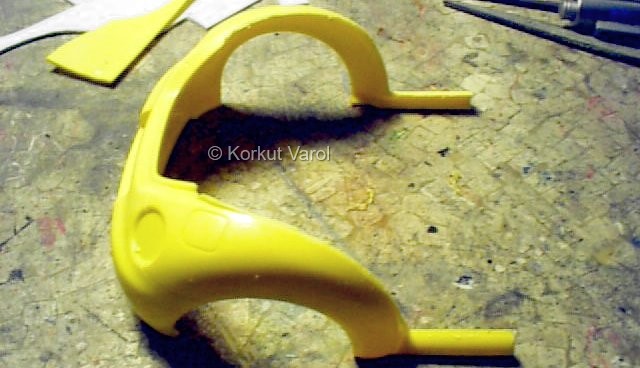
|
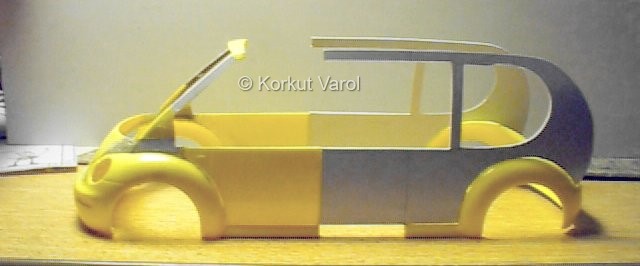
02 June 2000:
The
parts are glued together and the form of the model begins to shape. |
|
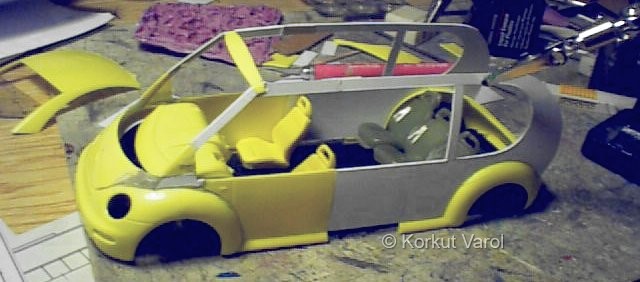
04 June 2000:
The
front door upper elements are also cut and glued in place. The dash and
seats are approximately in their places. The seats will be raised. |
|
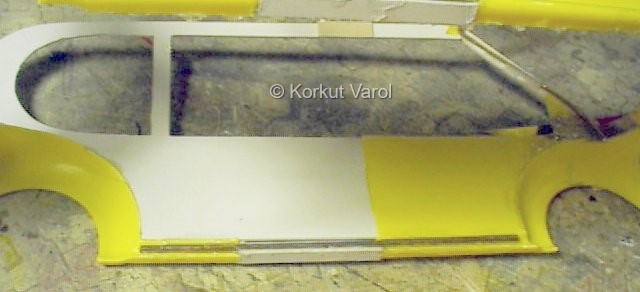
| I
wanted to open the rear doors. They will not be hinged, but be of
sliding type. The body would lose its geometrical correctness if the
doors would be cut off right now, so I reinforced the rocker panel from
the inside with brass rods. I glued them with 5-minute epoxy. |
|
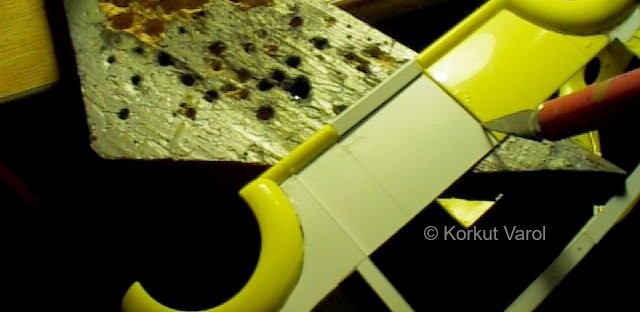
| Now
the body is firm, the door areas are cut open. |
|
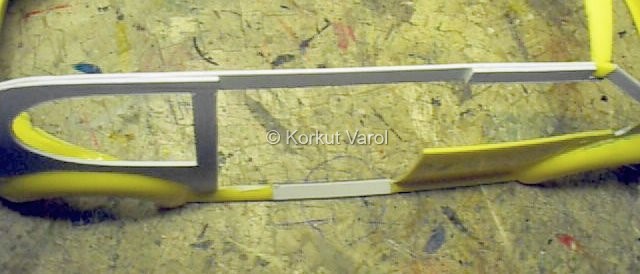
| A
strip of styrene was glued on the inside along the upper side. This not
only increases the longitudinal strength, but serves as the base plate
for the door upper part, to rest on it. |
|
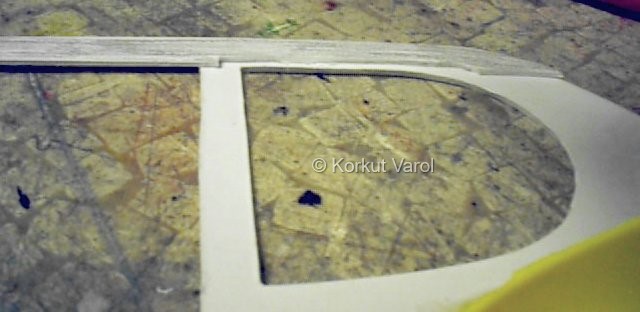
| Notice
the small recesses left for permitting easy fixing of the glazing later. |
|
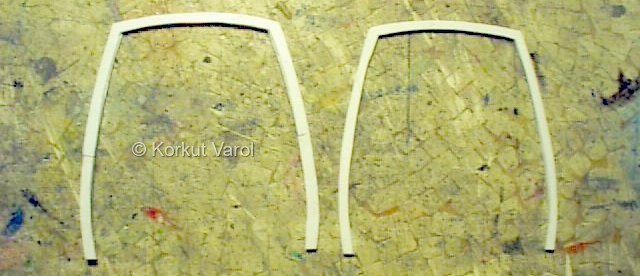
| Reinforcements
to hold the bodyshell in shape were cut from styrene sheet as double.
They were glued on one another to form a stiffer crossmember. |
|
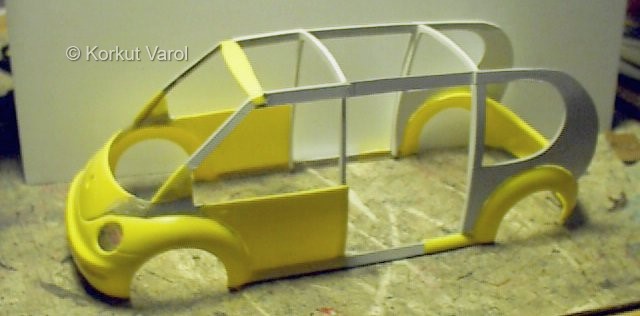
| The
crossmembers were then glued to the bodyshell. Shaping up more now.. |
|

|
 
|