 |
 |
|
|
Page 1
of 2
.
STARTED
ON NOV.25th, 2001 AND FINISHED ON
NOV.30th, 2001 !
| It was the
same day the Pt Pickup was finished, that it occured to me to build
something
from the scrap kits I had. I also had 5 days ahead to set off to
Georgia,
where I would stay for some months; so I had to finish it in 5 days,
packing
up for the trip included !
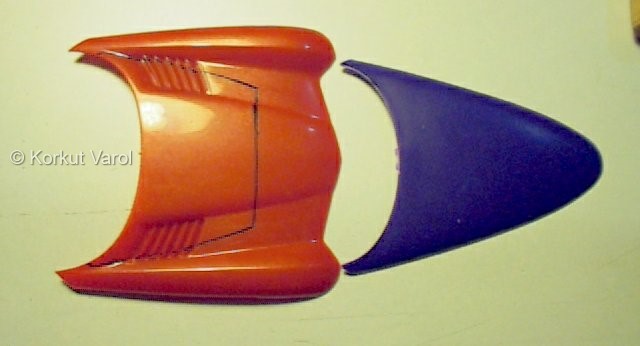
Laying out what I had in hand, I figured out the car: Body and inner : Copperhead
Putting parts like Legos, I configured the outlines as shown. |
 |
||
| To embed the Prowler hood in the Copperhead's, I drew the outline of the place to be removed. |
 |
||
| The Viper rear was glued onto the Copperhead's, the empty spaces to be filled with polyester putty later on. |
 |
||
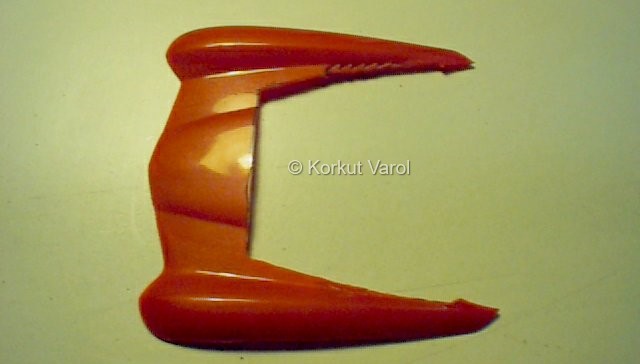
| I cut out the hood as I had marked before. |
 |
||
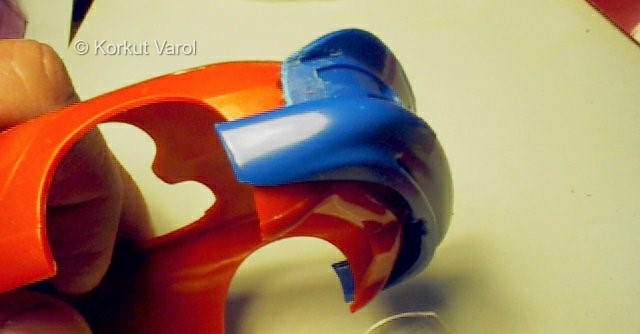
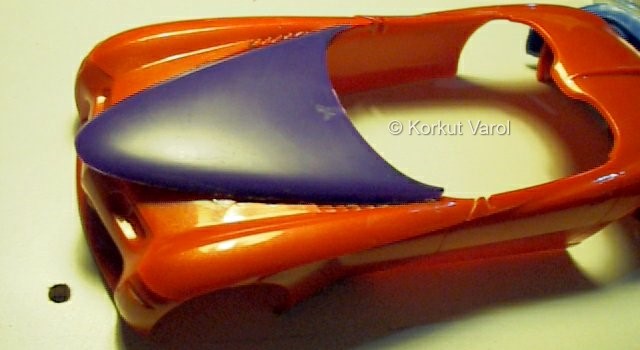
| I glued the Prowler's hood in its place. The curvature of the rear part had to be revised for exact fits with the windshield. |
 |
||
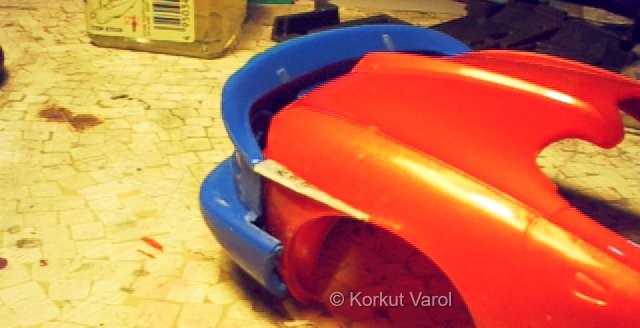
| I cut the bumper edges at the wheelarch and added styrene part to smoothly integrate the body and the tail. |
 |
||
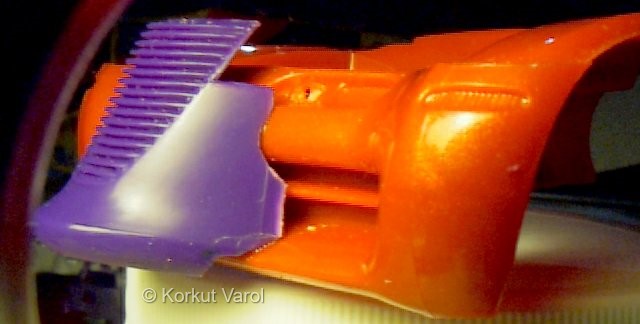
| Now the front grille. I cut it to fit roughly in as shown. The mating of the center grille with the side intakes was a challenging job. I planned to fill the side gap with putty. But to smooth finish the putty in the tiny places was almost impossible, so I decided to apply the putty from the back side, while providing a smooth surface on the visible side. |
 |
||
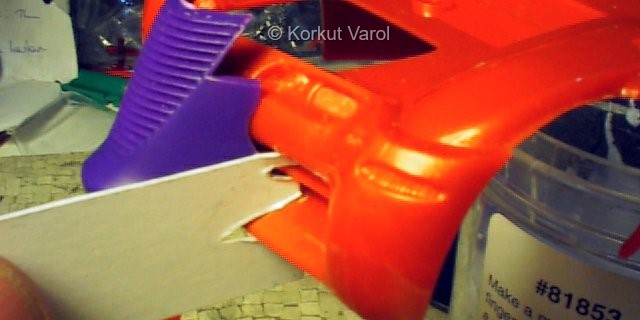
| I tailor-cut the grille profile on a cardboard. |
 |
||
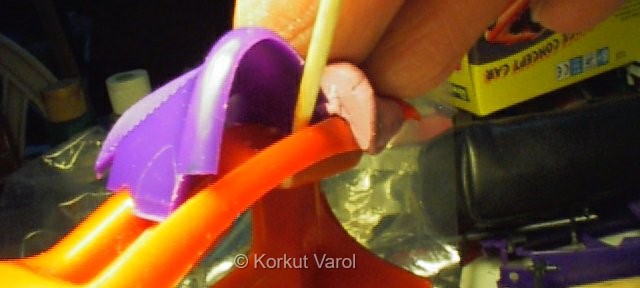
| While holding the card in place, I applied 5-minute silicone putty on the grille. The card provided a flat surface that the putty would lean on and dry flat there too. After the putty settled, I removed the card to leave the silicone putty surface to act as the back of the mold, when the filling polyester putty would be applied from the inside. |
 |
||
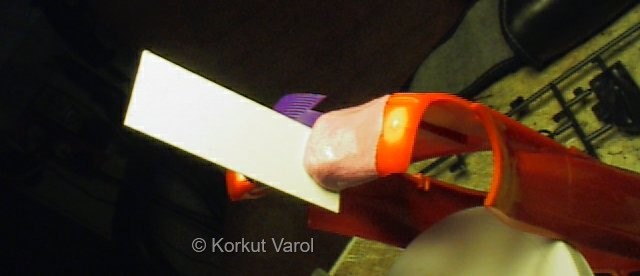
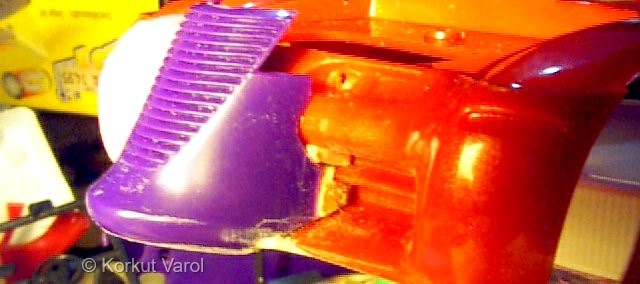
| I applied polyester putty from the inside by means of a toothpick, pushing the putty towards the silicone mold. |
 |
||
| Voila !!! Very clean result, needing only minor fillings with additional putty. I applied putty in the remaining places with the tip of #11 blade, being so careful as not having to sand more. |
 |
||
 |
|
|
|