| This model happened to be my first plane model. I wanted to try the steel wing wires from human hair. |
 |
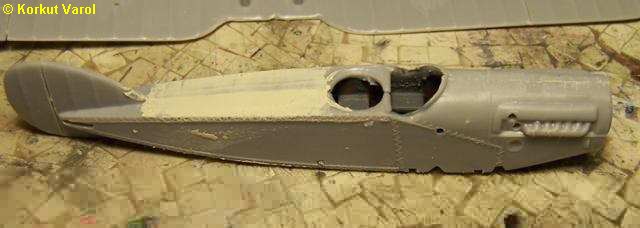
| The parts were not too many as seen... |
 |
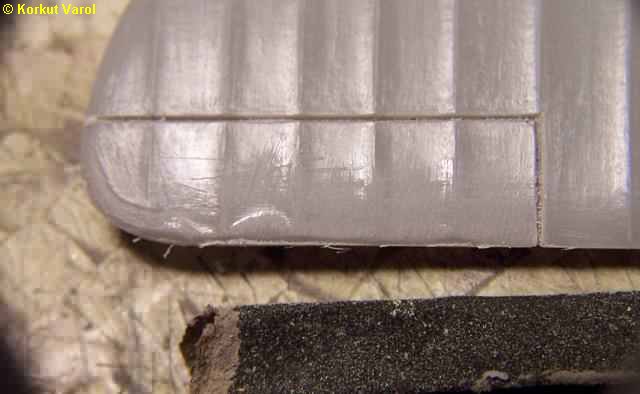
| 16 September
2006:
I sanded the irregularities on the wings. |
 |
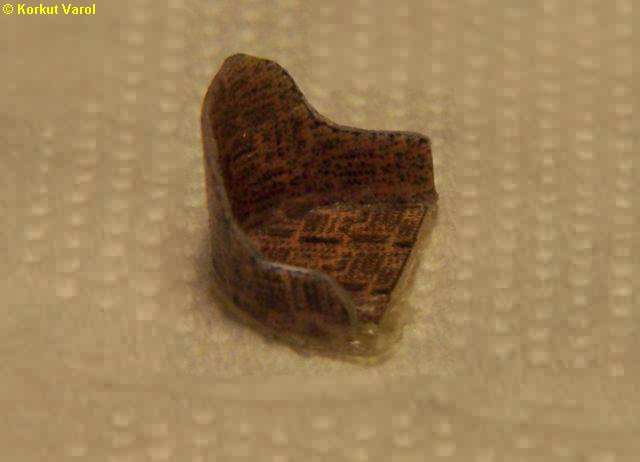
| 17 September
2006:
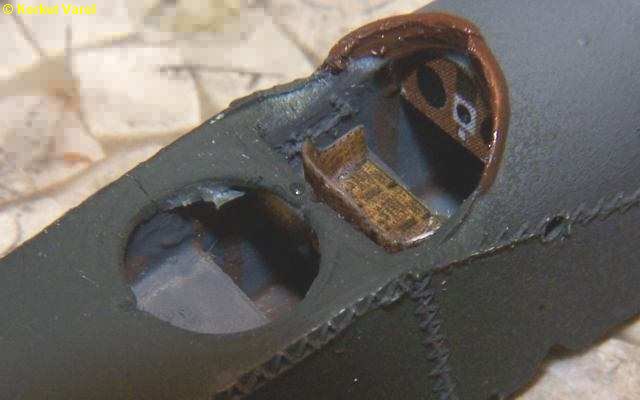
Searching for some info about the plane, I learned that the pilot's seat was from wickerwork. So I prepared a development on the computer and then printed on paper, formed the seat and made rigid with CA glue. |
 |
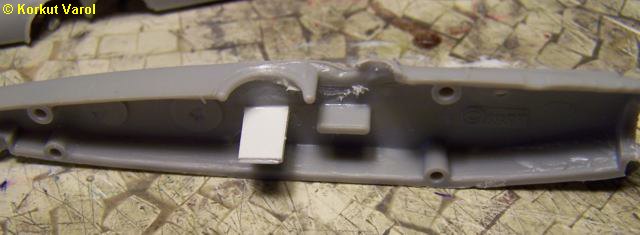
| 18 September
2006:
Then I made the seat rest of the gunner from a styrene slab and glued it in place. |
 |
| 19 September
2006:
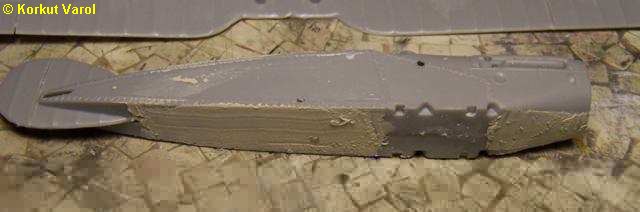
I glued the fuselage halves and applied automotive polyester putty at the joining lines. |
  |
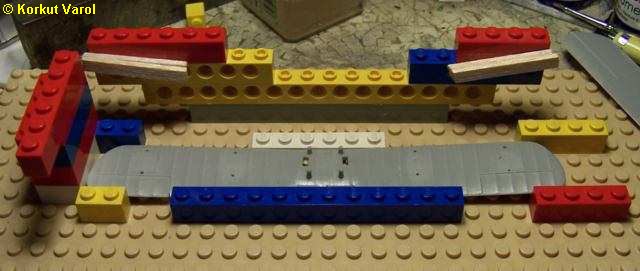
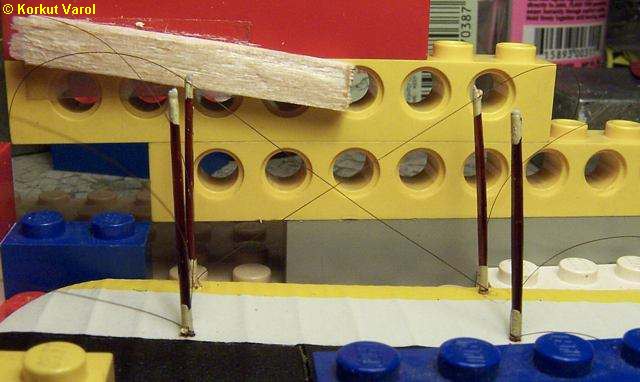
| I prepared a mounting jig from Legos for correct positioning of the upper and lower wings. |
 |
| 20 September
2006:
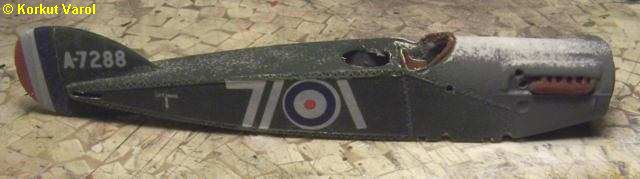
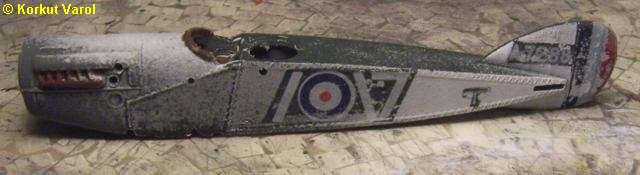
I prepared the dashboard on the computer too, and printed on paper. Then I glued the paper on a piece of styrene and installed it in the cockpit. Beforehand, I had applied the military black green (acrylic paint) on the fuselage. |
 |
| I
got a big bad surprise...
For the decals, I had bought Humbrol's Decal Fix for treatment. I applied it before and after applying the decals and saw that the decal film still had a shine. So I sprayed a flat acrylic clear cote to end up with what you see in the photos... So since the decals were practically not recoverable, I decided to paint the plane as a civilian one. |
  |
| 21 September
2006:
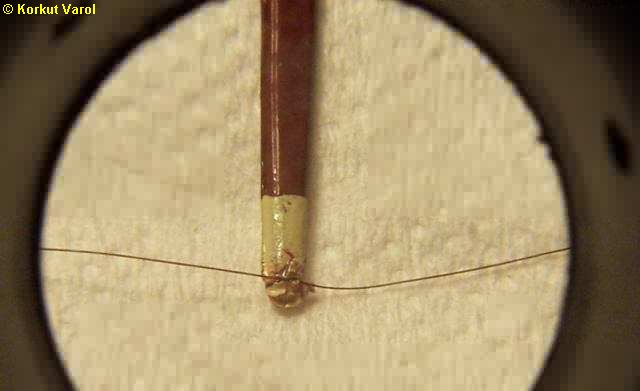
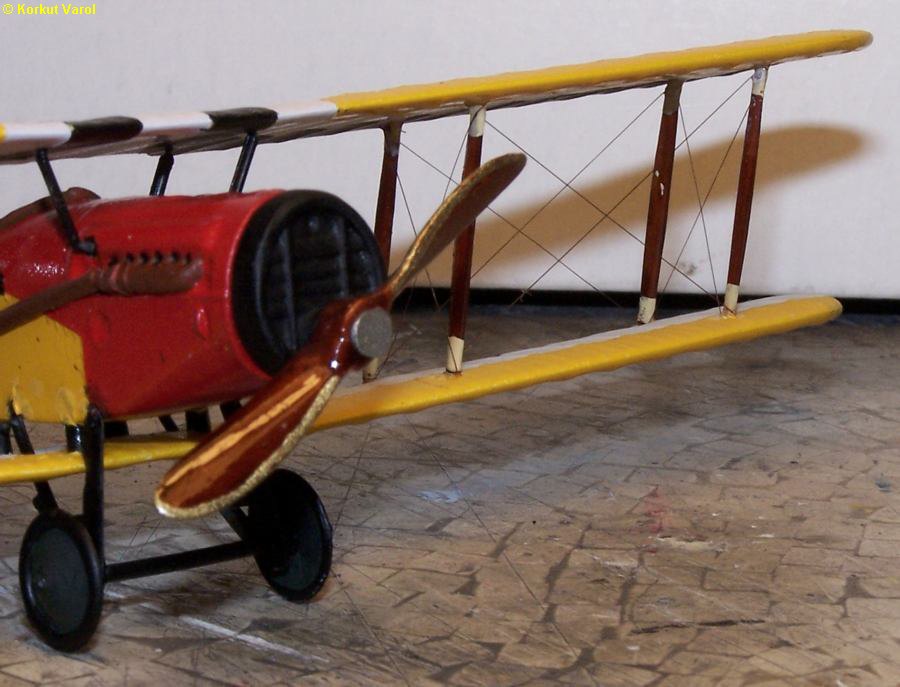
Now coming to the "steel wiring"... I painted the wing struts to imitate varnished wood. I used glass paint and mixed 2 parts black, 5 parts orange and 2 parts yellow. I tied the human hair to one side of the struts and fixed with CA glue so that they would not slip off... |
 |
| I inserted all the struts in place, with hair fixed to their lower parts. I put the lower wing in the jig. |
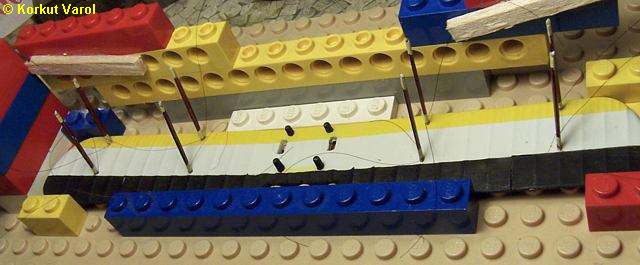 |
| Then I formed the crosses and fixed the hairs to the top parts of the struts with CA glue. I paid attention that the struts were not absolutely parallel but a bit closer at the tops; so that when the upper wing was installed, the struts would stretch the hairs a bit when they were inserted in their places in the upper wing. |
 |
| 22 September
2006:
I took the lower wing from the jig. |
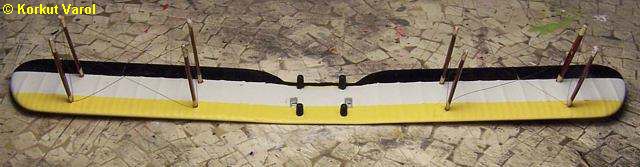 |
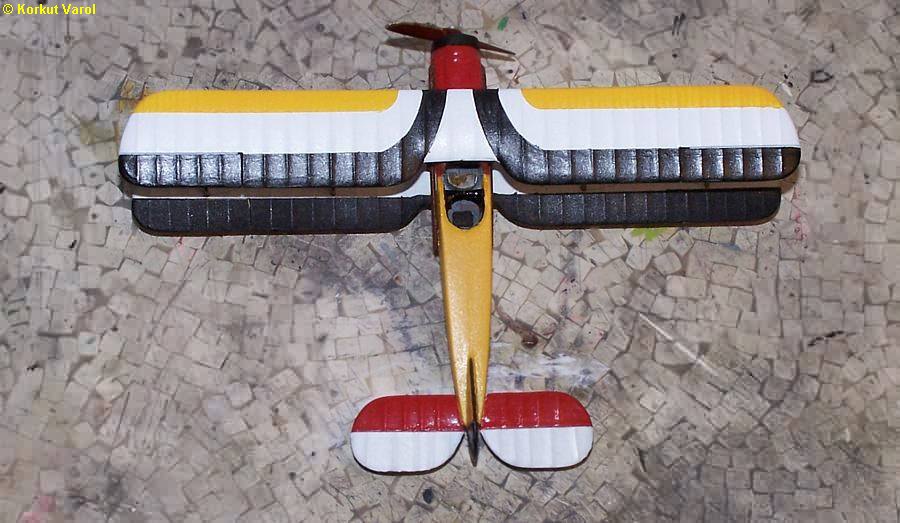
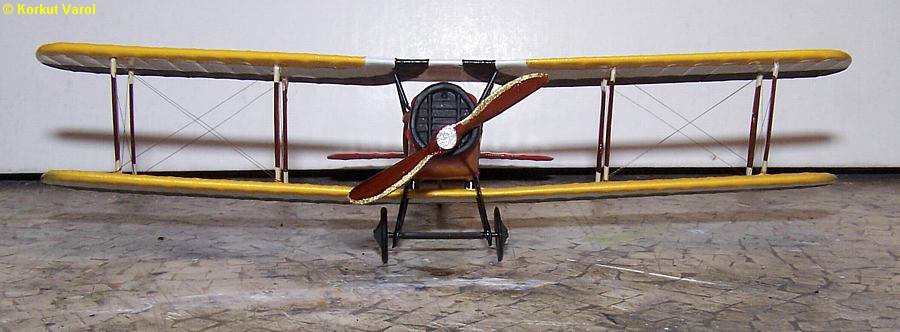
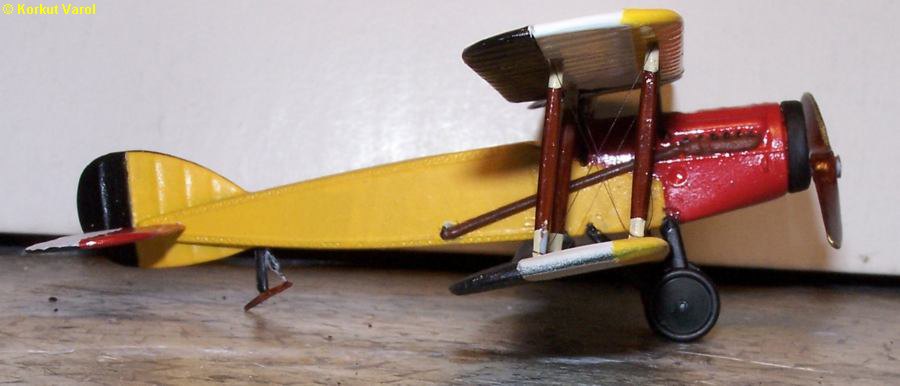
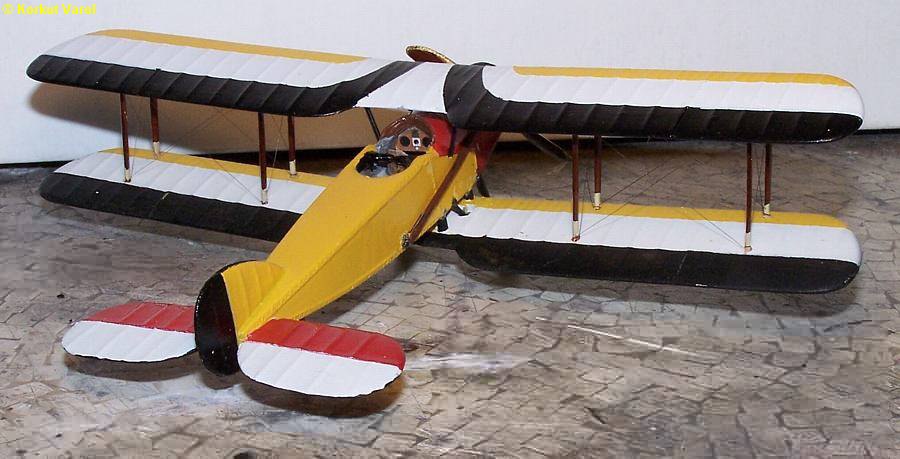
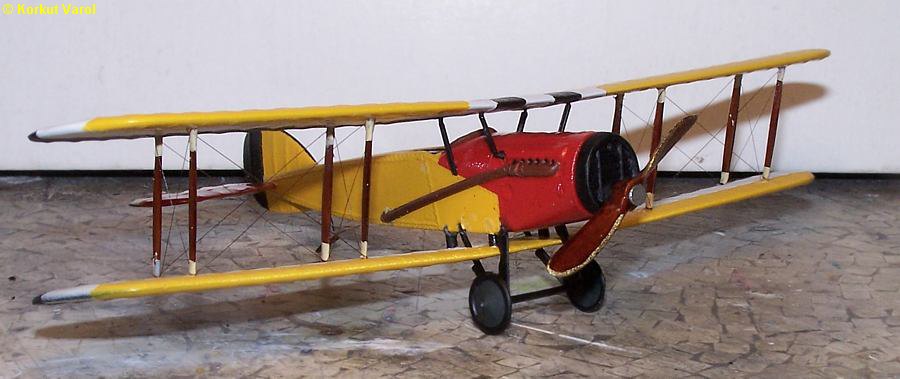
| Now
come the finished photos... The
human hair application proved to be successful.
For a larger photo, please click on the pics. |
 |
 |
|
 |
|
 |
|
 |
|
 |
|
 |