 |
 |
|
|
|
|
|
|
|
|
|
|
|
|
|
|
|
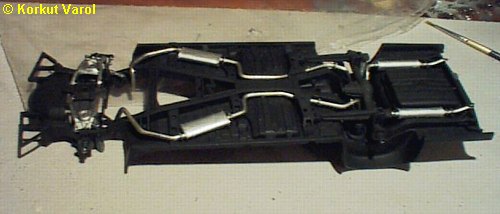 |
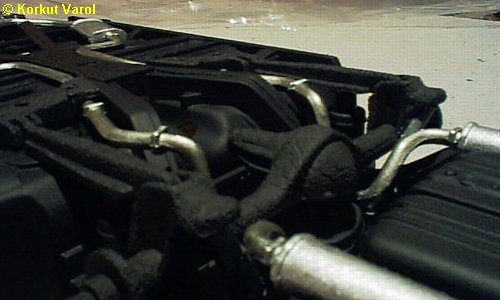
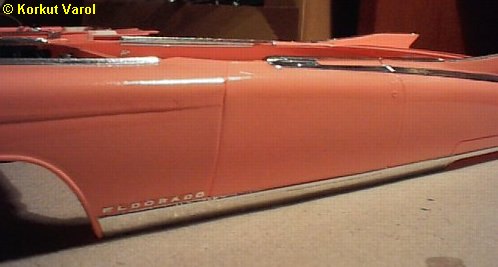
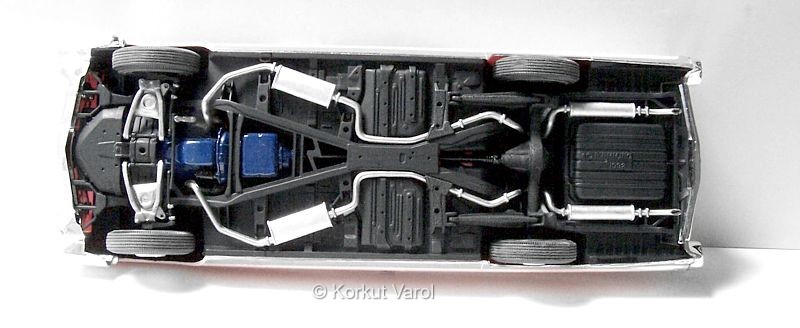
| How do you like the rough paint on the rear axle and trailing arms? It was purely unintentional, did the job before going to work in the morning, with a cold and unshaken rattle can. I liked the looks so I left it as it is.... |
 |
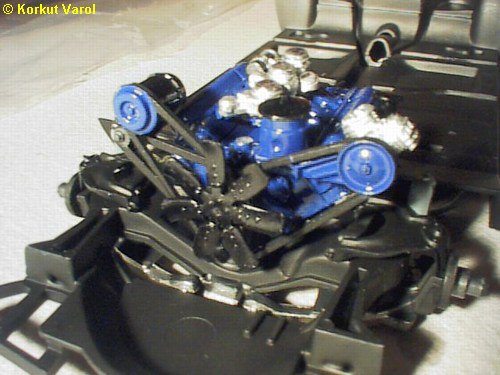
| A close-up of the engine installed in place. Future builders, be aware that in the assembly instructions, the part no.s of right and left exhaust manifolds are interchanged... |
 |
|
|
 |
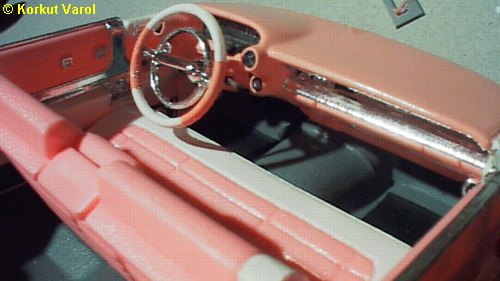
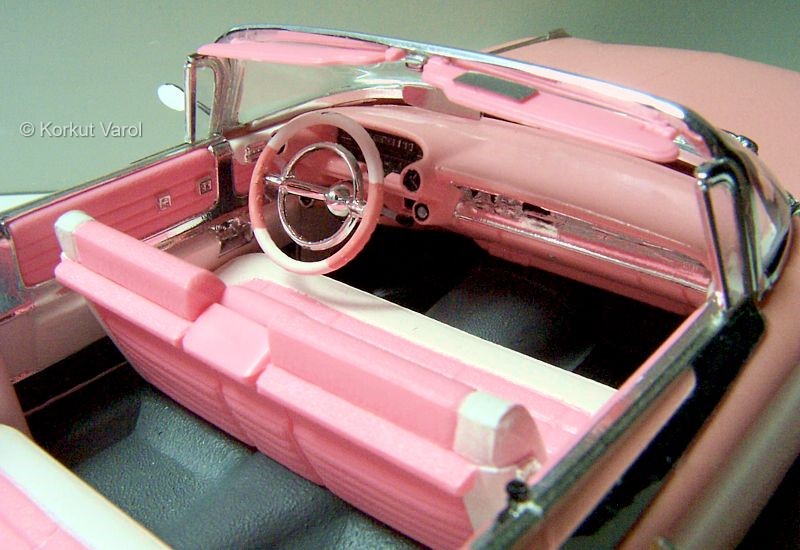
| The dashboard top had some molding sinks, and I applied putty to correct the surface. |
 |
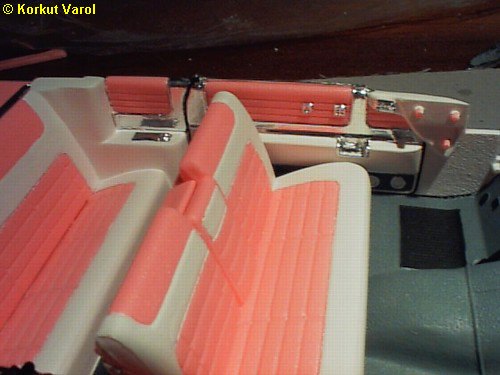
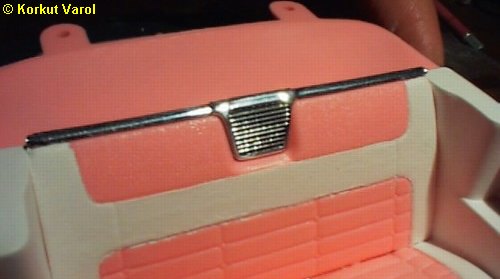
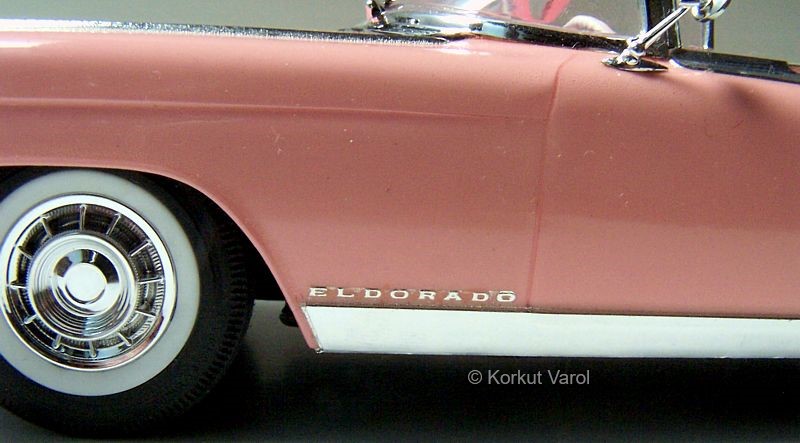
| I
could have assembled the real one,
in the same time as I applied BMF on the door insides of the 59
Caddy!!!!
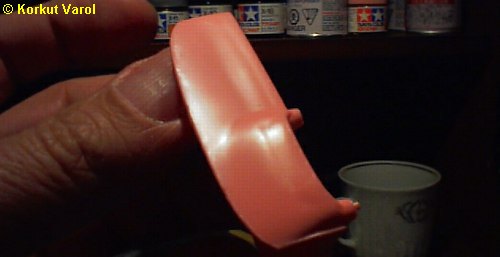
Here's a shot of the door inside. |
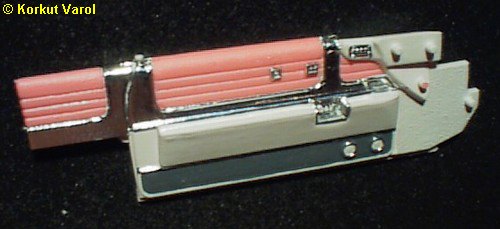 |
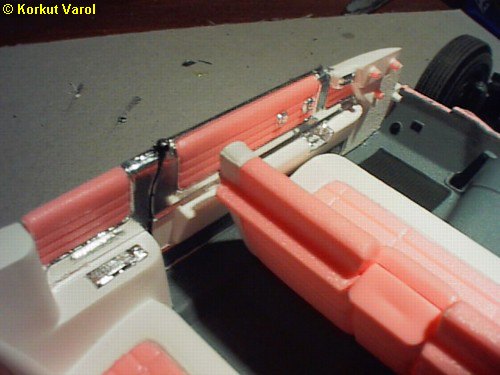
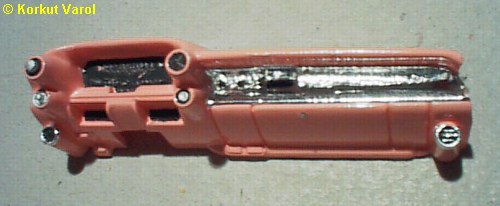
Here is a side-internal shot, displaying the chrome. |
 |
|
 |
|
|
 |
|
|
 |
| I did not like the painted speedo. So I generated one on the computer, printed and glued it in its place...BMF took its place as necessary...It was hard to fix and trim BMF on the lower air outlets. |
 |
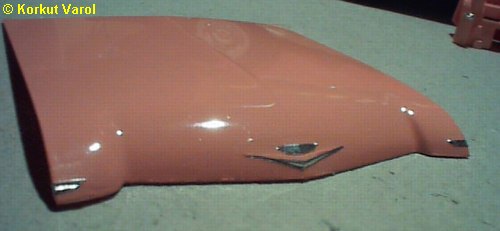
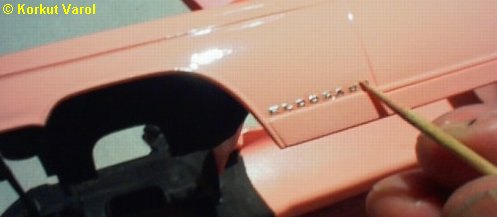
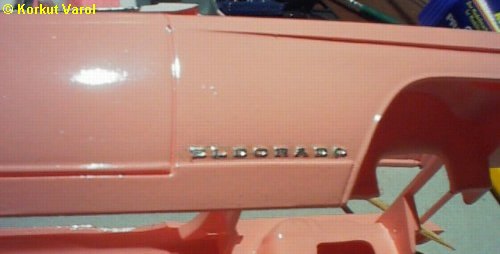
| This
was the first time that I tried
BMF application on scripts. I applied a strip as wide as the script on
the fender of the Caddy.
Then I painted the BMF strip all over, with the body color. After it dried, I rubbed the high parts with a toothpick, scraping the paint off. NOW HERE'S A HINT: I accidentally discovered that scraping with a (dried) painted tip scrapes the paint better than a new wooden toothpick. I had applied paint with a toothpick tip, and let it aside. When the time came, I began rubbing with the painted tip. I said "oops!" and tried with the other plain end, to notice in surprise that it did not scrape as well! A little thinking was enough to comment: Though dry, the sticky surface of the paint grabbed the paint on the BMF better than plain wood... |
 |
|
|
 |
|
|
 |
|
|
 |
 |
 |
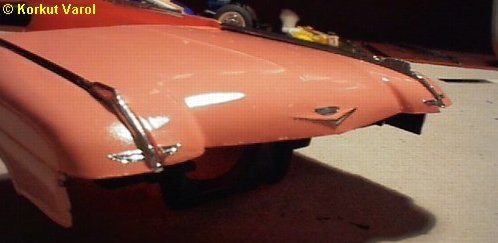
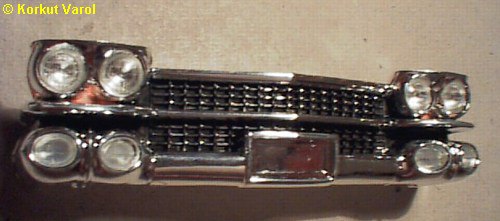
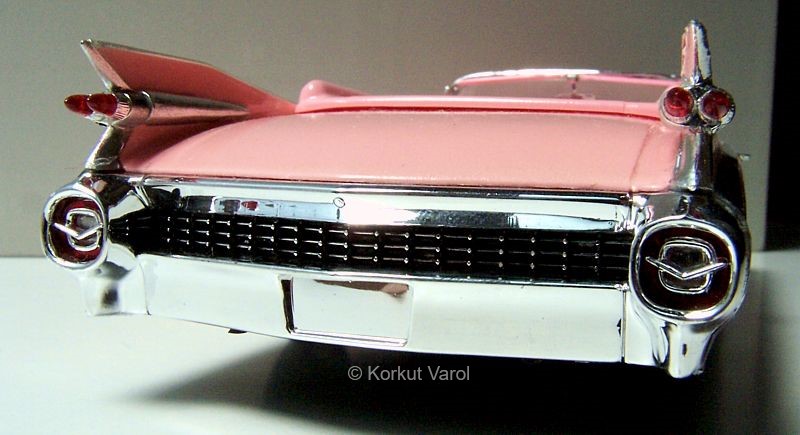
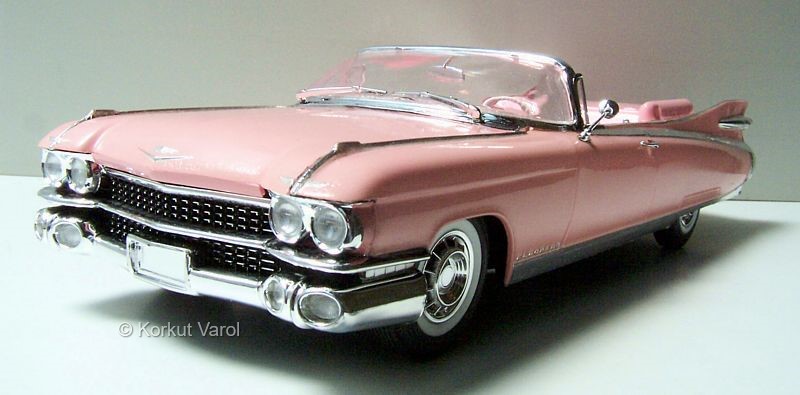
| The front grille was given a black wash and wiped at its highs. The recesses between the headlamps were painted body color. |
 |
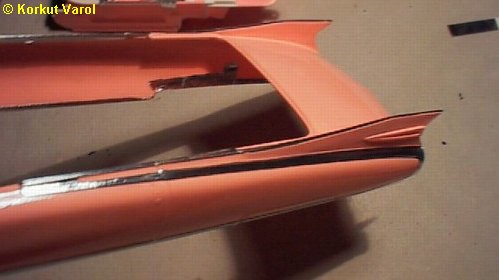
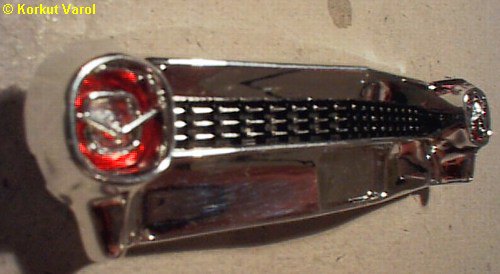
| The same wash-wipe treatment was done with the rear bumper/grille too. |
 |
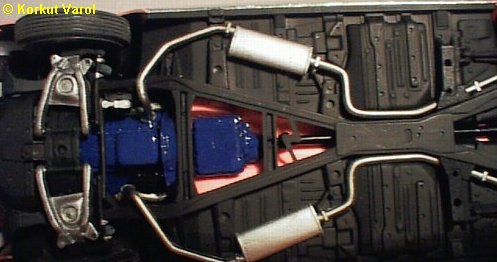
| How
forgetting a mind can be!!! Just
not more than 5 minutes ago, I was thinking of painting the bottom of
the
tub flat black. Then I forgot all about everything and assembled the
chassis
with the body! And you see the result...
Next task I took was to disassemble them. It was as hard as assembling, those who did this model know what I'm talking about....You have to make full use of flexibility of the plastic of the pulley-generator-compressor-etc. group, to fit between the wheelwells. Reverse operation requires the same patience. I then painted the tub bottom flat black and assembled the thing once again. So it took 3 patience sessions... |
 |
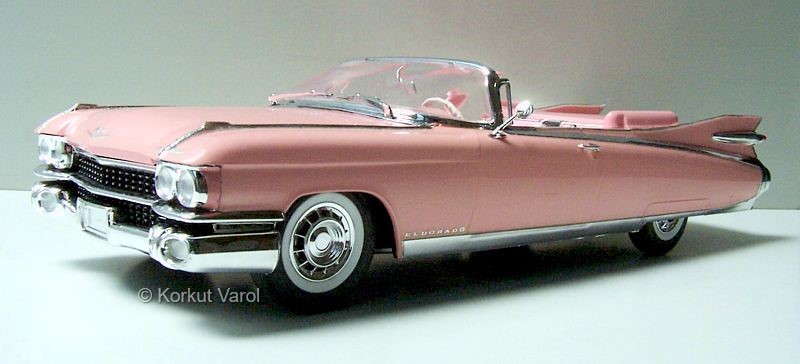
| And now at last...The Caddy is ready to cruise with all its glamor and elegance.... |
 |
 |
 |
 |
 |
 |
 |
 |
