14 September
2010:
It occured to
me that I use an accidentally broken body in a different way. I thought
of a 2-seater roadster. I cut the boot section at the drawn line.
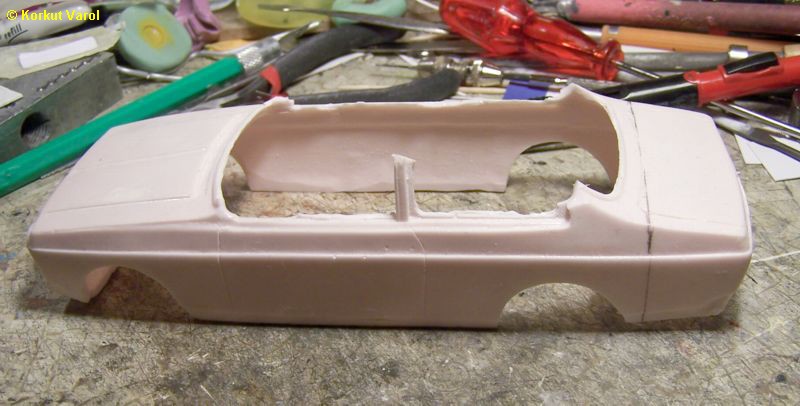
|
| After
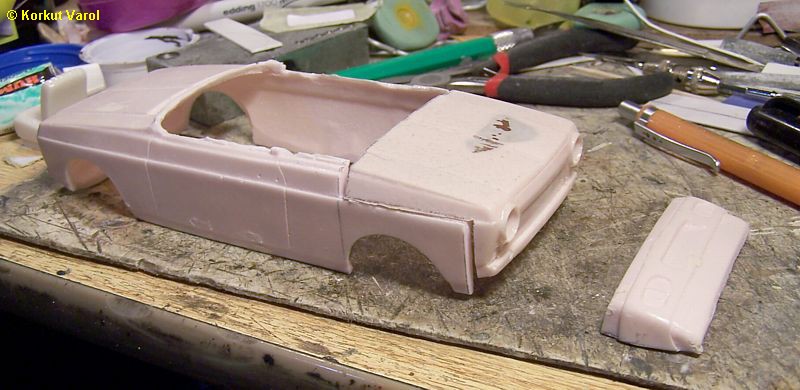
having cut the rear panel, it
seemed a hard task to end the body contour just below the side glazing.
To continue the profile, I thought of using another front part from
another
waste body. It didn't seem bad with two large rear lamps. So I called
this
approach "symmetrical design"!
|
|
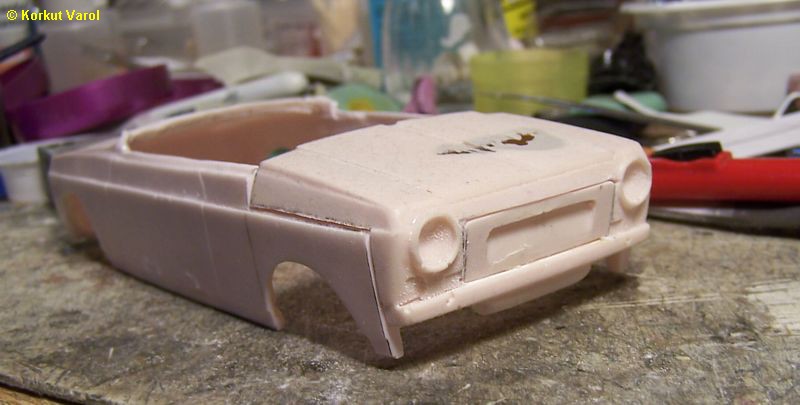
I
cut off the licence plate region
from the rear panel and inserted it in the body rear.
|
15 September
2010:
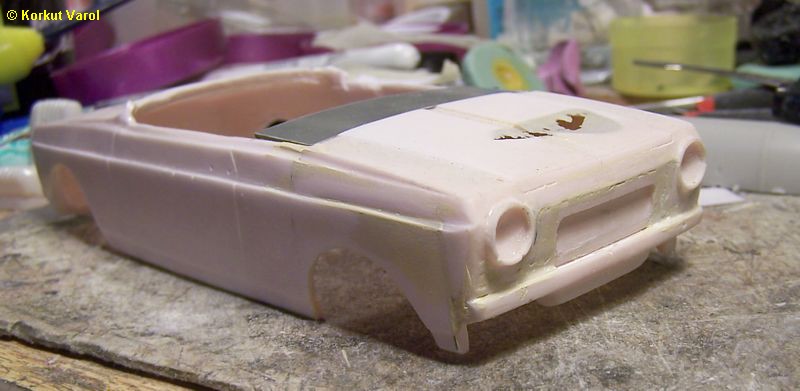
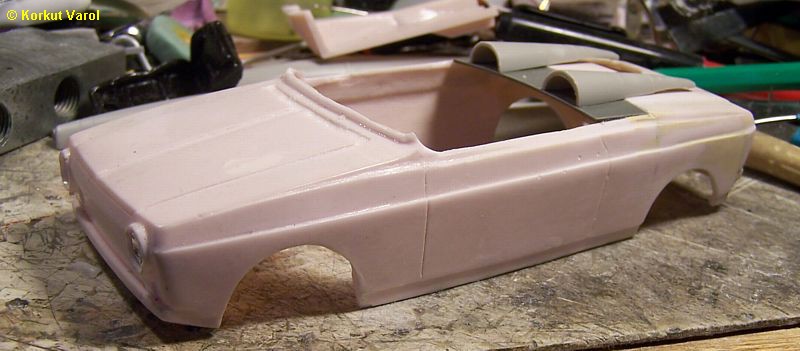
Puttying and
sanding, the body began
to take shape. I made an extension to the boot with styrene sheet till
the back of the seats.
|
|
I
added head guards on the
boot from a 1/32 plane fuel tank.
|
18 September
2010:
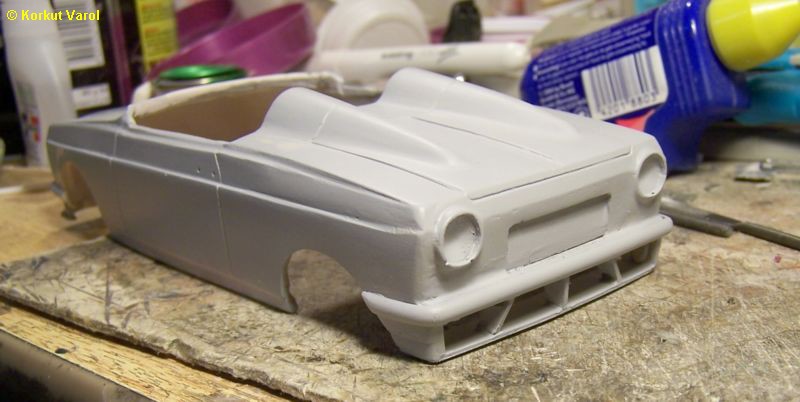
I added the
rear diffuser that I made
from styrene sheets, then made putty and sanding and a check primer
coat.
|
|
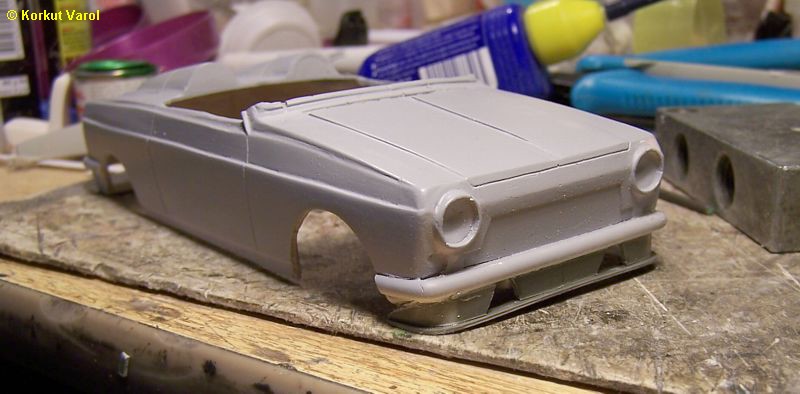
I
also made a front spoiler from
styrene sheets and trimmed to fit in place.
|
19 September
2010:
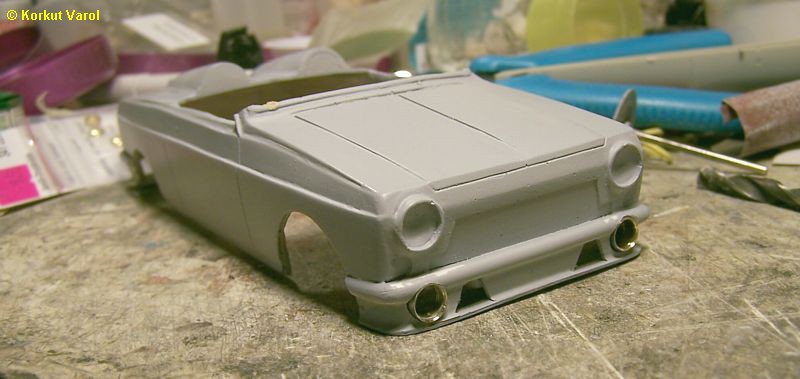
I made fog
lamp housings from an old
metal ball-point pen refill.
|
|
21 September
2010:
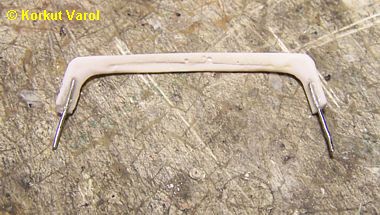
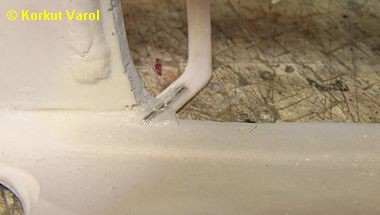
I cut the
windshield frame for a lower
height, and made channels both in the frame and the body to house a
steel
wire for rigidity. I fixed the wires with CA glue.
|
|
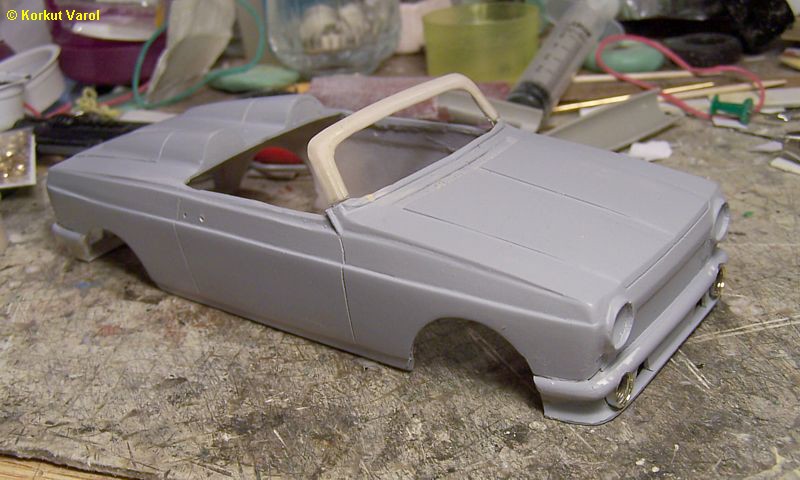
View
with the windshield frame
fixed.
|
|
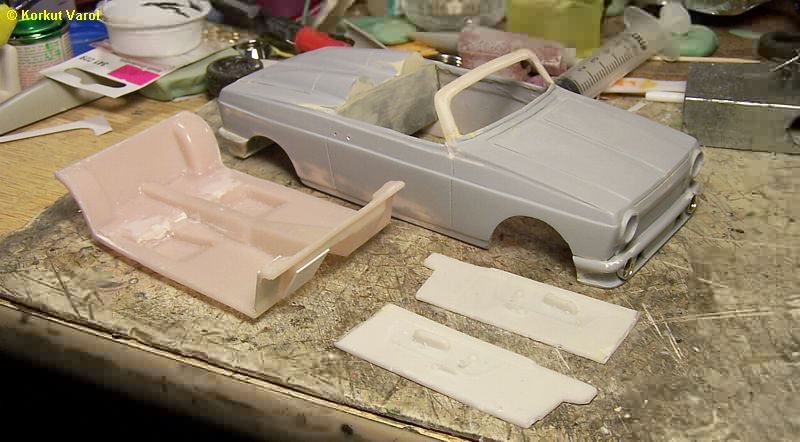
I
cut the floor panel and the door
inner panels to the new configuration. I also cut the panel behind the
seats from styrene sheet and fixed it in place.
|
|
22 September
2010:
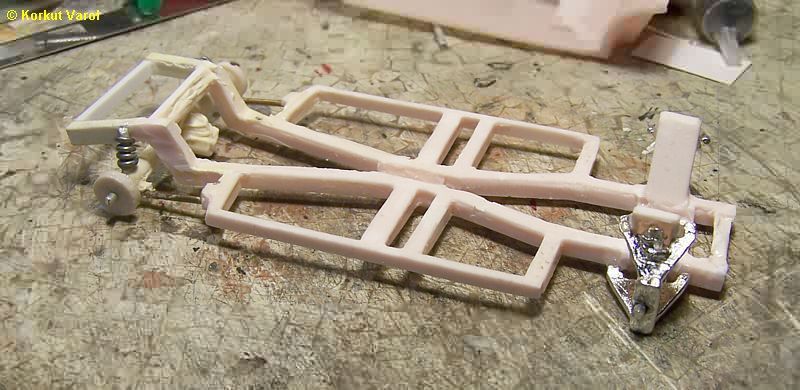
Since the
chassis had to be cut due to
shortened body and the leaf springs would no longer fit, I changed the
rear suspension to coil spring and trailer arm type.
|
23 September
2010:
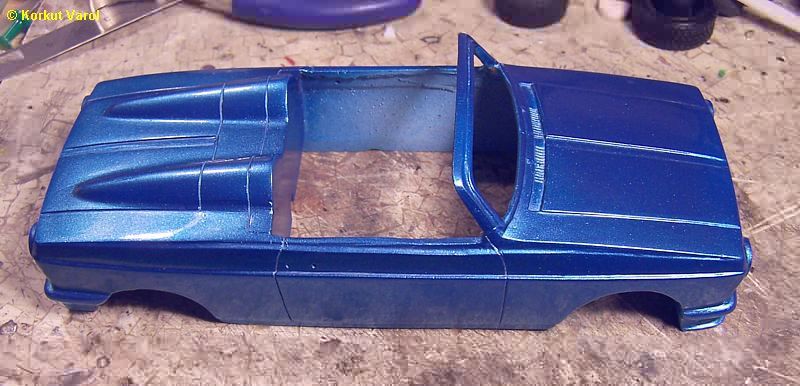
I painted the
body with automotive
acrylic paint and clear coat.
|
|
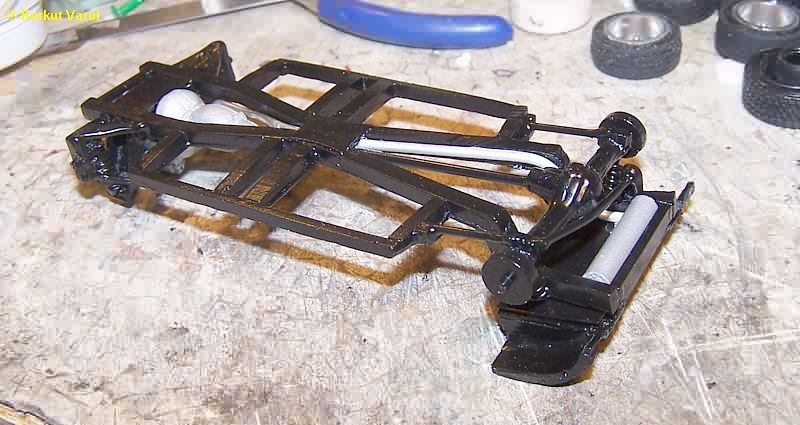
Since
the chassis was shortened,
the exhaust pipe had to be re-made. I placed the muffler sideways, it
will
have two outlets at the rear.
|
25 September
2010:
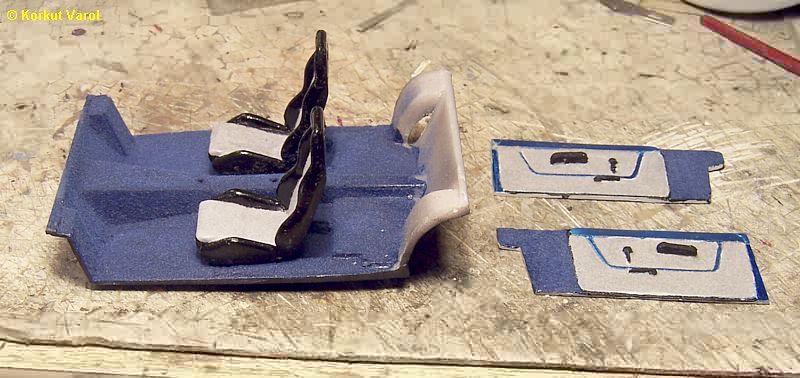
I applied
flocking to the seat cushions,
door insides and the floor.
|
26 September
2010:
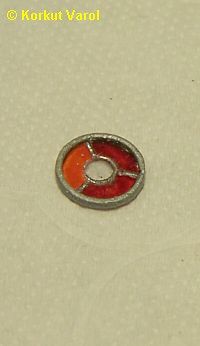
For the
manufacturing of rear lamps; I
scribed the lens divisions on a piece of thick acetate. then made a
wash
with aluminum paint to give the effect of metal partitions. After
painting
orange and red on the back side, I fixed the lens inside a headlamp
bezel.
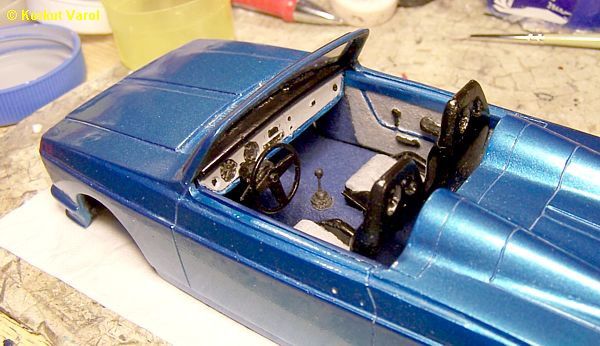
I compiled the
internal elements and
fixed them inside the body with epoxy glue.
|
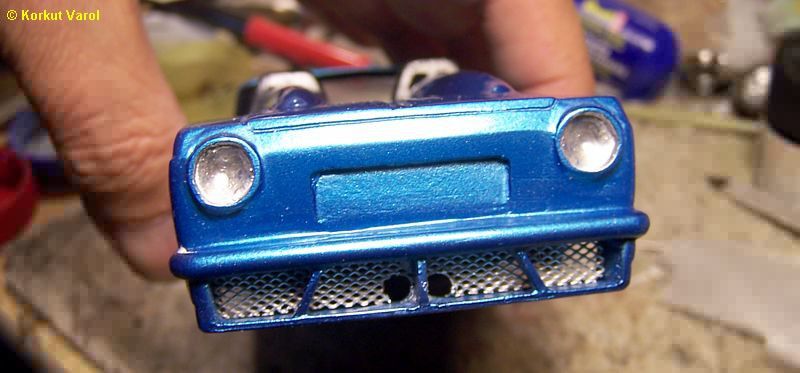
| I
painted the rear reflectors with
chrome silver. Fot the rear diffuser grille, I cut a part from an oil
trap
grille for fryer tops. After cutting the holes for exhaust pipes, I
fixed
the grill at the inside.
|
|
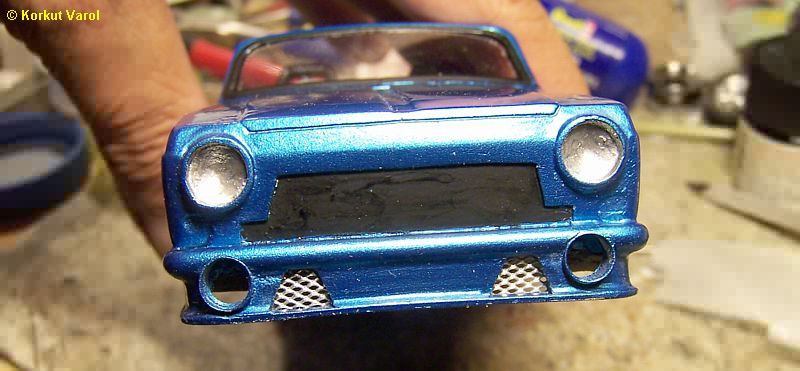
I
used the same material for the
front spoiler intakes, then painted the headlamp reflectors and the
background
for the front grille.
|
|
I made the exhaust pipe tips from
styrene tubing, covered the ends with BMF and painted the insides flat
black.
|
 ..... ..... 
|
