 |
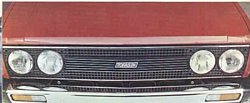
4 Headlights / Horizontal Taillamps |
 |
 |
 |
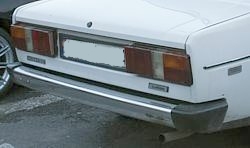
4 Headlights / Horizontal Taillamps |
 |
 |
Scale : 1/24
Started: 04
August 2013
Finished: 14
September 2013
Page 1 / 1
|
I
used another one of the blank front grille to make the 4 round
headlight type. Then I made a silicone mold and cast a resin part.
 |
|
12 August 2013:
I
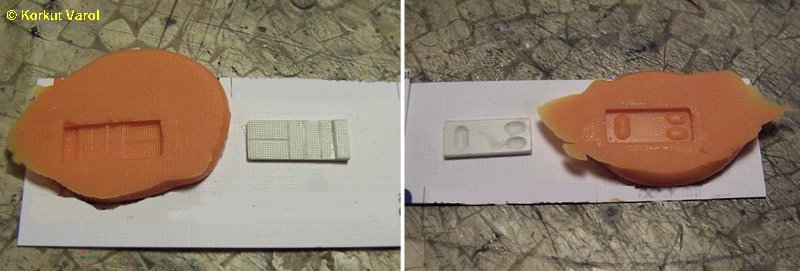
decided to make the taillights as two parts, the lens and the
reflector. I made both masters from styrene sheet. For the ripples on
the lens, I made use of the sticky carrier for PVC-folios. Then I made
molds from these masters.
|
|
14 August 2013:
I
cast the lens with UV-hardening Bondic and painted with clear paints. I
cast the reflector from resin and covered with Bare Metal Foil.
I had made the reflector on the left as a trial part. The concavity at the reversing light was too emphasized so I deleted it and made a new reflector. On the right are two different painting shades. 
|
|
For
the headlights, I first made a mold and cast a sample with UV-hardening
Bondic. However, the round lenses had to be thick to be properly
inserted in the front grille, and the Bondic turned out too yellowish
due to thickness. I did not like it, and thought of another method.
I slightly rounded the tip of an aluminum rod and scribed lines with a file. I heated a piece of acetate and pressing over the aluminum rod, the tip took the shape. Then I cut the tip at a proper distance from the end, and had the lens. Harder but more satisfactory method...  |
|
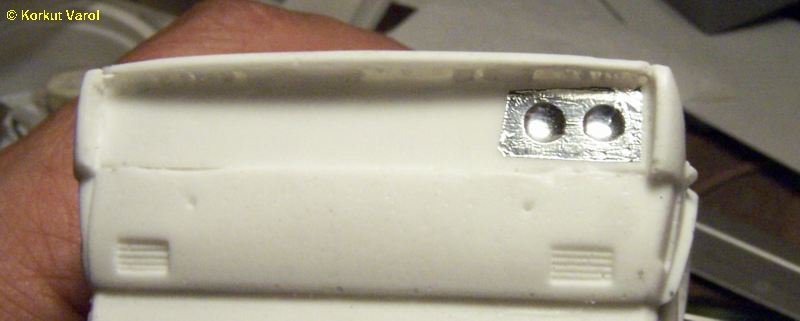
I
marked on the front panel, where the headlights would be, and carved
the reflectors with Dremel. I covered partly with Bare Metal Foil.
|
|
Checking
the headlights... On the left photo, the inner one has the lens and the
outer one is plain. On the right photo the Bondic-made lens that I
previously mentioned is present for comparison.
 |
|
Visual inspection with both
lenses in place.
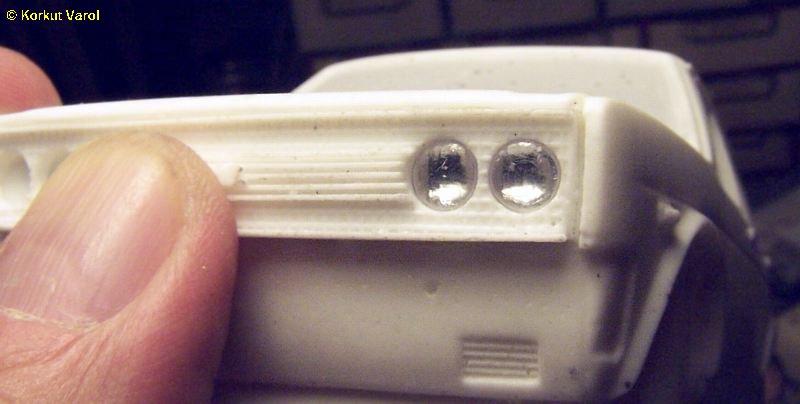 |
|
25 August 2013:
For
the horizontal taillight rear panel, I made the adaptation by glueing a
styrene slab to the bottom of the rear panel, then applied putty and
sanding.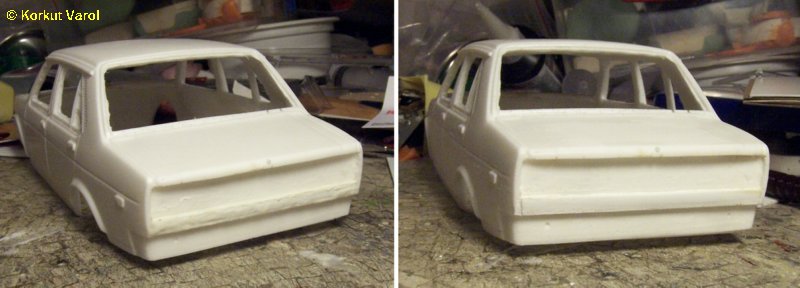
|
|
27 August 2013:
I
made the door rear view mirror from styrene and the mirror arm from a
metal wire. I made a mold then made a copy casting with metal wire
inserted. In the photos, on the left is the master and on the right is
the copy.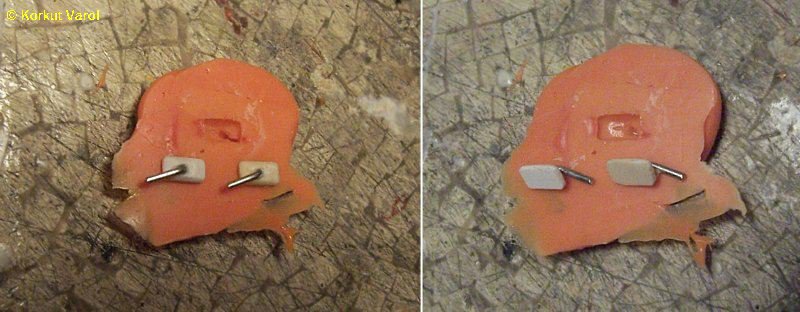
|
|
02 September 2013:
I
covered the floor and the seats. I printed the texture of the seats on
plain paper towel and fixed it on the seats with spray glue.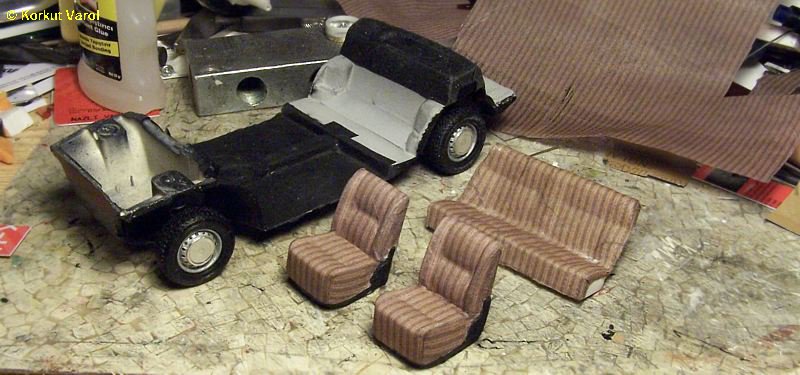
|
|
13 September 2013:
I
made two pillows to put inside the rear window. Not for this one, but
for another model, however I publish the manufacturing here.I downloaded a pillow photo from the internet, reduced to suitable size, printed on paper (symmetrically- both sides). Then I applied alminum duct tape on the back side and gave a bulge vith a suitable male/female die set.  |
|
After cutting the pillow sides on
contours, I glued them back to back.

|
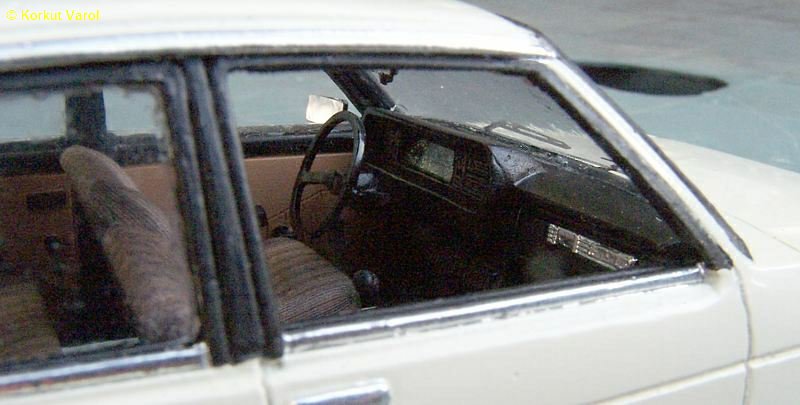
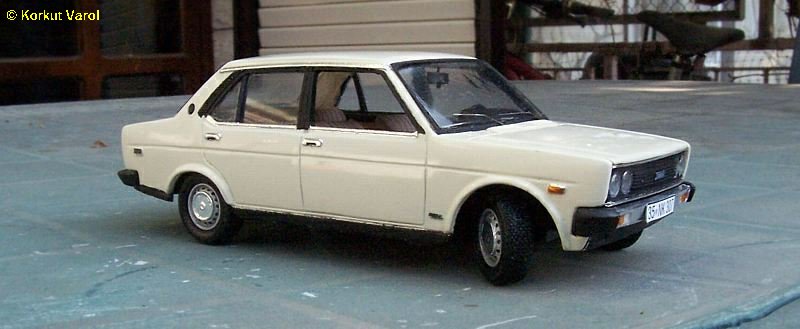
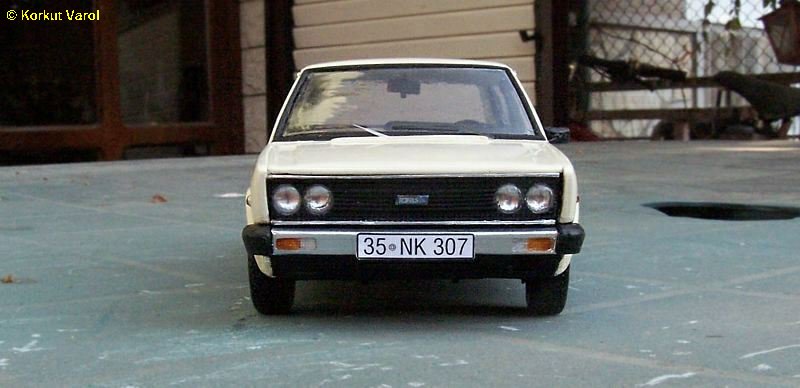
| 14 September 2013: Finished Photos |
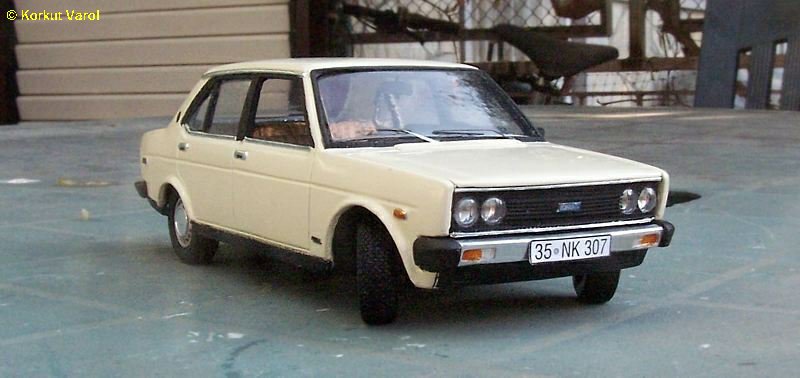
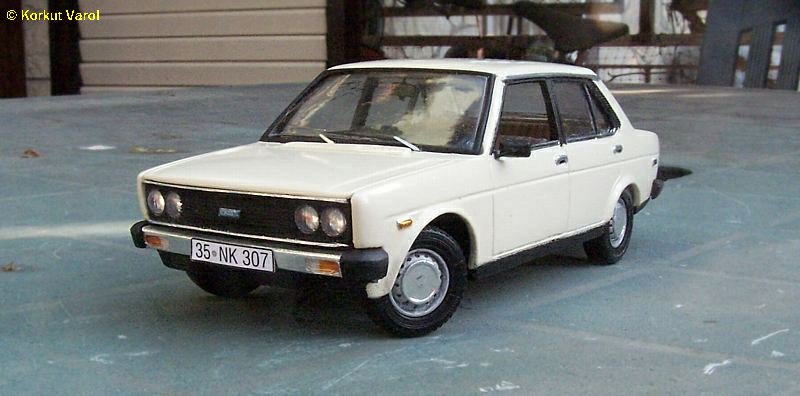
|
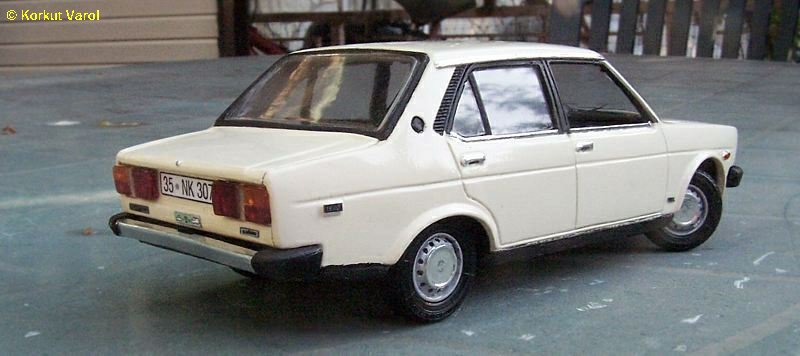
|
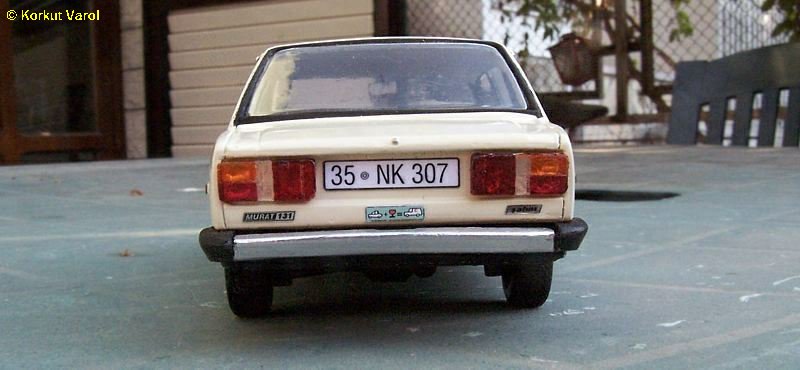
|
|
|
|
 |