 |
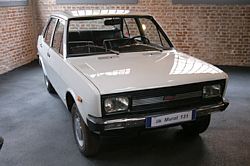
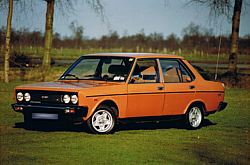
(FIAT-131 Mirafiori) |
 |
 |
|
|
(FIAT-131 Mirafiori) |
|
|
Scale
: 1/24
Started: 07
August 2011
Finished: 05 April 2013
Page 2 of 5
|
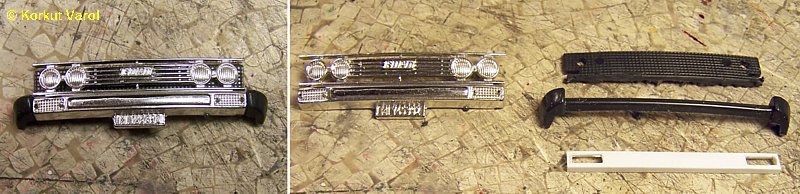
I
made use of the original part (rubber corners) for manufacturing the
front bumper. I cut apart the front part, made the center bumper from a
plastic "C" section.
 |
|
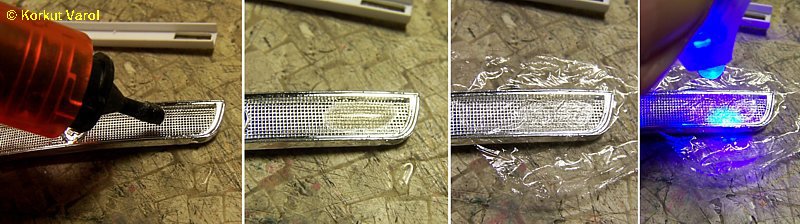
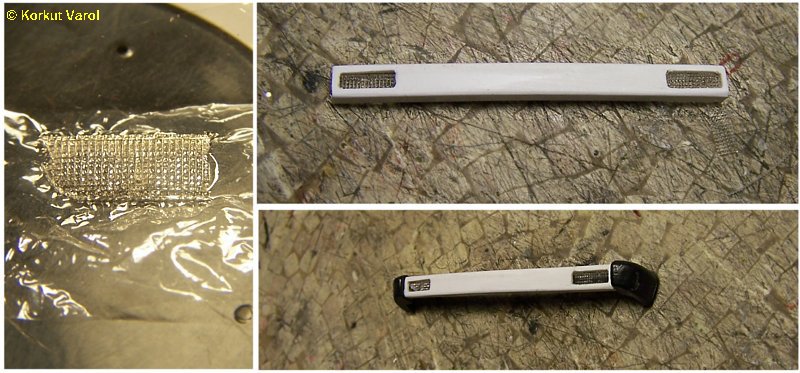
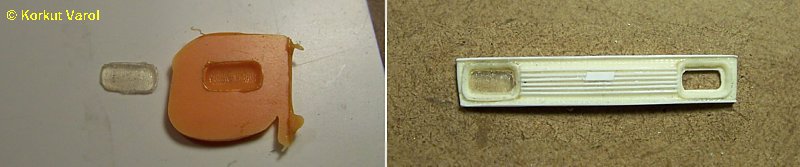
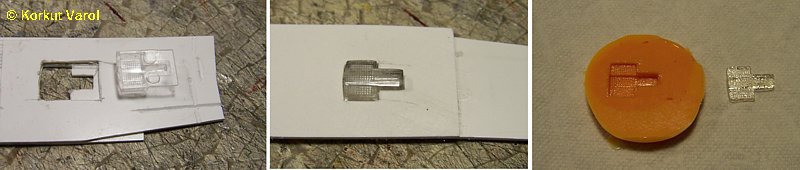
To
make the turn signal lens pattern, I found a suitable grille from my
parts box. I used Bondic (UV-curing synthetic material) for copying the
pattern. I lubricated the grille with 3M lubricant before Bondic
application, to prevent sticking. I applied a piece of stretch film
over it to make a flat part, then applied UV for curing.
|
|
I
cut the cast patterns, then glued them behind the openings in the
bumper, then fixed the whole to the original part to serve as the
master.
 |
|
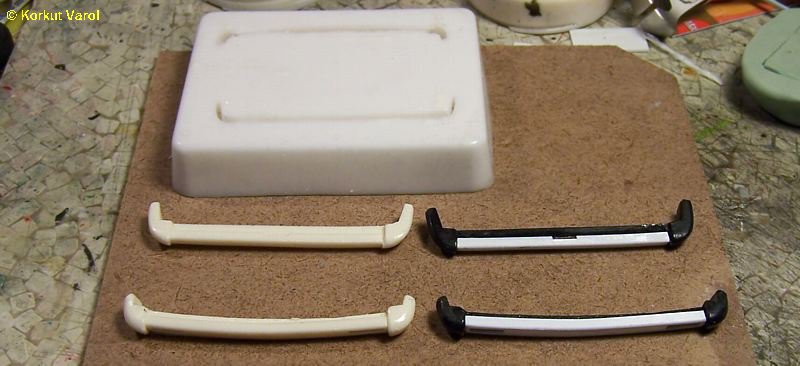
I built the rear bumper in the
same manner and made a silicone mold with both at the same time. Then I
cast resin samples.
 |
|
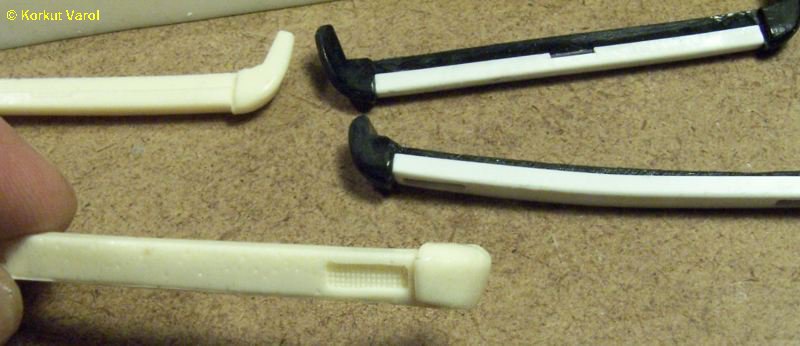
A
closer view of the bumpers.
|
|
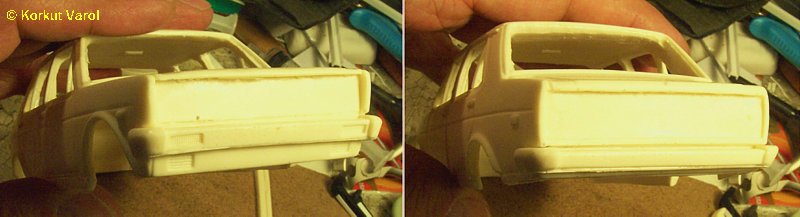
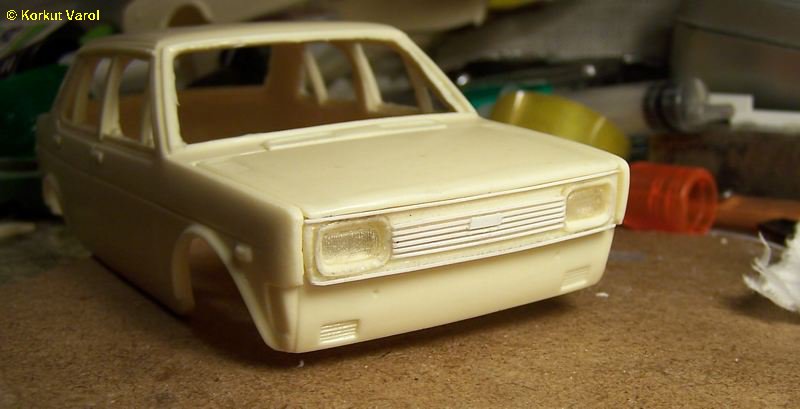
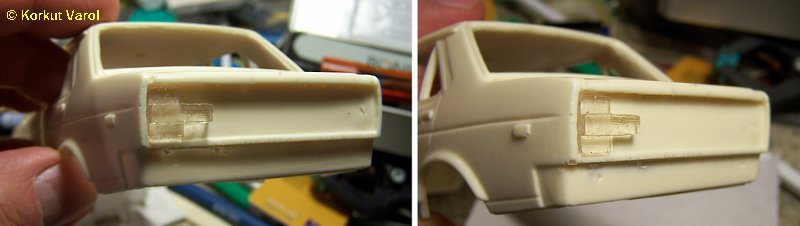
A
fit-check of the bumpers on the body.
 |
|
22 February 2013:
For
the front grille, I used the one cut from the original model, filled
the gaps with putty and took a mold. Then I cast a working piece from
resin.

|
|
23 February 2013:
For the headlight bezels, I used a copper wire, hammered it, bent and soldered to shape. 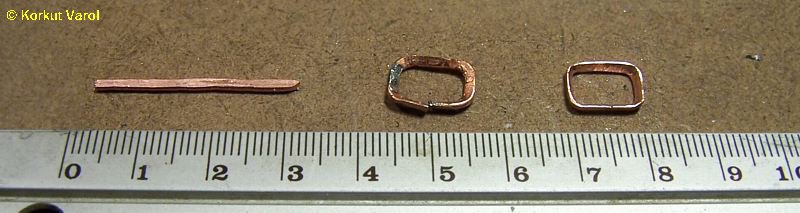 |
|
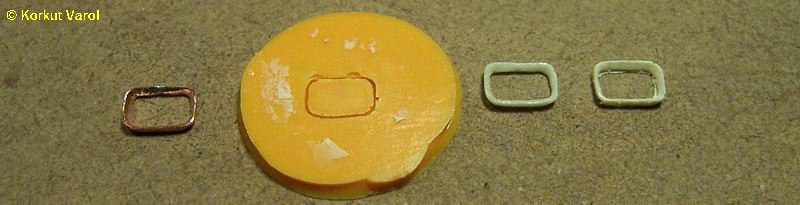
Then I used the copper bezel as
the master and made a mold, then cast 2 parts from resin.
|
|
24 February 2013:
I machined the areas where the bezels would sit, with Dremel, placed the bezels and glued. 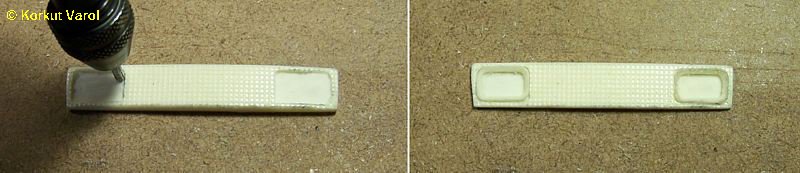
|
|
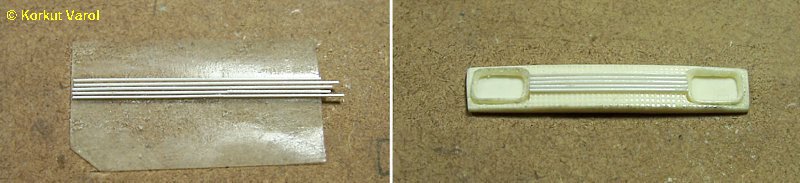
I made the center bars from
styrene, fixed them on double-sided tape and placed them on the front
grille.
|
|
I glued the upper and lower bars,
then made and glued the emblem base in the center.
 |
|
I found a suitable headlamp lens
from
my parts box, took a mold from it and cast a lens using Bondic.
Then I drilled the center, leaving only enough space for the
lens
to rest on.
|
|
A general visual check on the
body...
 |
|
26 February 2013:
I made a mold from the front grille and cast a resin part. 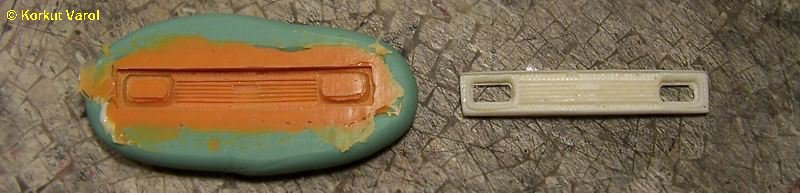
|
|
For the rear lamps, I made use of
the
ones from the Italeri 131 kit. However, since they were made to be
installed from the inside of the body, they proved to be too high to
stick from the outside.
 |
|
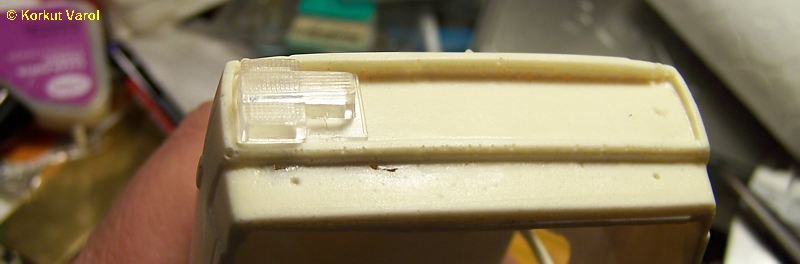
The master for the mold had to be
thinner than the original. So, I placed the rear lamp inside a housing,
with the proper part sticking out. Then I took a mold and cast a clear
resin part.
 |
|
Visual check for fit.
 |
 .... .... .... .... |