29 October
2005:
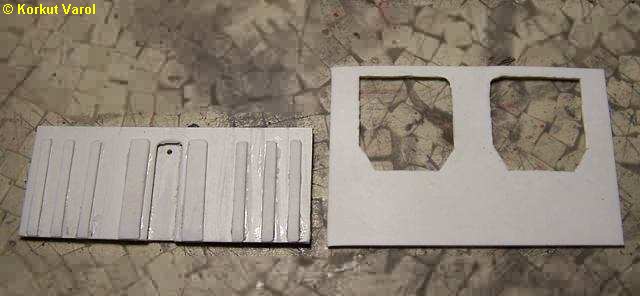
After making
enough sketches and drawings, I began with the front and central parts
of the floorpan. |
|
05 November
2005:
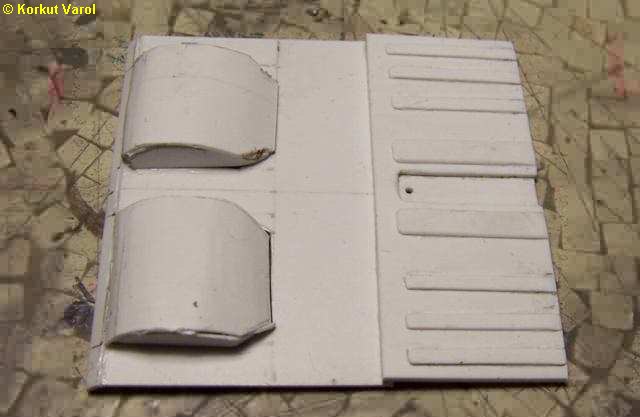
I continued with
the rough construction of the floorpan. |
|
06 - 22 November
2005:
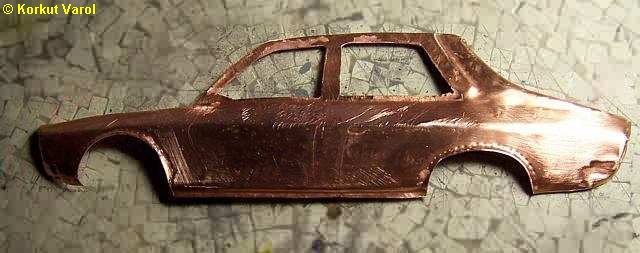
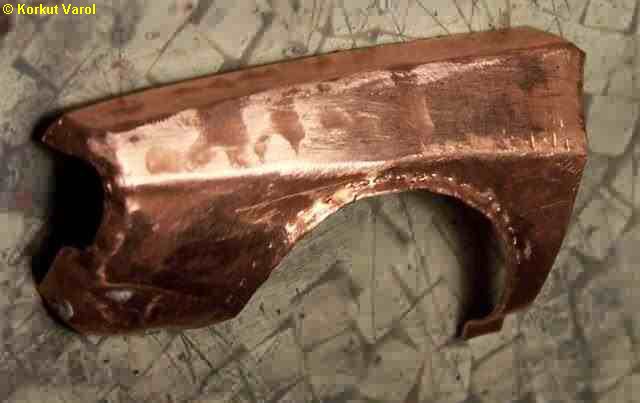
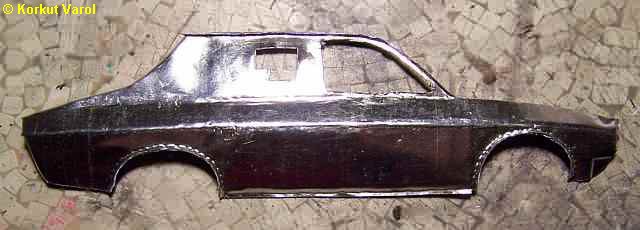
I experimented
on various materials for the bodywork construction. From copper as a
whole
and separate panels, from tin sheet, etc. I decided that plastic may
work
out better with this scale. |
|
26 November
2005:
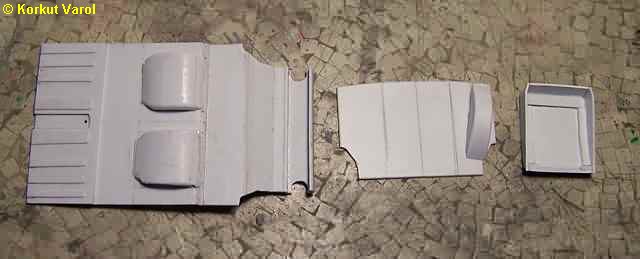
Continued with
the rear parts of the floorpan, the boot platform and the gas tank
shield. |
|
28 November
2005:
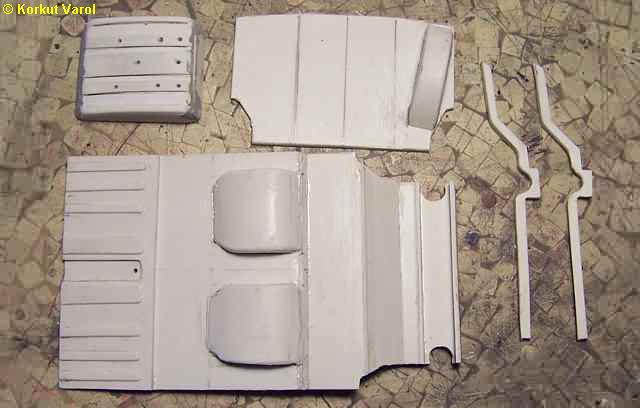
I detailed the
gas tank shield and manufactured the rear chassis arms. |
|
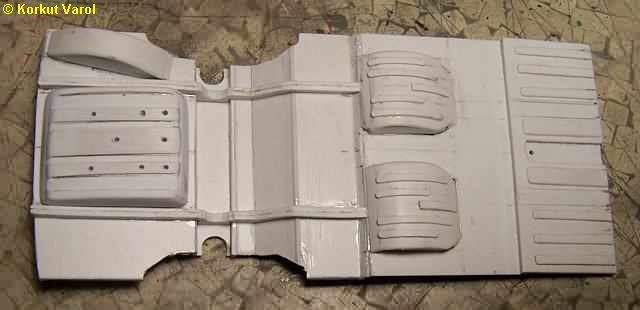
| Now
the bottom of the floorpan is beginning
to take some shape. |
|
29 November
2005:
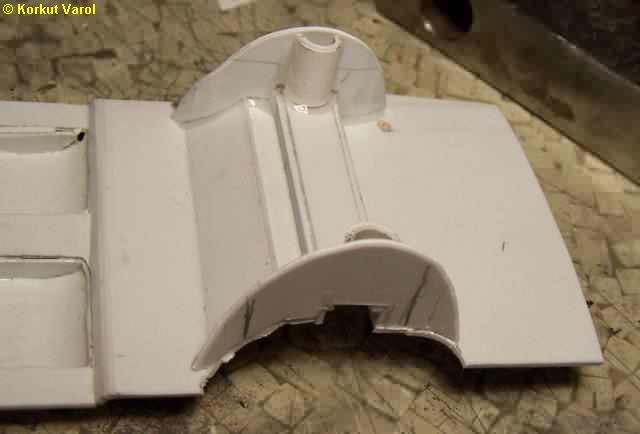
I manufactured
the inner sides of the rear wheelwell and shock absoerber housings. |
|
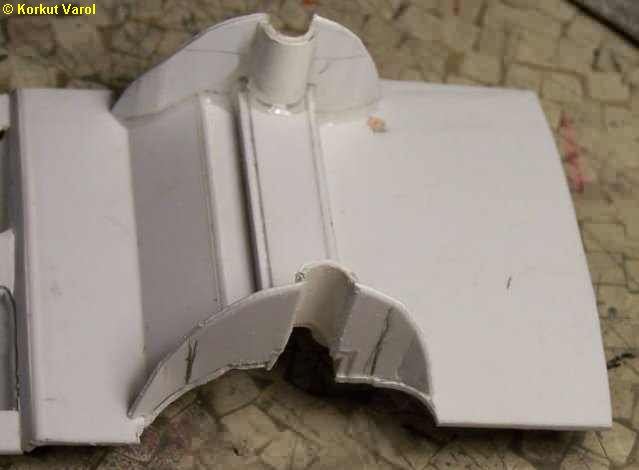
| After
curing, I cut open the sides
to reveal the shock absorber housings. |
|
03 December
2005:
I was dealing
with the deatiling of the bottom of the floorpan and leaving the top
(inside)
blank, but then I remembered that what I was building was a rally car
and
that the floorpan was bare metal! So the stampings had to be seen at
the
inside too!
Next move was
to disassemble the glued floorpan....
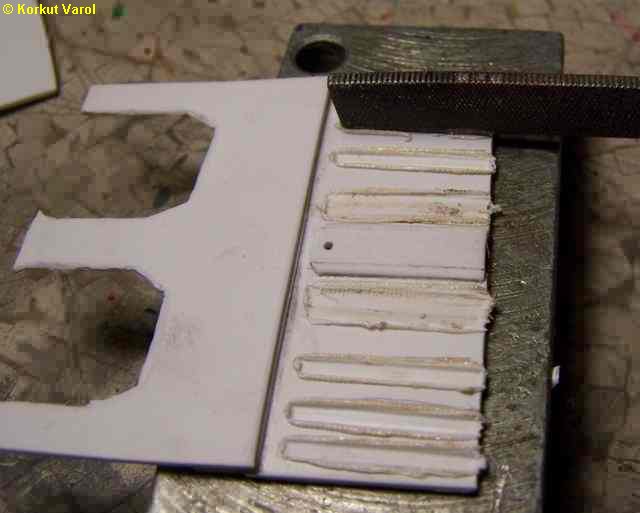
Then I imitated
the internal stampings by pressing the tip of a heated file on the
plastic.
|
|
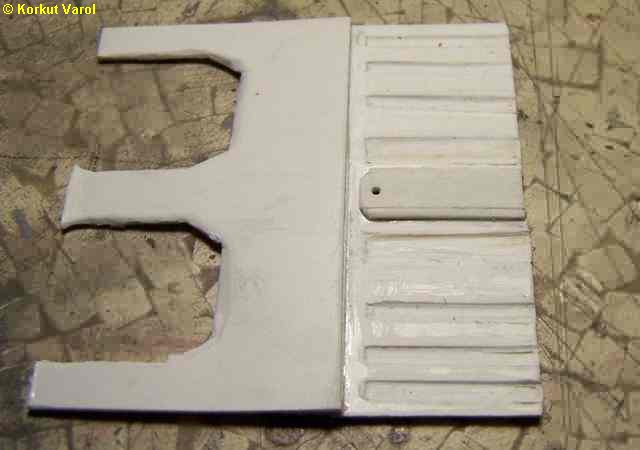
| Filing
and sanding clean, the stampings
exist at the inside too. |
|
06 December
2005:
But the rear
"pans" in the floorpan coulsd not be made by any heated tips or so, due
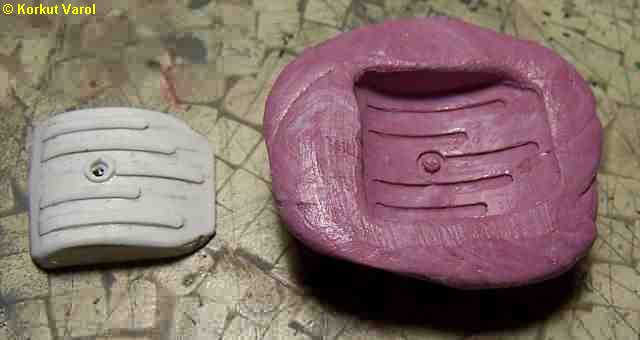
to the curved surfaces. So first of all, I made a female mold from the
plastic I had manufactured. |
|
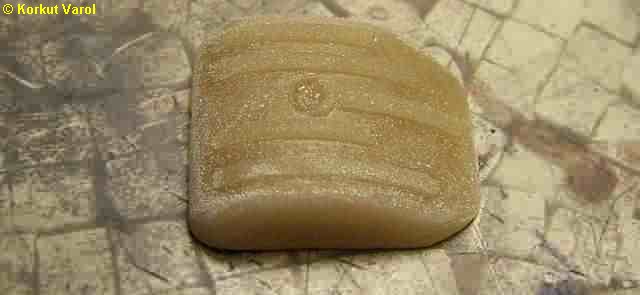
| I
cast a full resin male in the silicon
mold. |
|
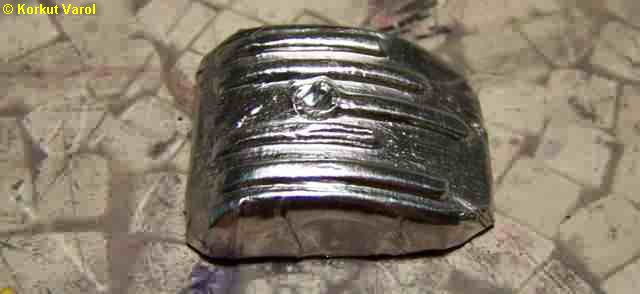
| Then
I pressed a 0.2 mm thick aluminium
foil over the male, to make a "pressed steel panel duplicate"... |
|
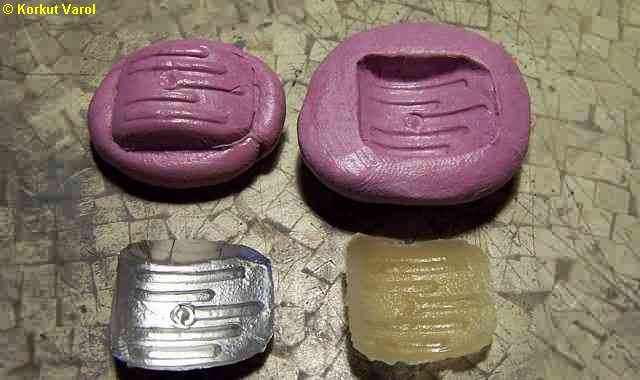
| I
prepared a second female and another
male around this metal part, so that the male and female molds had a
sheet
clearance between them. Then finally, I cast a thin resin part to go in
the recess in the floorpan. |
|
10 December
2005:
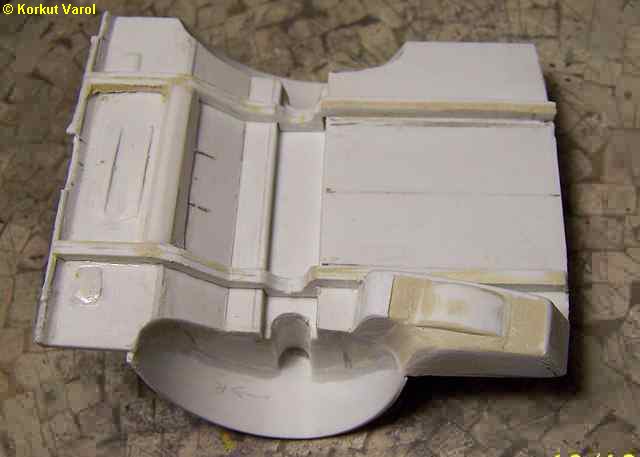
I corrected the
spare wheel storage space, made the stampings in the rear seat area and
applied some putty here and there. |
|
13 December
2005:
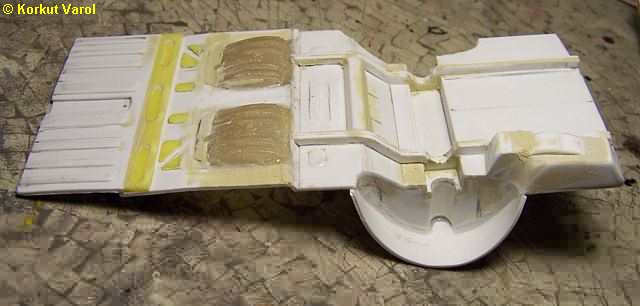
I had glued the
resin pans in before, now I applied putty around them for smooth
transition. |
|
13 December
2005:
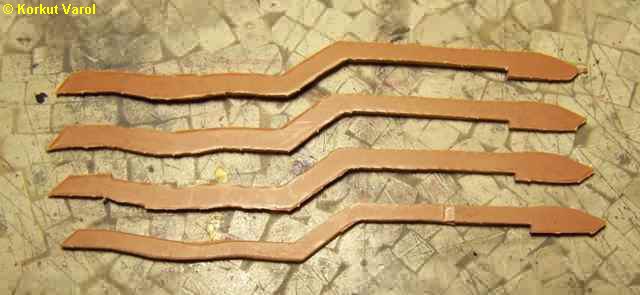
I started manufacturing
the front chassis arms. To scale the true width, two strips of 1.5 mm
thick
styrene per side was cut. |
|
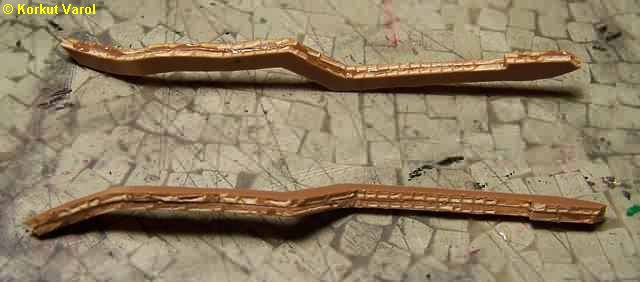
| Then
I joined them in pairs as in the
photo. |
|
|
|

|

|
