24 November 2016:
I prepared the inner frame of the
rear door.
|
|
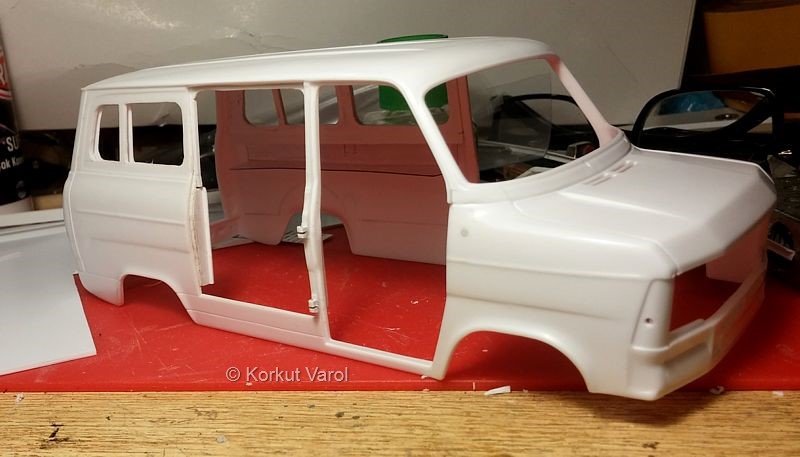
25 November 2016:
I made the inner of the B-post,
then installed the door and checked the opening and closing.
|
I prepared the
C-post inner and glued in place.
|
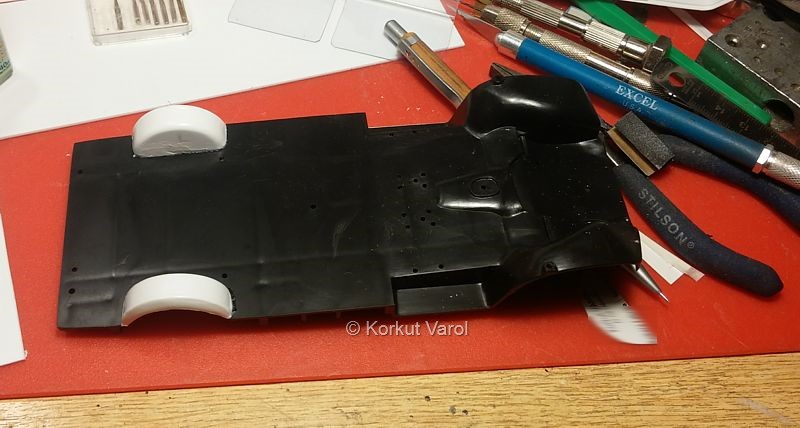
28 November 2016:
Since
the vehicle was a minibus, I did not want to use the bare sheet metal
profile of the floor. So I trimmed the rear wheelwells and glued them
on the main floor.
|
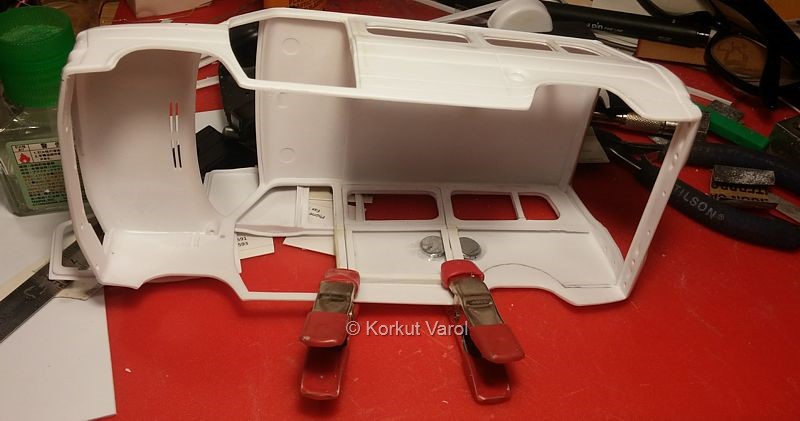
I glued two magnets inside the
body to hold the door in place.
|
29 November 2016:
I prepared the
sections where the inner panels will rest on.
|
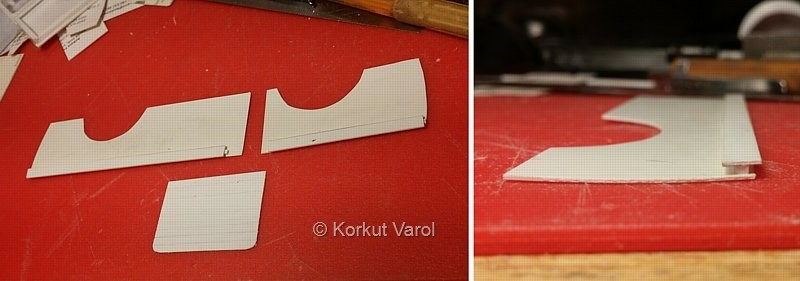
I
made the inner panels. I made the top of the panels as notches that
will mate with the bottom part of the window inner panels.
|
30 November
2016:
I started
manufacturing the roof top luggage from wire.
|
02 December
2016:
I finished the
upper part of the roof luggage rack .
|
03 December
2016:
Manufacturing
the supports of the roof luggage rack. I drilled the feet
points
of the rack through a balsa block, inserted a spacer for the roof gap
and bent the wire supports. Then I glued the upper part with
CA
glue and activator. I cut the supports where they enter the balsa block
and took out the rack.
|
I drilled
blind holes for the rack supports and placed the rack, testing for
matching.
|
I
made the stairs from wire, and shaped it to the ridiculous shape as in
the original vehicle. The stairs will be the last item to be installed
on the model.
|
04 December
2016:
The
turn signal outline in the fender was straight, and not angled like in
the facelift model. So I made a plastic substitute for the turn signal
and applied polyester putty in the remaining void.
|
05 December
2016:
I
noticed that the task was not over with just the turn signals. The
front grille height was narrower in the previous version. So I glued a
styrene strip at the lower side of the grille void and adjusted the
turn signal heights accordingly.
|
10 December
2016:
I made a shaping
die for manufacturing of round headlight bezels.
|
I squeezed a piece of acetate
between two lower layers of the die
I heated the acetate wit a heating gun and softened the acetate.
I deformed the acetate with the rod.
|
The acetate as raw outcome from
the die
Piece trimmed and headlight hole punched.
|
I cut off the lower part of the front grille to match the grille void.
|
I made the same operation above with styrene sheet and made the bezels,
glued inside the grille, applied putty and base coat.
|
|
11 December 2016:
I manufactured the bumpers from
brass U-sections. I made the rubber end for the left rear bumper from
styrene block.
|
I
made and shaped the rubber end for the right side of the front bumper,
from copper sheet and fixed it to the bumper by soldering.
|
|
 ........ ........ ...... ......
|
