|
|
 |
Original Kit: Revell Snap 7106
Date Started: 03 June 2004
Date Finished: 21 August 2004
.
Page 6 of 6
|
|
 |
Unfortunately, the small and practical battery proved to be insufficient for lighting all, especially the headlamps. So I had to put in 2 AAA size batteries in parallel, behind the seats. But now, to change batteries, I will have to take the body apart and solder in two new batteries.
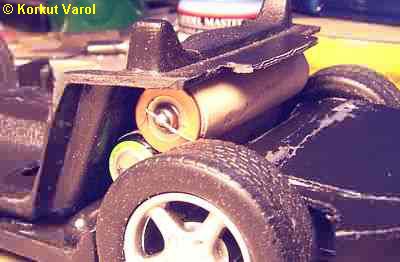
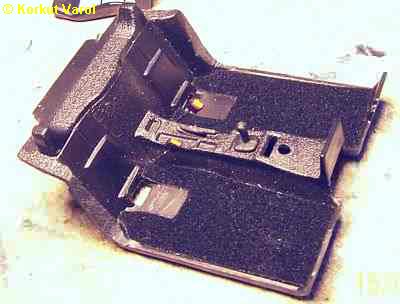
Unexpected last minute disaster!
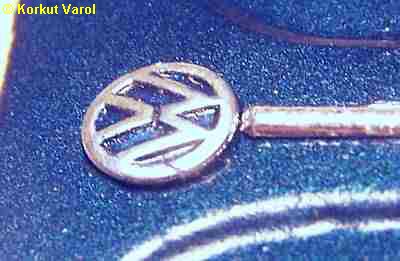
I prepared the hood chrome trim from a BMF coated 1 mm half-round styrene strip and fixed it with Humbrol Clear Fix, with which I fix clear parts with no problem. Minutes later, the sides of the strip was like in the photo... It had eaten the clear coat!

I tried with sanding and puttying but no way... I had to take the strip away and repaint the hood again.
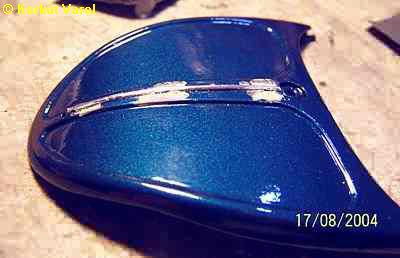
I fixed the strip
with the hood paint this time! I painted the background of a VW emblem
(remaining from a Tamiya kit) with the body color too.
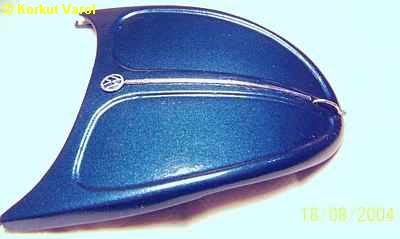
I manufactured the grab handle from a headed pin and fixed it with epoxy. Then I clear coated the assembly. Below are closeups.
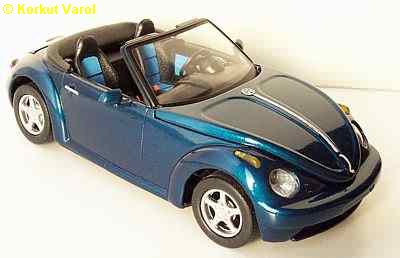
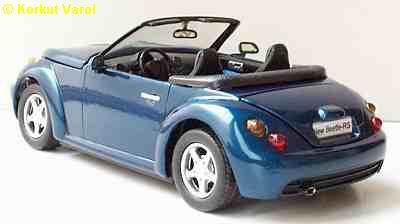
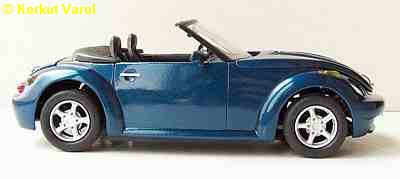
August 21, 2004 :
The happy end
at last...
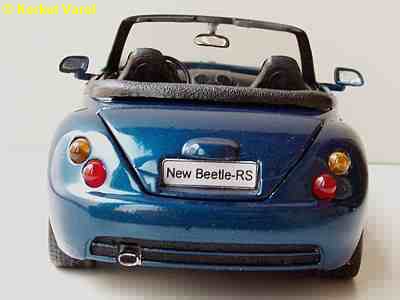
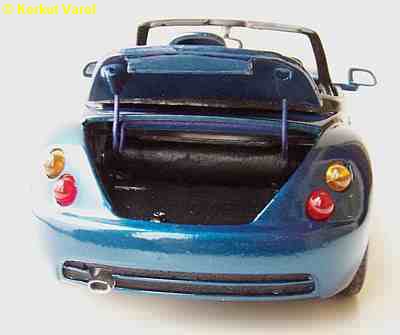
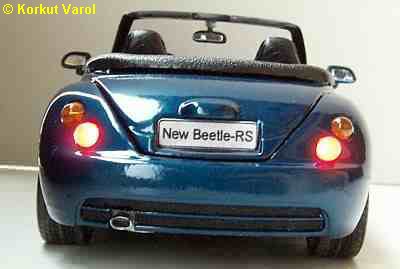
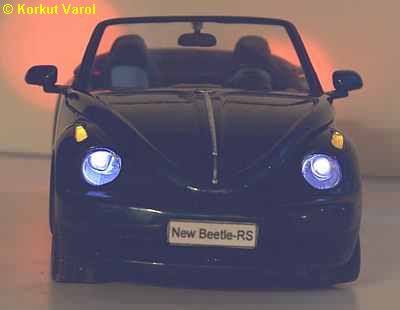
Various pictures
showing
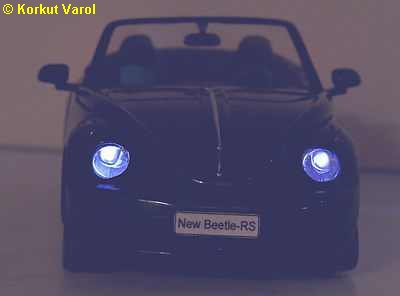
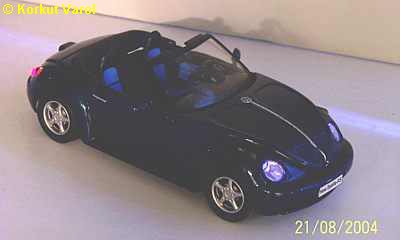
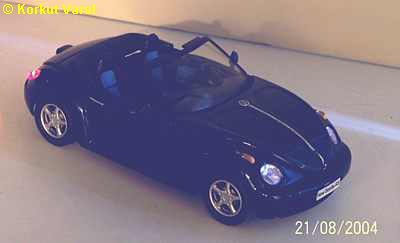
the lamps both normal and lit. The hazard lights flash at about 1 hertz.
 ..............................