Started:
10 May 2000
Finished:
23 October 2000
Page 1 of 7
Another step
in playing with the New Beetle. Now I thought of creating a "New
Microbus" from it.
10 May 2000:
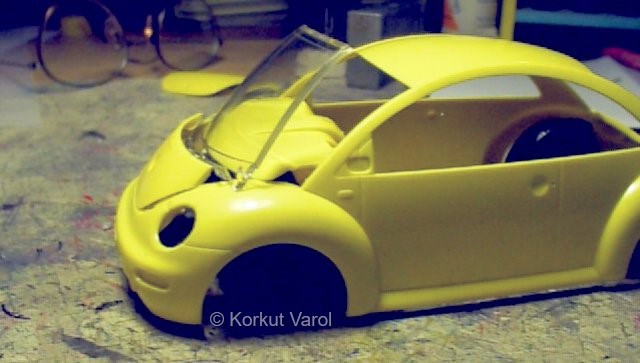
The first visual try. I used the rear
lid at the front for a steeper front profile. I mounted the windscreen
also at a steep angle and decided that I could go on.
Going on
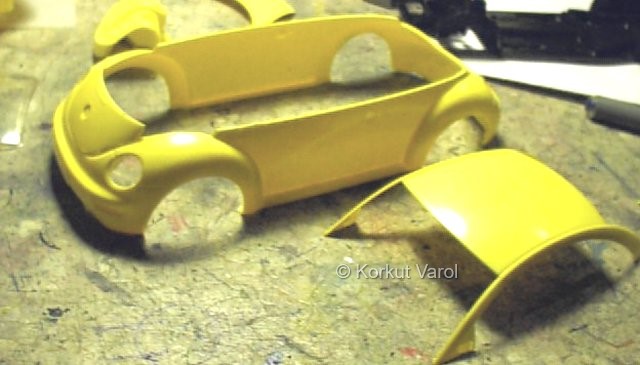
meant cutting the roof away,
and so I did.
Since the
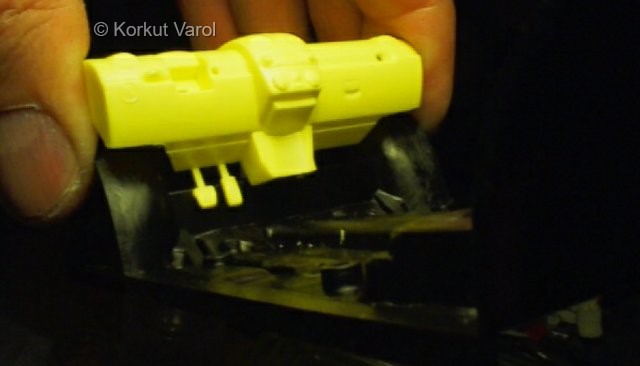
dashboard would be up in the
front as much as possible, I cut recesses to take wheelarches in, at
the
bottom. Notice that the clutch pedal is removed. This means that this
vehicle
will inevitably be with automatic transmission.
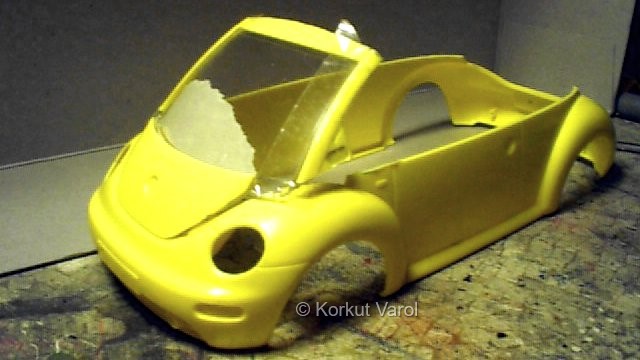
Now I cut the
windshield frame from the
roof and held everything together with tapes.
Taking the
windshield to the front results
in going outwards from the normal contour of the body side panel. So I
cut a pattern from cardboard, and carried the profile on the fender and
then made the contour of the hood with felt pen.
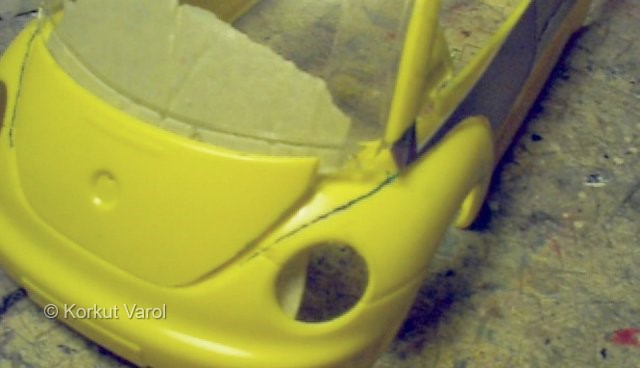
I cut styrene
pieces and glued them to
the sides of the hood.
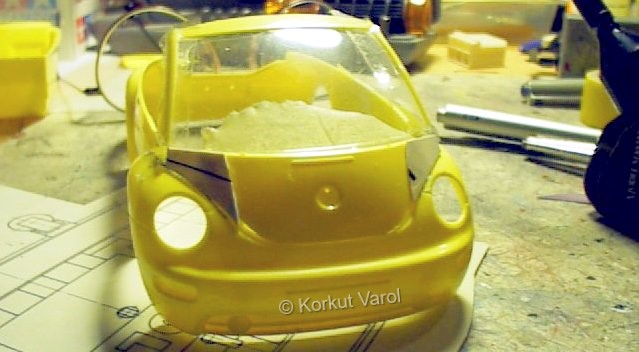
21 May 2000:
I
separated the fender and body with a
scriber.
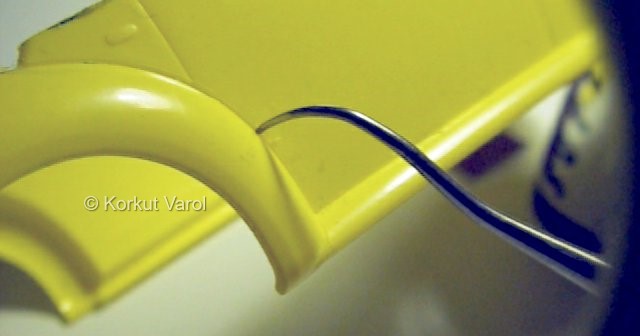
Now the side
panel is shifted on the drawn
contour line.
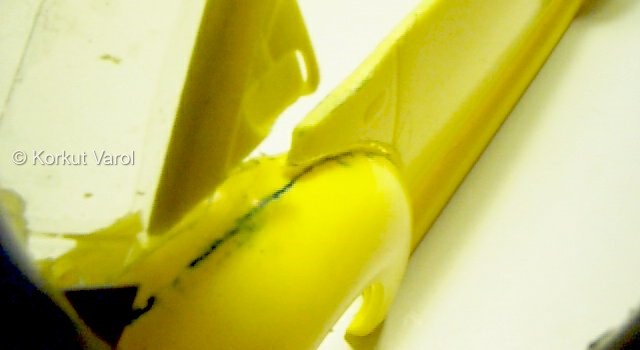
Styrene parts
were cut and glued in the
gaps between the side panel and the hood extensions.
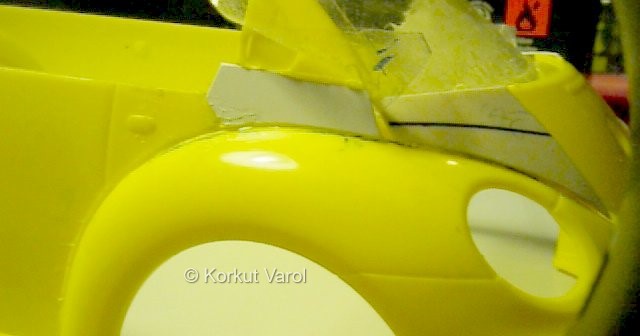
I poured
resin in the cavities that were
formed by the styrene hood extensions at the sides and carried the
resin
over up to the side window for added strength. To have good grip, the
plastic
was roughened with the scriber before pouring.
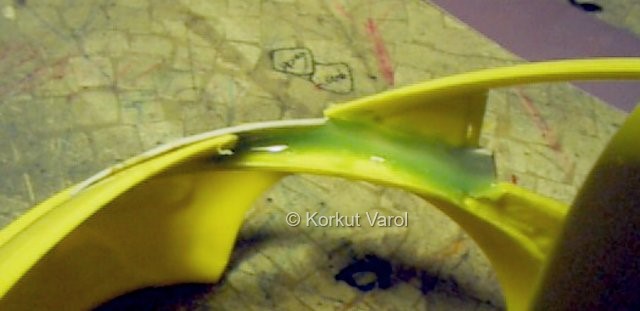
After the
resin cured, I removed the styrene
extensions. the hood is now extended to the sides. I filed the
combination
roughly at this stage.
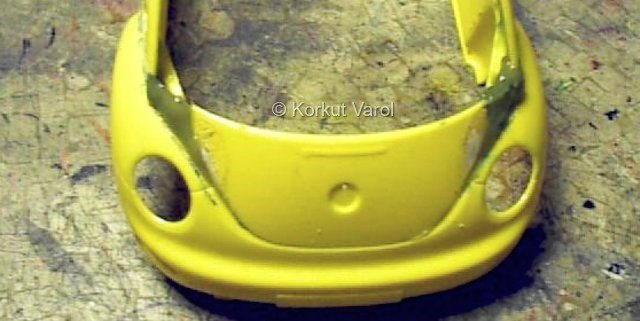
Now I changed
my design basis. I decided
to make it a camper vehicle, rather than a monospace minivan. I decided
to raise the roof so a man could stand up in the vehicle. This also
required
stretching the wheelbase. So I cut two styrene strips and glued them in
place in the A-posts. This will require a scratchbuilt windscreen and
other
glazing. I can do that..
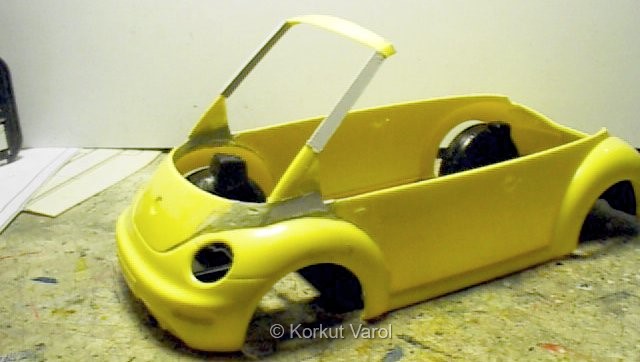
I had a
second chassis left from the Nascar
Beetle. I cut the two as shown at the right. This combination will
result
in an extension of 30 mm. (That means 720 mm in reality)
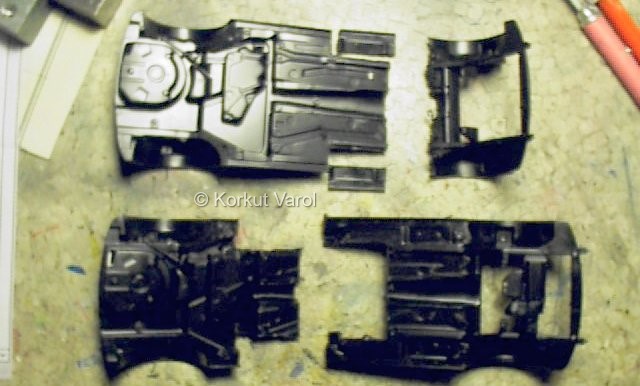
The two parts
are shown. The joint is
done in the zig-zag form to ensure a strong bond.
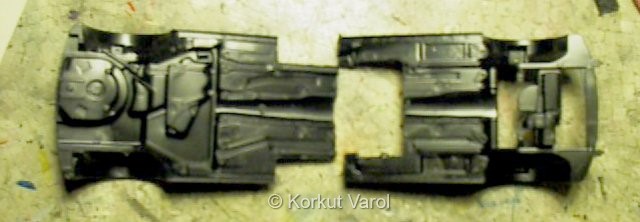
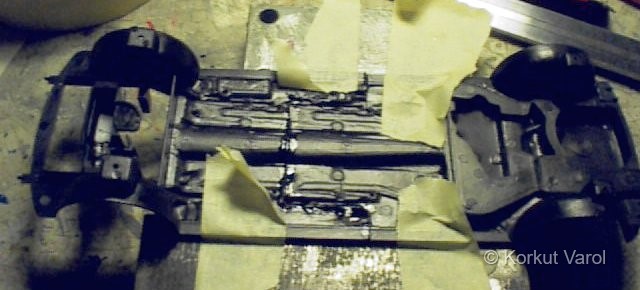
The two parts
are joined together, by
securing on metal blocks to ensure a level bonding.
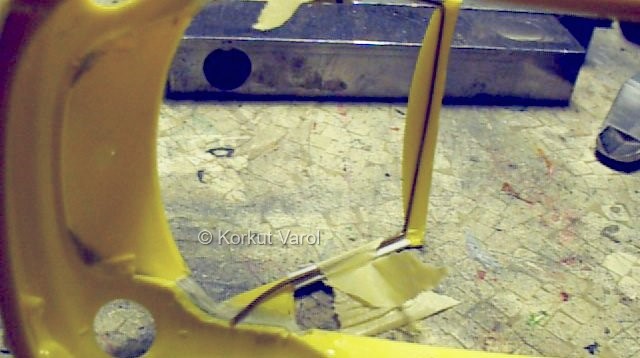
22 May 2000:
I
reinforced the A-posts with a brass
wire bent to proper shape and bonding the whole with superglue.
 ............................


 ............................