
|
EFES
PiLSEN
Beer
Can Truck
|

|

|
.
.
Started:
01 April 2006
Finished:
22 April 2006
Page
2 of 3
08 April 2006:
I glued the leaf
spring assemblies below the chassis.

Next, I had to
decide on what I should use for the whels and tires. Since this was a
truck
utilizing as much Efes Pilsen materials as possible, I gave up the idea
of using wheels and tires from my parts box, and went on to
manufacturing
them from bottle caps. I made a press die set for the wheel center
effects.
For the fronts, I made a convex stamping and for the rears, a concave
one.
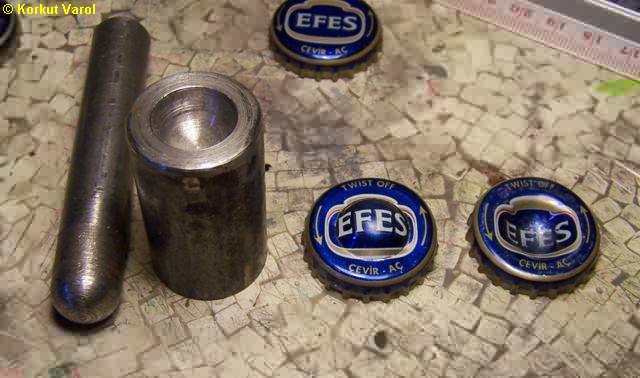
Now
the fuel tank is glued to the chassis.

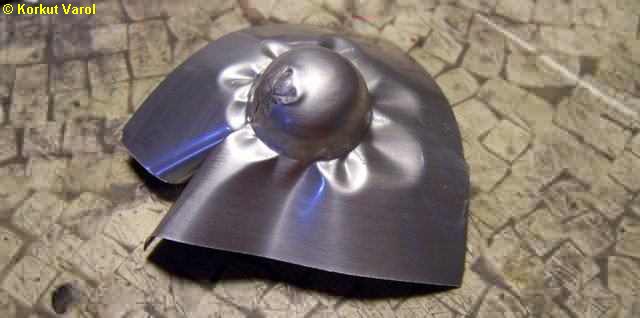
For
the differential casing, I made
two stampings from the can aluminum like the photo, and trimmed.
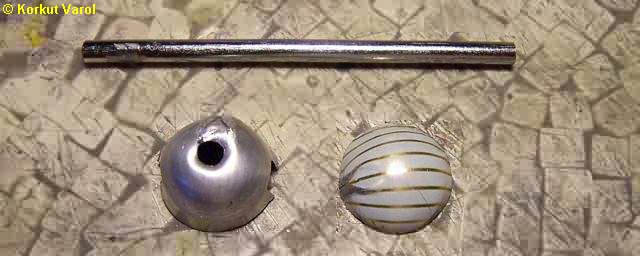
Parts
to form the rear axle and differential.
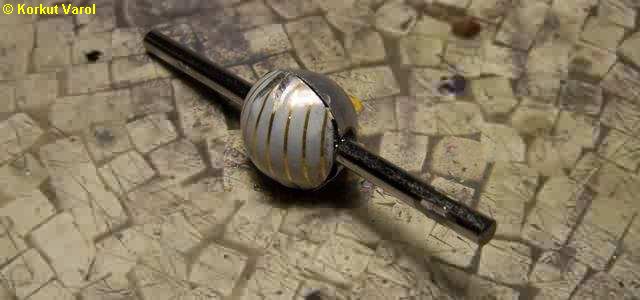
The
rear axle assembly.
Then
I drilled one pair of "rear wheels"
for the axle, and fixed the rear double wheels on the axle by kneaded
steel
putty between the wheels.
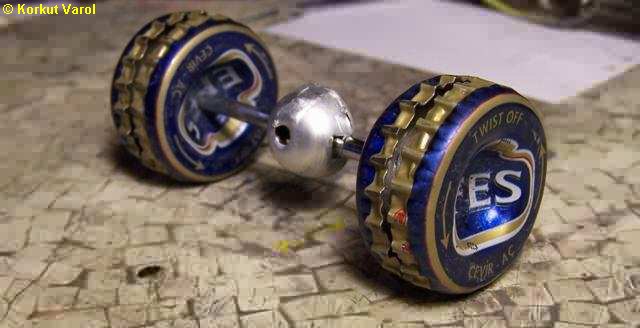
I
also prepared the front axle with
kneaded steel putty and steel wire, and with the wheels posed slightly
to the left.
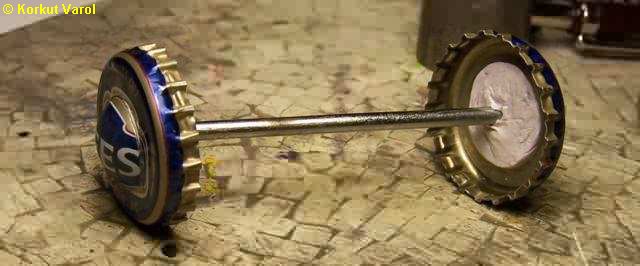
Then
I glued the front and rear axle
assemblies to the leaf springs and got the "rolling" chassis...
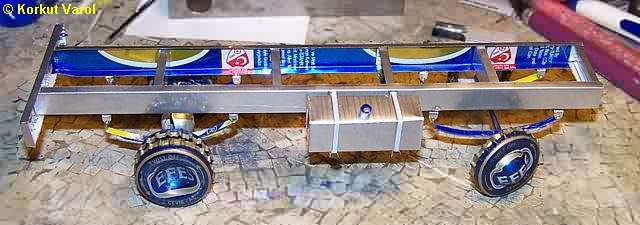
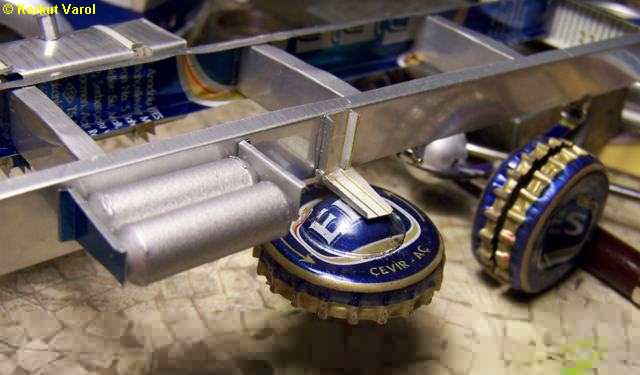
For
the air tanks, I prepared the domes
by forming the beer can metal and some plastic tubing for the body.
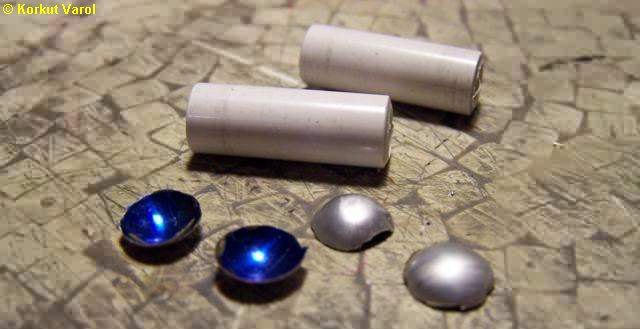
10 April 2006:
I manufactured
the air tanks assembly by making two mounting brackets and glued them
on
the chassis too. I also made the spare wheel and the hanging bracket as
in the photo.
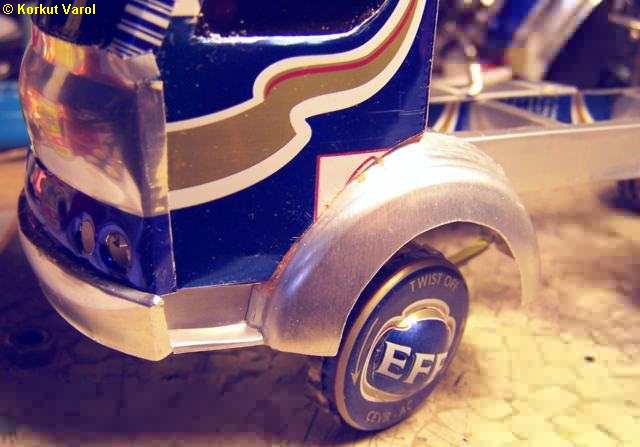
I
tailored, bent and installed the
ladder steps between the bumper and the mudguard.
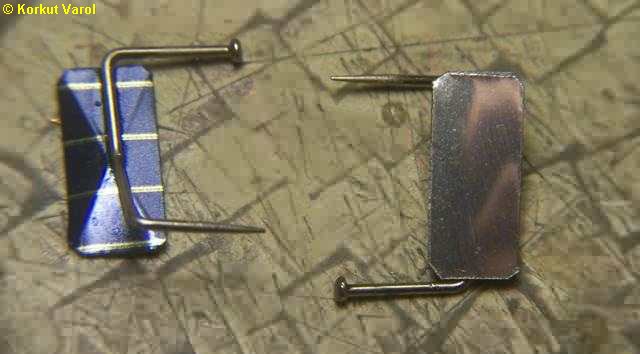
I
made the mirrors from the can aluminum
as in the photo. The mirror itself is a separate piece from a bright
polished
beer can. You can see the reflection of my fingers holding the camera...
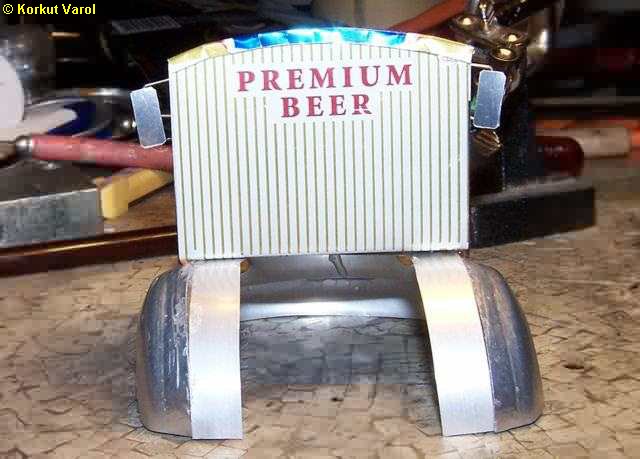
Then
I glued the mirrors on the cab.
I
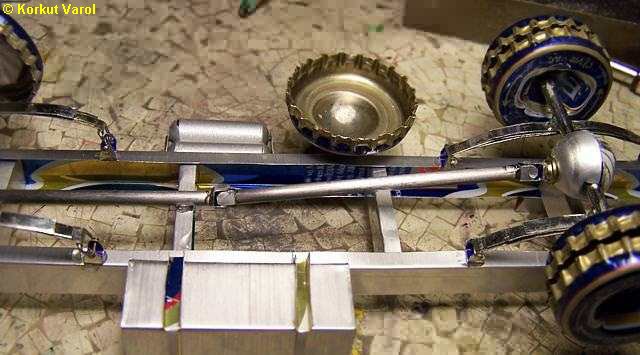
made the drive shafts from steel
rods with formed and glued joint ends from the beer can.

11 April 2006:
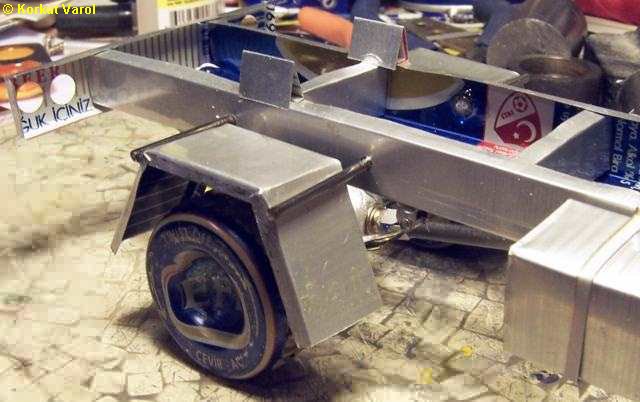
I manufactured
the rear mudguards.

Then
I glued in the driveshafts.
I
fixed the rear mudguards to the chassis
by brackets made from steel nails, with epoxy glue.
 ....................
 ....................


 ....................