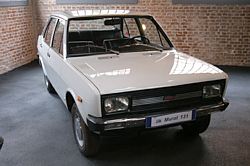
Die-cast
and Italeri's 131 Abarth bodies side by side. I will use the boot lid
from the Abarth body to replace the unauthentic boot lid of the
die-cast.

12 August 2011:
I drew the parting
lines of the boot lid, front fender and front door.

13
August 2011:
I
dismantled the body and removed the paint by automotive paint remover.
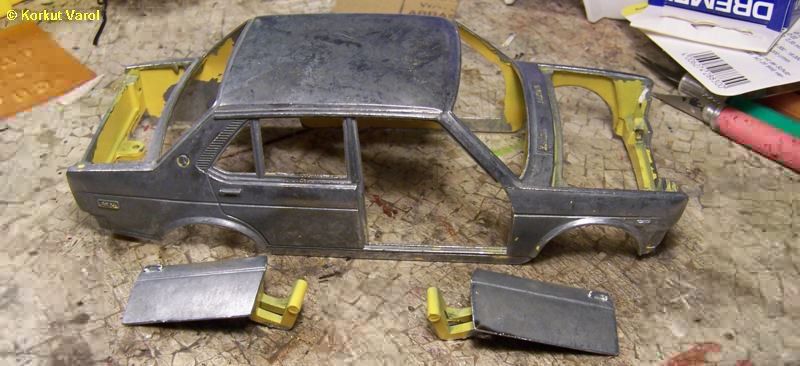
I
engraved the parting lines of the front fender and door with Dremel
engraver.
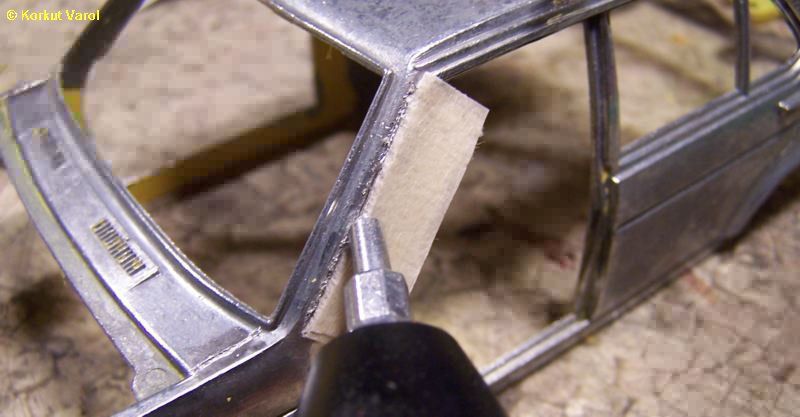
14 August 2011:
I
removed the metal from the boot opening with Dremel cutter. I also cut
the boot lid off from the Abarth body and scraped the rear spoiler.
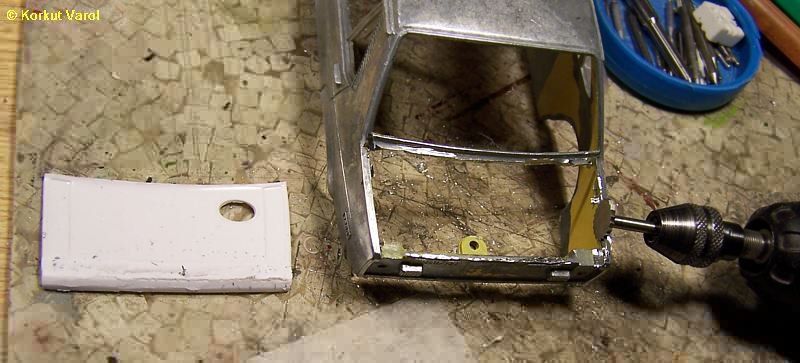
28 June 2011:
I
trimmed the rear opening until only the window rubber was left.
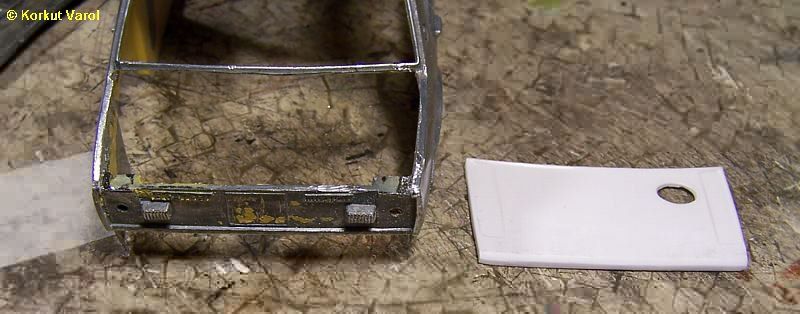
I
sanded the parts until the boot lid fit in the opening properly.

04 September 2011:
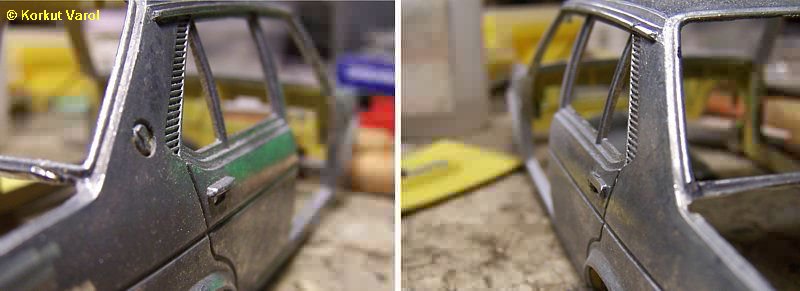
The
scripts on the back and side rear panels were big in proportion, and
different from the Turkish production; so I shaved them off.

The door handles
were too highly cast, so I shaved them proportionally.
02 October 2011:
The
air intake grille region on the cowl was out of proportions, so I
copied from Italeri's Abarth which was far better than the diecast one.
The part I cast would stand too high on the present cowl, so I machined
the region and glued the part in with CA glue.

04 October 2011:
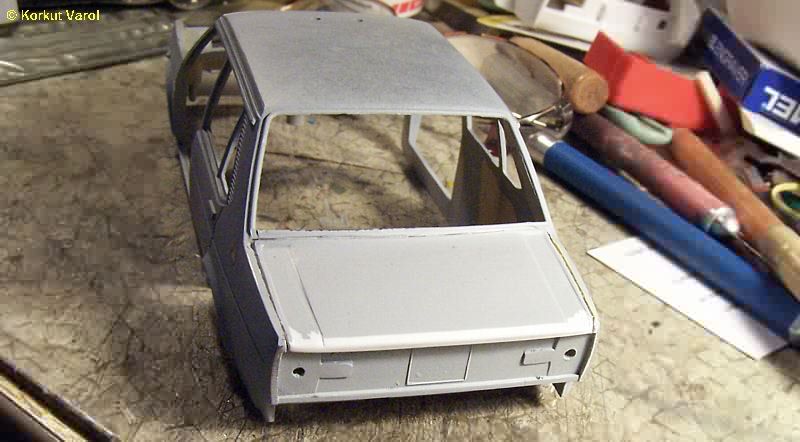
I filled the hole
in the boot lid, applied putty and sanded. Then I glued the boot lid in
place with CA glue.
08
June 2012:
The side window
frames and the B-post should be the same level, however they were not;
so I had to make some corrections.
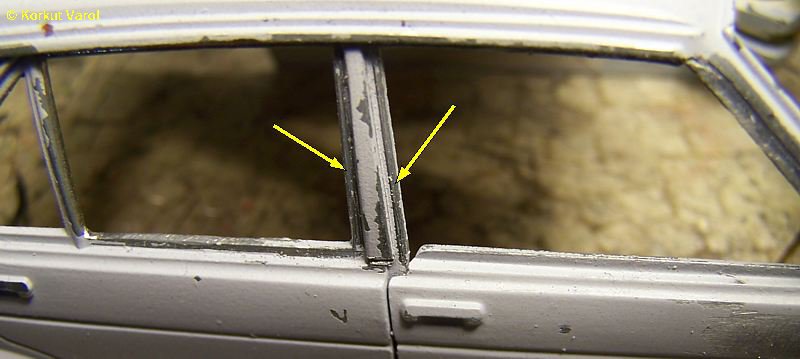
I manufactured the
frame-fillers with brass sq. section at the front and styrene strip at
the rear.
Reason:
Different required thicknesses at the front and rear.
I
also added the quarter-glass bar at the front, which was present in
early Turkish made productions.
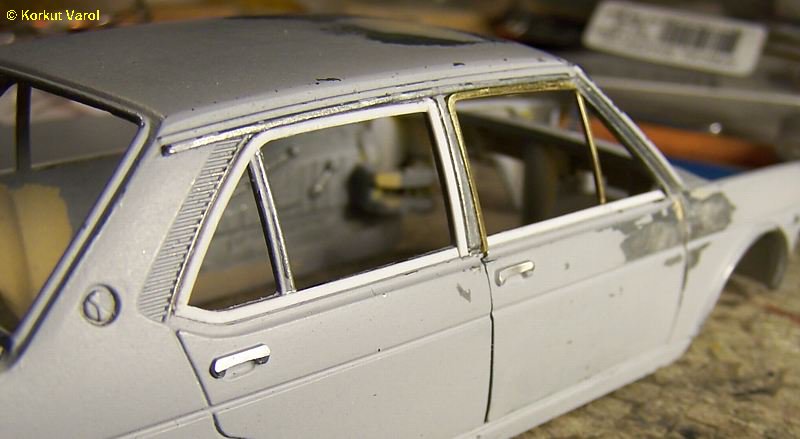
After
finishing the window frames, I cut the front end so that the front
grille will fit and closed the unnecessary openings with putty.

10 June 2012:
I
did not like the details of the die-cast hood and the grilles on it, so
I decided to use the hood of Italeri kit. I cut off the air intake,
glued a piece of styrene and applied putty and sanding.

29 December 2012:
Before
pouring the silicone mold, I fixed the hood and the glasses on the body
and sealed every joint with Testors clear part cement to prevent
silicone leakage. I fixed the master model in the silicone-pouring box
with UHU Patafix, then I poured the RTV silicone in the box.
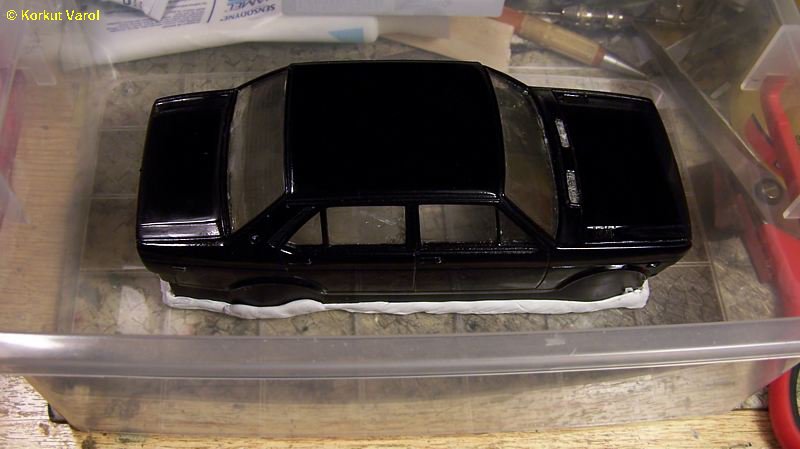
03 February 2013:
After
the female mold was ready, I prepared a male mold and cast the first
sample. However, this sample proved to be too thick in the shell, so I
thinned the body shell by removing material. Then, using this shell, I
made the male mold.
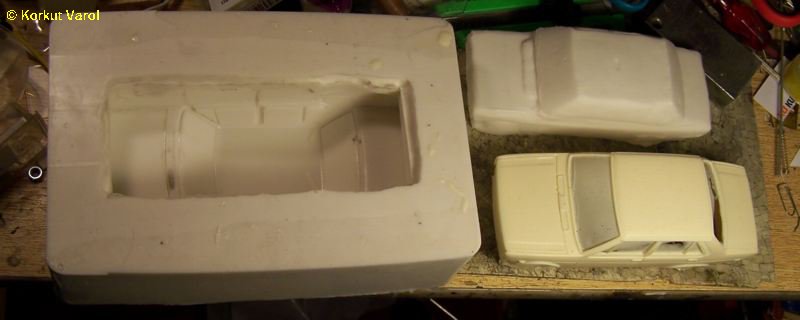
Pictures of the second cast body
shell.

I prepared the instrument panel
for casting, made the mold and cast a resin part.

 ..................
