26 February 2011:
The original
model's photos before disassembly.
27 February 2011:
After
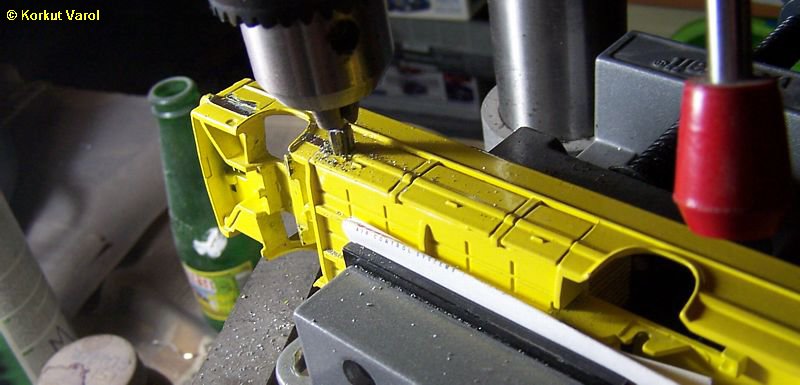
disassembly, I fixed the opening parts with superglue. The first
operation was to shave off the lower bulging section that our version
does not have.
04 March 2011:
The
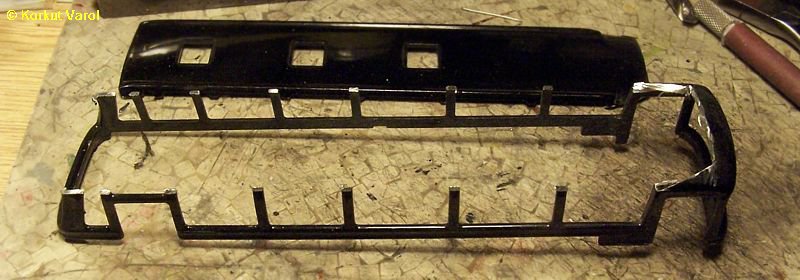
most outstanding difference between the two versions is the upper
section. The side pillars are curved and the roof is stepped.
I
cut the roof and straightened the curved pillars.
06 March 2011:
I made the
roof from brass sheet by bending and hammering, then fixed with both
superglue and epoxy glue.

I
carved the upper edges of the windshield frame to a more straight path
to come closer to our version. I also shaved some metal to narrow the
A-pillars.
I made the rear window frame with the central pillar and fixed it to
the roof with solder and with superglue to the body.
I also enlarged the rearmost window gap to suit our version.

07
March 2011:
I made the
roof drip rails from 0.8 mm wire and fixed with superglue.

12
March 2011:
I
applied a primer coat. Next thing I did was to put myself in
unnecessary trouble. I thought that glueing plastic strips for the roof
panel reinforcement carried the risk of not being at straight
lines, and headed for trying some other ideas. The first attempt was to
stretch threads and fix them under some aluminum duct tape then cut a
suitable part and stick it on the roof. The appearance proved to be
fine but when stuck on the roof, all the minor wrinkles would have to
be treated by putty so I gave up.

13
March 2011:
Then
I thought of making them by polyester putty and a template. I drew the
template on the computer, printed on 4 sheets of sticky paper, cut out
the necessary parts and applied the putty.

I
separated the template before the putty cured but the result was not
sharp enough. I made a smaller template for local remedy but still I
did not like the result and gave up again.

14 March 2011:
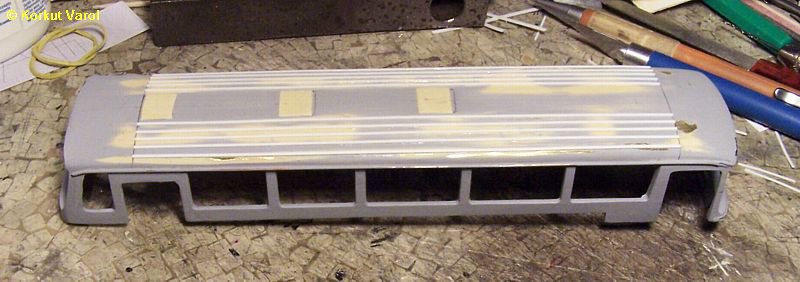
I
sanded down the putty strips and did what I should do right at the
beginning; I glued plastic strips! The philosophy saying "to see what
must be done, what shouldn't be done must be understood" came into
life...
23 March 2011:
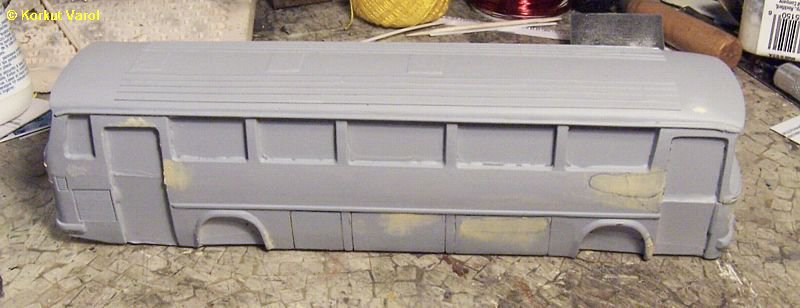
After
filling all the openings, I joined the upper and lower halves of the
body for preparation of the mold. I filled the level difference between
the upper and lower parts with automotive polyester putty. I applied a
checking primer, retouching of some places are due.
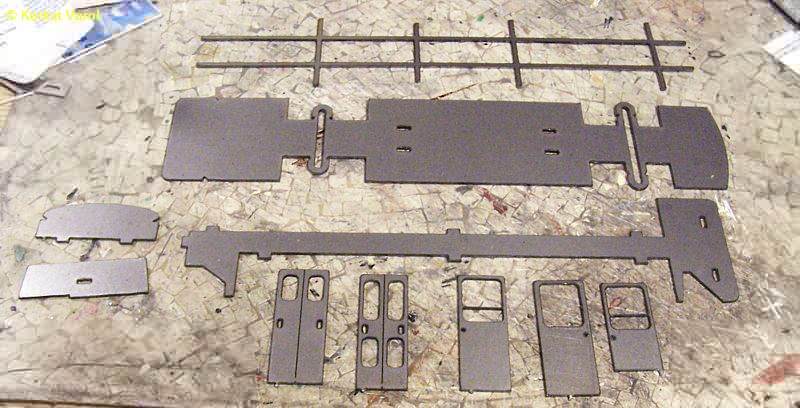
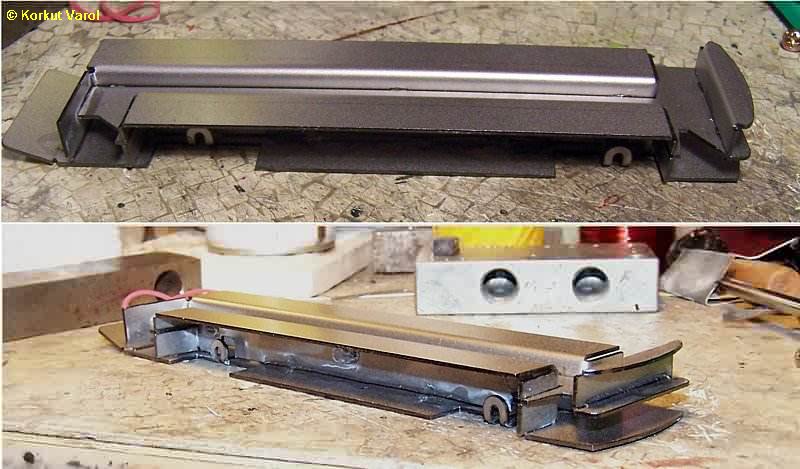
I
drew the floor, internal parts and alternative doors on the computer
and had them cut from steel sheet with laser.
27
March 2011:
After bending the parts, I glued them
together with epoxy glue to form the rough base.
10 May 2011:
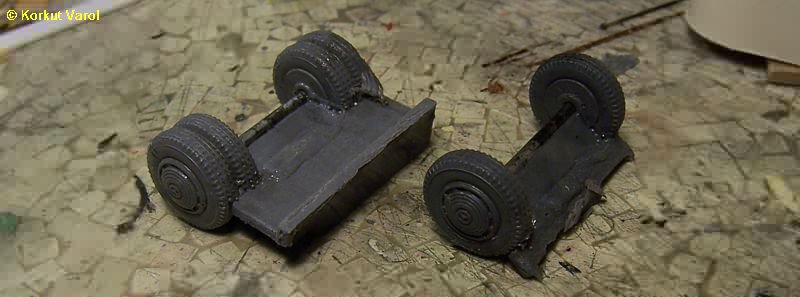
After
a long hiatus, I got on the job again. I made a mold for the front and
rear wheel groups and cast a pair. The photo shows the pair as they
came out of the mold.
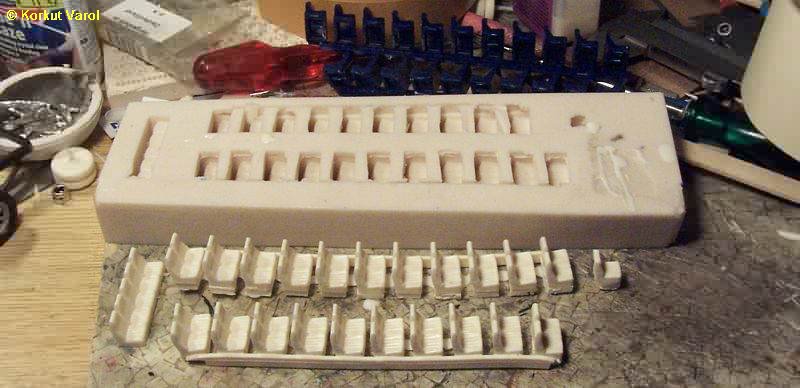
14 May 2011:
I made a mold
for the seat groups and cast one set of seats.
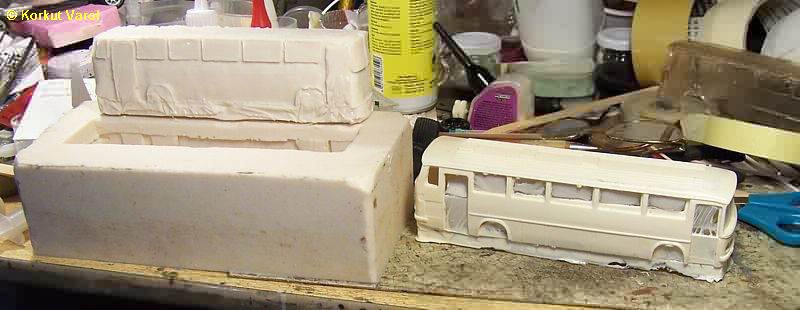
21 May 2011:
I
made the female mold for the body. I poured resin at each
side,
eventually making a shell for the male mold. I made the male mold, then
cast a sample body, but the walls were too thick so I ground the inner
surfaces with Dremel to make a thin-walled body. Then I used this shell
for the male mold, and using the last set of molds, I got a better body.
27 May 2011:
I
made a mold from the front grille and cast a sample part from marble
adhesive.

28 May 2011:
I also
made a mold from the dashboard and cast a sample part from marble
adhesive.

 ..................




 ..................