|
Original photo of the carriage.
|
A few months passed with research and design. At last I completed the 3D modeling.
|
I
used 3D printing for the manufacturing of the parts.This was the first
time I tried a FDM printer. I had to make some trials to have
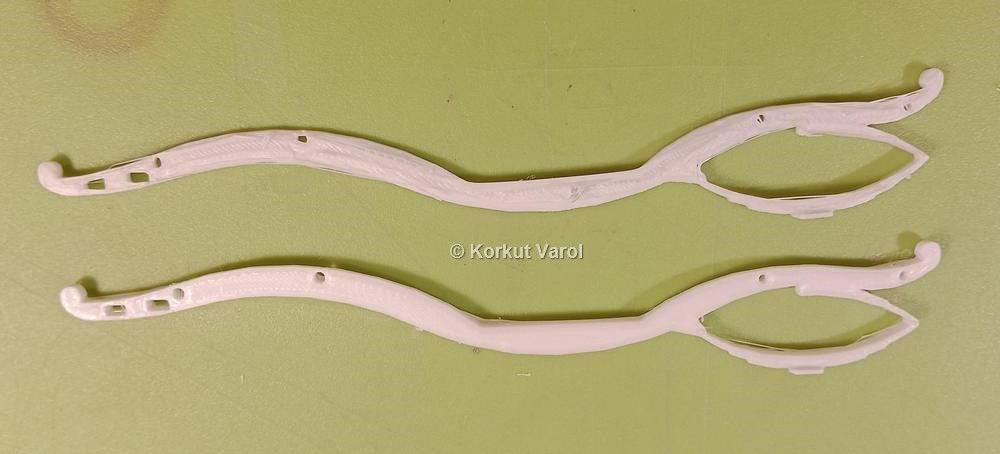
satisfactory outputs. Below are the chassis side elements.
|
|
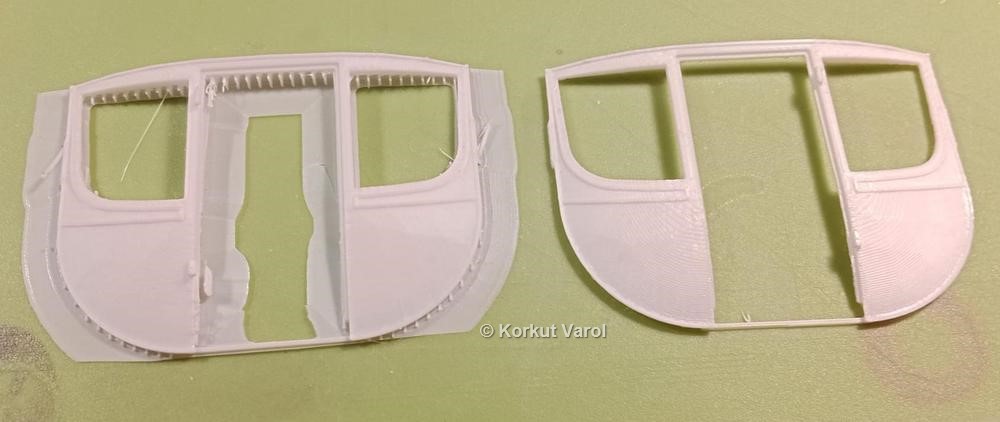
An example is the cabin sides. To print in shorter time, I positioned them horizontally. This is the outer sides.
|
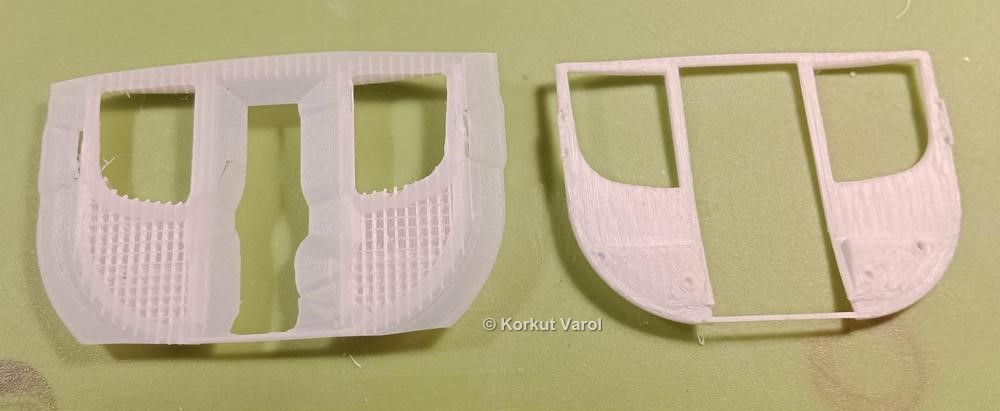
The internal sides. After
detaching the supports, there were residues which lead to problems with
fitting of other elements. So I decided to position the parts
vertically despite the longer time required.
|
But
while printing vertically, due to insufficient supporting the window
upright parts broke. As a solution, I filled the windows with
perforated edges and after printing, separated and sanded them.
|
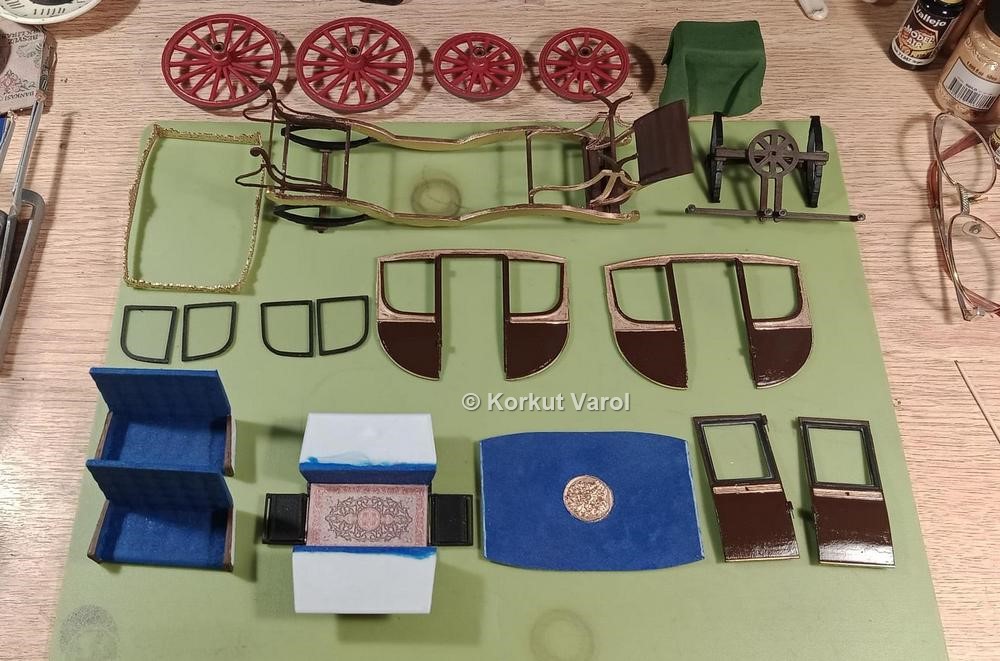
After
printing the parts, I applied putty and sanding where necessary, then
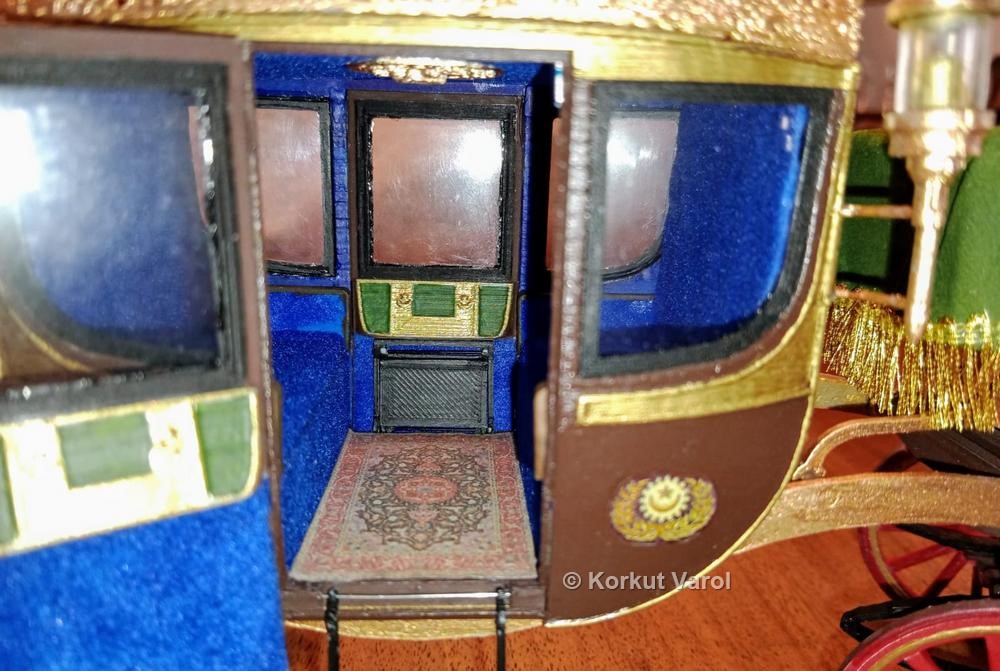
painted. I covered the seats, roof and door insides with flocking. I
made the carpet by printing on paper and glued in place.
|
|
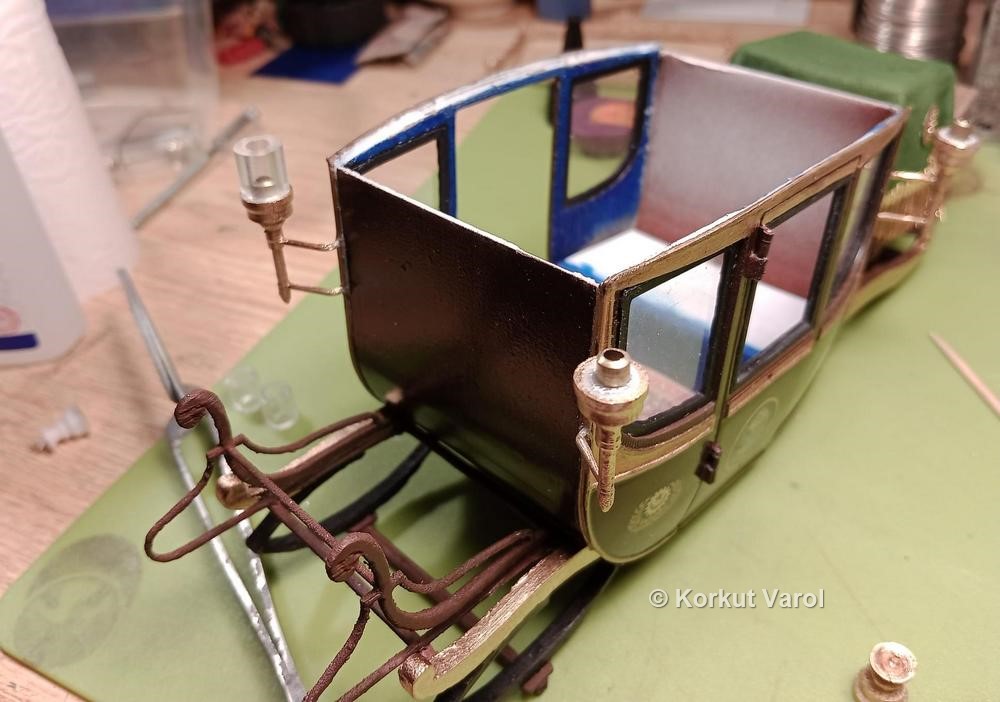
I started assembling. I used transparent hose for the lantern glass. I used 0.4 mm steel wire for door hinge pins.
|
|
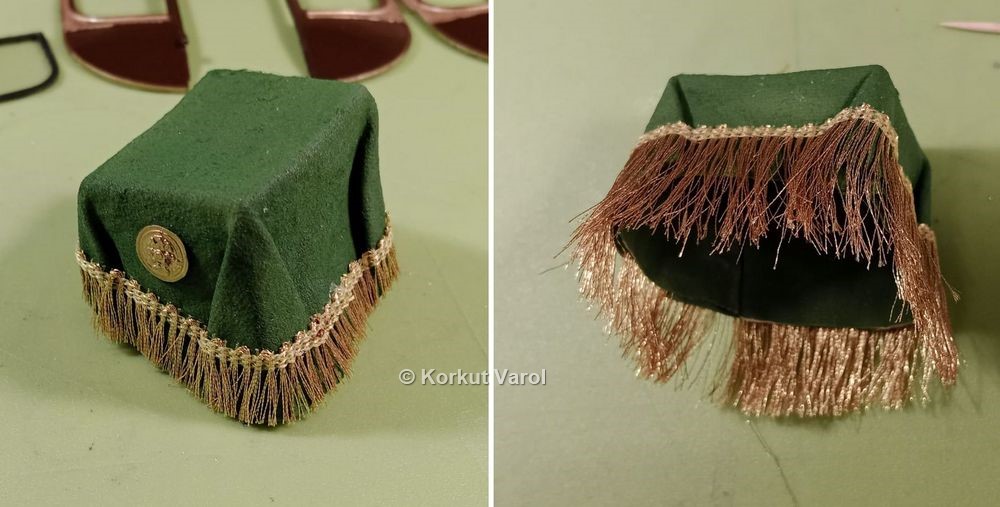
For
the cover of the horseman's seat, I soaked a piece of cloth with
diluted white glue. I placed it over the seat and formed then left it
to dry. For the brush fringe, I trimmed a piece from a ready-made one
and glued in place.
|
|
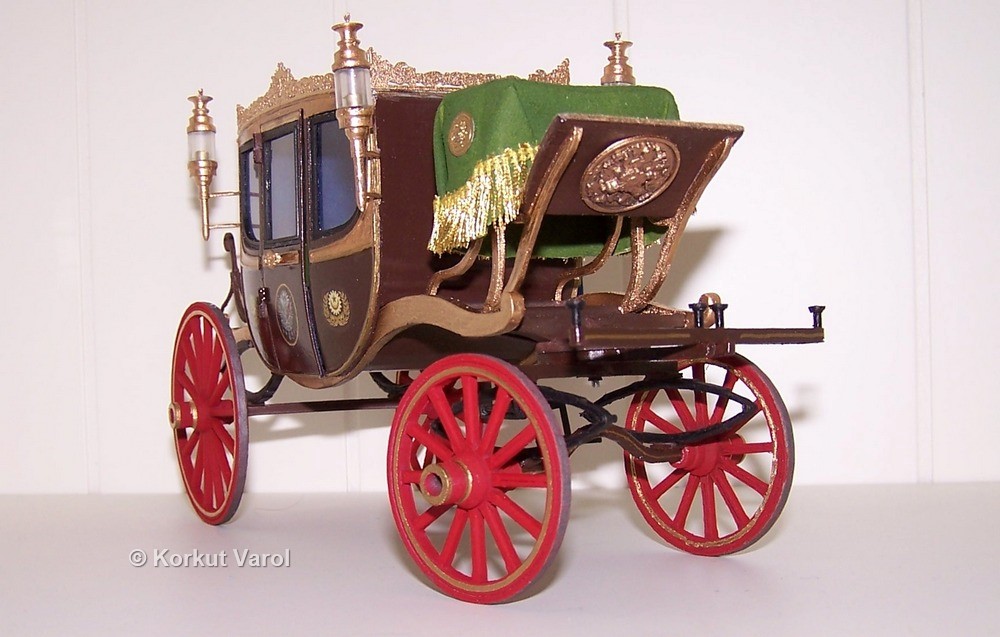
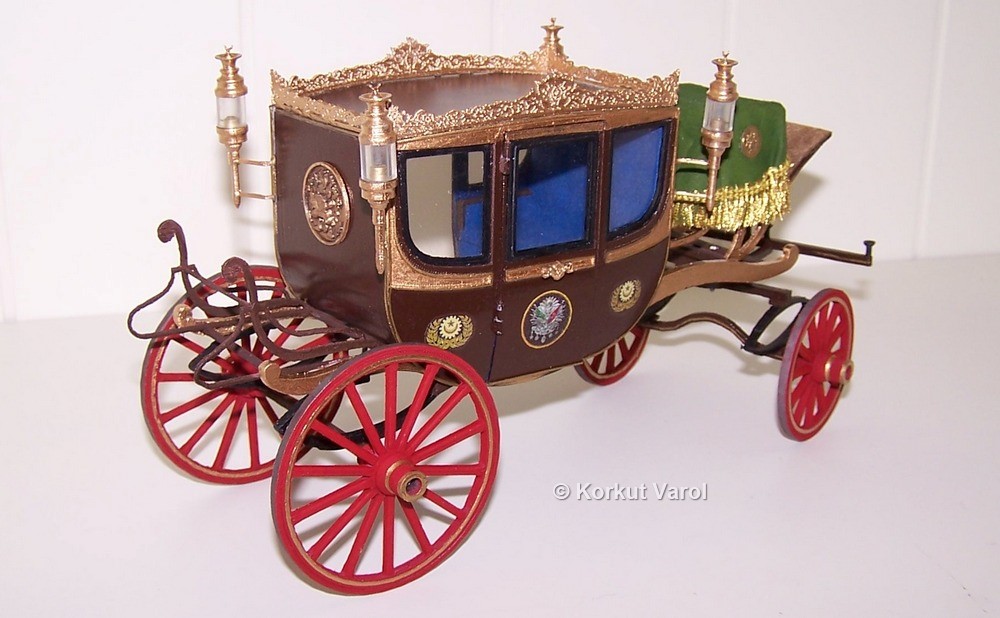
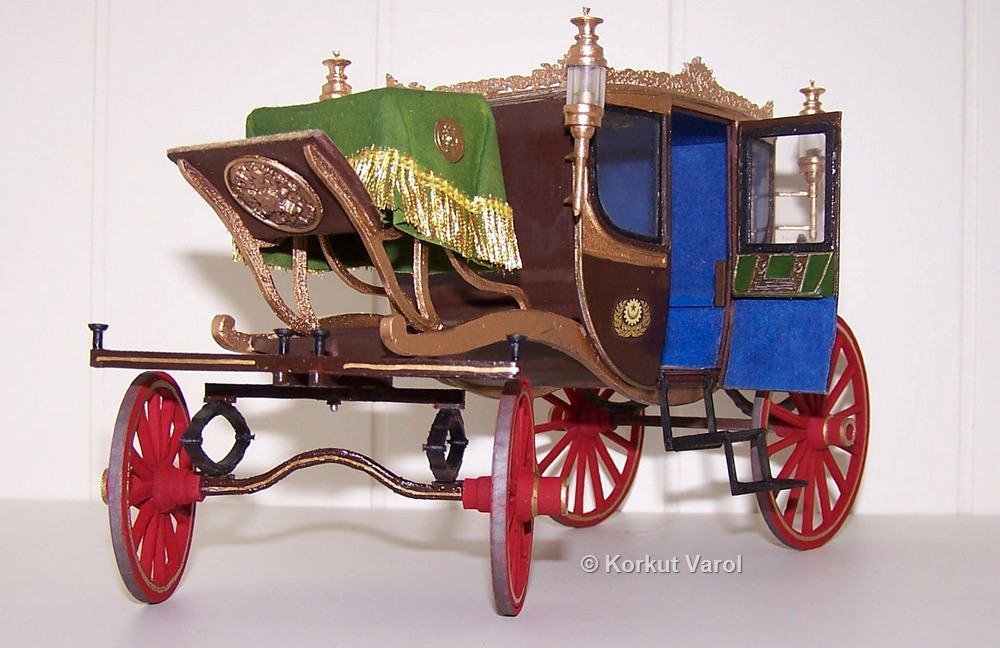
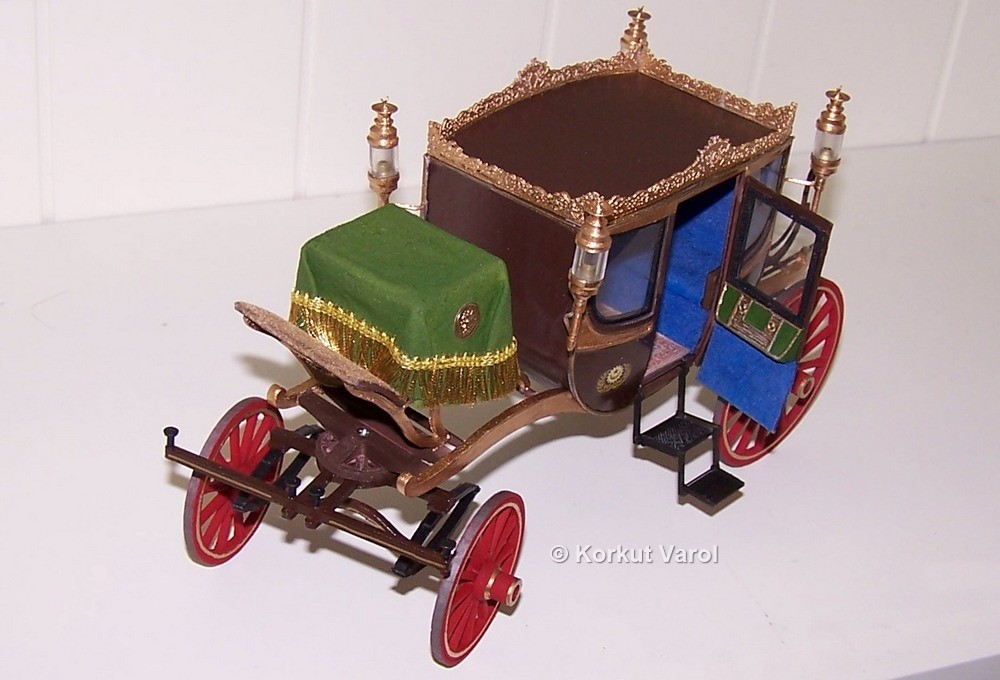
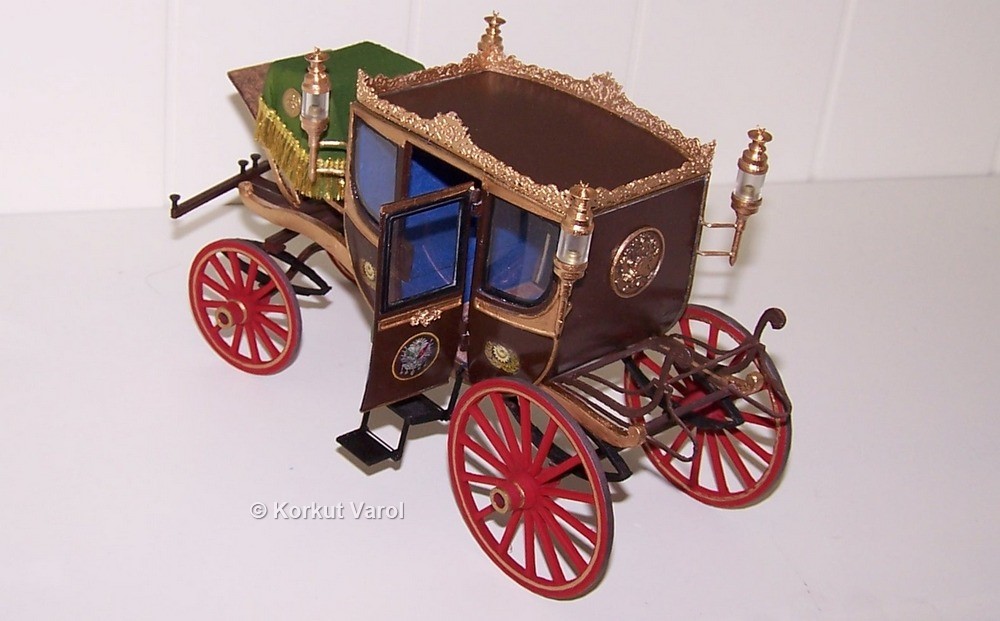
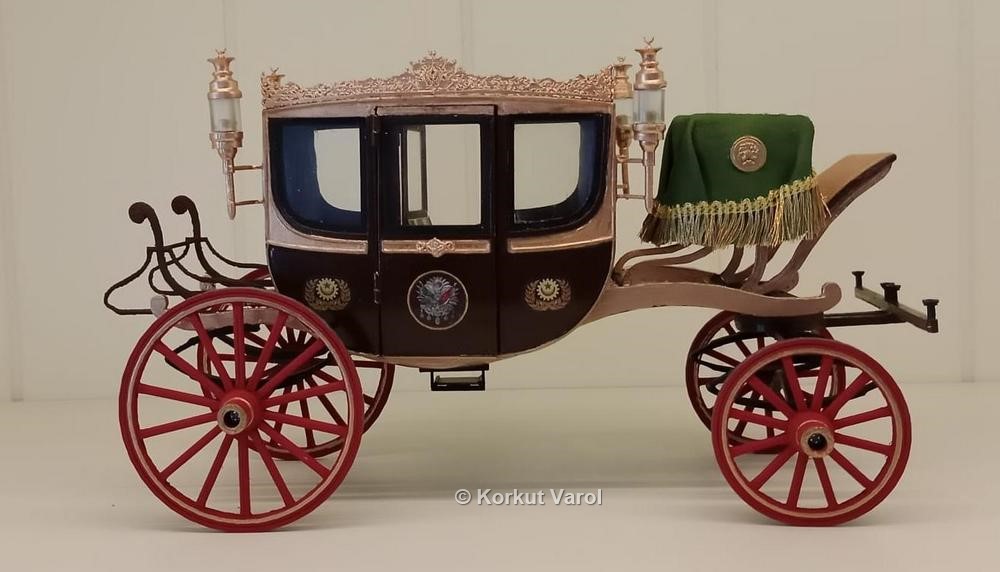
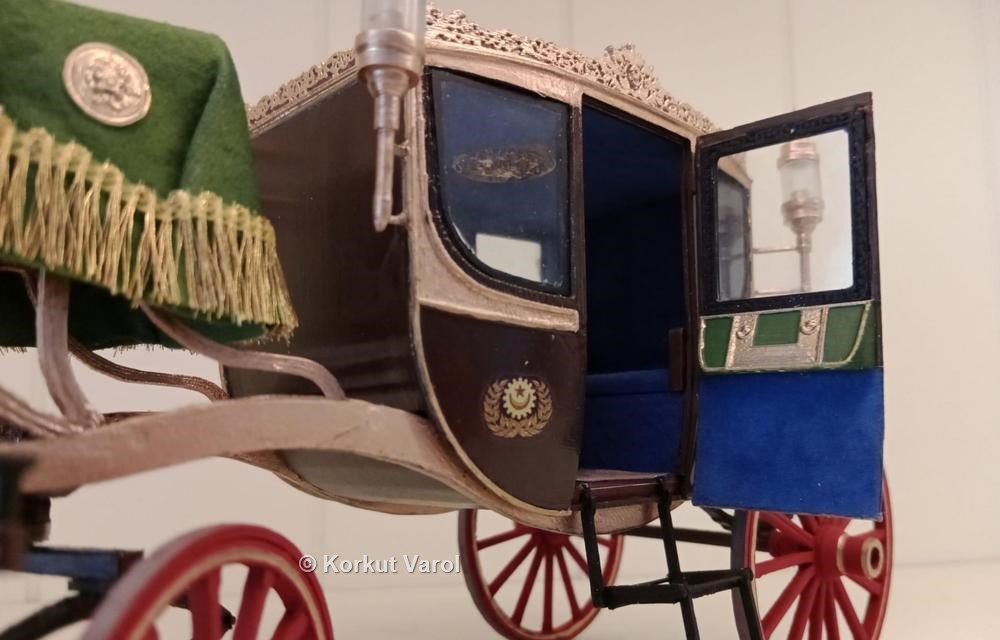
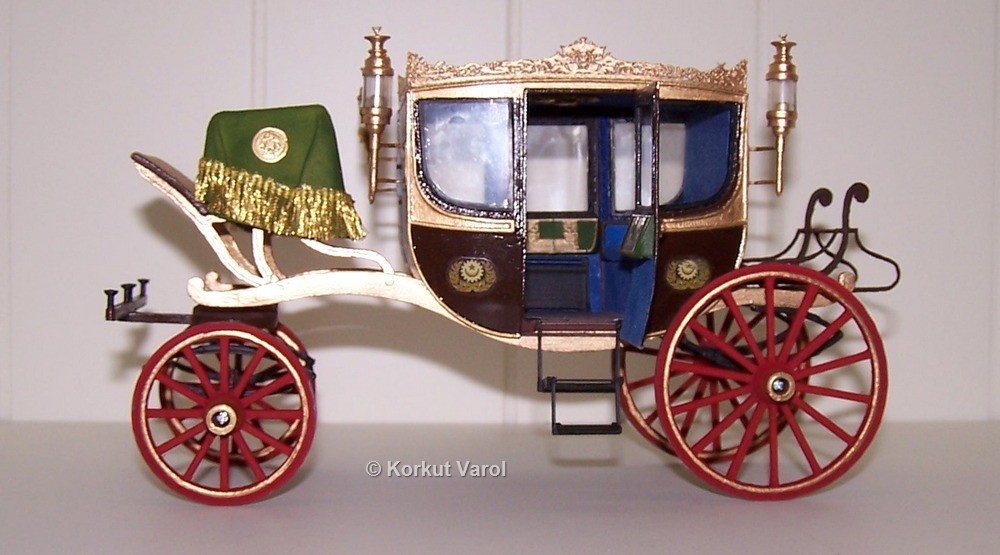
Finished photos... I prepared the decals on the computer and printed them.
|
|
|
|
The stairs are foldable and can be displayed both outside and inside.
|
|
|
|
|
|
|
|
|
|
|
The left side stairs are shown folded inside the cabin.
|
|
|

|

