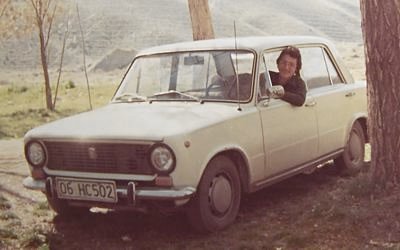
 - Bu otomobil ile 1977 yılında
bir fotoğrafım-
|
(Diecast Model Modification) |
................................
 .................................... .................................... |  |
- Bu otomobil ile 1977 yılında
bir fotoğrafım-
|
(Diecast Model Modification) |
................................
.................................... | |
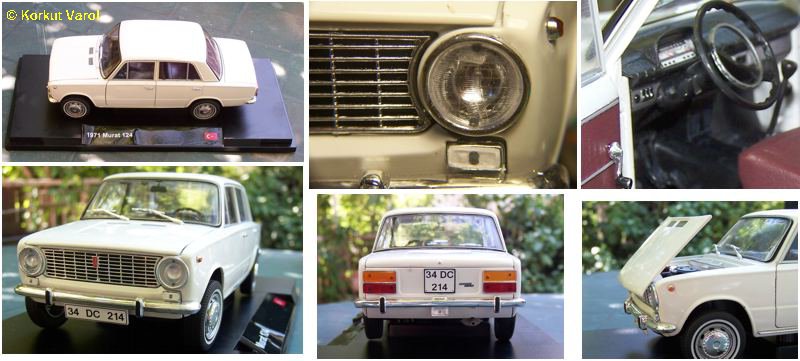
Scale : 1/18
Start: 30 June 2012
Finish: 22 July 2012
Page 1 / 3
 |
|||
|
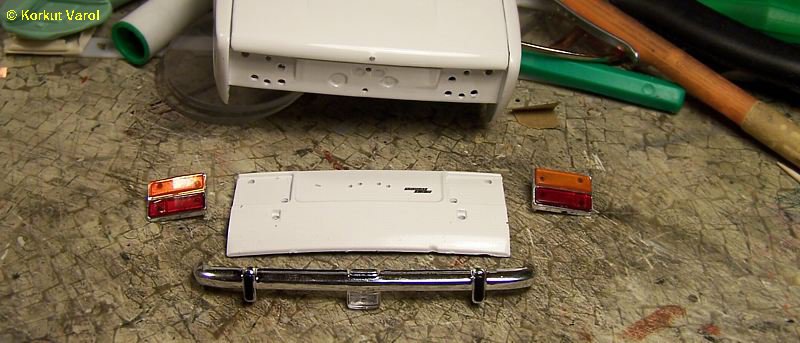
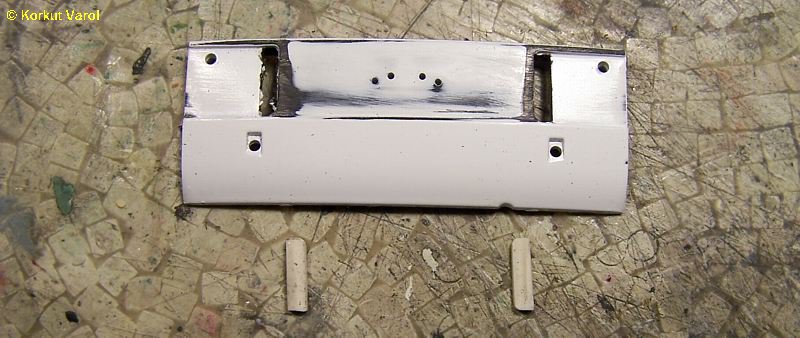
I began disassembling from the rear panel. It is a separate plastic panel.
|
|||
|
I
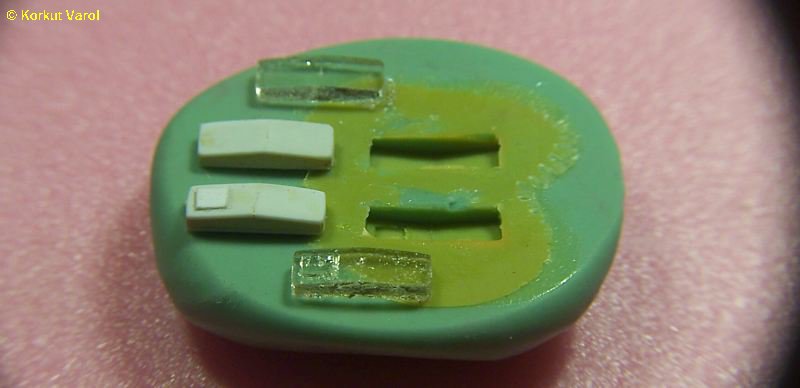
took a mold from the tail light sections of the rear panel and made
copies with marble cement. I will use these for narrowing the tail
light installation space by 3 mm from each side.
 |
|||
|
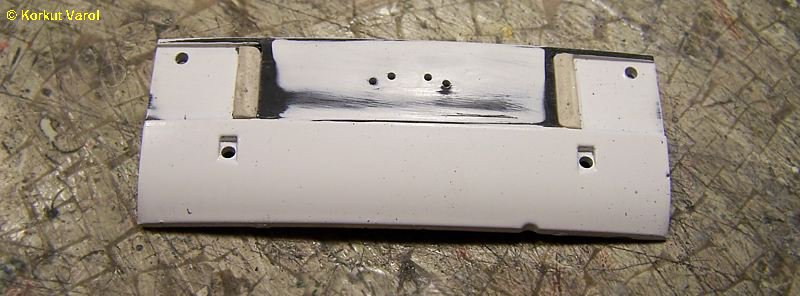
I cut 3 mm strips from the copied parts. I cut the reservations for these strips and shaved off the original protrusions.
 |
|||
|
I placed the strips in place and fixed with CA glue .
 |
|||
|
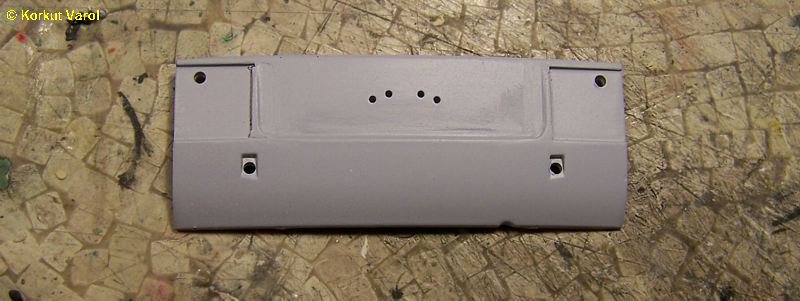
I
filled the mating edges with polyester putty and sanded. Then I applied
a primer paint to see the imperfections. A little more putty and
sanding are required.
 |
|||
|
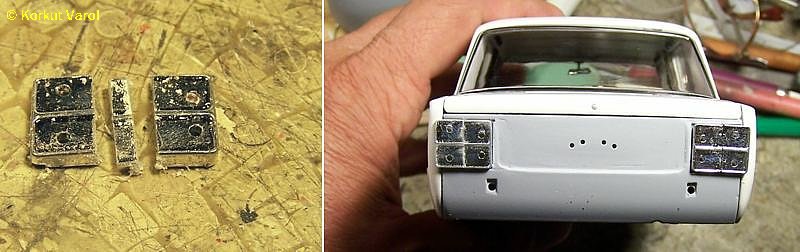
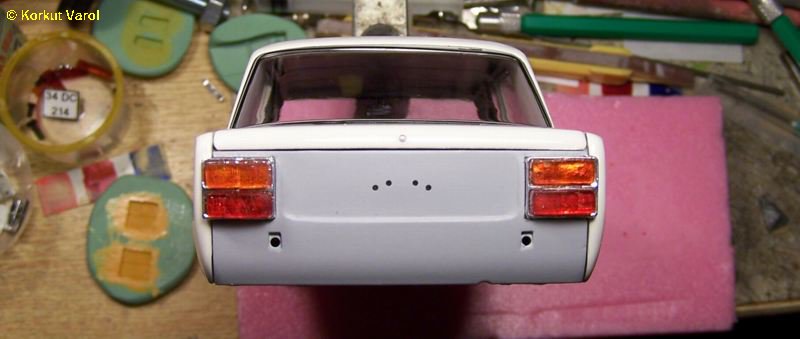
01 July 2012:
I cut
the tail lamp bases and subtracted 3 mm strips. I glued the parts with
CA and made a fitting check. Now the proportions are correct.
|
|||
|
04 July 2012:
I carved the stop and signal lenses from styrene, made a mold and cast parts with clear polyester resin.
|
|||
|
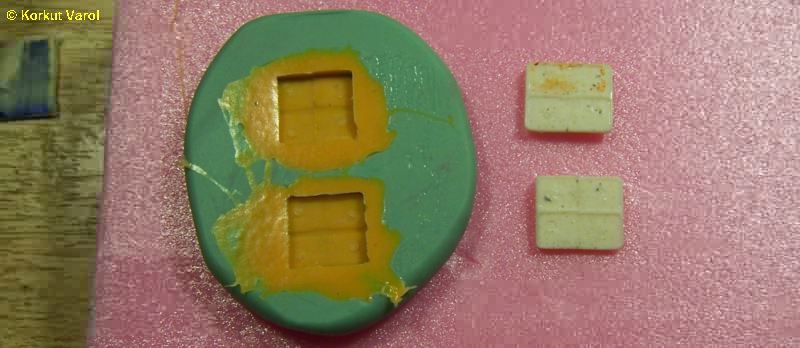
I also made molds from tail light bases and resin-cast the parts.
 |
|||
|
I covered the tail lamp bases with Bare Metal Foil. I applied putty and sanded the rear panel and made a fitting check.
|
|||
|
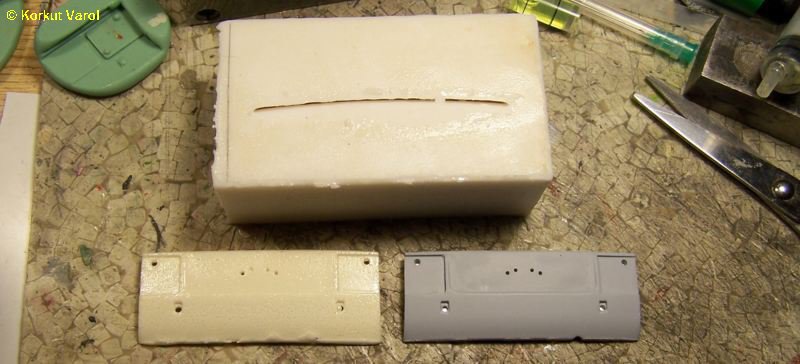
06 July 2012:
I made a mold from the rear panel and cast a resin part.
|
|||
|
07 July 2012:
I
painted the rear panel, prepared and printed a licence plate and rear
script, then glued with Testors clear parts cement on the rear panel.
The licence plate base of the model was too thick so I did not use it
but applied aluminum duct tape at the back for added rigidity to the
paper. I printed the rear script directly on aluminum duct tape.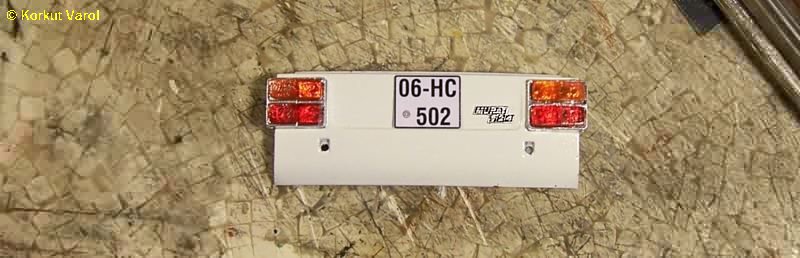 |
|||
|
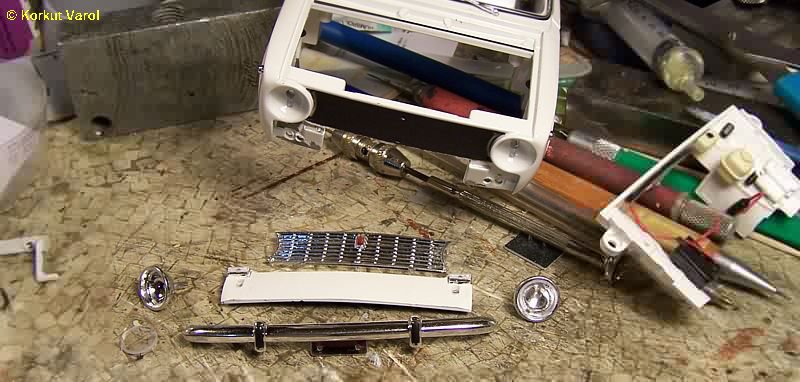
I disassembled the front end to paint the front grille, lower front panel and headlight bezels.
|
|||
|
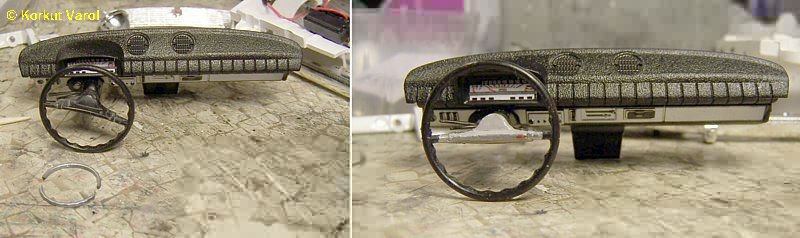
08 July 2012:
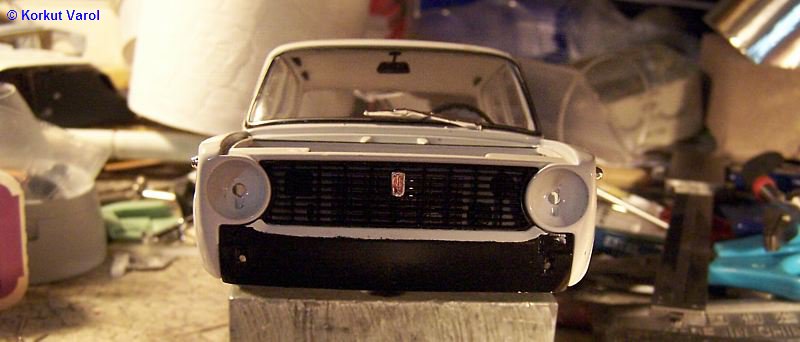
I cut the horn ring and painted the center part to grey as in the real car.
|
|||
| The
grille detail would be lost when both the grille and its back panels
were black. So, for the sake of realistic appearance (the back panel
appears greyish due to dried mud and dust) I printed the shapes on a
sticky label paper and fixed it in place. I replaced the grille emblem with TOFAS instead of FIAT. I masked and painted the grille and lower front panel to flat black. 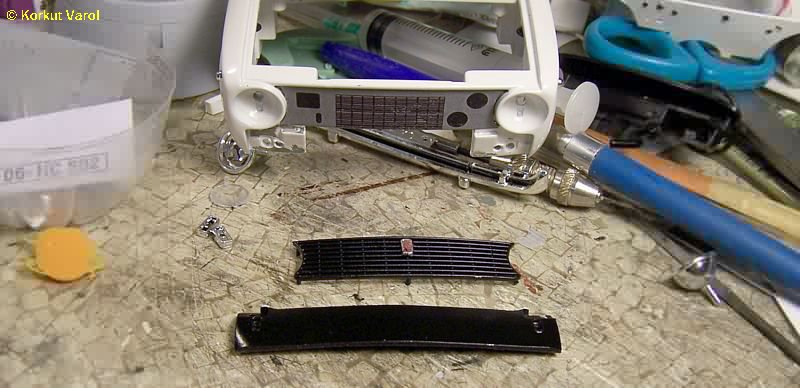
|
|||
|
|||
To
paint the headlight bezels, I applied Humbrol Maskol on the lenses and
put them in place. The I painted the whole to flat black and stripped
the Maskol.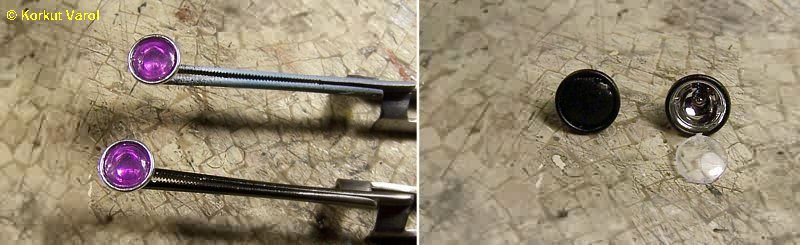 |
|||
|
|
|||
 ........... ........... |