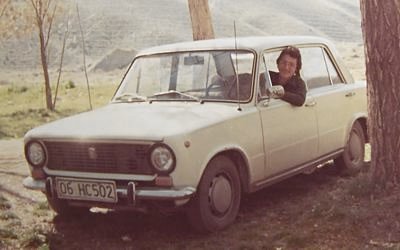
 - Bu otomobil ile 1977 yılında
bir fotoğrafım-
|
(Diecast Model Modification) |
................................
 .................................... .................................... |  |
- Bu otomobil ile 1977 yılında
bir fotoğrafım-
|
(Diecast Model Modification) |
................................
.................................... | |
Scale : 1/18
Start: 30 June 2012
Finish: 22 July 2012
Page 2 / 3
|
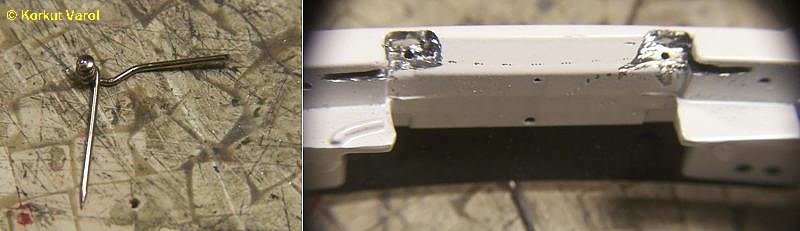
To
open the hood correctly, I needed to place the hinges as close to real
as possible. I carved the points with Dremel, made hinges from headed
pins. I drilled 0.8 mm holes to place the hinge support pins.
 |
I fixed one end of
the hinges to the hood with CA, inserted the other end in the body for
operational check. Due to material thickness, the hood touches the body
just before fully open position and keeping on, lifts the hinges about
1-2 mm. The remedy was to cut all the area there and make new
scratchbuilt construction; but I decided it was not worth the efforts.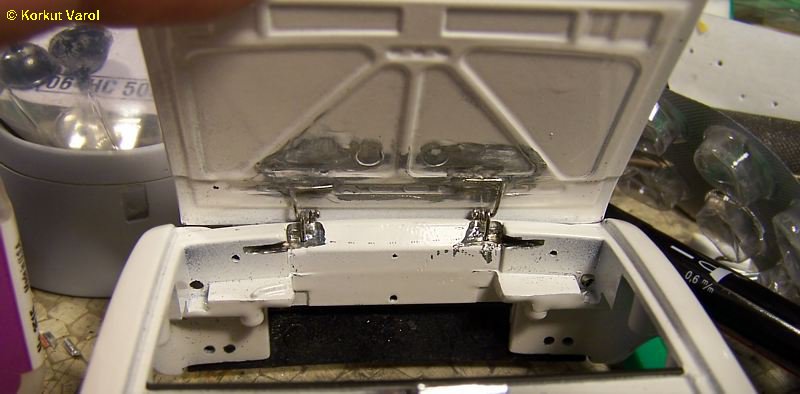
|
|
|
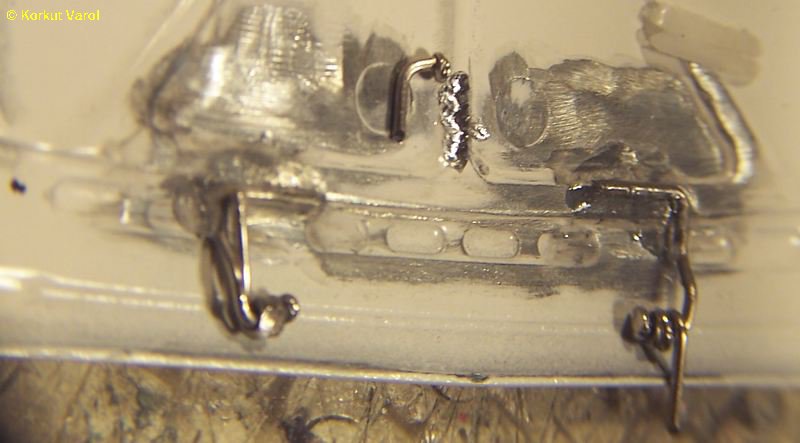
15 July 2012:
I
made the hood support and made another operational test which showed
that the hinge arms located inside the body were too short. I made new
longer ones and installed in place.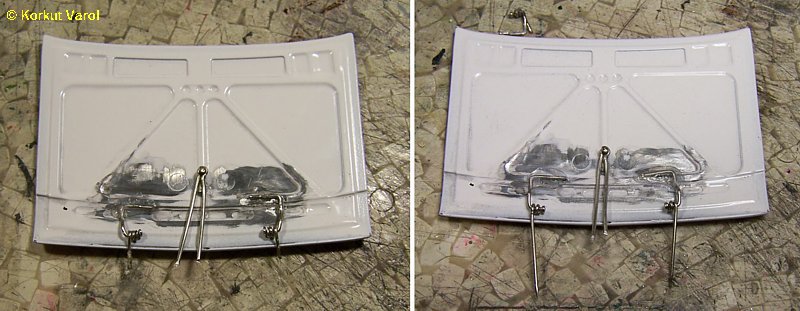 |
I drilled holes for the hood support and made the final operational check.
|
I painted the white places visible between the front and rear window strips and the body to flat black.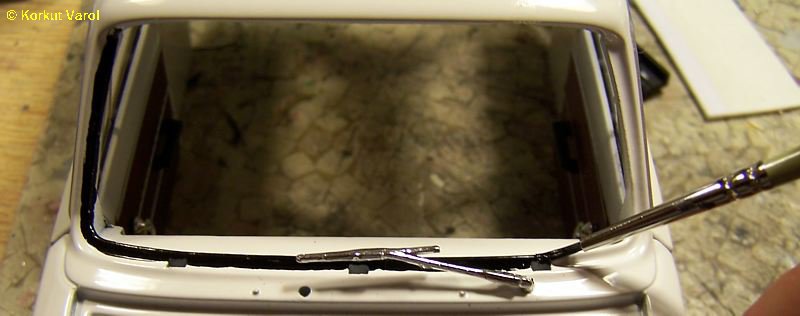
|
The inside before the change. The real car was black inside.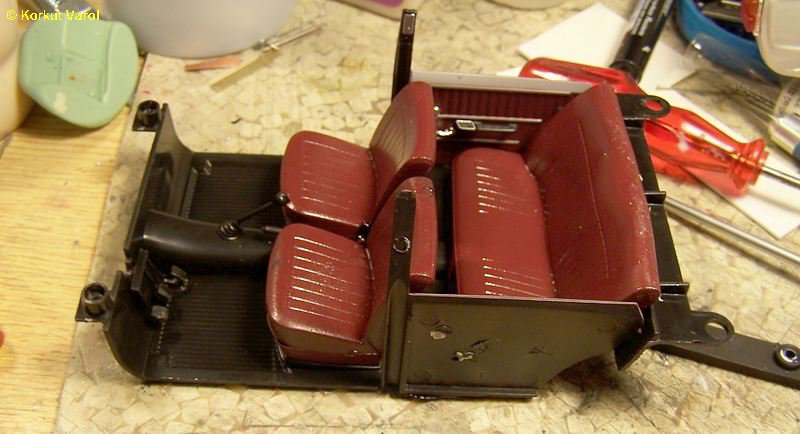
|
I started with the rear doors, painted satin black and applied Bare Metal Foil to the door insides and safety belt.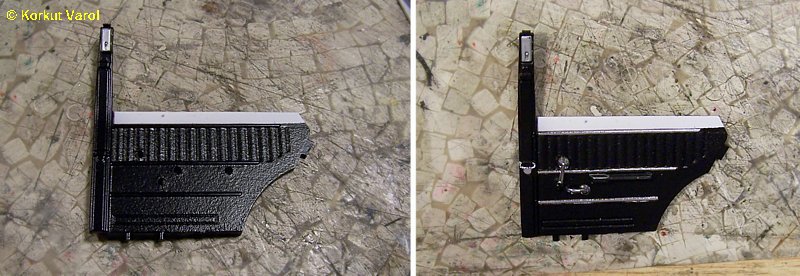
|
I applied Bare Metal Foil to the strips which were aluminum on the model. The visual difference is obvious.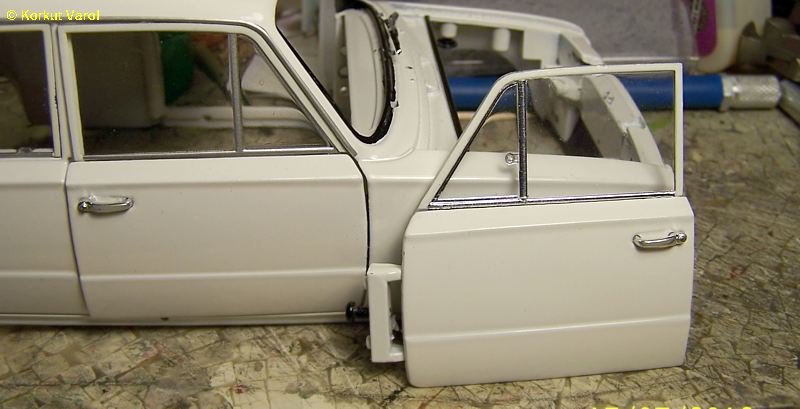 |
|
18 July 2012:
Time
to cover the seats. In previous models, I had printed the seat pattern
on paper and glued over the seats. This time, I wanted to try a new
approach. I used a paper napkin for imitating fabric texture. I cut a piece of napkin and fixed on an A4 paper with masking tapes. I prepared a texture pattern on the computer and printed with laser printer. I took the napkin off the paper and separated the napkin layers. This gave a translucent textured cover (seen under the seats in the below photo). I applied grey primer to seats. I cut sections to cover various seat regions and glued with spray adhesive after waiting for 20 minutes. The union of paper and adhesive results in a partly flexible surface that does not readily get torn when stretched. This enabled to stick smoothly to curved surfaces. The seat grooves become apparent when pressed by finger, smoothly pressing with a toothpick gave a full groove duplication. 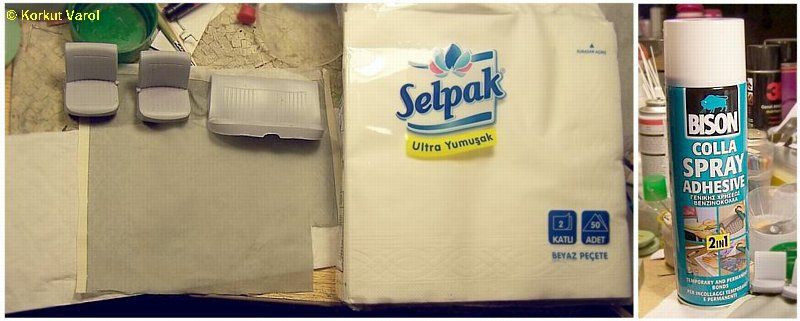
|
|
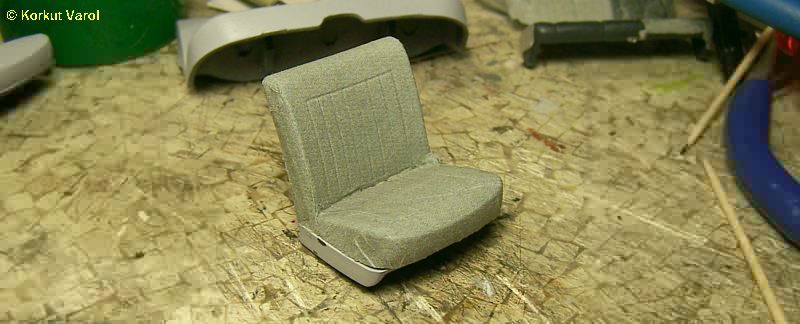
Front seat covered.
|
|
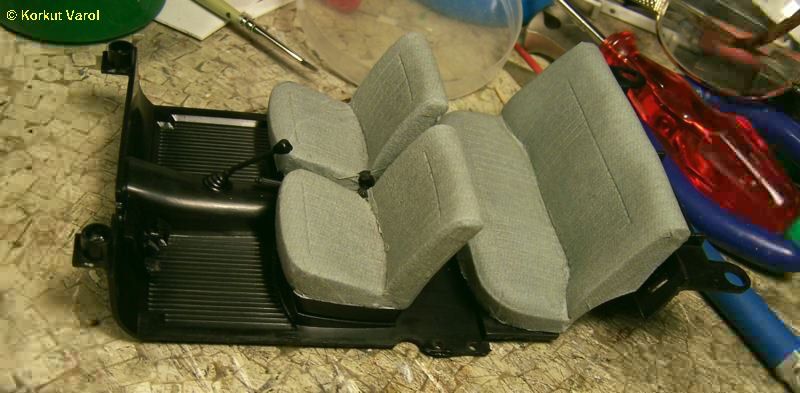
A visual check with the seats covered.
|
|
A close-up of the surface texture.

|
| I
prepared the floor mats on the computer. In those years, a popular mat
make was Durulax, I drew the design as much as I remembered. I applied
aluminum duct tape on the back side to prevent oozing of the glue. Then
I applied flat clear on the floor mats. After applying black flocking on the floor, I glued the floor mats in place. 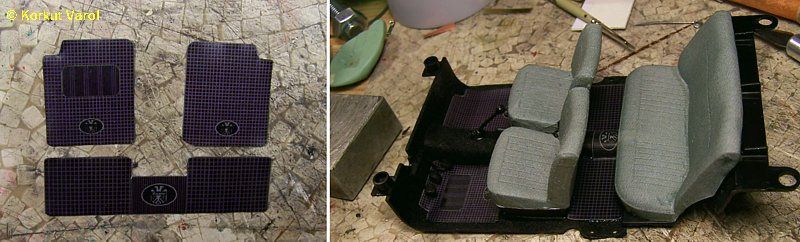
|
|
21 July 2012:
I made the small center console from plastic sheets and fixed in place.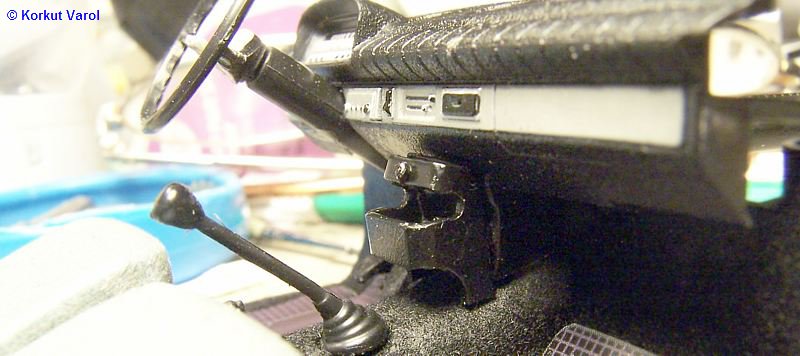
|
|
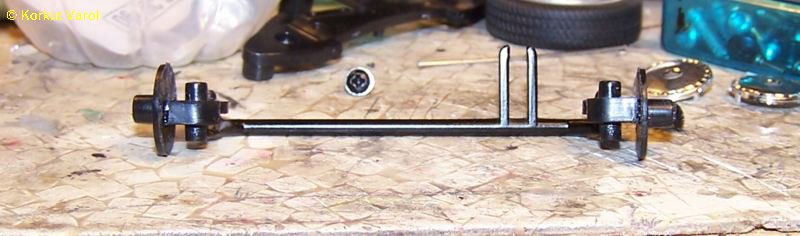
22 July 2012:
Time for lowering the front... I
disassembled the front members. The front end had to be lowered by 3
mm. The only place allowing play was the tie rod connection point.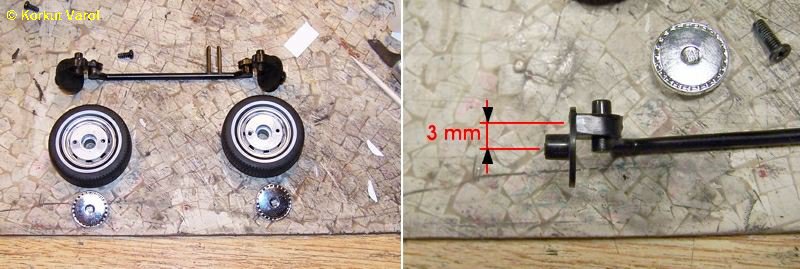
|
|
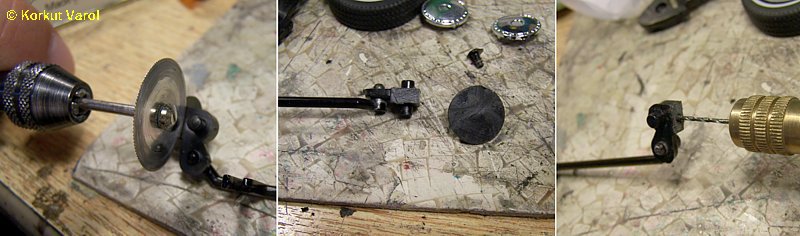
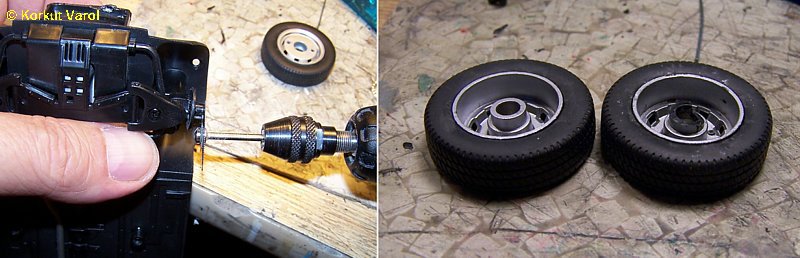
I
cut the arm and disc connecion with Dremel. This arm needed to be glued
to the disc axis but only glueing would not be sufficient. So I drilled
a hole at the center of the arm base. The screw holding the wheel will
go through this hole as well, to make an additional mechanical joint.
The original screw of the model was short for this, so I used a longer
screw.
|
|
Mission completed.
|
|
Now
the height problem was over, I went on to the front track width
problem. It was 4 mm wider at each side, which was done by cutting 2 mm
at the wheel and 2 mm at the disc centers.
|
|
Then I reassembled the model. Finished photos are on the following page... |
 ......... ......... ........ ........ |