| 05 February:
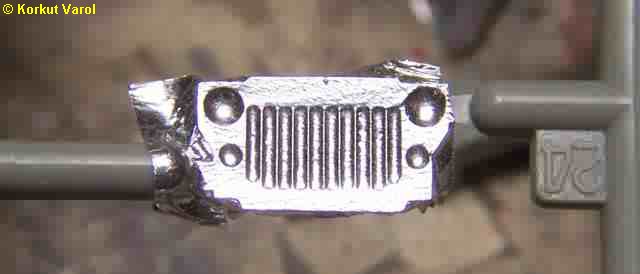
The first target were the solid cast headlamps. I drilled them out. |
 |
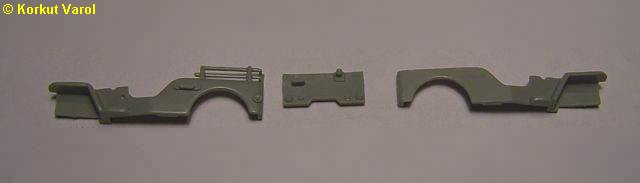
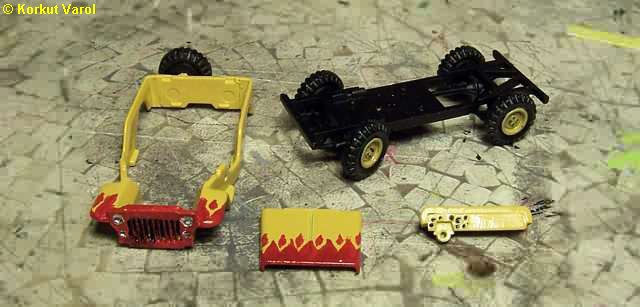
| I removed the bars and grab handles from the body (center and right) |
 |
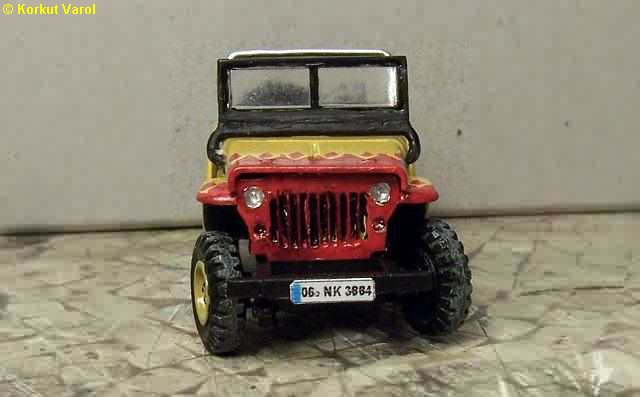
| I applied BMF to the full front as in the right photo. Prior to painting, I filled the headlamps and turn signals with Maskol so that I would have a metal shine after the paint. |
 |
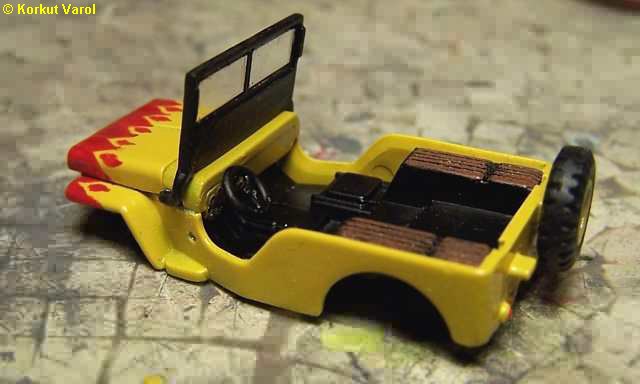
| I scribed wooden plank separating lines. |
 |
| Contrary to the instructions, I built the body separately from the chassis. |
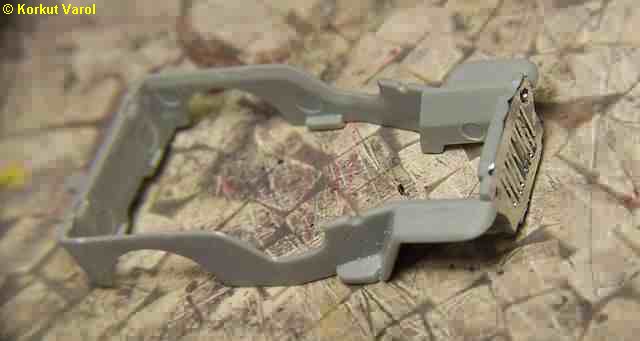 |
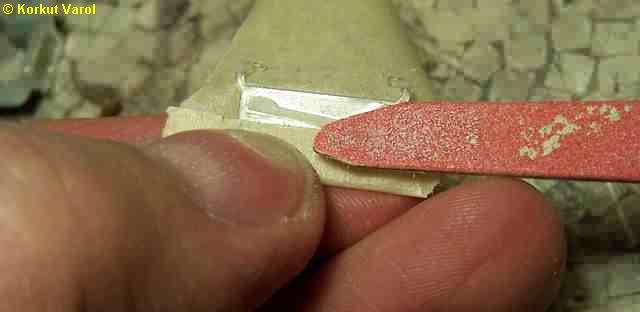
| I sanded down the rifle casing cast behind the windshield frame. I protected the glass by masking tape. |
 |
| 07 February:
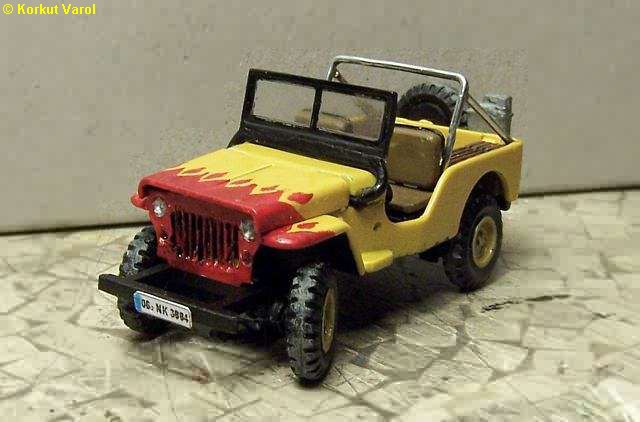
I painted the vahicle as in the photo. The flames are done by a brush, not an airbrush! I positioned the front wheels to add a bit more life to the model and glued them in that position. |
 |
| 08 February:
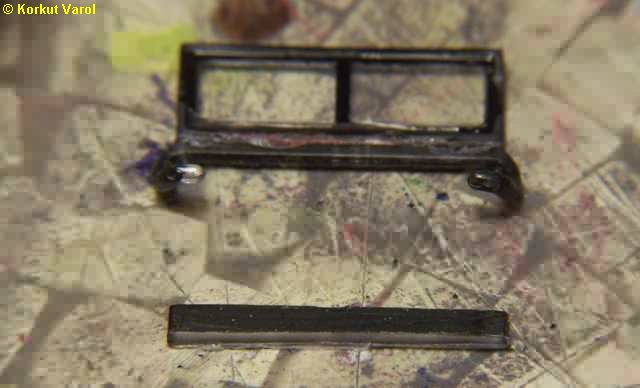
Now what a silly model is this! The windshield frame stood like a movie screen in front of the driver! Definitely not acceptable so a remedy had to be done... |
 |
| 09 February:
I cut off a slice and glued the parts back. To determine the slice width, I viewed lots of WW2 era jeep photos. |
 |
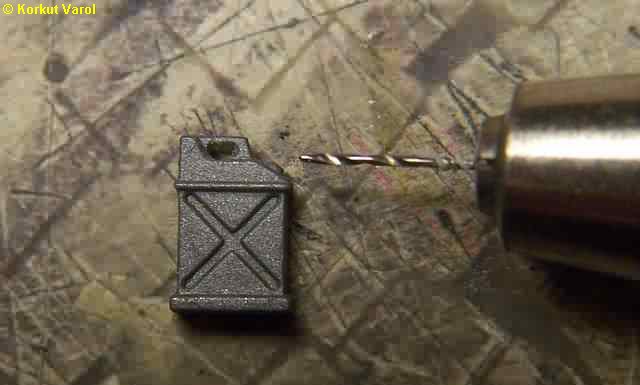
| I drilled out the handle on the gas tank with a 0.5 mm drill bit. |
 |
| 10 February:
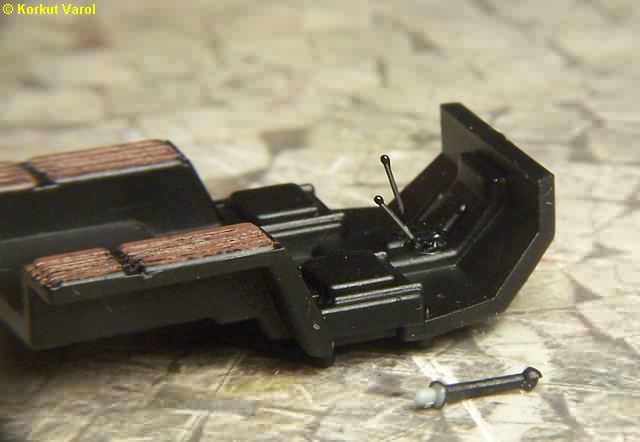
Now a bit more scratchbuilding... The thing in the front is the kit-supplied shift lever (and supplied as only one...) I built two levers from 0.3 mm steel wire and drop-painted the tips for the knobs. |
 |
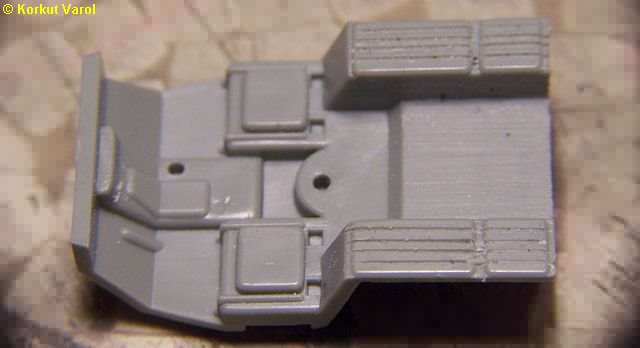
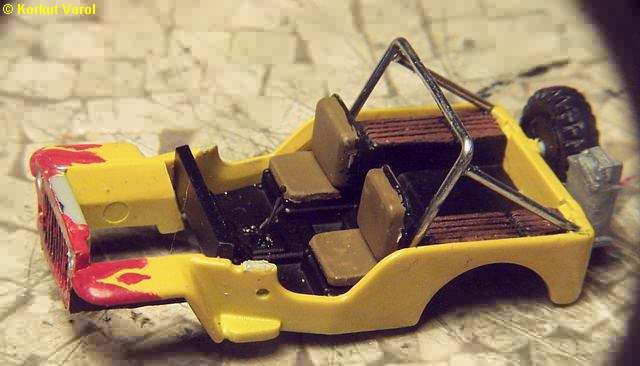
| The
seat pillows were too small compared
to the backrests, so I cut two cushions from styrene at a proper width.
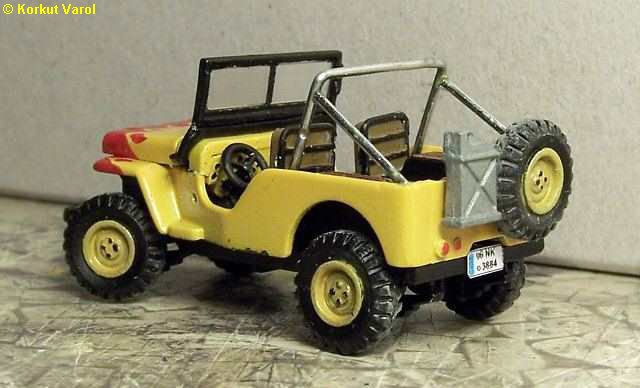
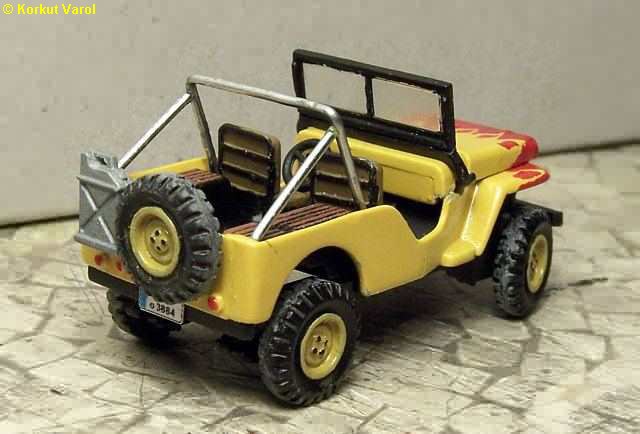
I bent the roll-bar from paper clips and fixed with CA glue. |
 |
| I
made the licence plates on the computer.
Also drybrushed the tires for driven effect.
I filled the headlamp reflectors with clear, and put two drops of transparent orange for the signal lamps. The rest of this page are the photos of the finished vehicle. |
 |
 |
|
 |
|
 |
|
| On the next page, comes the Kübelwagen.... |
 |
 |
|