10 February:
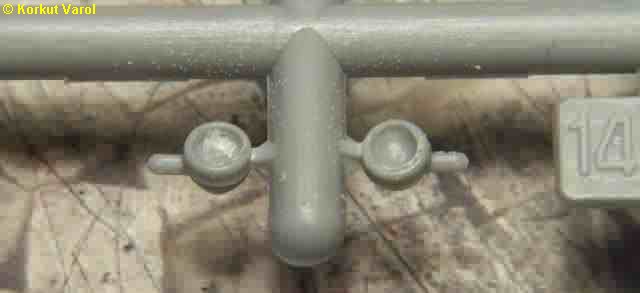
I also started
this vehicle by grinding in the reflectors, instead of the wartime
lamps. |
|
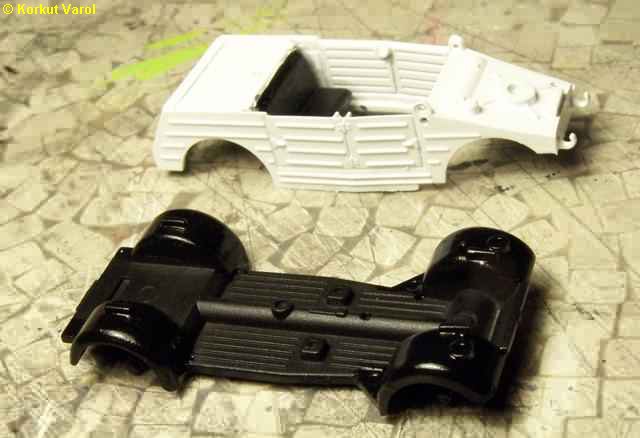
| I constructed
the body separate from the chassis, as I did with the jeep. |
|
11 February:
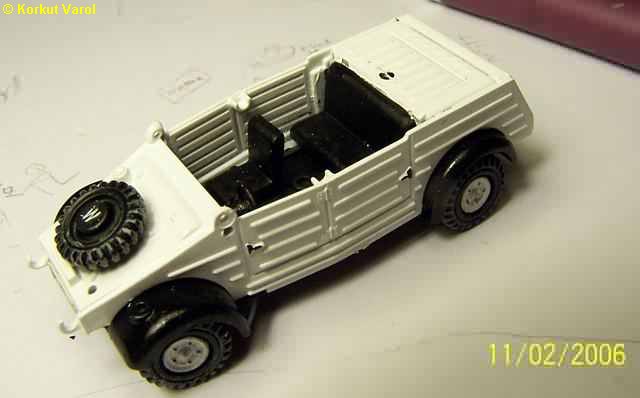
I glued the front
wheels as slightly steered to the right. The front seats were too low
positioned
as seen in the photo. So I placed spacers under them to raise to some
logical
level. |
|
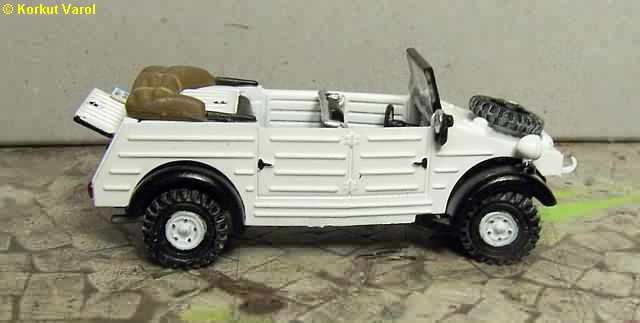
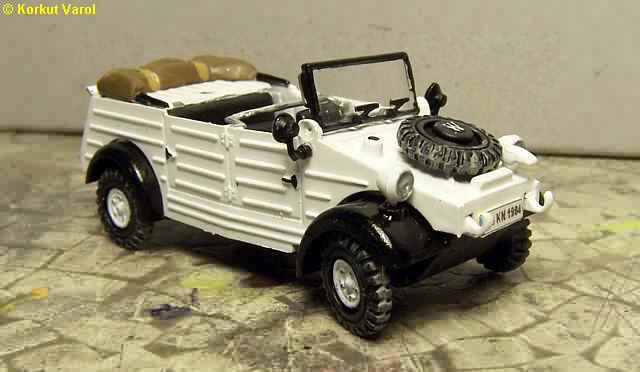
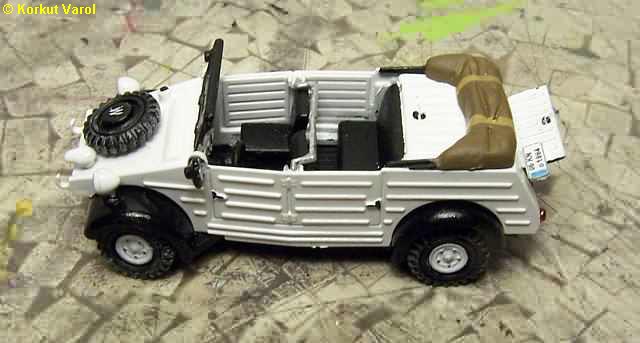
| Here are the
finished photos of the Kübelwagen.
The body and chassis
fit was poor.
|
|
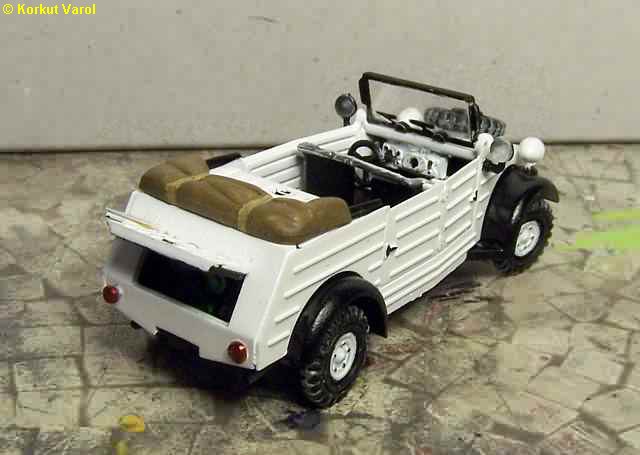
| I made the stop
lamps by painting the tips of two needles with clear red. |
|
| I
filled the headlamp reflectors with
clear after painting the insides with chrome silver. |
|
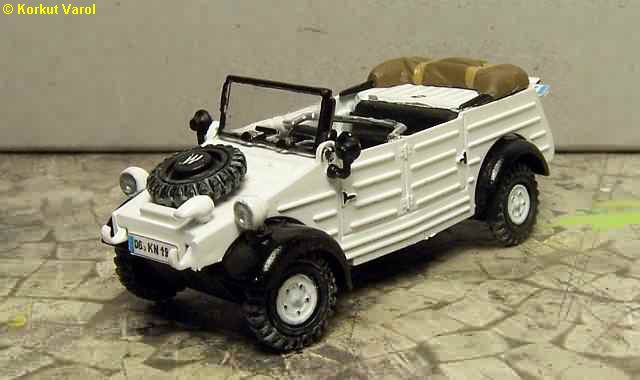
| I prepared the
licence plates on the computer. |
|
|
|
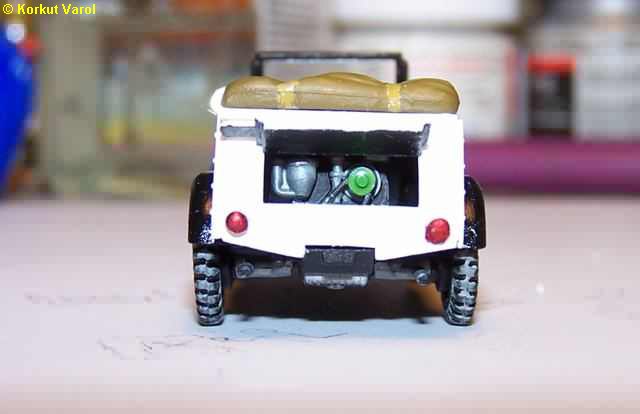
| Here
is an engine shot. I made the
engine cover open; in the diorama, some guy will be busy with the
engine... |
|
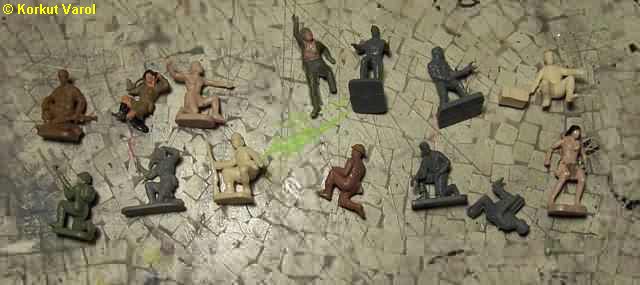
| These
are a compilation of various
1/72 figures that will serve as the raw for the diorama figures. Not so
many will take part in the act though... |
|
15 February:
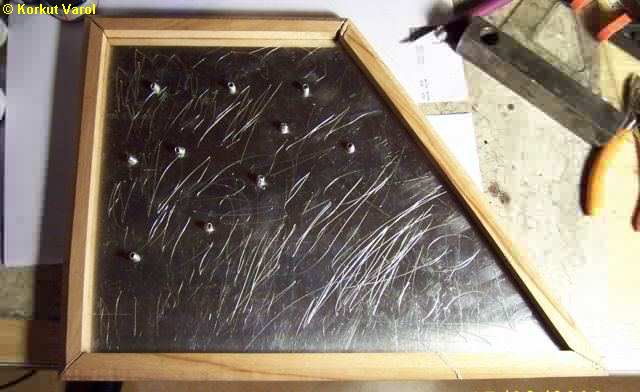
I began manufacturing
the diorama base. I cut the baseplate from 1.5 mm aluminum sheet,
simply
because I did not have any suitable plywood.
I applied some
pop-rivets here and there, to anchor the plaster that would be
poured.
I also cut and
assembled the frame from my stock profiles. |
|
16 February:
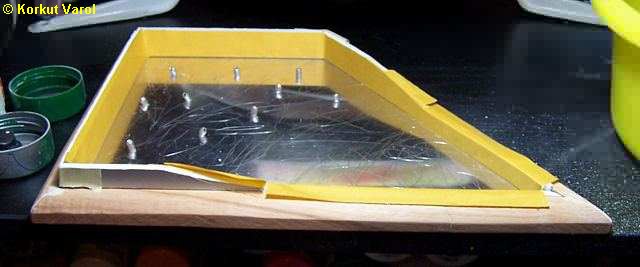
I put the spacers
inside the frame, to provide enough space for the plexiglass cover. I
stuck
double-sided sticker tape all around, without removing the non-sticking
cover. This will aid in removing the spacers without sticking to the
plaster. |
|
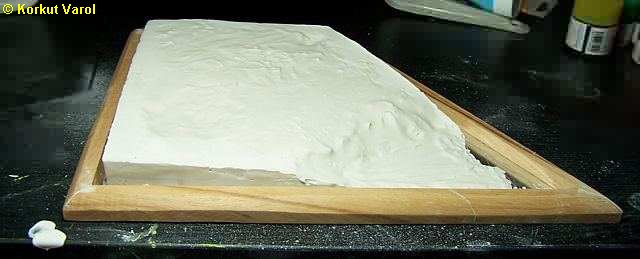
| Then
I poured the plaster and roughly
shaped the landscape. |

|
| Removing
the spacers, the base is now
ready for further treatment. |
|
17 February:
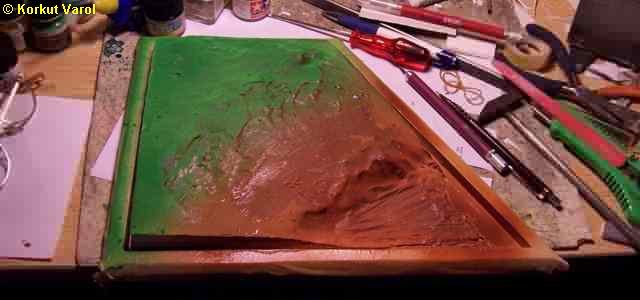
I painted the
plaster before application of grass and ground. |
|
18 February:
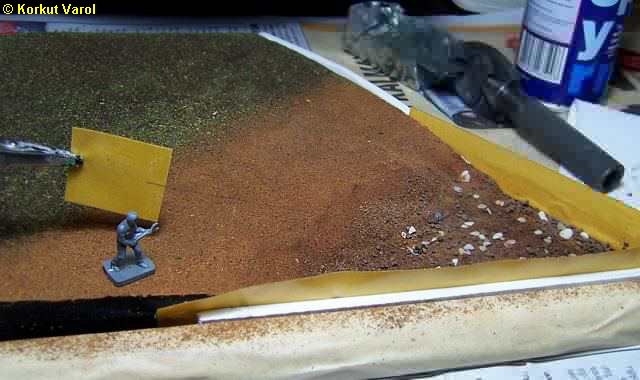
I made the grass
from dried mint and thyme leaves; and the soil from cummin and cinnamon
powders. For the big stones in the lake, I made use of our aquarium
bottom...
I also applied some brown ballast from Woodland Scenics.
The reason I
did not use the ready-made material for the grass and soil is that they
look big scale in a 1/72 diorama.
This figure with
a big spanner in his hands will be a fishing guy who had got a stuck
fishing
line in the lake. For the fishing line, I made use of my wife's hair. I
first glued it to the lake bottom and fixed the other end to a sticky
paper
held by a "third hand alligator", at its approximate angle. I inserted
the side walls to keep the "water" in while pouring.
|
|
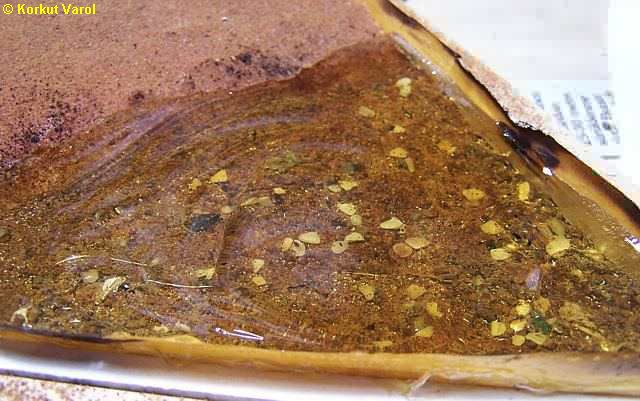
| This
was the very first time I tried
the "E-Z Water" substance. I had planned that it would settle level at
each layer I poured, but things did not come out like I thought.
Irregularly
settled layers showed below the subsequent layers. The fishing line
being
held in place contributed to hamper the pouring, hence making things
worse.
I applied hot air to melt the water and mix the visible layers, but it
wasn't enough so I applied direct flame to the water, which helped the
situation but burned the hair as well. OK, now having no hair to care
for,
I kept on heating and making the water uniform.
I
practised simulating waves on the
surface by blowing repeatedly, and finally I came to an acceptable
finish.
I
took another hair string and dipped
its one end to the locally molten water.
Phew!!!!
I almost ruined the diorama
base...
|
|
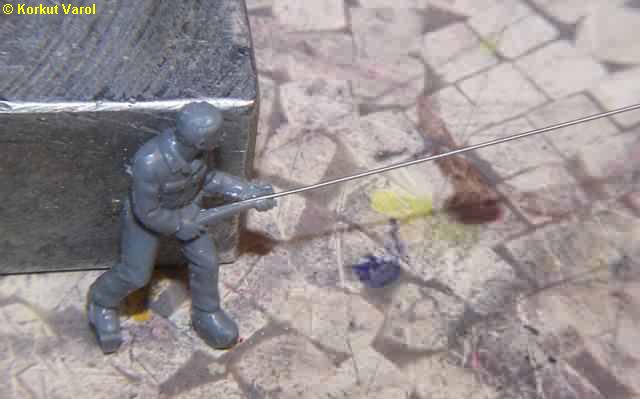
| I
cut off the spanner from the figure
and placed a piece of 0.3 mm wire as the fishing pole. I
placed one
end of the wire in a hole I drilled in his body, and fixed permanently
with CA glue. I also cut the base plate, keeping some thickness under
his
shoes. |
|
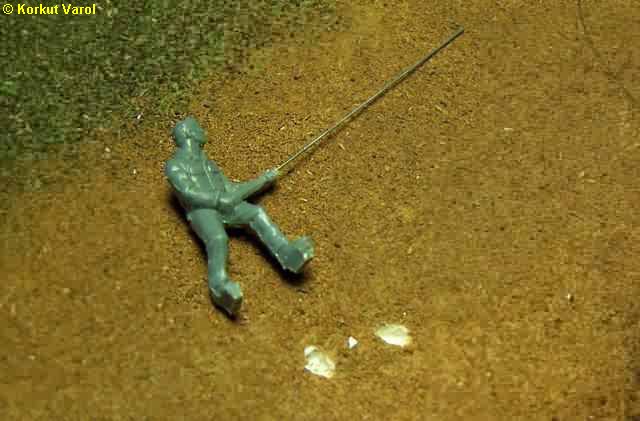
| This
is how I fixed the man to the
plaster base. I carved two pits where the feet will rest, and
after
painting, fix with CA glue. |
|
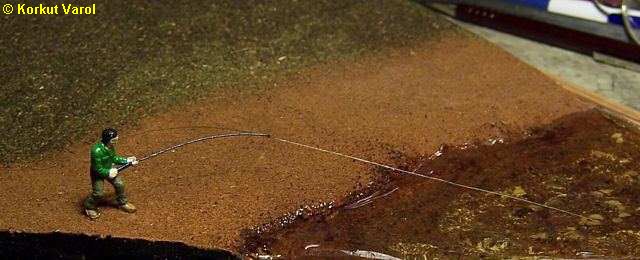
| That's
it.. After painting, I gave
a bend to the fishing pole and glued the man on the base. I fixed the
fishing
line to the pole with CA glue. The hair color was black, and not easily
seen; so I painted it with chrome silver. In the photo, it appears
thicker
than real with the light reflections. |
|

|
 
|