|
DIORAMA OF THE FINAL SCENE |
 |
|
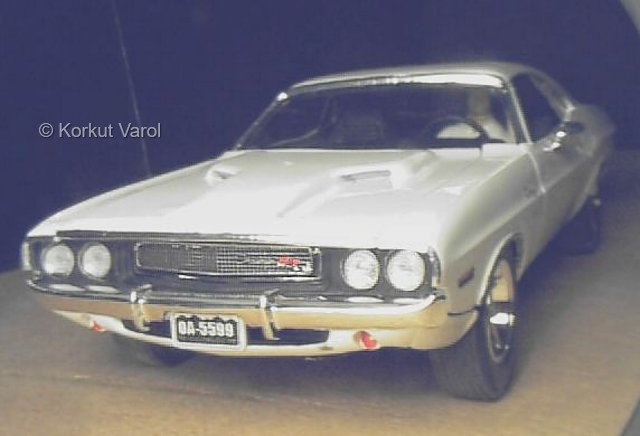
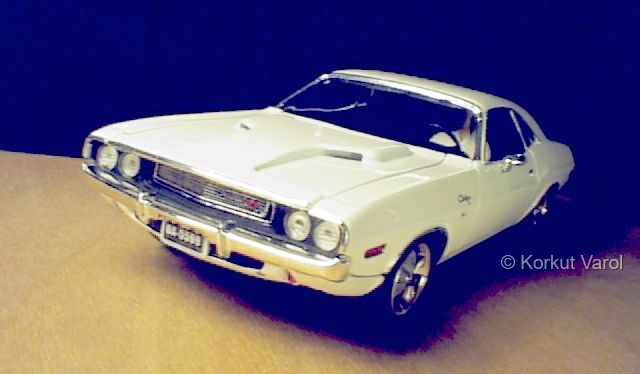
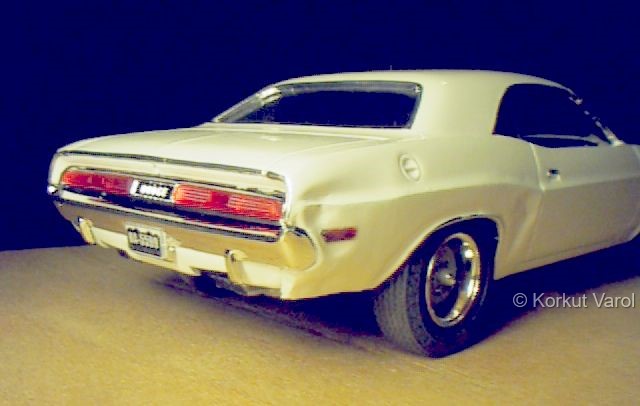
This is the duplicate of the car in the famous movie "Vanishing Point". I used the AMT/ERTL kit no:6466 for the model. The major points in building the model are: * The hood is completely scratchbuilt from styrene sheets. * The right rear fender is dented as in the movie, due to lateral contact with the Jaguar. To do the depiction, dented portions of the fender were manufactured from resin and substituted in place. * The "rallye" type wheels were taken from Monogram kit and adaptations were made to install these on this model. * The roof which was in leather pattern originally was sanded smooth for plain looks. * The license plates were done on the computer. * The "Kowalski" figure was done by cutting and re-forming a Fujimi driver figure. For Kowalski's curled hair, pieces of acoustic damping foam was used. * The "pistol-grip" shift lever was done by modifying a lever from the parts box. * The engine is ignition-wired, with the air filter from my parts box. * The rear quarter windows were cut from acetate sheet, and bare metal foil applied for the chromed edges. * Bare metal foil was applied throughout the model, including the side marker light bezels and reflectors. * The front grille was given a blackwash and wiped clean. * The tires were rubbed with sandpaper for used looks. * The paint was acrylic white from a rattle can. No clear coats were made, due to the reason that the model will be airbrushed dust-mist on the lower parts for the diorama. ......And, believe it or not, all these were done in only 8 nights, totaling about 20 working hours ! |
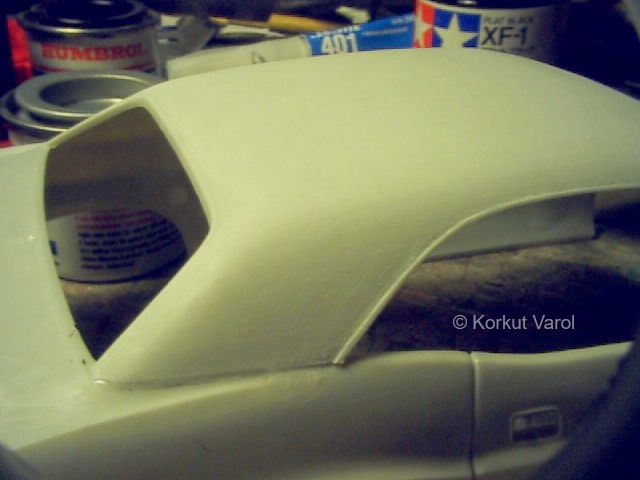
| The roof was leather-patterned, so the first thing was to sand down the pattern. |
 |
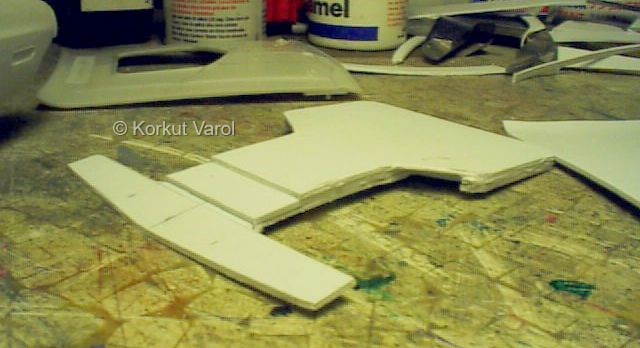
| The hood of the kit was different from the aimed car, so it had to be built from scratch. The only guide I had was pictures to determine the dimensions of the bulges. I cut layers of styrene sheet. |
 |
| The layers were glued on top of each other and the bulge profile began to take shape. |
 |
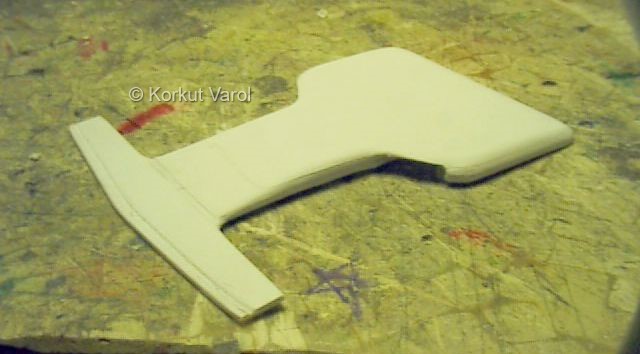
| Then the block was sanded smooth. |
 |
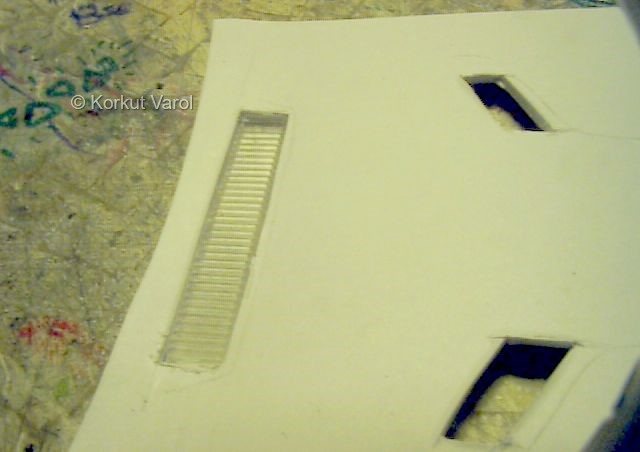
| Hood scoops were cut on the base layer |
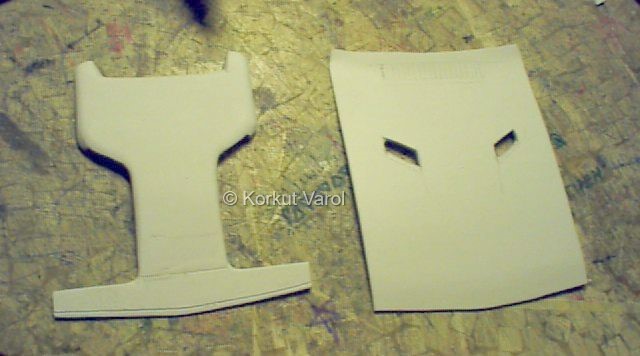 |
| For the hood grille, a proper piece was cut from the side of a CD-cover. |
 |
| To depict the wrinkles on the rear right fender, foil copying was used. The copied parts were given dents .... |
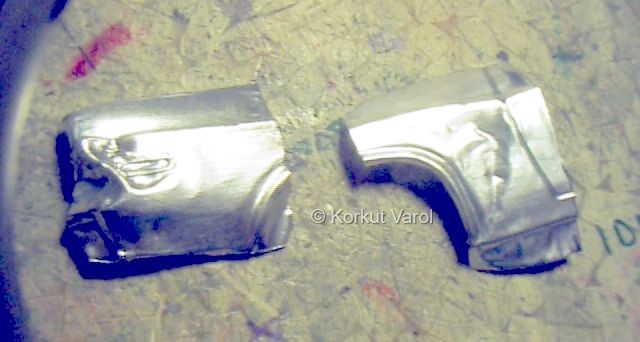 |
| ....and the resin castings were made. |
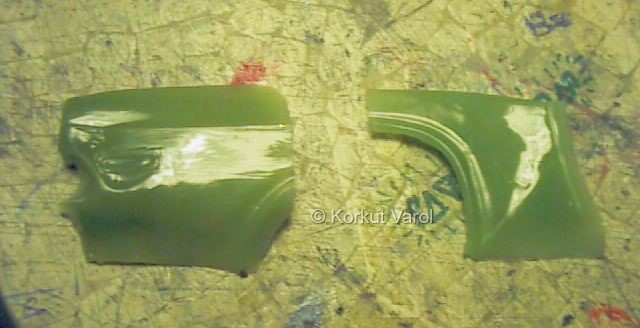 |
| The dented castings were glued in place with superglue |
 |
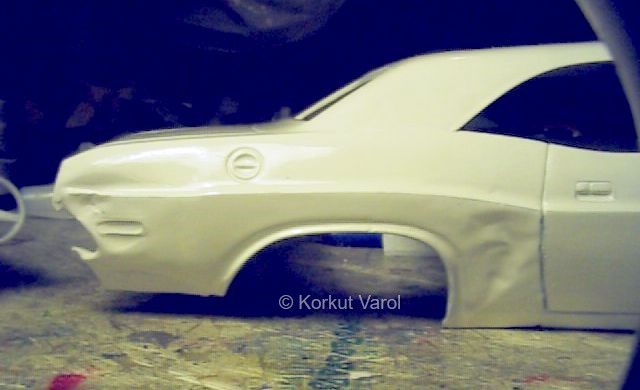
| After puttying and sanding, the body was painted acrylic white. This is how the fender looks after painting. |
 |
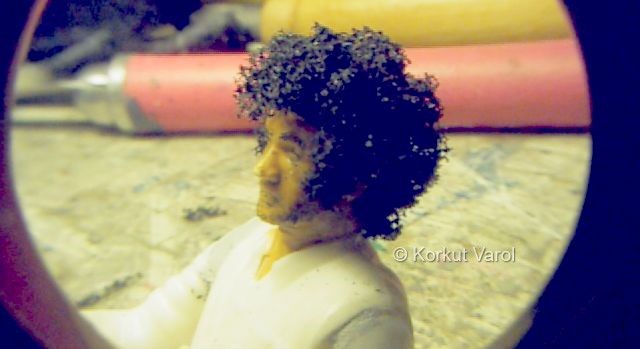
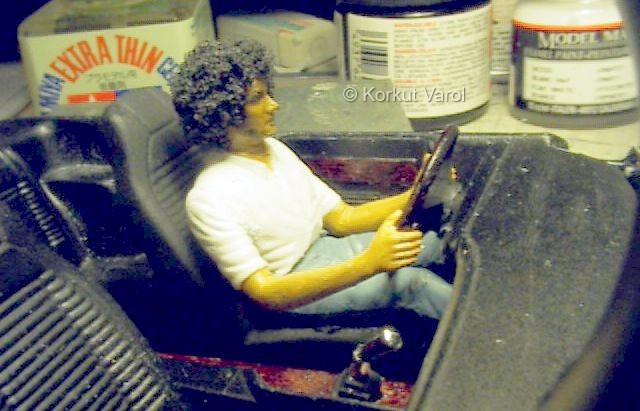
| Now for Kowalski
figure..
A suitable one from Fujimi drivers kit was picked up and his hair was made from pieces of acoustic foam. |
 |
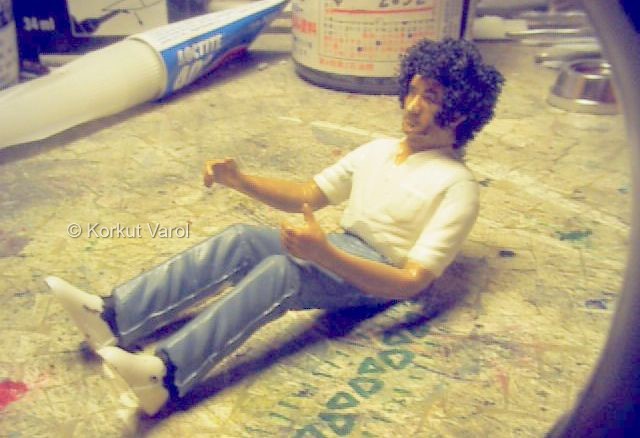
| The figure was 1/24, and the car was 1/25. This resulted in the figure not fitting in the car properly. So, I cut some from all his limbs and upper body to fit him in the car. I glued them all in position after numerous tries, and then painted the figure. |
 |
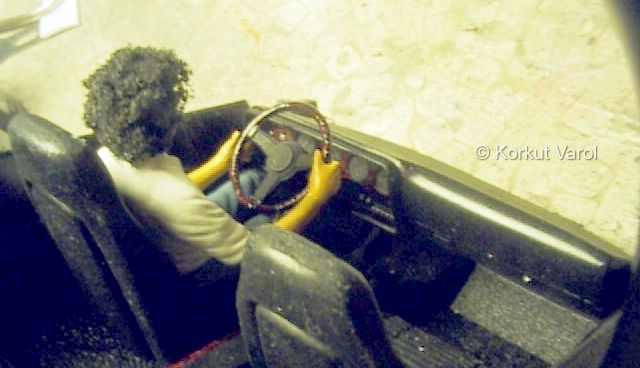
| A view of how Kowalski sits in place. |
 |
| The rear quarter windows were cut from acetate sheet and and bare metal foil applied for the chromed edges. All the chromed trim on the car was done with bare metal foil. |
 |
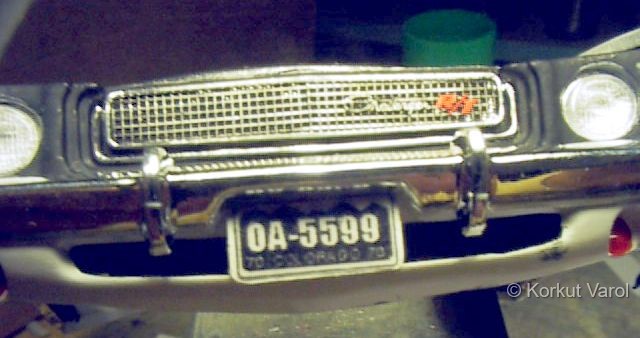
| The front grille was given a black wash and then rubbed with a cloth so that the grille holes were painted only. The two licence plates were carefully done on the computer, to be authentic. |
 |
| Here is another view of Kowalski. The wood grain was painted with brown glass paint. The rest of the inside was done with satin and matt black paints. |
 |
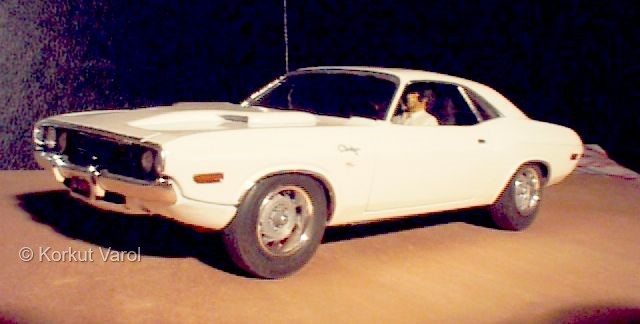
| And the finished views of the car. |
 |
 |
|
 |
|
 |
|
 |
 |