UPDATED
Dec.14,2000:
I began with
a trial mold made from 5-minute silicone putty. I cast a sample piece,
but the joint pins readily got broken due to brittleness. So I made
another
trial, this time I used polyester filler putty. I put a metal insert as
the pin from a piece of paper clip. This proved fine, the putty stuck
to
the pin and firm enough for a model.
|

|
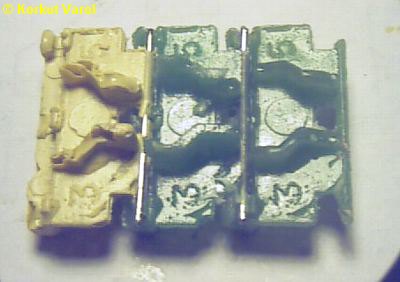
| I repeated casting
with resin, with the metal inserts. Still fine results. To make better
grips, the pins were roughened with filing. Here, you see a cascade
mounted. |
|
| And here, a cast
one is placed in the kit's original tracks. |
|
| Heading on for
better parts, I made a new mold, enabling good command on poured resin. |
|
| And here is a
sample from that mold. Following parts were better. |
|
| UPDATED
Dec.26,2000:
The geared wheels
were resin cast by the aid of a RTV silicone mold.
|

|
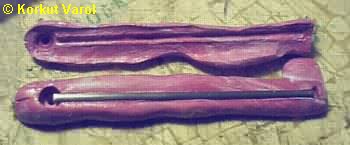
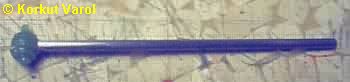
| For the piston
rod, a 2-piece mold was made from 5-min. silicone putty. Instead of
copying
the whole rod in resin (which had a risk of breaking), I put a polished
steel rod in the mold and cast the head with pins only. Nice job! |
|
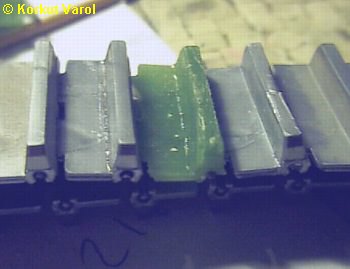
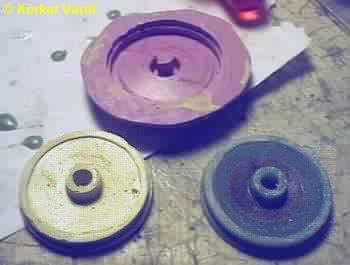
| The big roller
wheel was copied by making an open half-mold. The one on the right is
resin,
and on the left is automotive polyester putty. Both resulted in good
pieces,
but the one from the putty had some gaps on it, since it was not liquid
prior to putting in the mold. But those holes can be filled easily, so
it was no problem. |
|
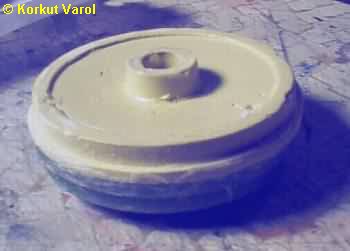
| Here, the two
are joined by superglue to form a wheel unit. |
|
UPDATED
Jan.10,2001:
The hood was
done with foil-copying and using it as a mold. |

|
My resin stock
ended, and not being able to find the brand I used, I tried other
materials
for casting. The molds were made from silicone mold putty from here on.
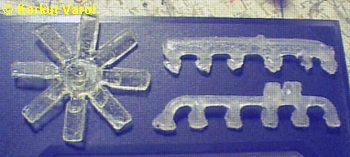
These parts
were
cast from 5-minute epoxy. Took a few days to harden fully. |
|
| So were these
transparent parts, except for the dark gray ones below. They were done
from metal epoxy. The white styrene pieces you see within the cast
command
console are embedded in the resin fill up volume and save resin. |

|
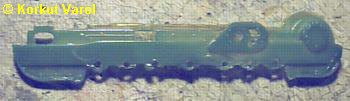
| This left outer
wheel and track holder was cast from the last remainders of resin. |
|
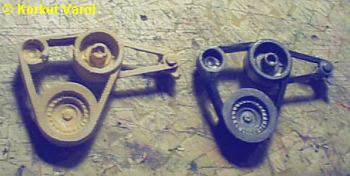
| The pulleys and
belts were duplicated by using automotive polyester putty. The
difficult
part is that since it is not liquid, you cannot be sure if it goes to
every
point in the mold. Here you see on the left small pulley, an empty
part.
It was later repaired by adding putty, too. |
|
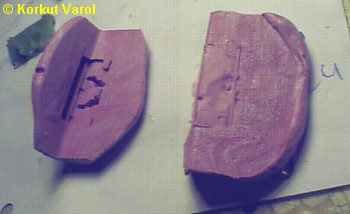
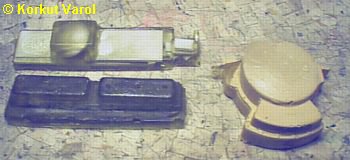
| Now coming to
the engine.. The sides were cast seperately and then joined. The purple
ones are the molds, and below them are parts cast with polyester putty. |

|
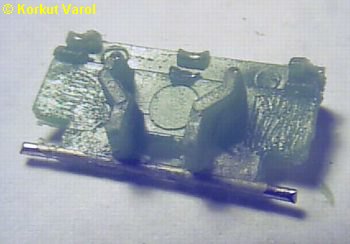
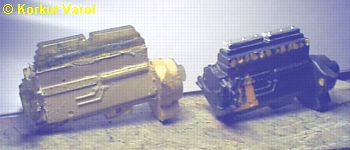
| The crankcase
and rocker covers were cast from another brand resin (fillers also used
here as seen..), and flywheel housing was cast from polyester putty. |
|
| Here the copy
is glued together and placed in front of the original. Since I bought
the
original kit assembled, I could not disassemble it to every detail,
which
made mold making harder. |
|
UPDATED
Feb.12th,2001:
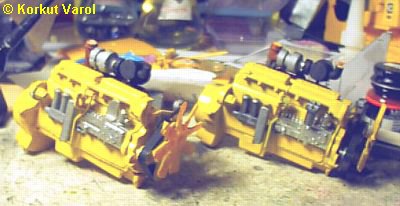
The
two engines
assembled side by side in the following two pics. |
|
| The one on the
left is the copy, the other is the original. The starter motor and
lower
radiator hose are missing on the copy, they were mounted later. |

|
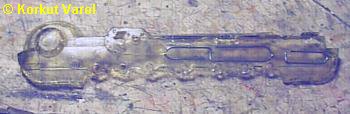
| The outer wheel
holder was copied with resin, this time a transparent one. The paper
clips
embedded are for rigidity purpose. |
|
|
|
|
|
|
|
|
|

|
 .
.
|
