 |
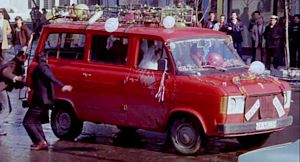
"Çiçek Abbas" |
|
 |
|
"Çiçek Abbas" |
|
|
Scale
: 1/24
Start:
22 October 2016
Finish: 20 February 2017
Page 3 / 5
| 12 December 2016: I used a flat black sticker folio for the floor covering. For the patterns, I used a silicone drawer base, placed the folio over, applied heat with a heat gun and pressed. 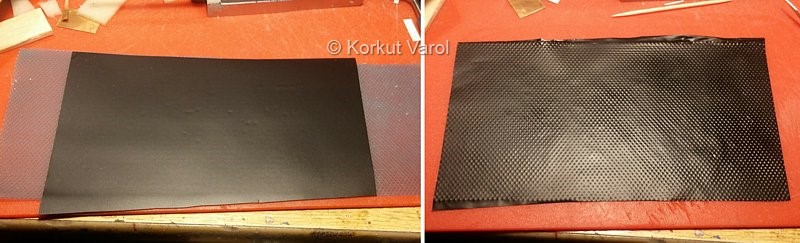
|
|
13 December 2016:
I made the raw seats from balsa. 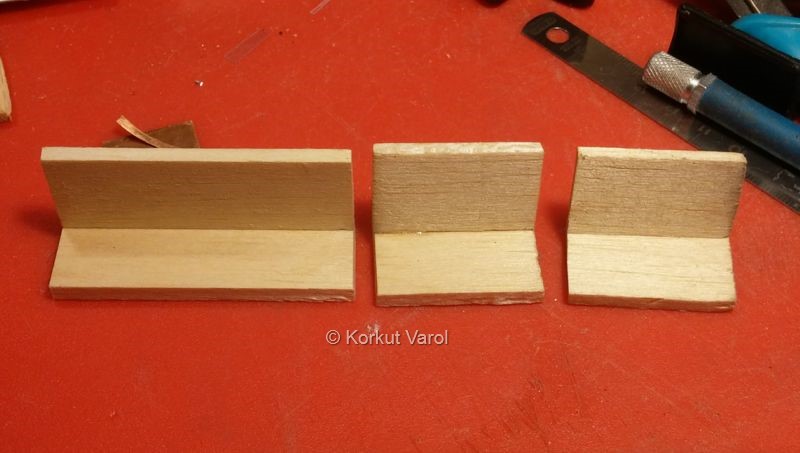 |
|
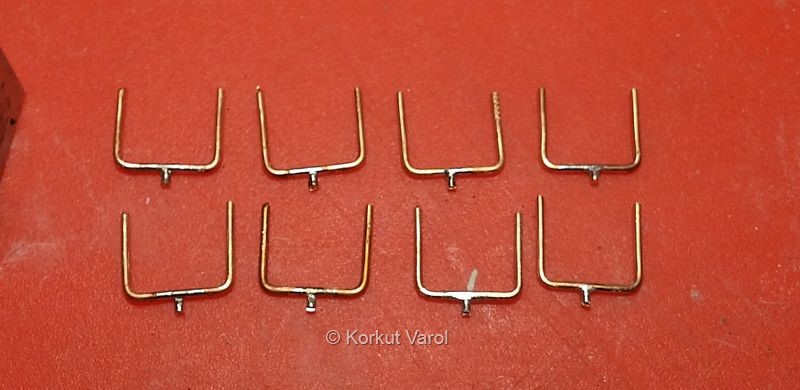
14 December 2016:
I
prepared the legs of the seats from copper wire. I soldered small pins
at the bottoms, to go through the holes in the floor. This will prevent
the excess glue traces on the floor covering.
 |
|
I completed the seats with adding sculpted balsa sheets, dipped them in cellulosic fill varnish twice to impregnate the balsa. Then I applied a primer coat, glued in the legs. I drilled the mating holes in the floor and made a test installation. 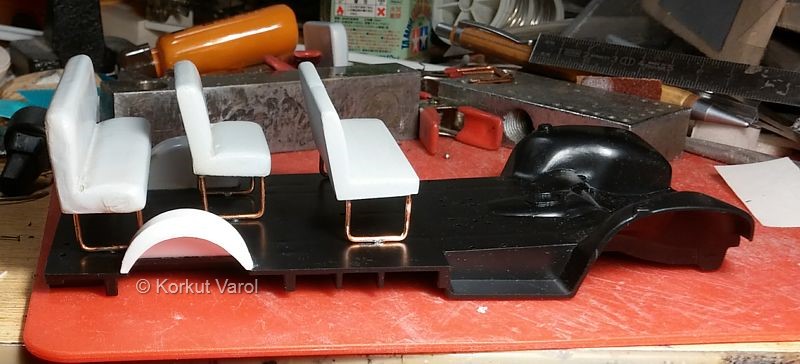 |
|
18 December 2016:
I
made the seat pipings by gluing threads around the edges. Then I
painted the seats.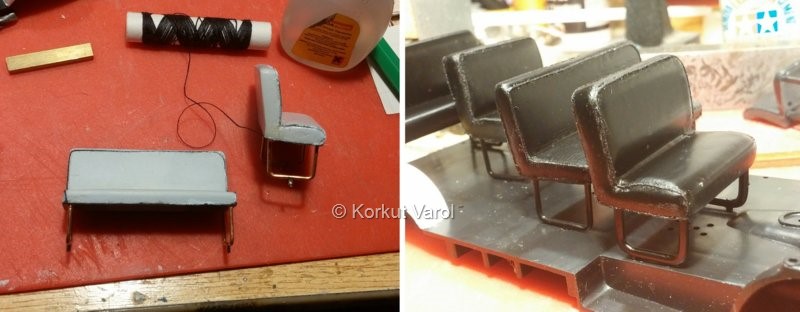
|
|
|
22 December 2016:
I
painted the steps and the wheel arches body color.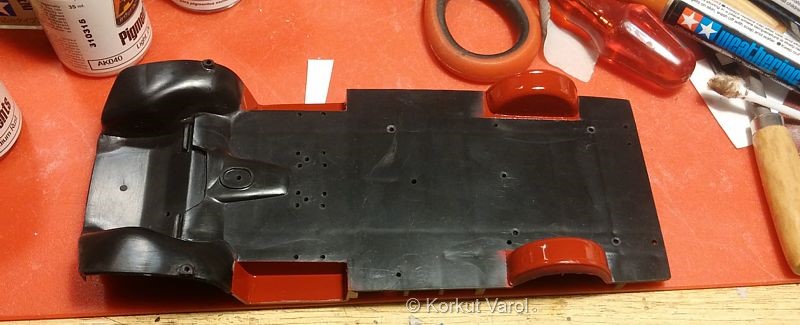
|
|
|
23 December 2016:
I
assembled the bottom of the vehicle, made some weathering and dusting.
I applied leaks at the tank, differential, oil sump and dampers.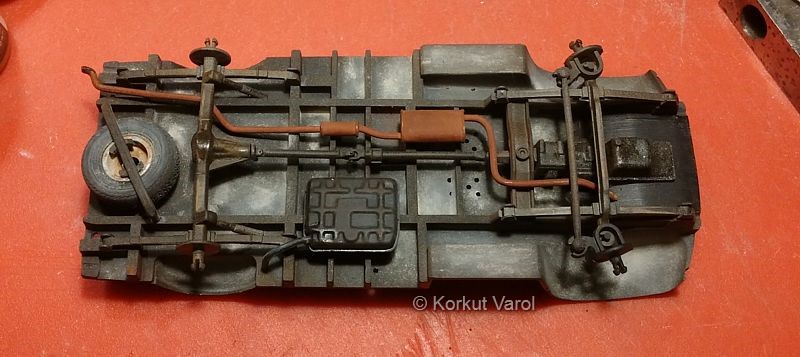
|
|
24 December 2016:
I
fixed the floor covering and seats in place.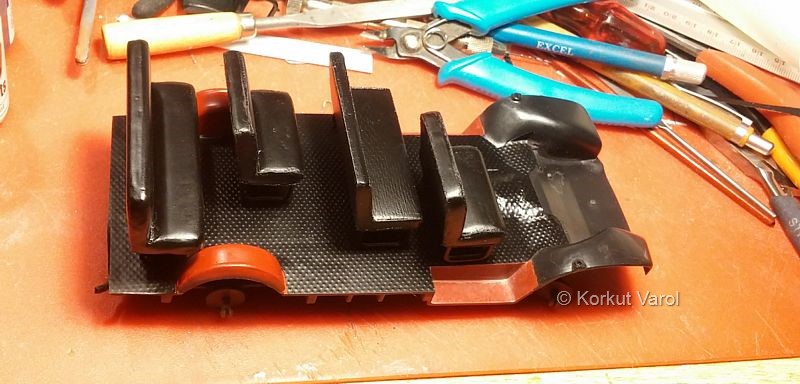
|
|
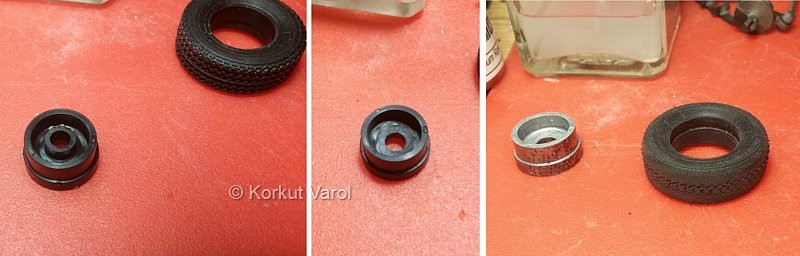
26 December 2016:
Converting
the rear wheels to the original. I drew and printed the wheel center,
cut as two layers of styrene. Since the kit's wheel center is conical,
it had to be flattened. I shaved the excess with Dremel. The center
part that I made will be glued on the flattened surface.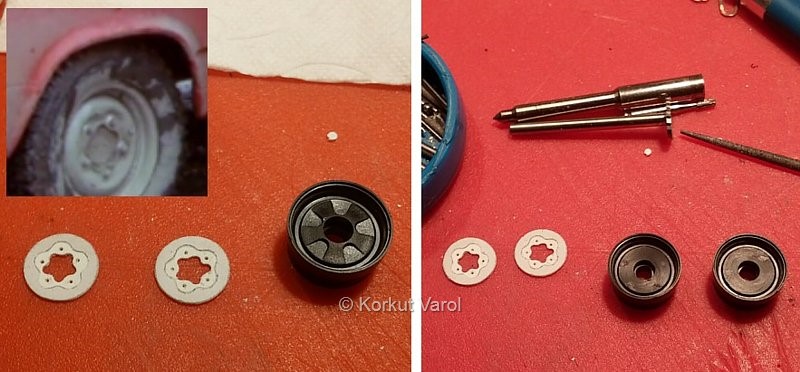
|
Manufacturing
of the conical hubcap of the front wheels. First I shaped the tip of a
wooden rod. I made the female in another wooden piece with a drill. I
placed a piece of aluminum sheet between the male and female, and
shaped the aluminum sheet by turning the drill. I trimmed the edges of
the shaped part.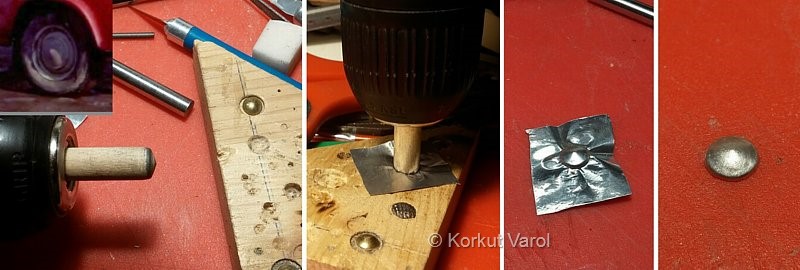
|
|
27 December 2016:
I
made the studs of the rear wheels from 0.5 mm pencil tip and inserted
them in place.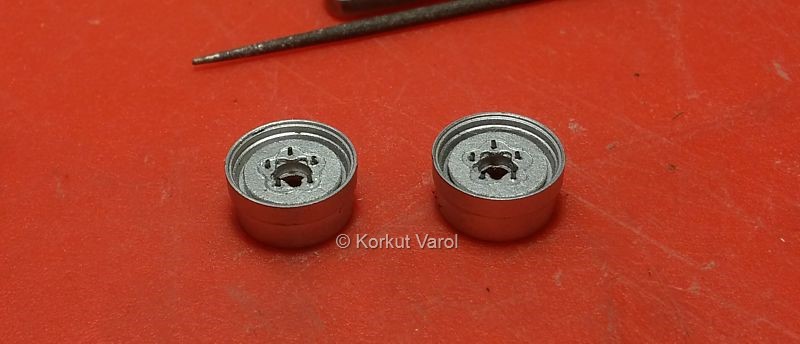
|
|
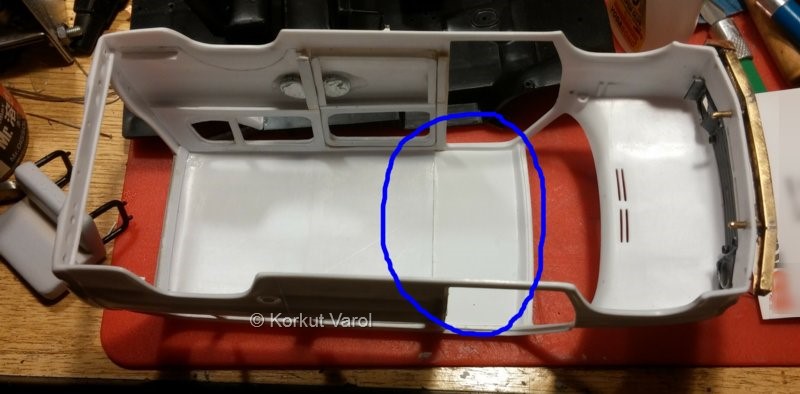
28 December 2016:
Before
applying primer, I made the roof lining. I took a layer from a paper
napkin and spray-glued it on a sheet of paper, cut and made joining
lines with a toothpick.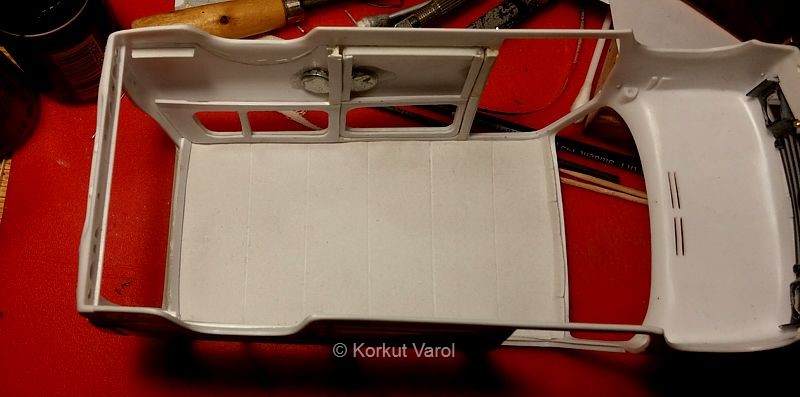
|
|
29 December 2016:
I
dirtied the wheels and tyres a bit and put them in place.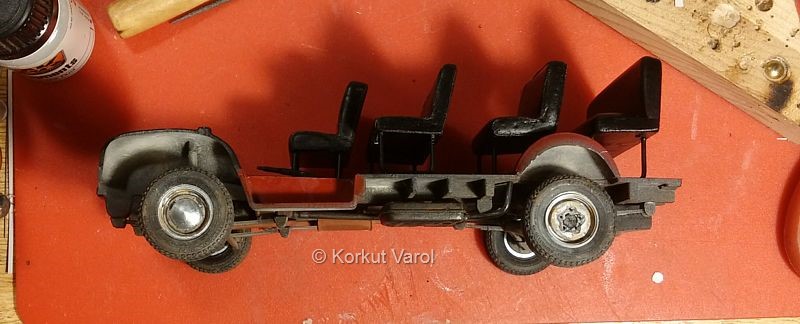
|
|
01 January 2017:
Before
applying primer, I realized that I had not manufactured the rear door
hinges. So I manufactured them from styrene and glued on the doors.I also cut the single-piece frear window glass into two, mating the new openings. 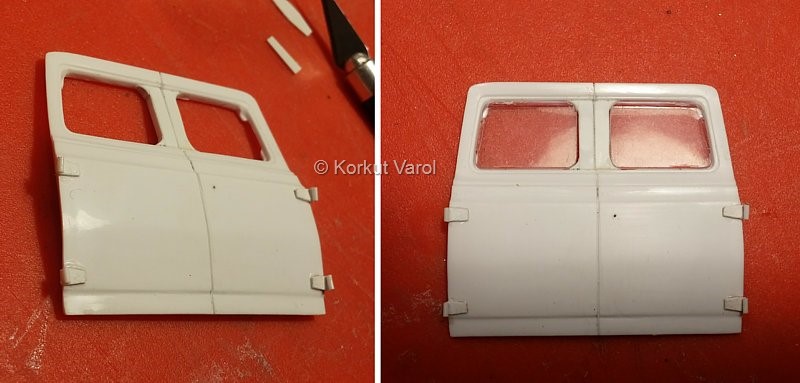
|
|
04 January 2017:
I
used the headlight lenses from my parts box. I made the reflectors by
forming aluminum sheet. I imitated the bulbs with a droplet of
UV-curing nail builder's gel. I glued the lenses to the reflectors and
then the whole, to the flat white painted front grille.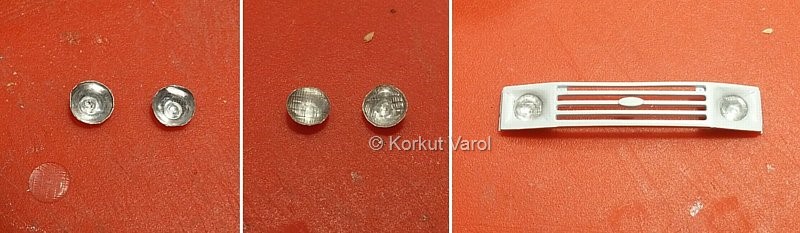
|
|
05 January 2017:
I
imitated the plush covering of the driver seat with a piece of wipe
cloth. I fixed the cloth to thin double sided tape and then to the
seat. I made the stretchers from a thread that I stripped from the
cloth. Then I dirtied a bit for used effect.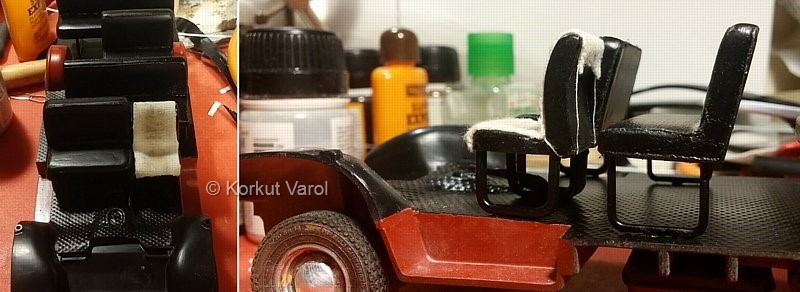
|
The
gear shift lever was too thick. I replaced the stem with a
plastic-headed pin.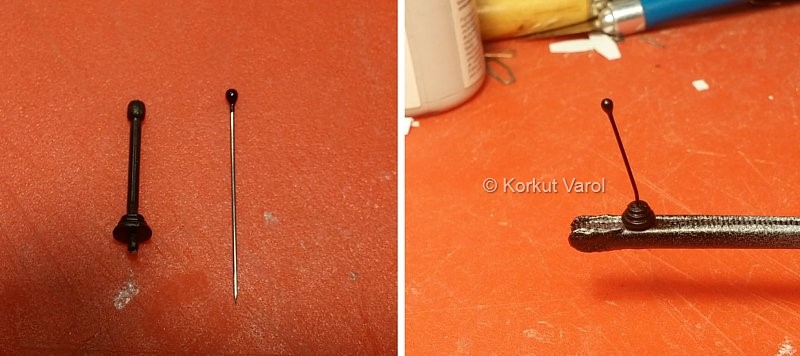
|
I
printed the rug used as a mat on paper and glued it on the floor.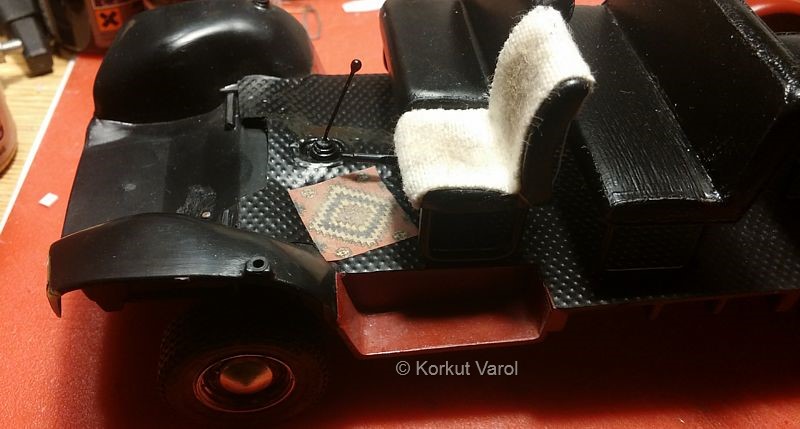
|
|
08 January 2017:
To
make the front grille cover (to prevent cold air entering the engine
bay), I traced the patterns from a photo, printed on paper and using
this as a template, I embossed the pattern on a 0.2 mm thick aluminum
sheet.
|
I
painted the
cover maroon, applied matt clear and made a bir black wash. Then I
applied the "Çiçek Abbas" scripts which I traced from the actual photo.
Then I glued all together.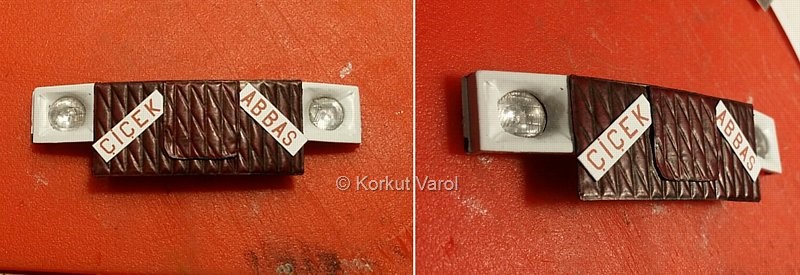
|
 ........ ........ ...... ...... |