 |
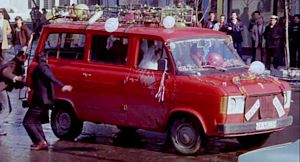
"Çiçek Abbas" |
|
 |
|
"Çiçek Abbas" |
|
|
Scale
: 1/24
Start:
22 October 2016
Finish: 20 February 2017
Page 4 / 5
| 10 January 2017: Before installing the windows, I painted the rubber seals both inside and outside. Painting the visible zones between the inner and outer panels proved tough. 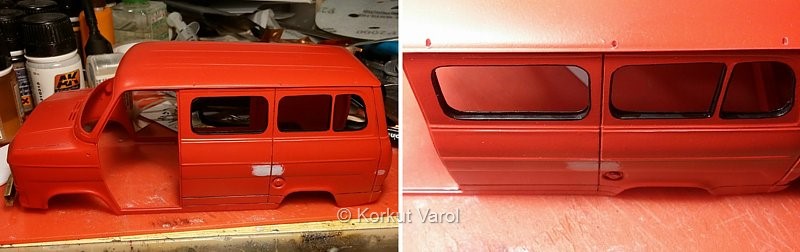
|
| 11 January
2017: I slid the glazing between the inner and outer panels and fixed in place. 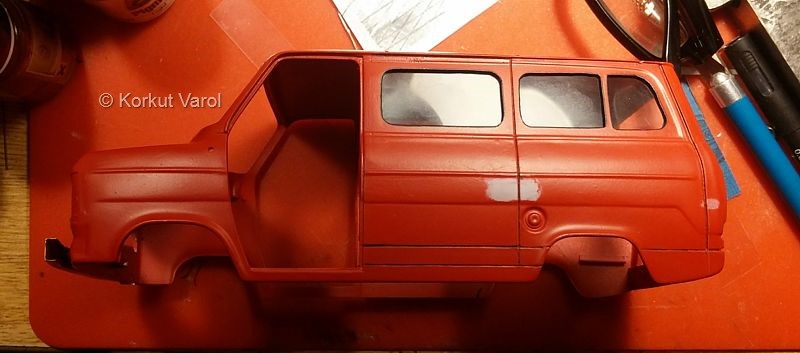
|
| 15 January
2017: I painted the windshield frame flat black. 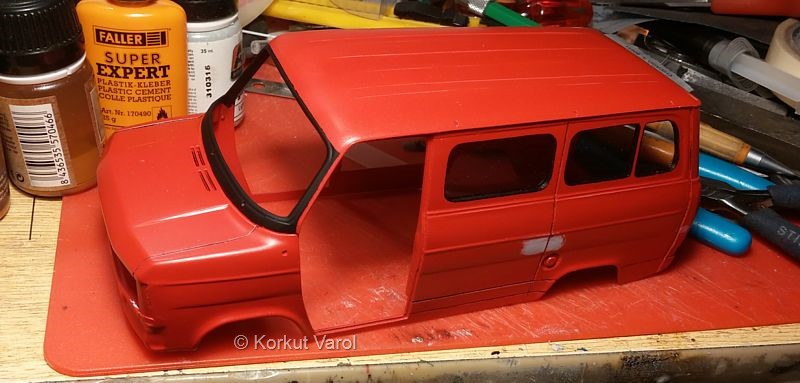
|
I painted
the internal cover
panels and glued them in place. I manufactured the door pull handle
from telephone wire; and the opening lever arm from a bent pin, with a
small copper washer soldered to it. I also fit the ceiling cover in
place.
|
Just at
this time, I realized that
the actual vehicle's exhaust outlet was different from the kit's. So I
cut the pipe end and reversed the bending direction to match with the
actual one.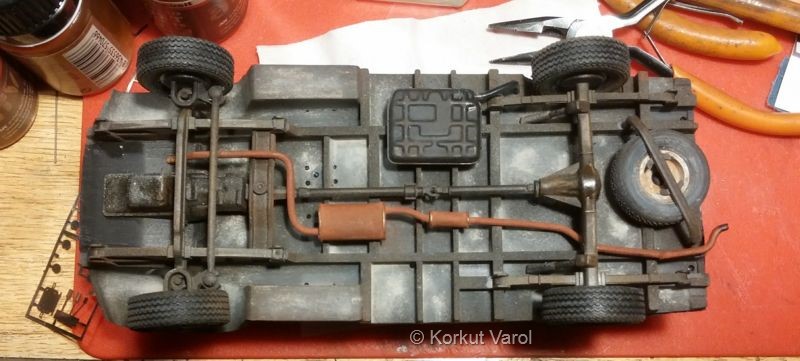
|
I glued
the -previously made- pompom lining in place.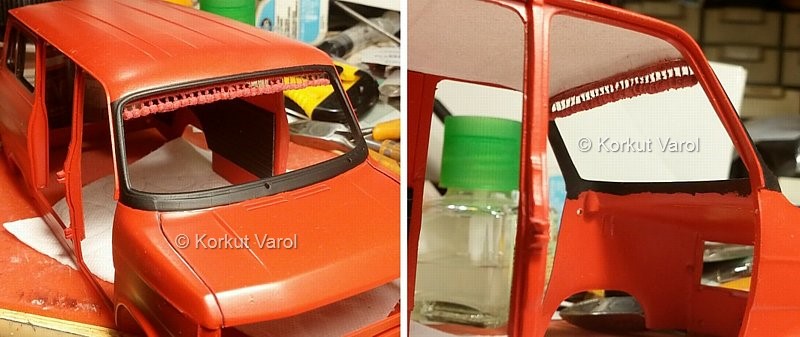
|
| 18 January
2017: Preparation of the service line plate behind the windscreen. I made the vacuum hangers from UV-curing nail builder's gel, on a double-sided sticky tape with the wire inserted in the gel. I made the plate by applying the clear decal (made on the computer) on a painted acetate sheet. I cut the tape around the cured gel, took off the protective paper and stuck it inside the windshield. 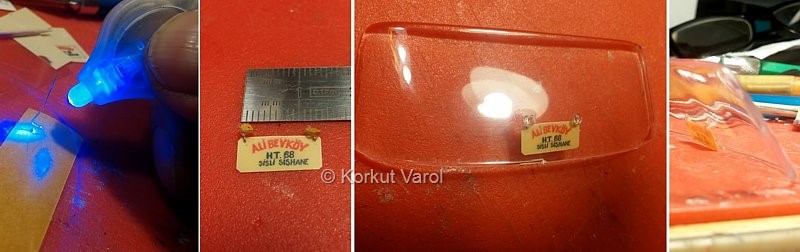
|
Temporarily
installed windshield with the plate behind the windscreen.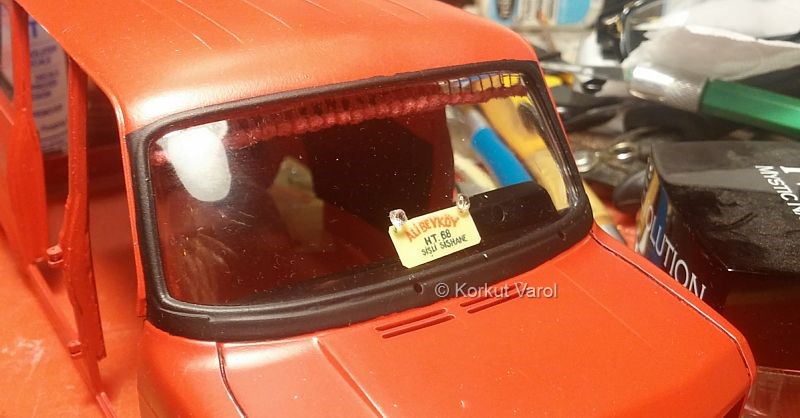
|
I made
the prayer plate and
decorative beads on the computer and printed on a clear decal sheet. I
applied the decal on a piece of acetate and trimmed around the pattern.
Then I stuck it behind the mirror with double-sided clear tape.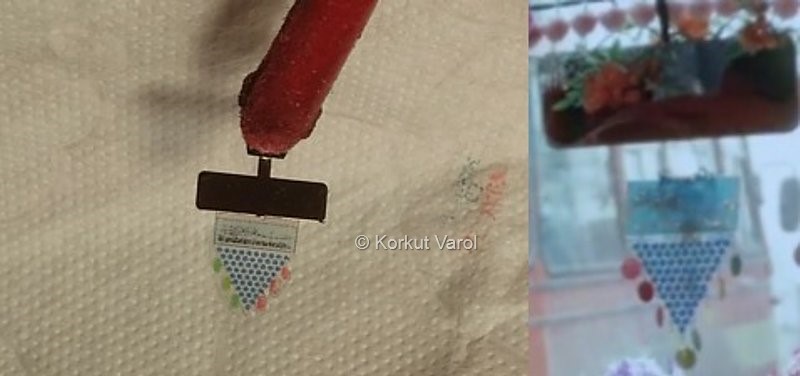
|
I
prepared the reversed "Çiçek Abbas" text on clear decal and applied it
inside the rear window.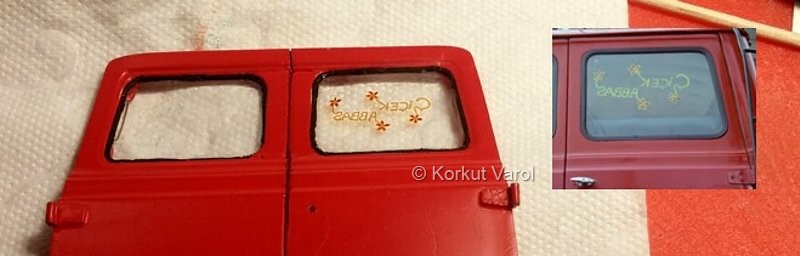
|
| 18 January
2017: I prepared the sun visors from double layer thick paper and glued them in place together with the mirror assembly. 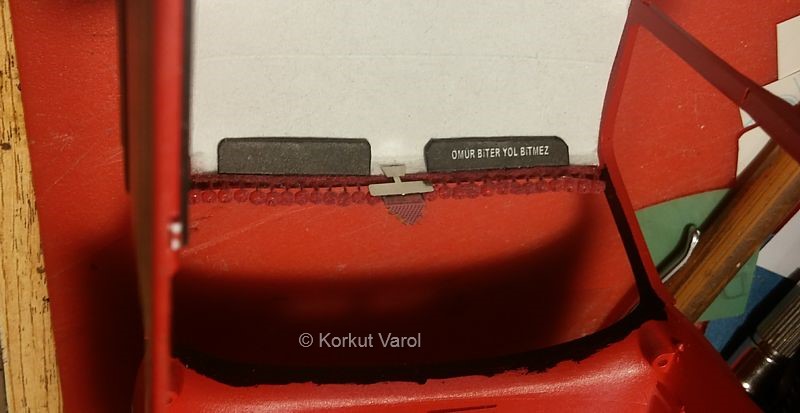
|
The
rear lights were different so I scratchbuilt them. I drew the lights on
the computer and cut the base from styrene sheet. I covered the base
with aluminum duct tape. I used patterned foil carrier for the clear
parts; cut and painted them with clear glass paints. The
self-stickiness of the carrier sheet helped in fixing the clear parts
on aluminum.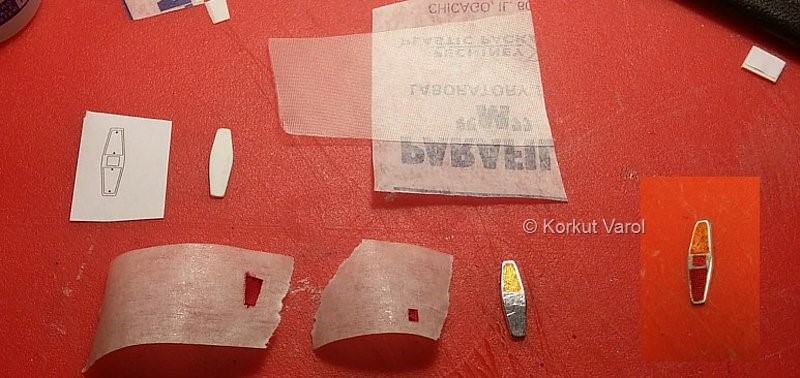
|
| 20 January
2017: I glued the rear lights in place. I manufactured the front signals by fixing patterned foil carrier tape to aluminum duct tape and painted clear orange. Then I applied double sided clear tape under the signals and fixed them in place. 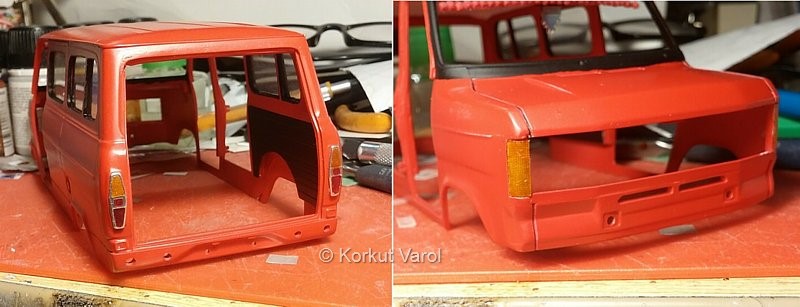
|
| 24 January 2017: I made a trial to make embossed licence plates. I printed the plates in reverse on the back side of an aluminum duct tape, traced over the figures with a ball-point pen and got the embossings on the surface. Then I applied the decals I made over the aluminum tape and trimmed around. 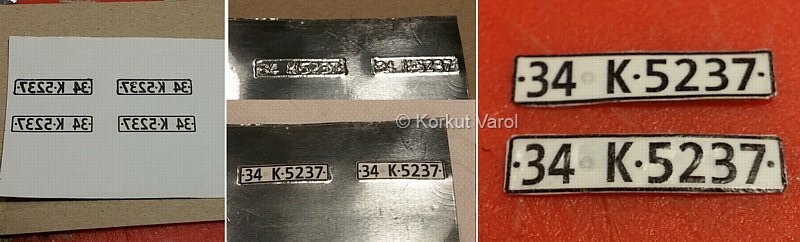
|
| 26 January
2017: I prepared the flowers and glued them in place. 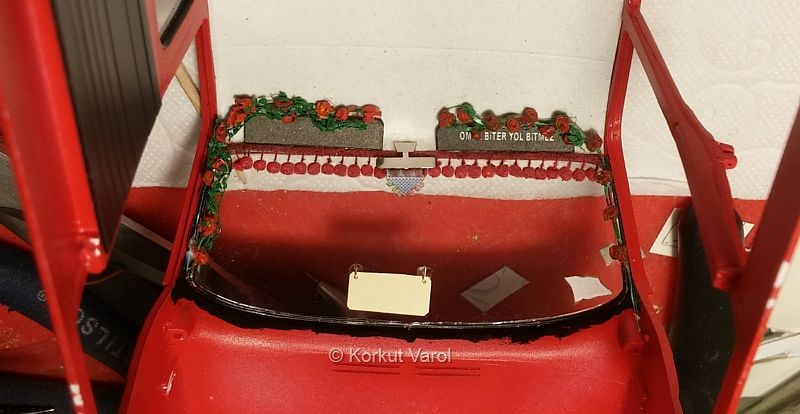
|
| 28 January
2017: For the plush covers on the fascia panel, I dipped pieces of cloth in painted water. I trimmed the parts in accordance with the template I made and fixed them in place with a thin double-sided sticker film. 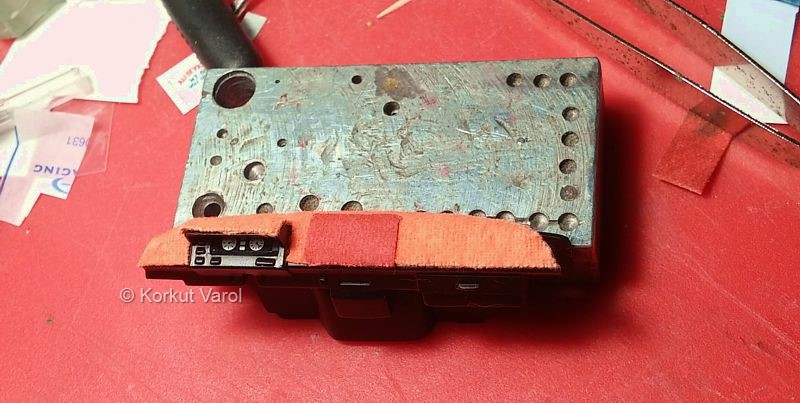
|
| 29 January
2017: I painted the flowers I had prepared before and wound them around the roof luggage. 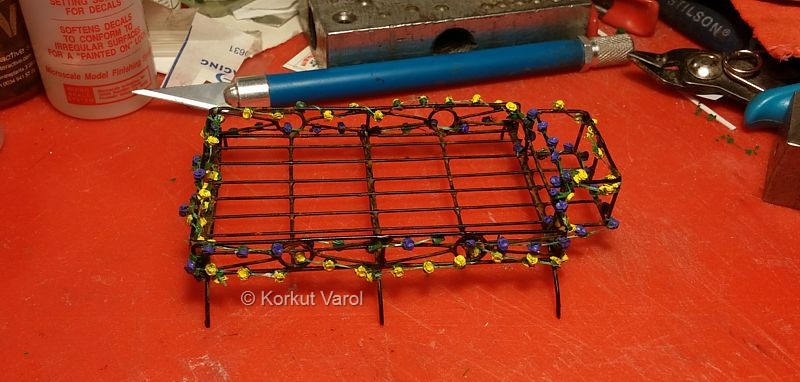
|
| The
front door windows had two snap tabs for installation, however it was
impossible to fit in place because neither the clear part nor the door
were flexible enough. So I cut one of the tabs off. I cut a strip from
a black sticker folio and fixed both inside and outside to depict the
quarter-light post. To prevent see-through the openings in door panel, I glued pieces of black paper at the back sides. 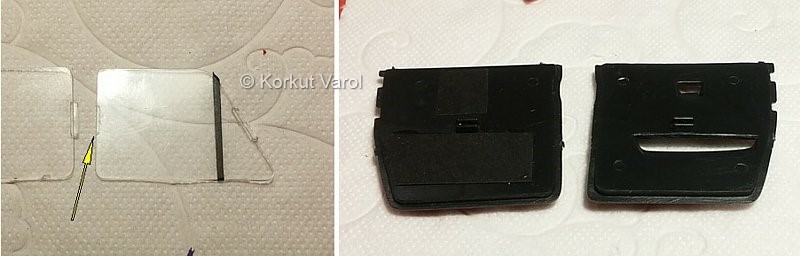
|
| 31 January
2017: The lower mating hole of the door hinge was on the floor panel, over the mudguard. I did not like the possibility of getting loose, so I cut the part from the floor panel and made a new part inside the body. 
|
| 07 February
2017: I assembled the body and chassis. I made the rear door handle from soldered wires. 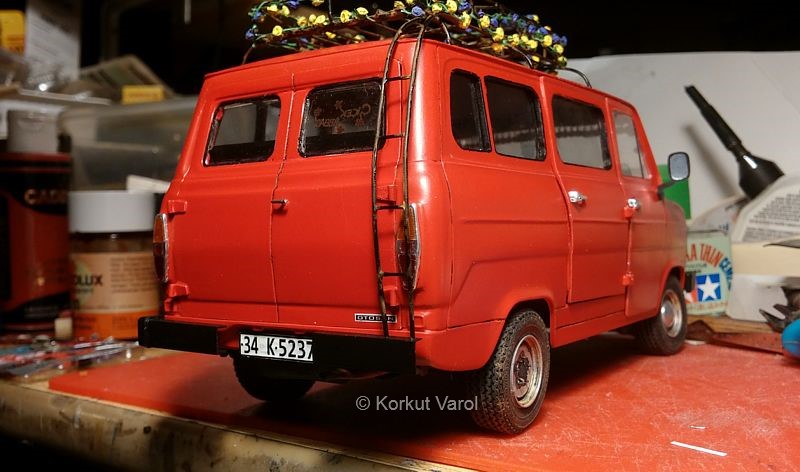
|
There is more work to do...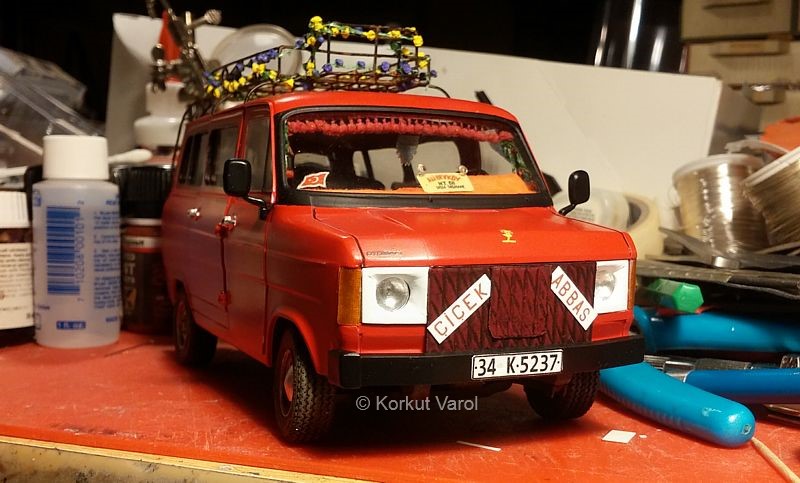
|
| 11 February
2017: I made the folded crepe paper streamers from plain paper, painted and glued on the bonnet. 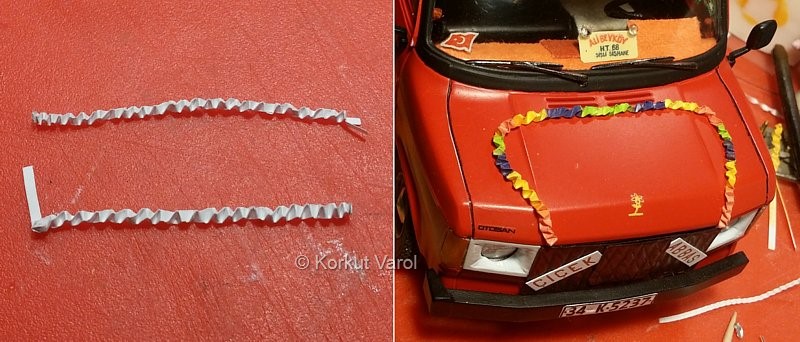
|
| 12 February
2017: I made the anchoring feet of the luggage rack from brass sheets, painted and glued them in place. 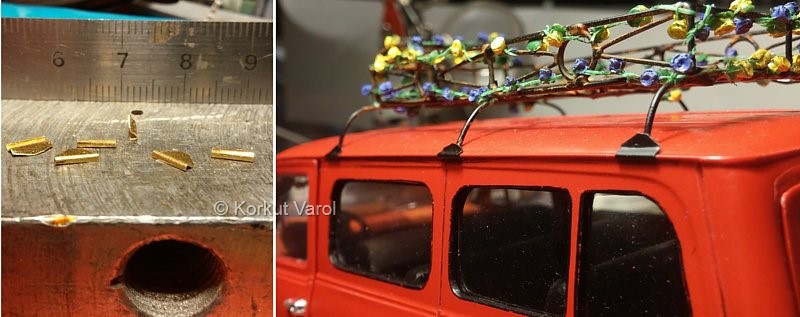
|
 ........ ........ ...... ...... |