 |
 |
(
Read as "Dolmoosh" )
Page
5 of 7
|
|
(
Read as "Dolmoosh" )
Page
5 of 7
| Feb.
02, 2004:
I filled the spaces around what was left from the inner tub floor, and also covered the floor of the luggage (and rear seat) area. |
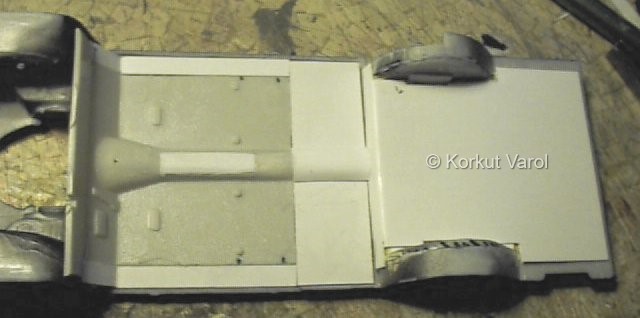 |
| I manufactured the front and middle benches from styrene sheets. For the rear seat, I trimmed the kit's cutout rear seat to fit between the wheel wells. |
 |
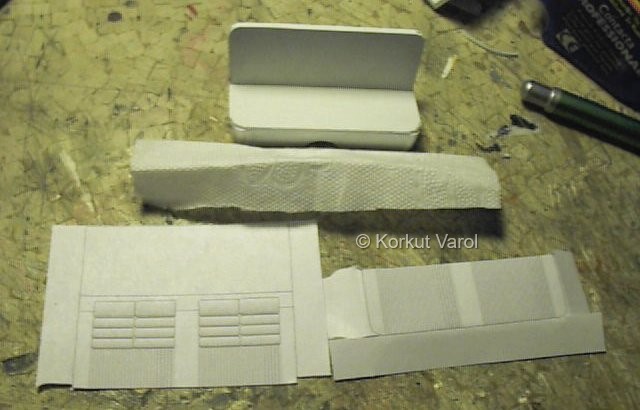
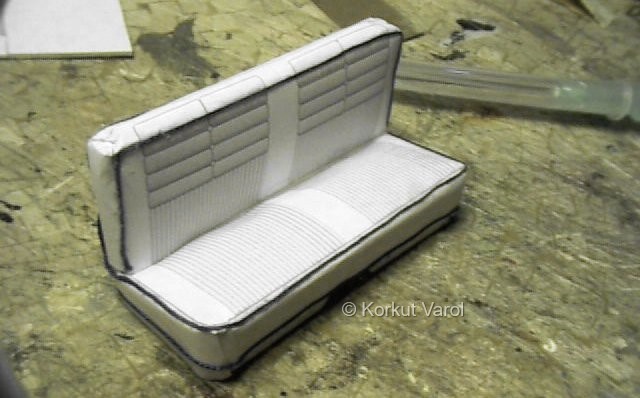
| I prepared the seat pattern on the computer and printed it on paper. Now the materials are ready for padding and covering the seat. I prepared tissue paper folds to fit on the seat and backrest. |
 |
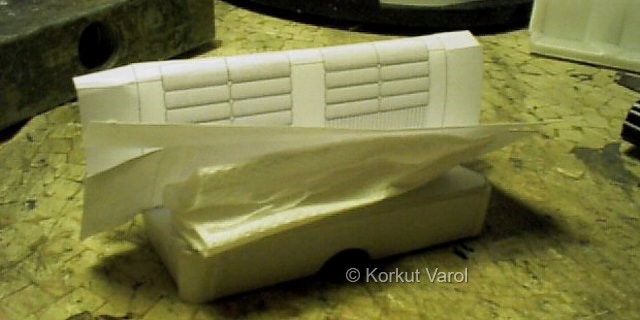
| First I glued the covering papers at the meeting line of backrest and the seat. Then I put in the folded tissue paper in, stretched the paper across and glued it on the styrene again, at the back, lower front and sides. |
 |
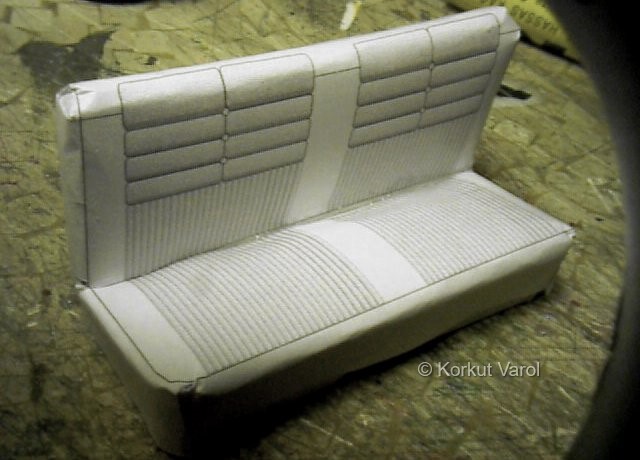
| Now the front bench is ready. |
 |
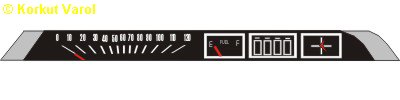
| I also prepared the speedometer cluster on the computer for future use. |
 |
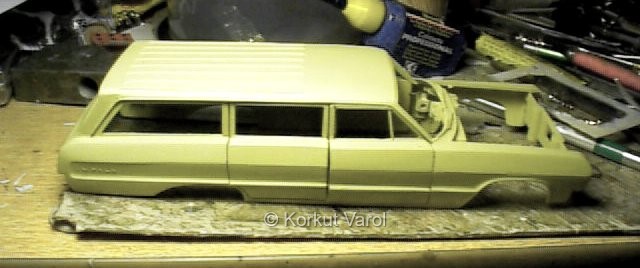
| I applied the first primer on the body. There are some irregularities here and there, and they will be corrected. |
 |
| Feb.
04, 2004:
It was a common practice to put colored transparent nylon covers over the seats and door trim panels, to protect them from wear and dirt. So the imitation process began with glueing threads along the edges. |
 |
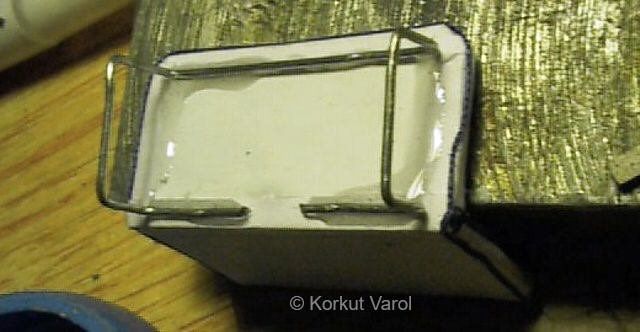
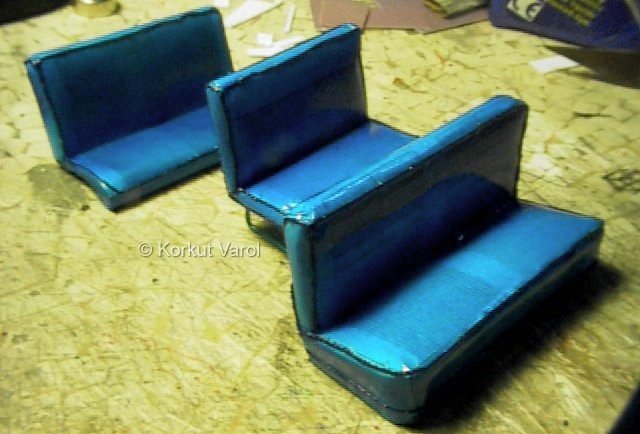
| I manufactured the legs of the middle seat from paper clip wire and glued it in place with epoxy glue. The middle and rear seats were given the same threading like the front seat. |
 |
| I airbrushed clear blue glass paint on the seat, and after it dried, I applied 3 heavy coats of clear to give the look. Well, it looked just the right way.... |
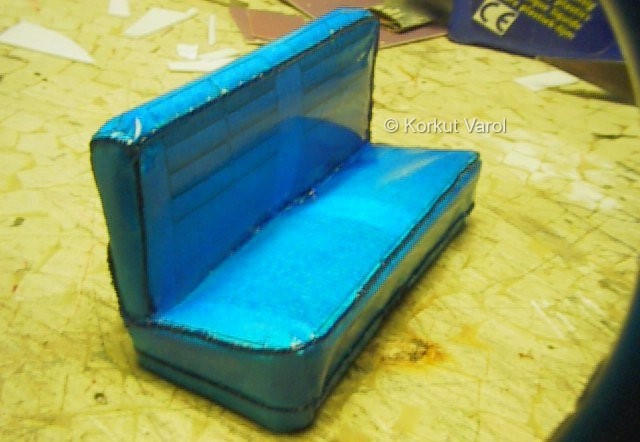 |
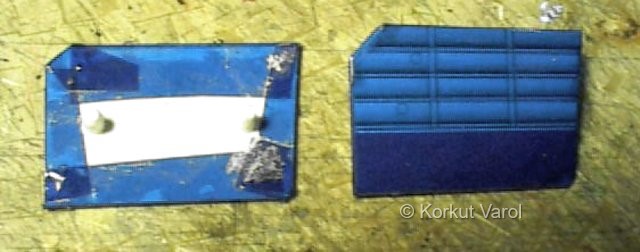
| Here are the seats all finished. |
 |
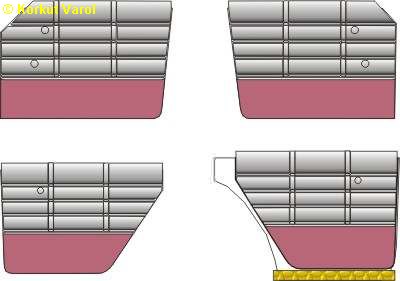
| I continued on with the inside details and drew the door trim panels on the computer. I will glue these on the styrene and cover it with clear blue acetate, instead of painting over. |
 |
| Feb.
08, 2004:
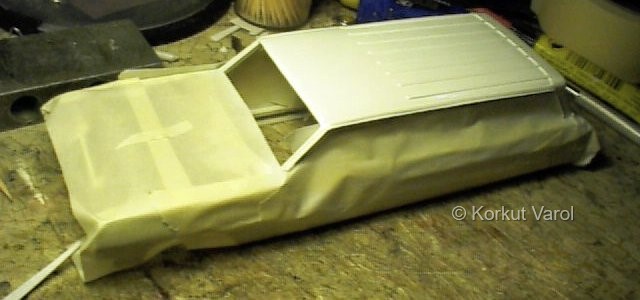
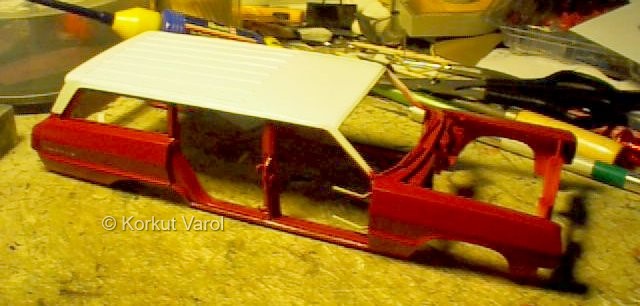
Now a step more towards the final.. I painted the roof white. |
 |
| I covered the door trim panels with blue acetate. I used CA glue to fix the acetate on the back sides. This acetate is of the kind that they apply on the bodies of R/C planes. |
 |
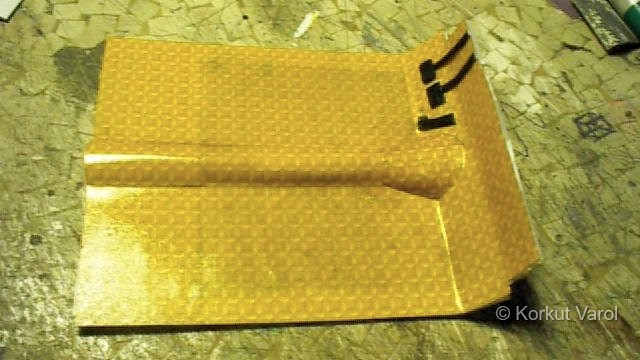
| I prepared a vinyl floor cover too, on the computer and applied 3 heavy coats of clear for the right looks. I first glued the tranny part of the tunnel, then the main part. I cut out the places that the pedals are located, to expose them. |
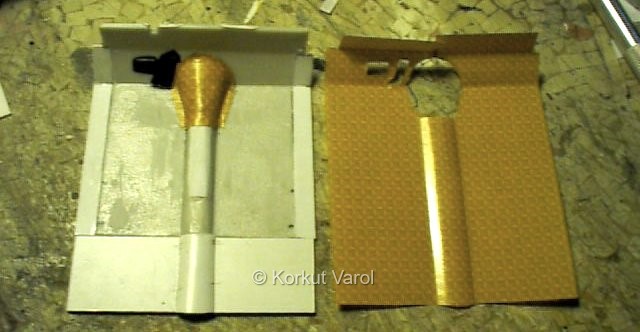 |
| Those cars all had manual transmissions, (due to not enough maintenance expertise on automatic transmissions in those times...) so I had to add a clutch pedal built from styrene. |
 |
| I prepared the dashboard with the gauge cluster made before and some BMF. |
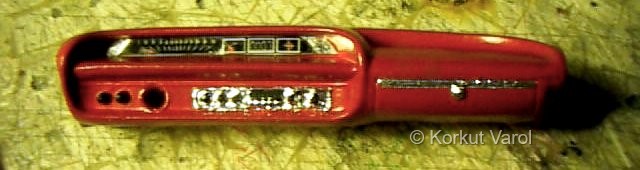 |
| I painted the body dark red. Doors and the hood are also separately painted. |
 |
|
|
|
 |
|