 |
 |
(
Read as "Dolmoosh" )
Page
4 of 7
|
|
(
Read as "Dolmoosh" )
Page
4 of 7
| Jan.
05, 2004:
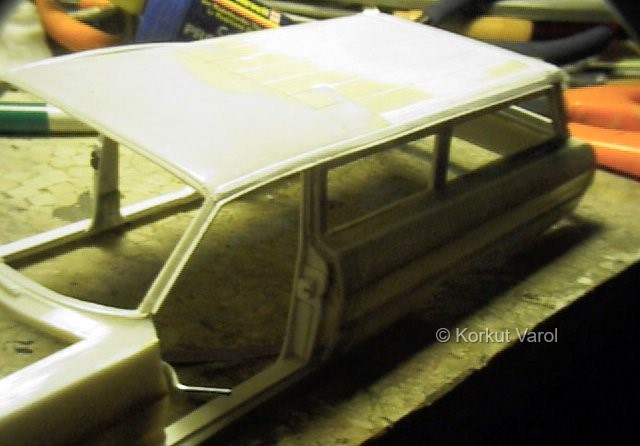
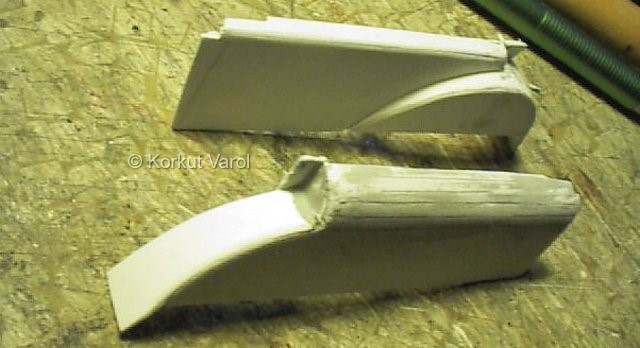
Since by now, the inner tub was almost completely useless, I cut away the sides and the rear seat. The car will have a bench seat at the front too, so I cut away the cast-in center console of the Impala SS. |
 |
| I glued a piece of styrene in the void thus created and sanded it to shape. |
 |
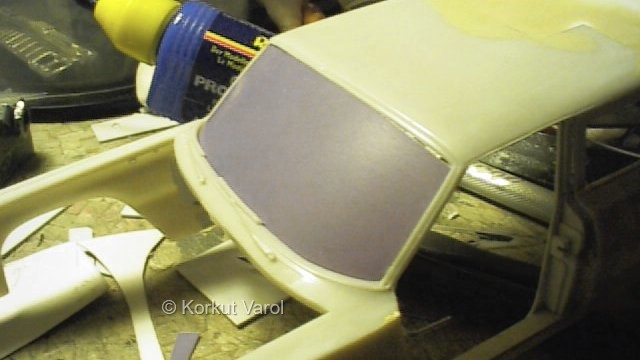
| I could not use the thick windshield, so to cut it from acetate, I tailored a piece of cardboard in place. Beforehand, I cut and glued the strips on the insides of the A-pillars and the roof, to hold the windshield in place. |
 |
| Jan.
09, 2004:
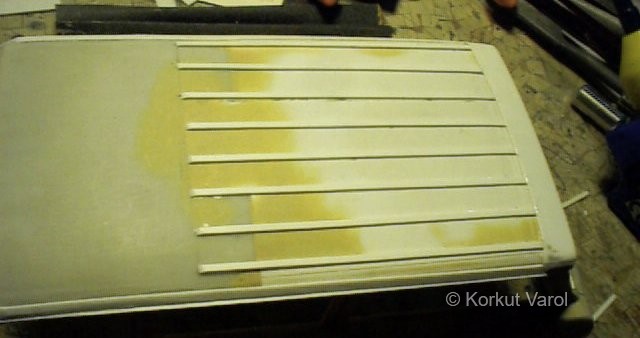
I cut and glued the strips on the rear back and both sides of the roof. |
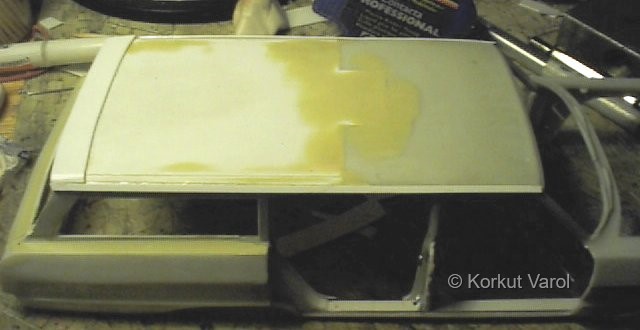 |
| Then I cut and glued the drip rails. |
 |
| and finally, the strips on the roof. |
 |
| Jan.
11, 2004:
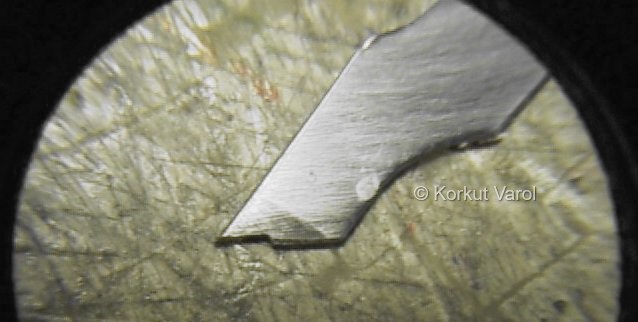
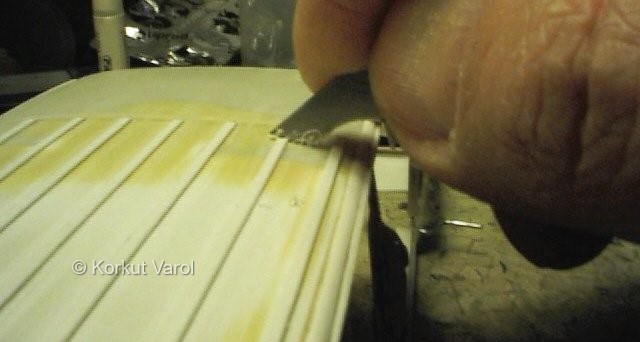
I shaped the tip of a cutter to a slanted section to shave the sides of the ribs on the roofs to a trapezoid section. |
 |
| Then I shaved the rib sides to form the trapezoid section. Sorry, I don't have the means to take that much close-up... |
 |
| Jan.
18, 2004:
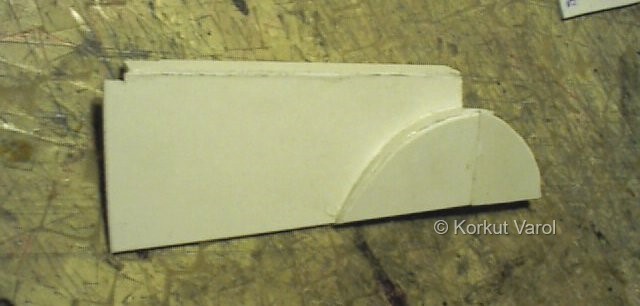
I began manufacturing the internal panels. This one is the left rear panel. By trial-and-error tailoring, I formed the main parts. |
 |
| Then I glued the part in place temporarily, to tailor the remaining on the body. |
 |
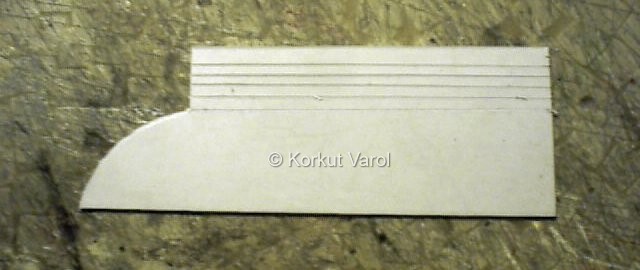
| Then I switched to the rear right internal panel. |
 |
| ..and fixed it temporarily too. |
 |
| Jan.
23, 2004:
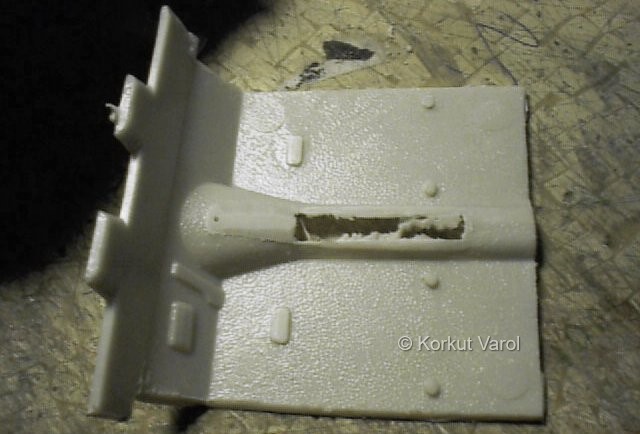
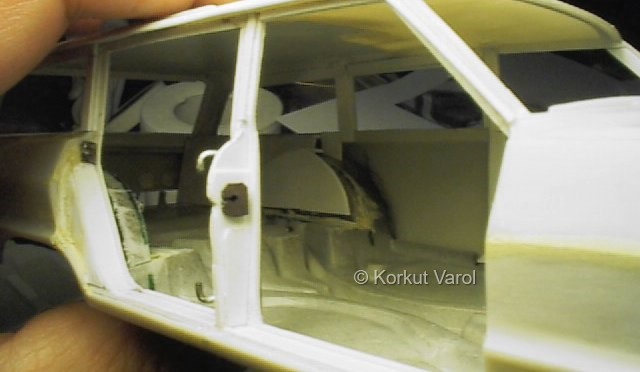
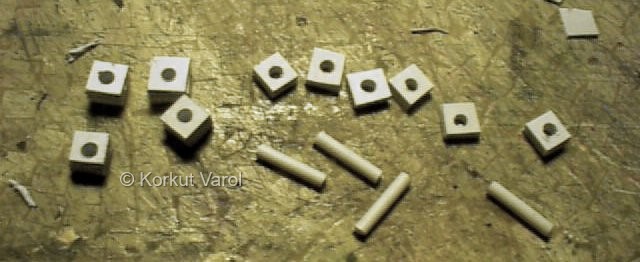
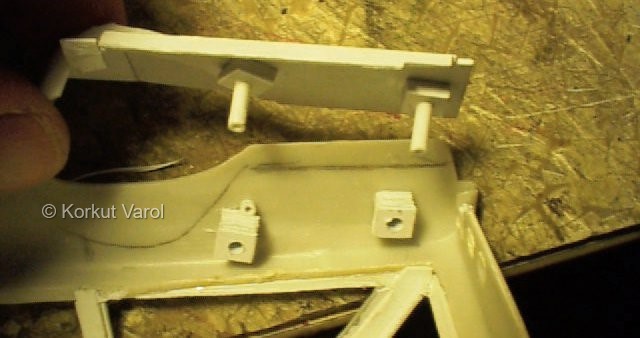
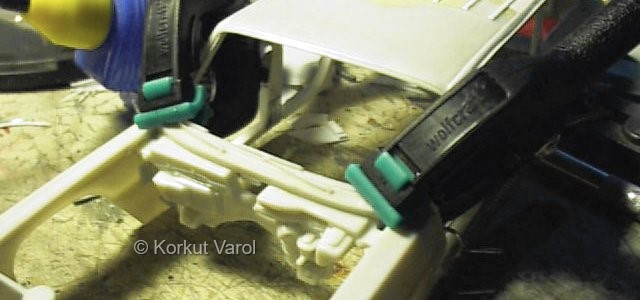
The installation of internal panels was a problem. Since the car had opening doors and a unitary "inner tub" was not possible, the panels had to be fixed to the body separately. They could not be glued to the body before painting, and after completion of painting the body and inner panels, installation with some glue had the risk of misfits and possible glue mess. So I thought of installing the inner panels with pins. I prepared some numbers of styrene blocks with 2.5 mm drilled holes, and some pieces of 2.4 mm styrene rods. |
 |
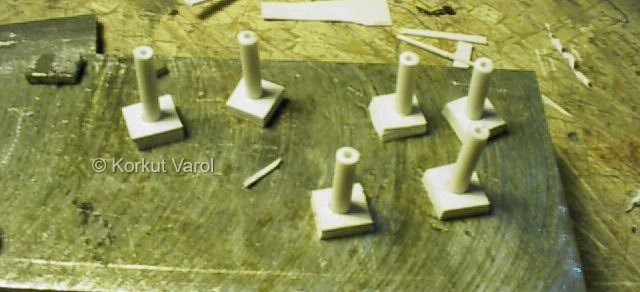
| I prepared the pins with pedestal plates, to ensure rigid glueing (to take up moment loads at the rod base) of the pins to the panels. |
 |
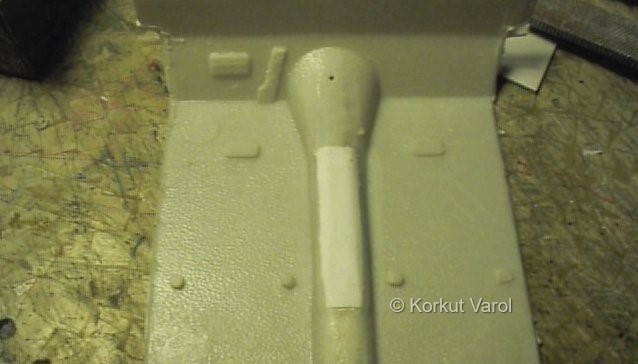
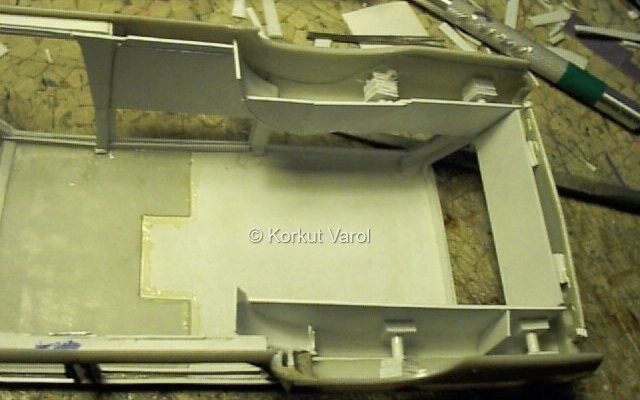
| Then I glued the pins (2 for each panel) to convenient places on the inner panels. I set them dry. |
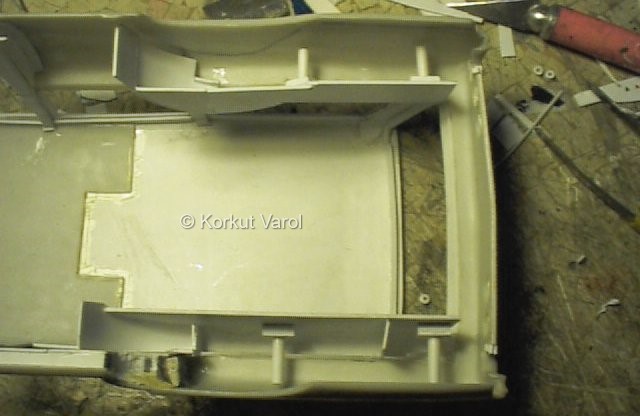 |
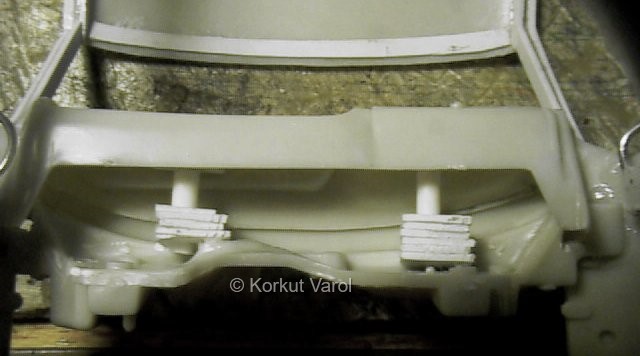
| Then I took off the inner panels, put on the mating blocks and being extremely careful not to spread the glue to the rod, I glued the blocks on the body. To ensure that the rods do not touch the body, they were cut a bit short (see pic above). |
 |
| After the glue dried, I took off the inner panel. Now the panel could be mounted and dismounted easily, whenever needed. |
 |
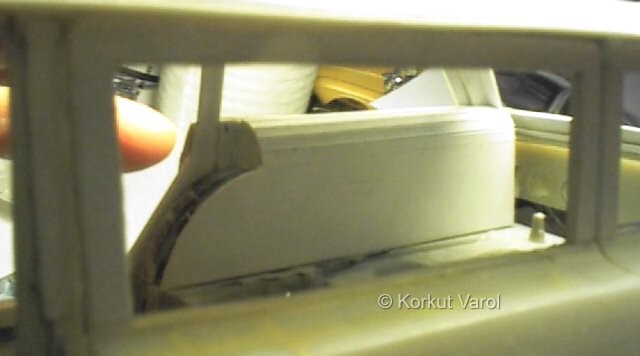
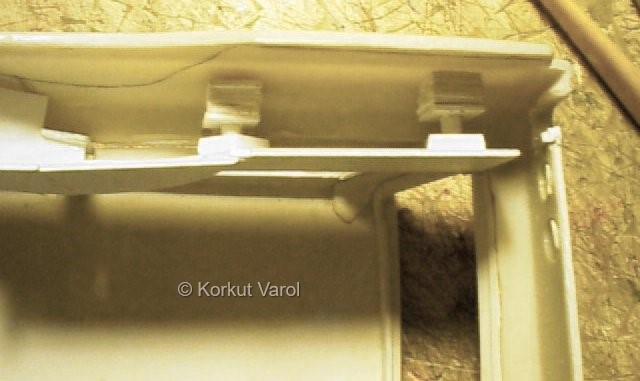
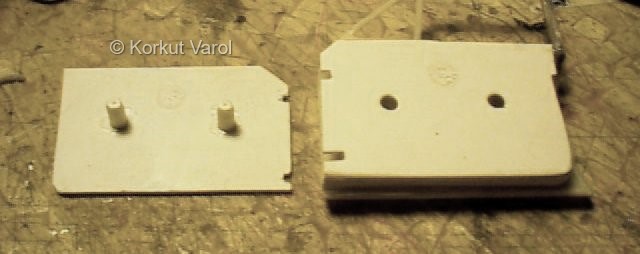
| The rear and left rear door inner panels were done in the same manner but a different way. I first glued the female blocks on the body, and after drying put the rod blocks in place and glued the inner panels on the rod blocks. This way, no accidental glueing of the rod and female blocks was possible. |
 |
| Feb.
02, 2004:
The installation of the dashboard required good tailoring to fit in the narrowed space due to the hinges and front kicker plate. Also, it sat low due to the original thick windshield. Now that the windshield would be from acetate, the dashboard had to be positioned to make up for the gap too. So I had to trim the dashboard for its new position. |
 |
| The dashboard also had its share of rods and blocks installation. The female blocks will be on the back of the firewall. |
 |
| Meanwhile, the door trim panels were treated the same way for mounting and dismounting. |
 |
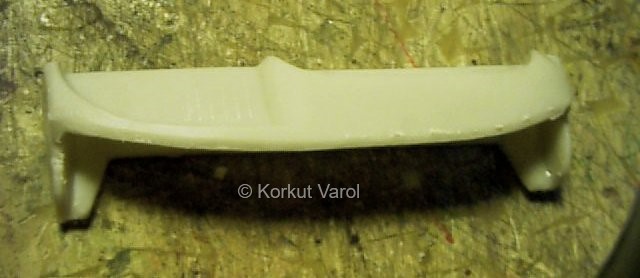
| The rear inner panels were smoothed at the edges. |
 |
| I then glued the firewall into place... |
 |
| ..and constructed the dashboard assembly. |
 |
 |
|