|
 |
(
Read as "Dolmoosh" )
Page
3 of 7
|
|
(
Read as "Dolmoosh" )
Page
3 of 7
| Dec.
30, 2003:
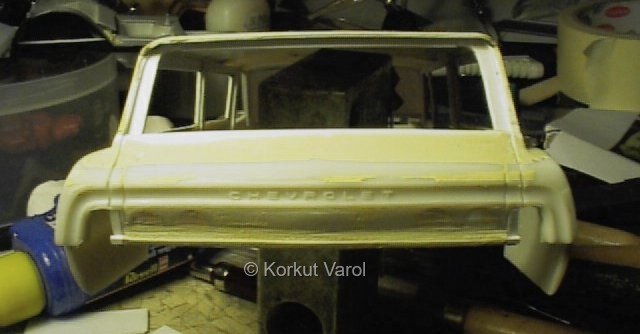
I manufactured the back panel. What I will do is manufacture a striker plate from styrene and glue it on the B-post. The striker plate will hold the pin head on the door back panel. |
 |
|
| I glued the back panel to the door as shown. Now I will manufacture the striker plate. |
 |
|
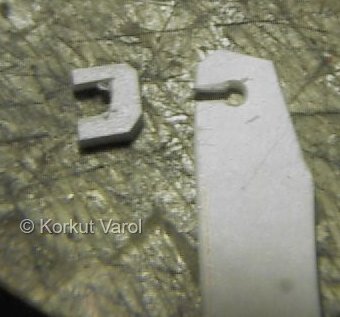
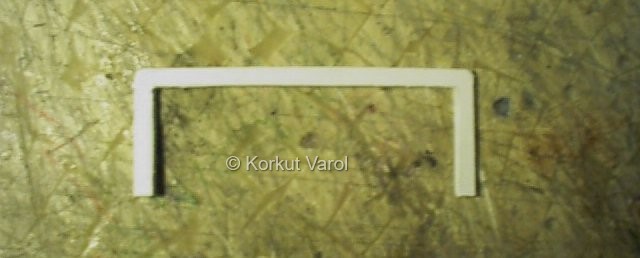
| I cut the middle and outer layers first, and glued them. The outer layer is now big enough to be held by hand. |
|
|
| Cutting off the excess plastic and glueing in the backing plate ends the striker plate construction. |
  |
|
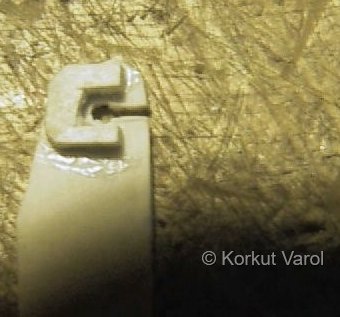
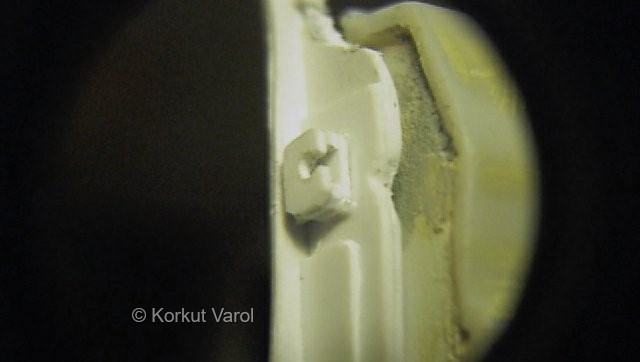
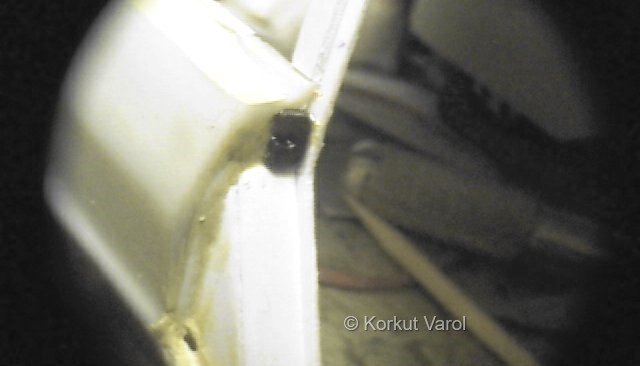
| The striker plate is placed on the lock pin. I will glue the striker plate's back, and close the door as installed. |
 |
|
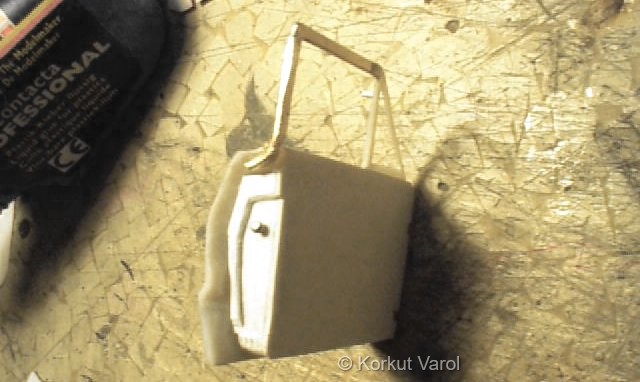
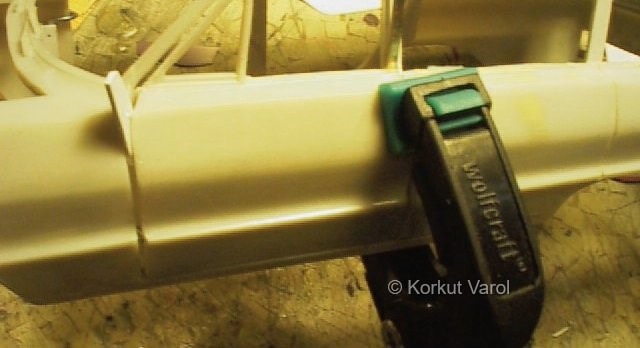
| This is the settling stage of the glued striker plate. The plastic strip in the front door parting line is to force the assembly, thus the striker plate, on the B-post. The spring clamp holds the door in line with the body. |
 |
|
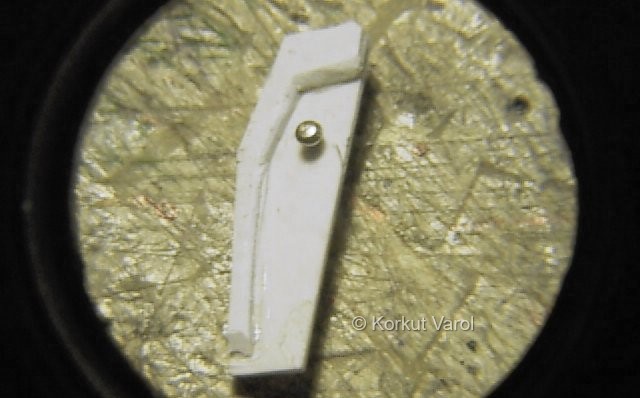
| Here is the opened view of the striker plate after the door is opened. I did this for overcoming a challenge, and below you will find an easier but -I think- a better way to make a door lock. |
 |
|
| Dec.
31, 2003:
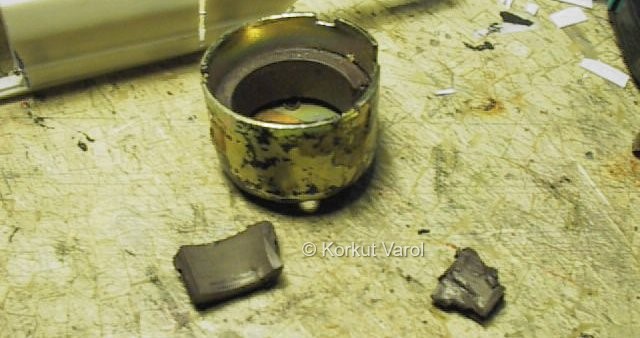
I thought of installing a magnet for the striker plate. I thought of opening up an old DC motor and utilize its magnet. I was thinking if I could machine a magnet like a striker plate. I opened a motor and what I saw----- The magnet was a rubber magnet! I could simply cut it with a #11 blade! A good New Year Gift! |
 |
|
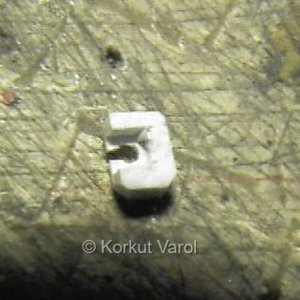
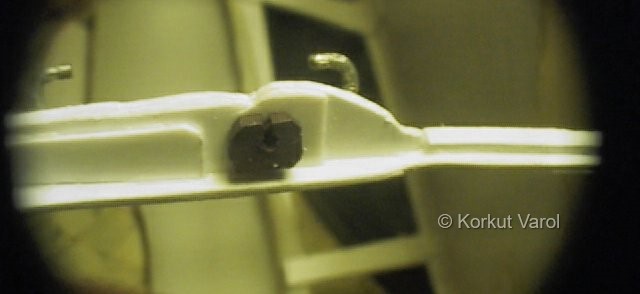
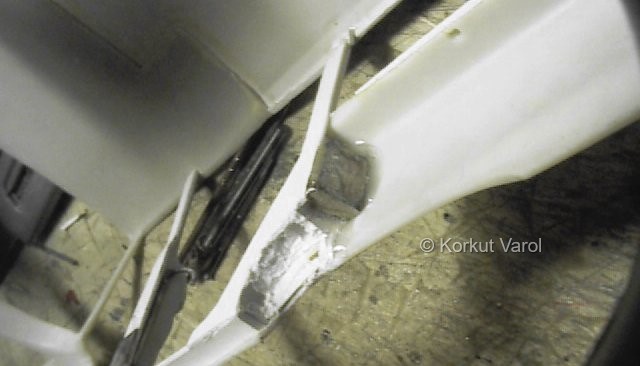
| I
cut the striker plate and fixed it on the B-post of the right side with
CA glue. Looks OK, eh?
The slot is just for looks, it will not have a function of physically housing the lock pin. |
 |
|
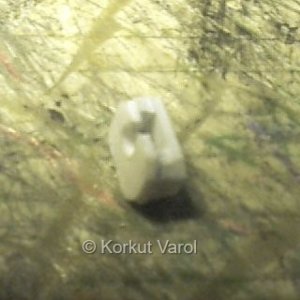
| The
functional counterpart of the door lock is actually another magnet,
salvaged
from an old CD-ROM drive. These magnets are really strong.
But since the rubber magnet was cut to so small size, its magnetic capacity was also reduced and the attraction force was not as good as I expected. |
 |
|
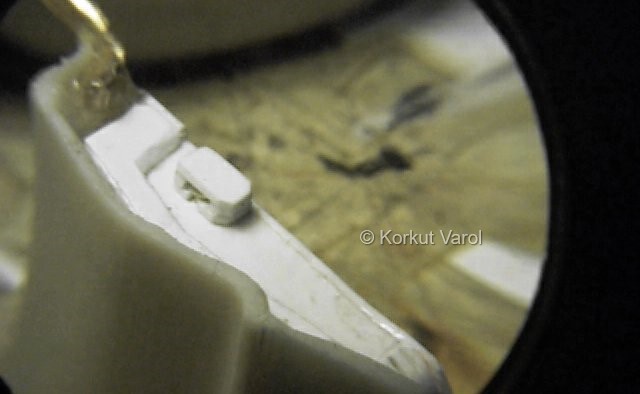
| So I glued a piece of galvanized steel sheet at the bottom of the B-post. Now the pulling force was satisfactory. |
 |
|
| Although not being effective as a magnet, I still manufactured the rear door striker plate from rubber magnet too. |
 |
|
| ..but I put a big one right at its back! |
 |
|
| Jan
03, 2004:
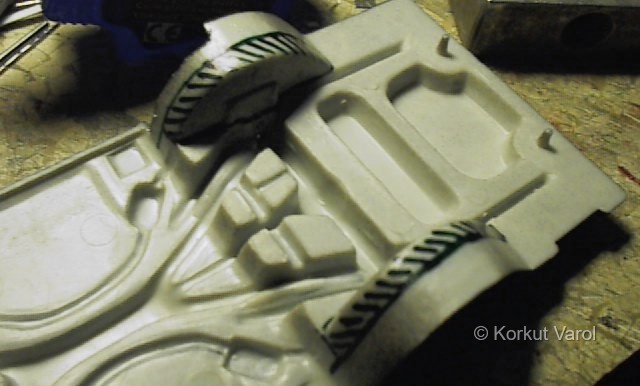
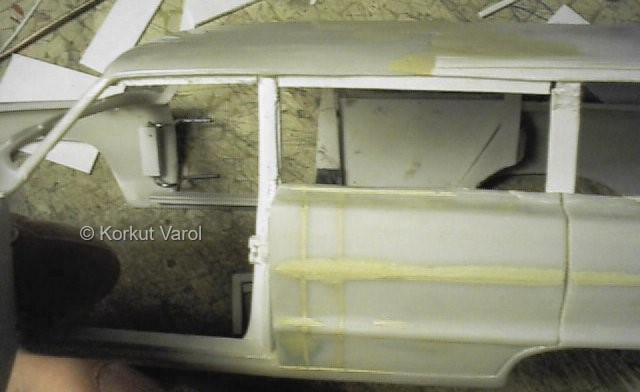
Just an interruption to the door related topics; the rear wheel wells were too wide for the rear seat to fit in. So I cut out the marked portions... |
 |
|
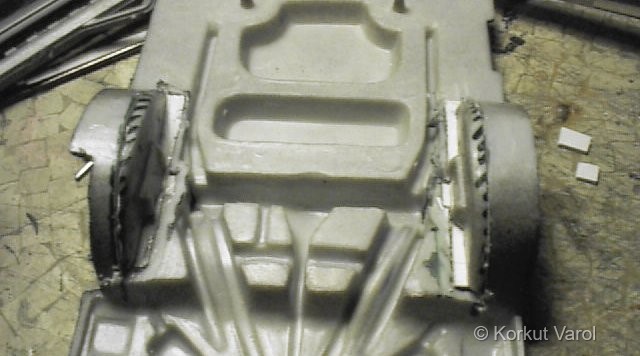
| ...and widened the space between the wheel wells. |
 |
|
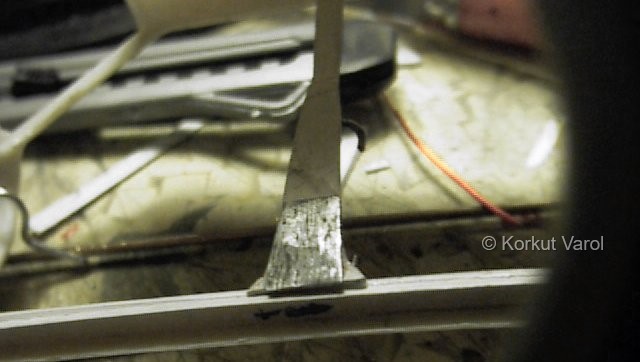
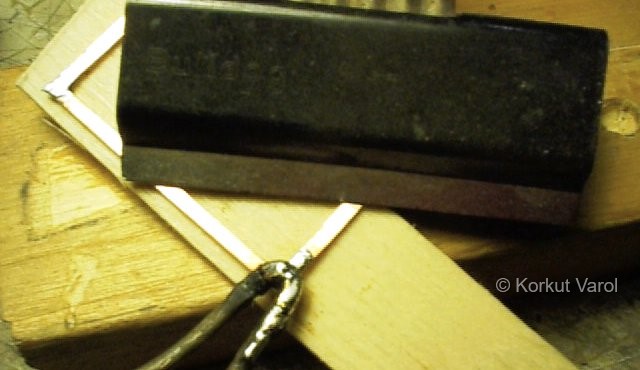
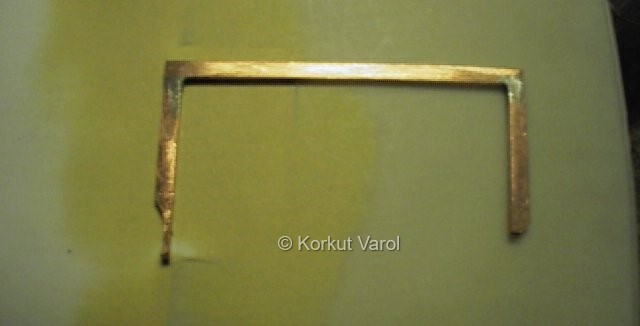
| Back to door business, I manufactured the rear door window frame from hammered and filed copper wire, joining the corners with solder. |
 |
|
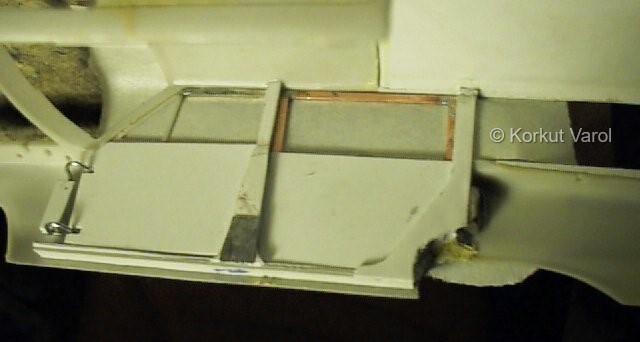
| I shaped the ends of the frame to go within the door and not to clash with the hinge and lock details. I had to separate the inner door panel that I had fitted in before, to make measurements and adjustments. In the photo below, you see the frame being held in place and pre-fixed with two epoxy glue droplets on the door panel. After this cured, I assembled the door inner panel again, and applied more epoxy glue so that the frame would be firm in its place. |
 |
|
 |
 |
|
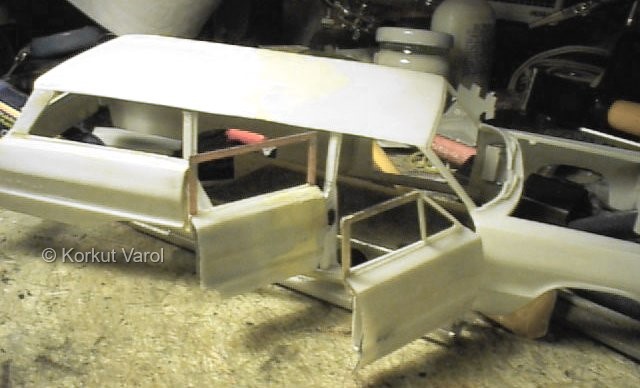
| So now the right side doors are finished too. |
 |
|
| Jan
04, 2004:
I cut strips for all door openings, to serve as the upper flanges that the door frames would rest on. |
 |
|
| I cut the rear left door frame from styrene sheet |
 |
|
| and glued it in place, also formed the rearmost side window frames for both sides. |
 |
|
| I then manufactured the rear window frames from styrene sheets. Also, I had to correct the previously wide opened rear light holes by adding styrene parts and re-scribe the back door parting lines. |
 |
|
 |
|