 |
 |
(
Read as "Dolmoosh" )
Page
2 of 7
|
|
(
Read as "Dolmoosh" )
Page
2 of 7
| Dec.
20, 2003:
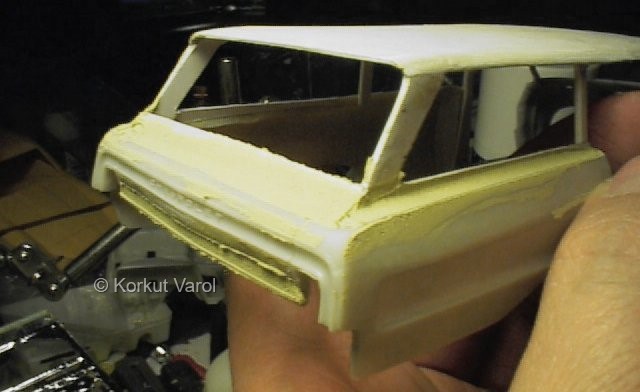
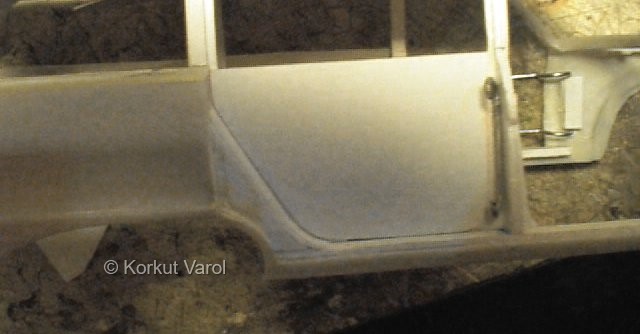
I glued a strip below the rear window opening to complete the upper part of the back door panel, and another thin one at the skirt for the proper panel profile. |
 |
| I applied putty on the glued strips and on the upper parts of the rear fenders, because the sedan version has a downward-sloping sectional profile from the outer edge towards the inside. Note that I have changed the strip at the lower edge of the rear window with a wedge shaped one (noticeable at the inner view of the left window opening), to keep the opening lower edge horizontal. |
 |
| Dec.
21, 2003:
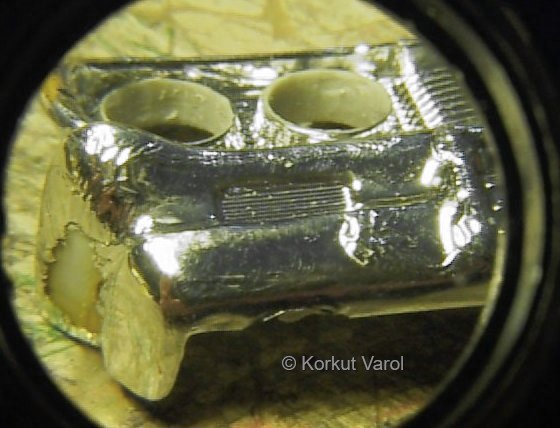
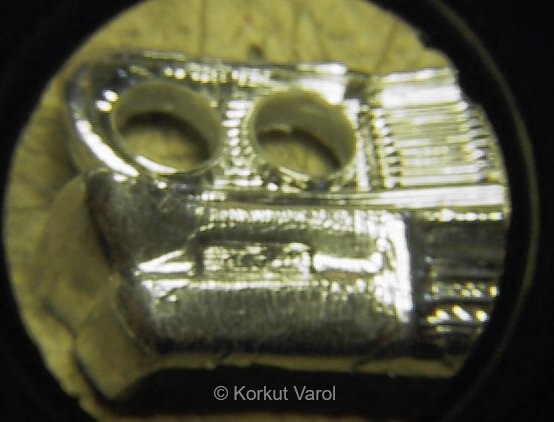
Jumping to another branch, I drilled the cast-in chrome headlamps. I will put in scratchbuilt reflectors and lenses. |
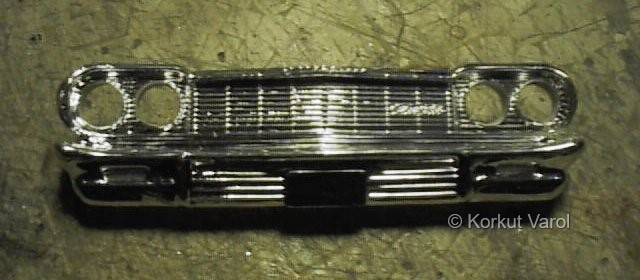 |
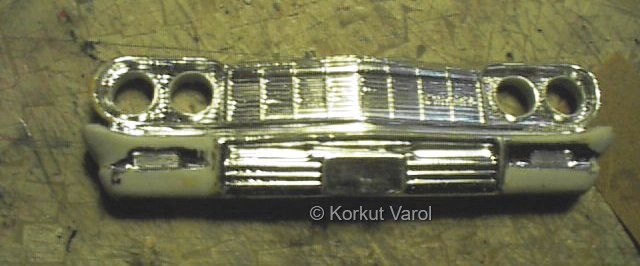
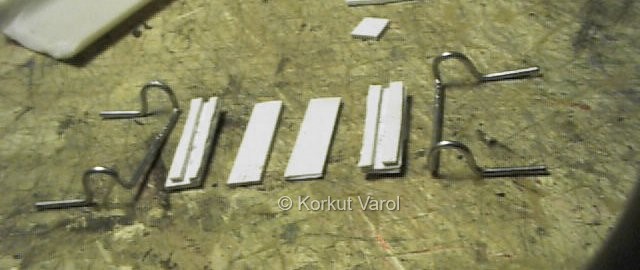
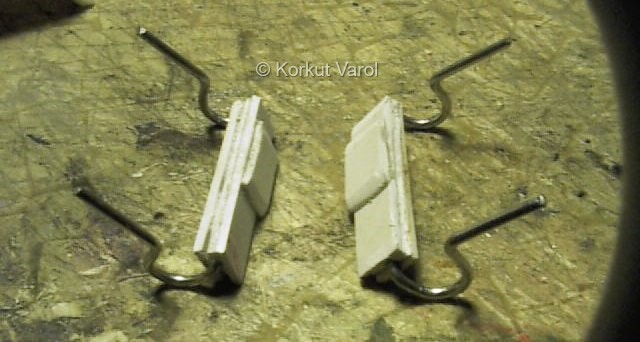
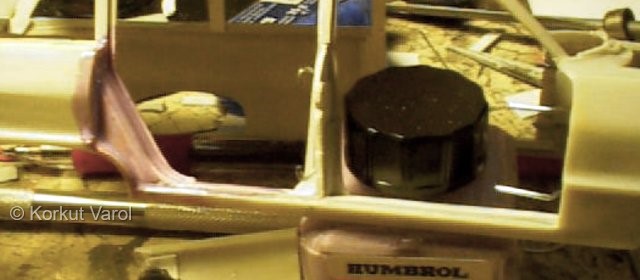
| Do you see how bad the front chrome is? It is as comes with the kit! That scraped portion is the result of rubbing my fingertip... I sanded the bad portions as in the below pic, and covered with BMF. Looks much better now. Didn't bother too much with going to extremes because the cars surely did not have a showroom quality bumpers! |
 |
 |
 |
| Dec.
24, 2003:
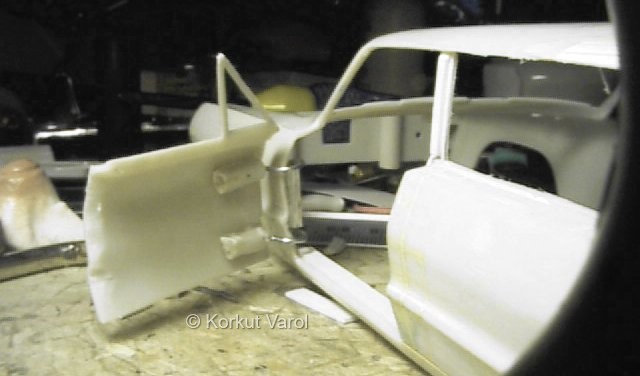
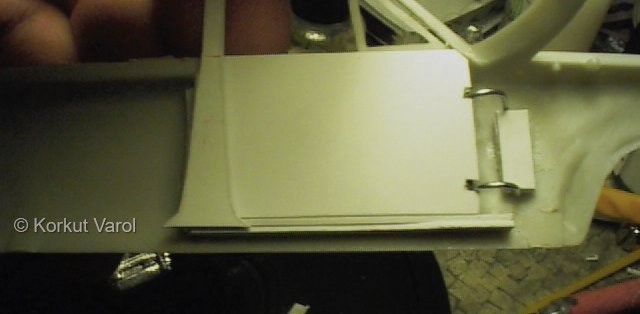
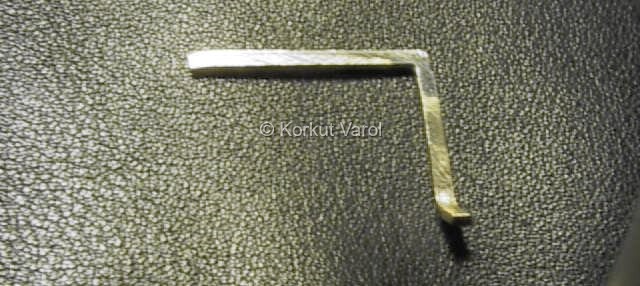
Now to the front door hinging. I prepared the hinge arms from paper clip wire and the bearing from styrene sheets as shown. |
 |
| Here is the assembled views. |
 |
| But I made a mistake and the hinge arms were too wide apart, when the mating blocks were installed, they proved to be longer than the door height! So I dismantled the members, manufactured shorter hinge arms and shortened the housings accordingly. With the mating blocks, the assembly looks like this. |
 |
| Dec.
25, 2003:
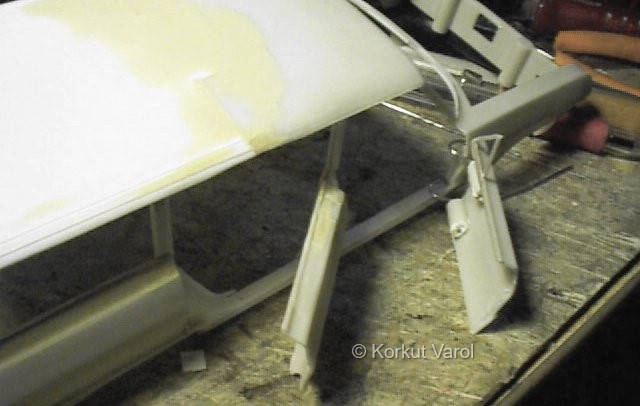
I glued the housing and arms to the inside of the fender, by testing the opening. |
 |
| Then I put the door in place, fixed it on the outside with masking tape, and glued the mating blocks on the inside of the door. |
 |
| The door now opens and closes properly. The good point in constructing like this is, I can easily take out the door anytime I want. |
 |
| The right front door was done in the same manner, and shown in the right pic. |
 |
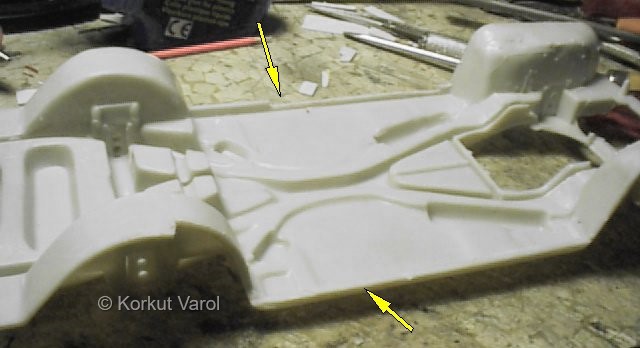
| I cut out recesses in the sides of the chassis panel so that the the parts I added on the body would fit in. |
 |
| Dec.
27, 2003:
Forming
the inside panel of the rear door.
|
 |
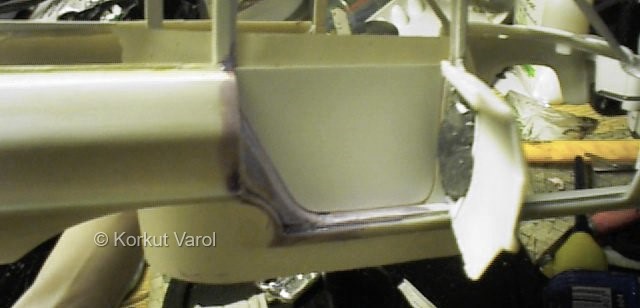
| The most complicated part of manufacturing the inner panels of the door is construction of the region (that you see purple in the pic) mating parts on the door. So I decided to take an easy way and form the region with steel putty. To prevent sticking to the body, I covered the region with Humbrol Maskol. |
 |
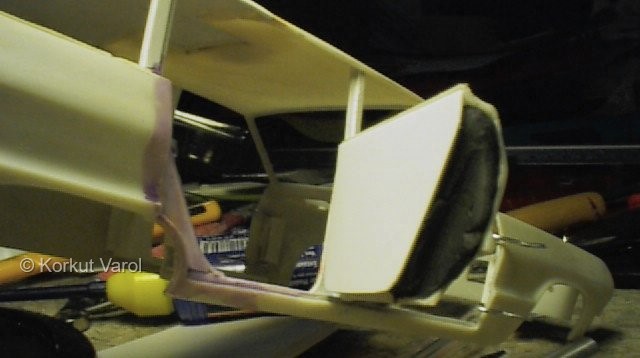
| I put the door inner panel in place, fixed it with masking tape from behind, and also put the door outer door in place too. Then I kneaded the steel putty, put it inside the door panel and closed the outer door panel over the internal one. The putty spread in the cavities between the door and body panels. |
 |
| You see where I put the putty and how it cured. The critical region was done by the putty, and the remaining gaps I will fill with normal putty to flash the surfaces. Then I removed the Maskol from the body. |
 |
| Dec.
28, 2003:
Forming
the inside panel of the front door.
|
 |
| I put the door in place and glued the outer and inner panels right there, to ensure a good fit. |
 |
| I cut the lock panel of the door, put a bent pin and fixed it with CA glue. You will see much more of the door lock on the next page. |
 |
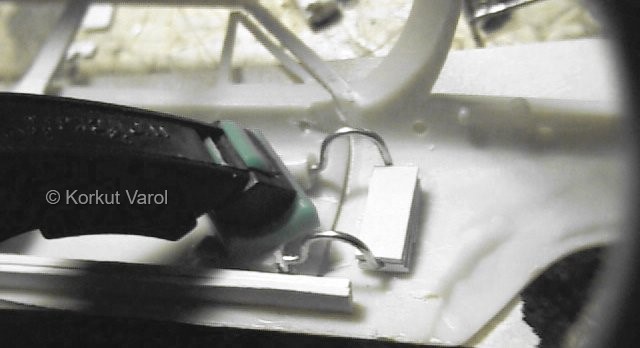
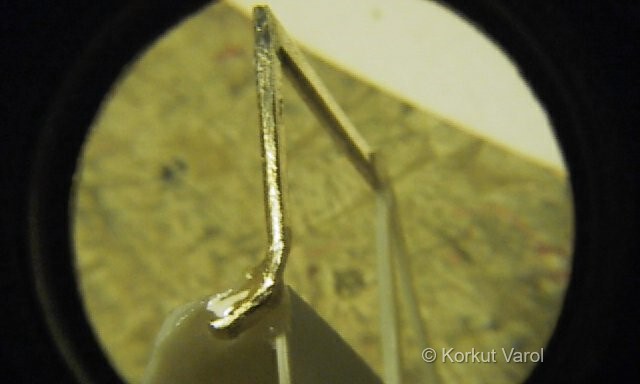
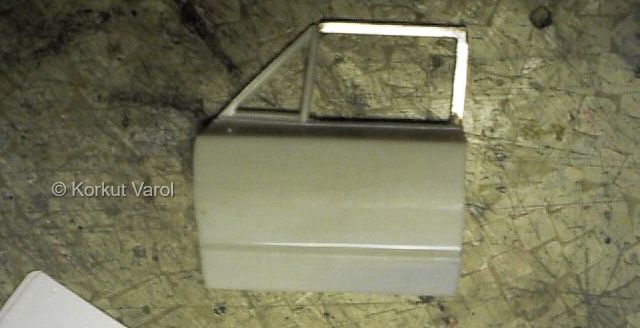
| I prepared the window frame from brass wire, hammered and filed flat. The corner part is soldered, because the brass could not be bent that sharp. The lower part is shaped to fit in the door panel. |
 |
| I had to shave more plastic from the door panel to make a good fit of the brass and the plastic. I joined them with epoxy glue. |
 |
| Here is the joined door. |
 |
 |
|