| July 21, 2004:
For
the lamps, there was nothing in
my parts box that would be suitable for the RS. So playing around, I
came
across my LED stock which immediately lit a light that I could use them
and make them operate too. So I began from the rear, by covering the
rear
lamp recesses with styrene.
|
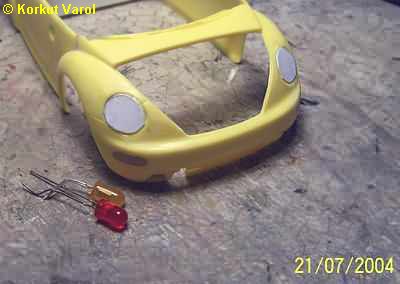
|
| I
drilled carefully in 6 steps, holes
with 5 mm diameters for the LEDs. |
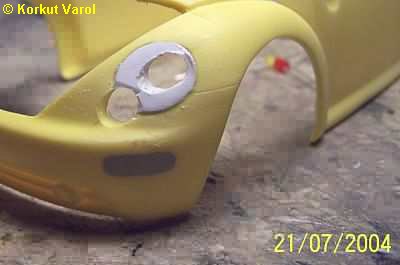
|
| A
test fit with the LEDs, for the drilled
holes. |
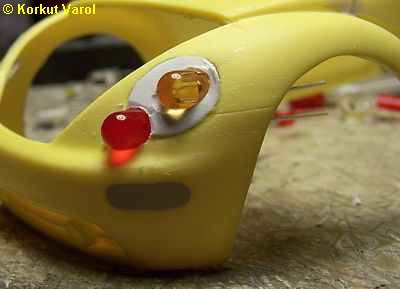
|
| The
headlamps should have their share
too, with the white LEDs. I cut and drilled the back side of the
headlamp
reflectors. |
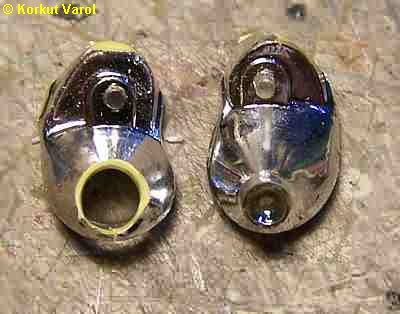
|
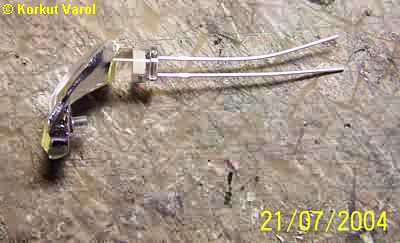
| Inserting
a LED, and installing temporarily
in the front fender, I saw that the back of the LED was too long and it
would show from the wheel arch. |
|
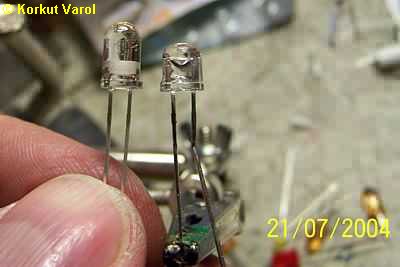
| The
remedy was trimming the LED down
close to the anode and cathode. I performed the job with a cutting disc
of Dremel. The cut section of the LED was dull, and I applied Humbrol
Clear
Cote to make it crystal clear again. |
|
| July 27, 2004:
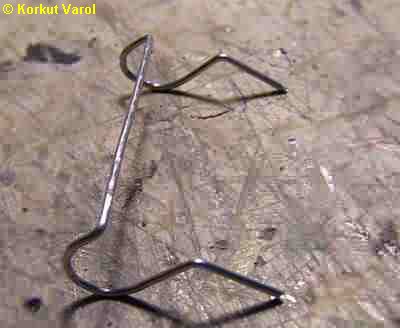
For
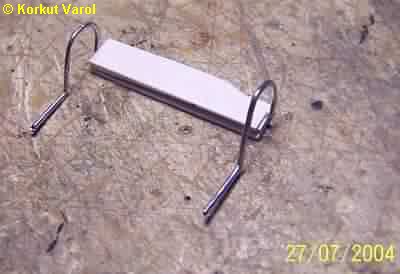
the boot lid hinge, I formed a paper
clips wire to shown at the right.
|
|
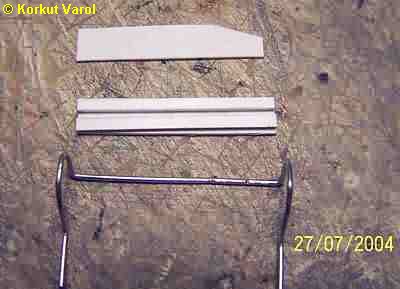
| I
prepared the bed for the hinge from
styrene sheets. |
|
| The
hinge assembly. |
|
| .July 31,
2004:
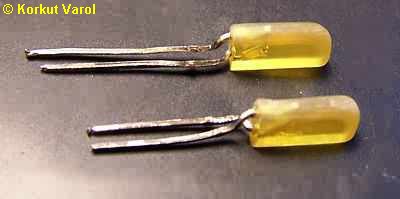
For
the front signal lamps, I trimmed
two rectangular LEDs and bent the legs to ease the wiring layout under
the fender.
|
|
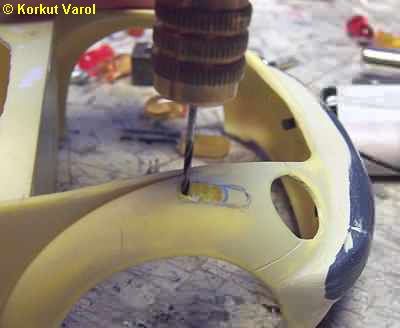
| I
marked the area that the signal lamps
would pop out of the fender and drilled the area out. |
|
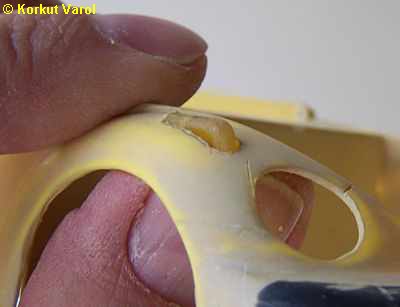
| After
finishing the hole with filing,
I checked for lamp fits. |
|
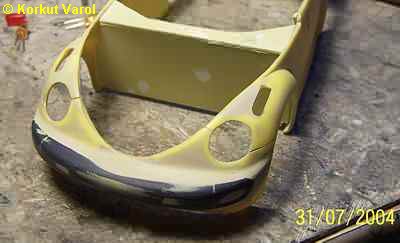
| Both
front signal lamp holes are ready. |
|
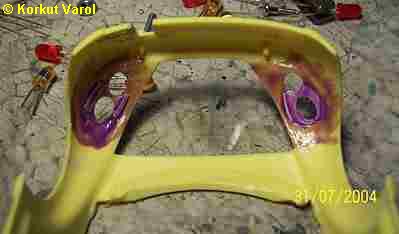
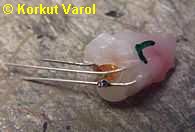
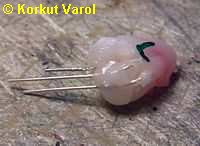
| The
rear lamp cluster had to be grouped
together. I decided to use a plastic glue gun and to prevent sticking
to
the fender at this moment, I applied Humbrol Maskol to the insides. |
|
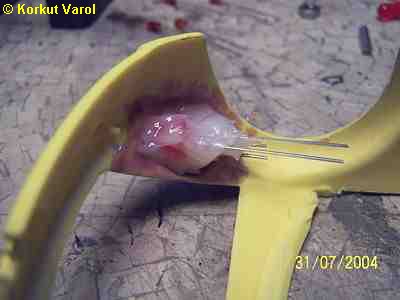
| I
applied molten plastic over the LEDs
after installation in their holes. Before the plastic got hard, I
adjusted
the final positions of the LEDs. |
|
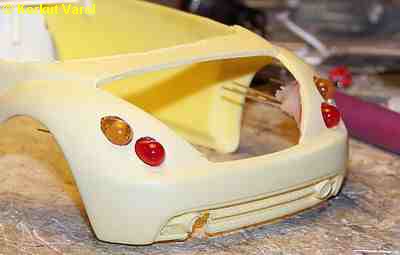
| A
general look showed no misalignments
in positioning. |
|
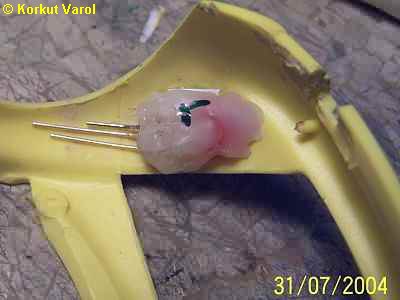
| I
soldered the common (-) legs and
bent them right upwards. Then I completed the plastic over the cluster
to isolate the legs from each other. |
|
| I
bent the legs to suit the fender
inner surface. Wiring will follow during final installation. |
|
|
|
|
|

|
 
|

