| August 01,
2004:
For
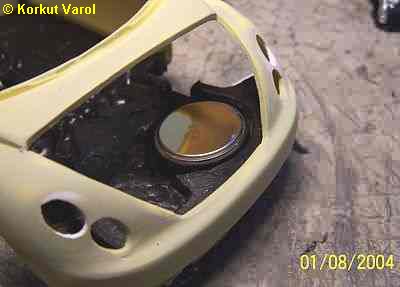
the battery, I needed a 3V supply
to drive the LEDs. I found a flat watch battery that went into the
spare
wheel area. What a nice fit!
|
|
| I
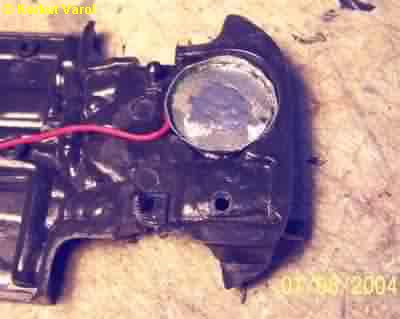
prepared the housing (+) for the
battery from 0.5 mm thick galvanized steel sheet and to maintain good
contact,
I applied a layer of solder on the inside. Then I soldered the main (+)
wire to the bottom and fixed the housing with epoxy glue. |
|
| To
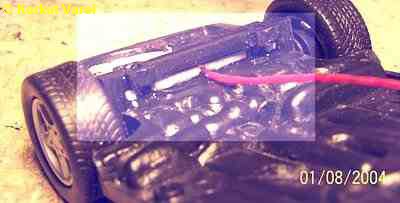
continue with the rest of the boot
inside, I had to fix the rear "axle". I adjusted the ride height with
styrene
blocks and fixed the axle with epoxy glue. |
|
| I
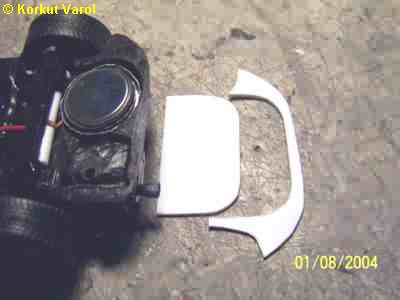
prepared the boot bottom panel and
battery access lid from styrene sheet. |
|
| I
bent a copper wire and fixed it as
shown on the underside of the lid. |
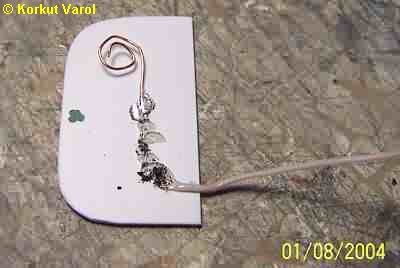
|
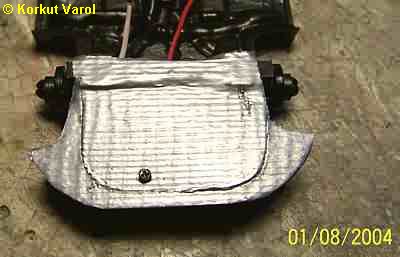
| I
covered the whole with Duck tape
to serve as a hinge as well. A tiny screw holds the lid pressed on the
battery. |
|
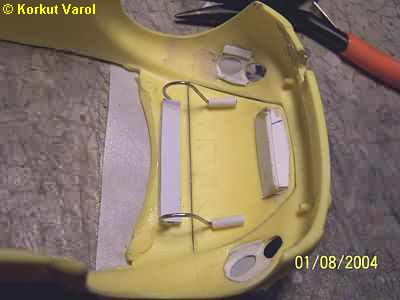
| Now
to the boot hinges. I glued the
hinge and the styrene tubings to their places. The boot lid can be
taken
off anytime. |
|
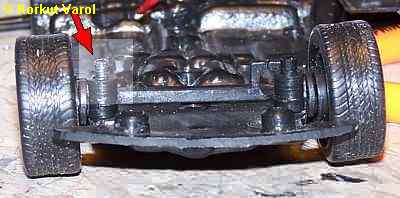
| To
adjust the front axle ride
height, I hand-machined M3 screw threading to the "kingpins". After
adjusting
with nuts, I fixed the nuts with CA glue. |
|
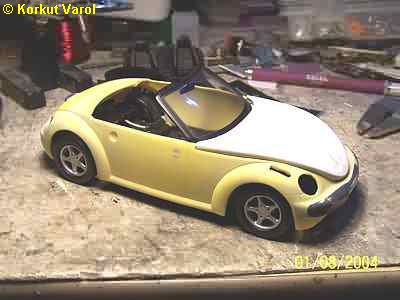
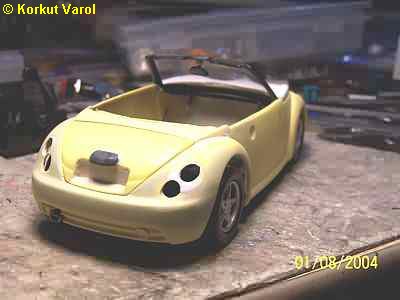
| I
made a general assembly to check
if everything was going alright. Well, I was pleased to see it so! |
|
|
|
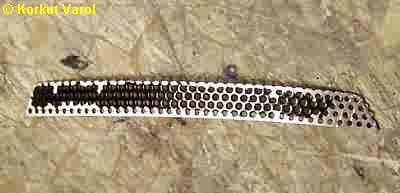
| For
the front grille, I cut an aluminium
piece and bent to suit the curvature. This aluminium piece comes from a
tape recorder that I had, dating from 1974! I haven't thrown this metal
part away, and after 30 years, I am making use of it... And still I
have
some more material left for the future! |
|
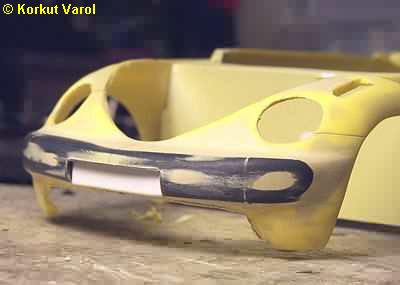
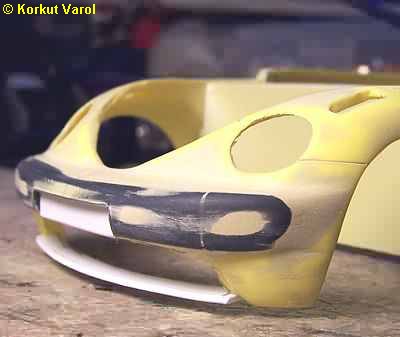
| I
carved out the front licence plate
space in the front bumper and also the space for the front grille. I
glued
a piece of styrene in the bumper. |
|
| I
cut out a styrene part to define
the lower edge of the front grille and glued it in place. |
|
| August 05,
2004:
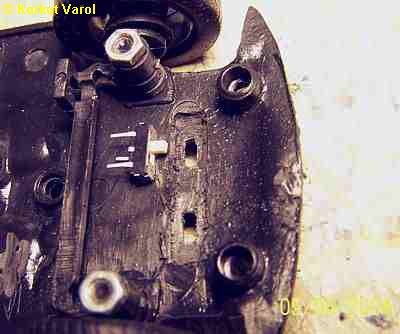
I
drilled two openings for installing
two microswitches for the head/rear lamps and hazard lamps circuits. I
did not want to complicate the system with an extra division for
right/left
turn signals.
|
|
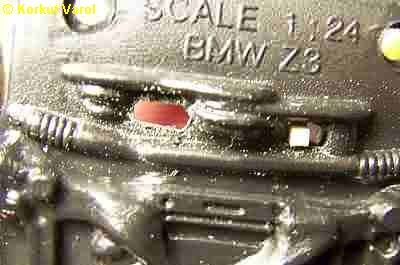
| Here
the holes are seen from the bottom.
They are hidden behind and between pulley/belt imitations. |
|
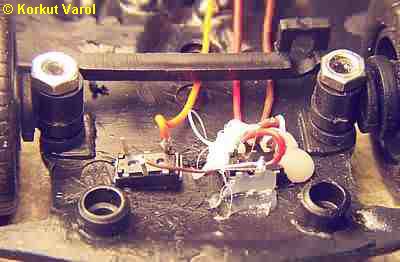
| I
fixed the microswitches with hot
melt glue gun. |
|
| August 06,
2004:
I
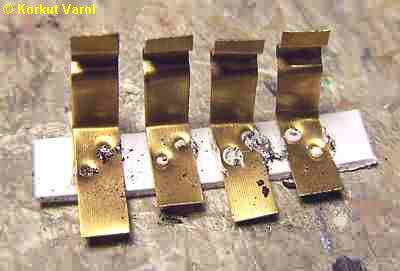
prepared brass contacts of the chassis,
for separation of body and chassis wiring easily. I pressed them into a
styrene slab by heating with a soldering gun.
|
|
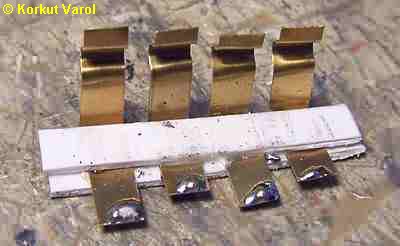
| I
fixed the contacts better with glueing
another piece of styrene on top ofthe former assembly. |
|
|
|
|
|

|
 
|

