|
|
 |
|
|
|
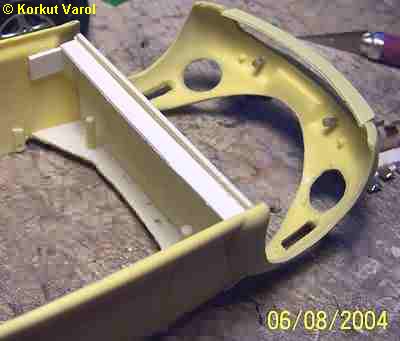
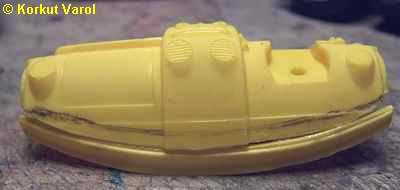
| I glued a stiffening element below and behind the firewall to hold the firewall rigid against contacts pressure. |
 |
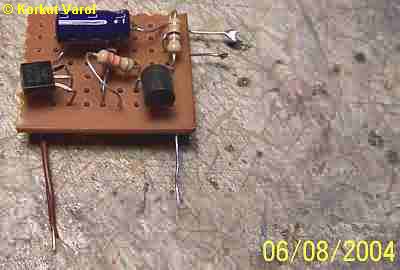
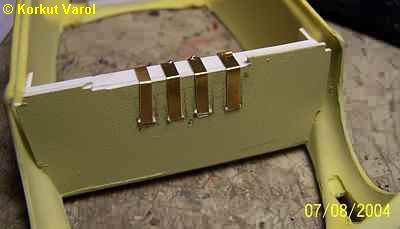
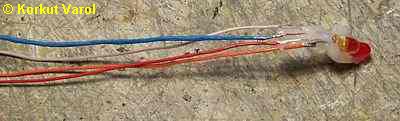
| I manufactured the flasher circuit for hazard LEDs. |
 |
| August 7,
2004 :
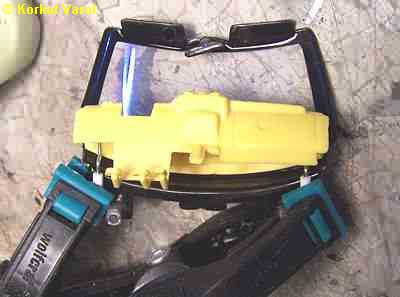
I soldered thecircuit to the contacts and the main wires. |
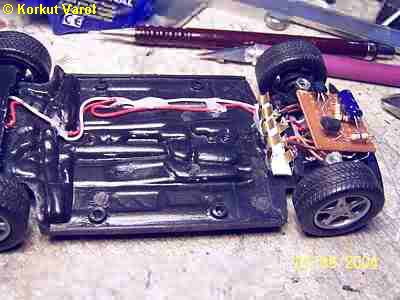 |
| Here is a frontal view of the circuit installation. |
 |
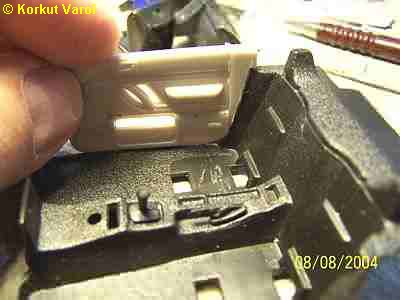
| Meanwhile, I jumped to the internal stuff and shortened the dashboard of the Beetle. Then I filled the joint with putty and sanded it smooth. |
 |
| I manufactured the mating parts of the contacts on the firewall. I bent the contacts and heat-sank them into the plastic. Then I bent them around the palstic again, on the back side. |
 |
| August 8,
2004 :
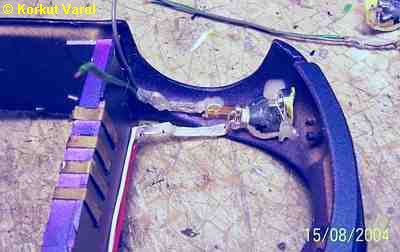
I epoxy-glued a paper clip wire under the dashboard for attaching below the windshield. |
 |
| While letting it cure, I trimmed the door panels to fit the Z3 contours. |
 |
| I bent the wire for height adjustment and after repeated tries, I got the final shape. |
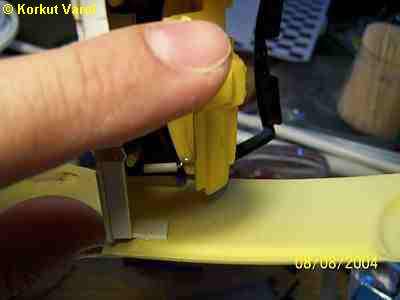 |
| I put styrene tubing around the wires and glued the tubings below the windshield. This way, I had a removable dashboard. |
 |
| I soldered the wires on the rear lamp groups. |
 |
| August 11,
2004 :
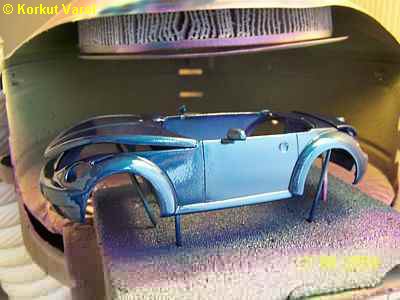
I painted the car with Tamiya X-23 Metallic Blue and applied 4 light coats of clear acrylic. |
 |
| August 15,
2004 :
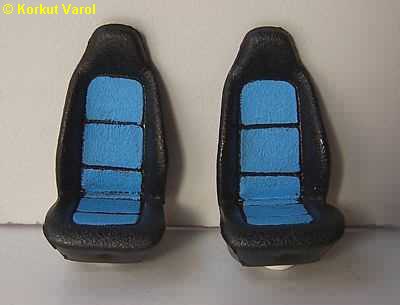
I painted the seat inserts with flat blue. |
 |
| I treated the interiors with blue-black theme as well. I covered the necessary places of the door panels with BMF. |
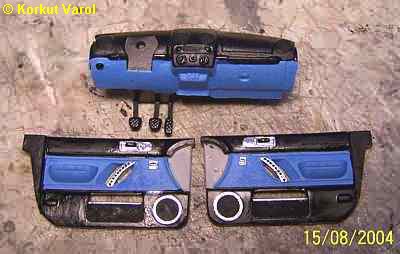 |
| Here is a closeup of the door panel. I drybrushed the paint for better looks. The blue tone looks much different from the above photo. Actually it is somewhere in between. The shade is ModelMaster Flat Light Blue. |
 |
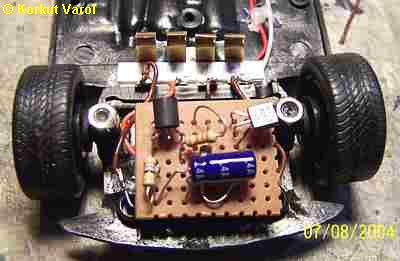
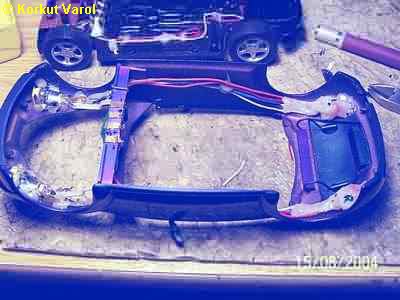
| I fixed the LED groups with hot melt glue gun, then went on soldering. |
 |
| The harnesses are complete now. |
 |
 |
|