Started : 22 July 1999
Finished: 30 September 1999
Started : 22 July 1999
Finished: 30 September 1999
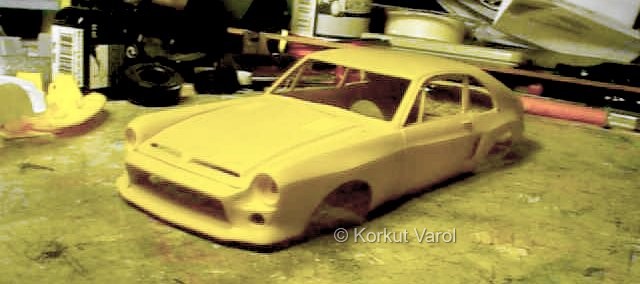
Another
customizing project. I had an
AMT Kit no.6541 '68 Shelby Mustang and I did not like the quality and
detail
of the kit, so it was a good one to play with for customizing. I made
no
sketches or alike; I just cut away , glued, applied putty, sanded, etc.
as it came to my mind and my hand. The result was a sharp masculine
look
with at the front part and a rounded feminine look at the back part.
|
22 July 1999:
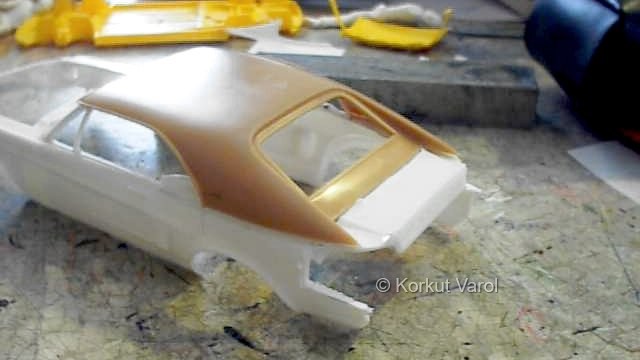
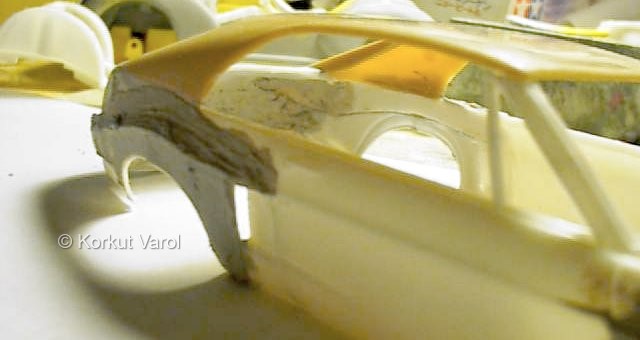
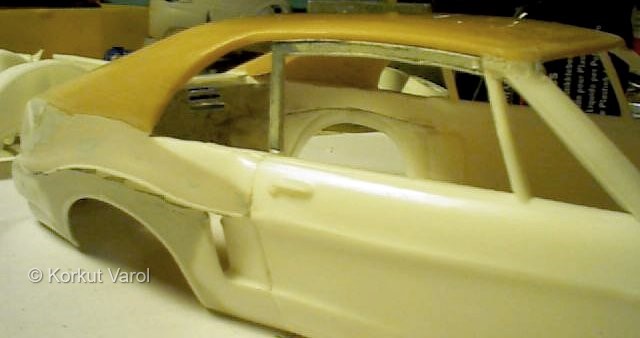
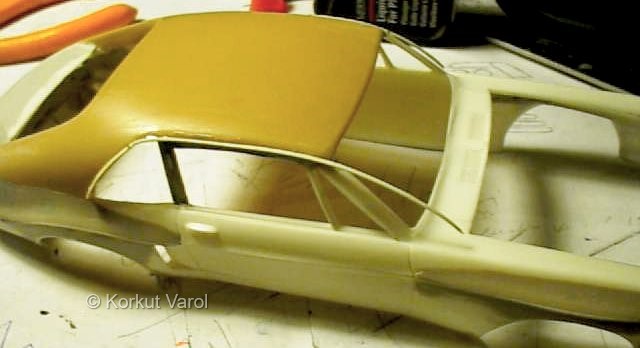
I began
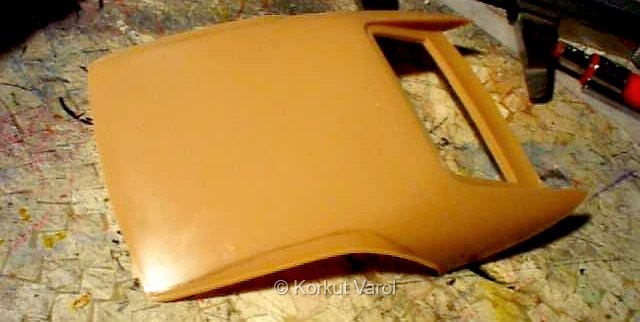
by cutting the roof. I had a top from the Pontiac kit and it seemed to
fit fine. The back was also cut to make a blending rounded profile with
the back of the roof part.
|
 |
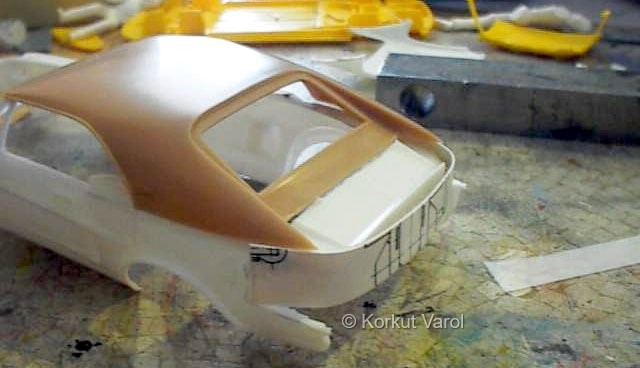
| A styrene strip was glued to make the base for the rounded back. |
 |
| The roof's top was too wide for the car, so I cut it at a profile so that the B-post would be parallel with the A-post when looked from the front. |
 |
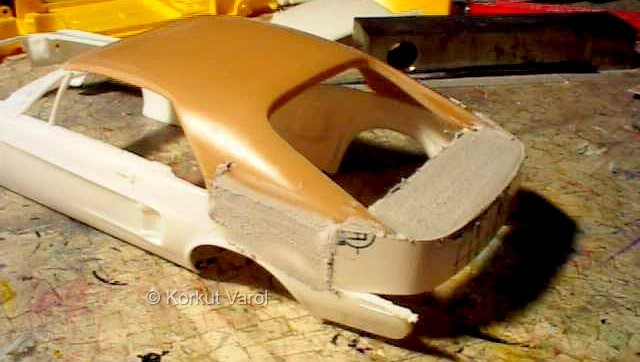
| I glued the roof on, then applied automotive polyester putty for fill-ins. |
 |
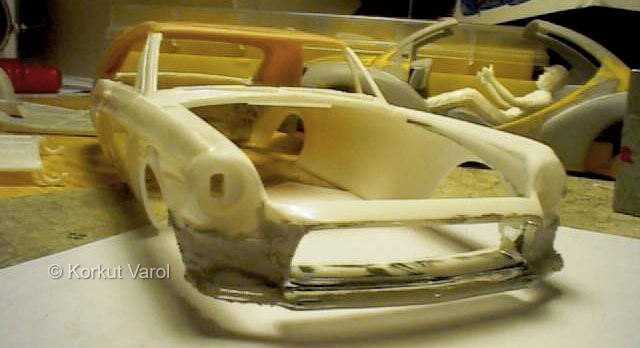
| I thought of lowering the front profile, so I cut the front grille housing and glued it as shown. I made sure that the hood did not interfere with the air filter. I also gave a curved profile longitudinally to the hood, since it was originally straight and tilting it down at the front as it was resulted in a broken line at the front of the cowl. I gave a plastic deformation to the hood by applying stress with my hands. |
 |
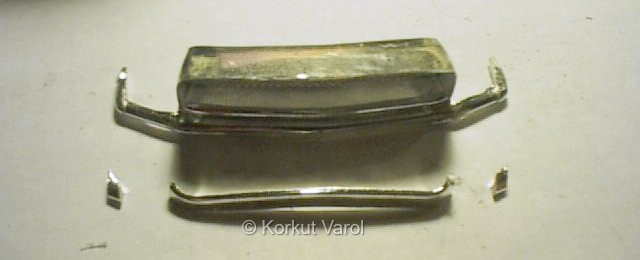
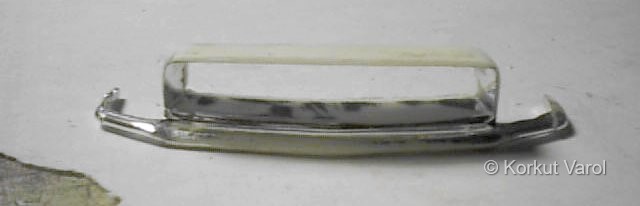
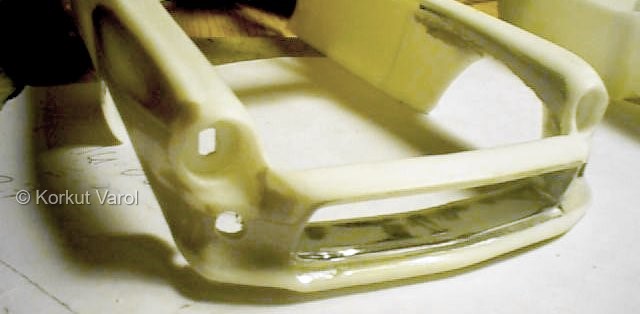
| The front grille/bumper combination would be used as the front grille/spoiler unit. I cut the bottom part of the grille, and narrowed the bumper so that it would blend with the front wheelarches. |
 |
| I cut out the full grille pattern and made a hollow area, so that I could put a screen afterwards for realistic looks. |
 |
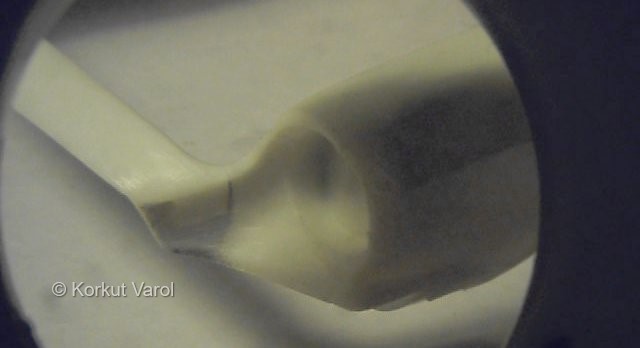
| This is a close-up of the blending of the grille housing with the headlamp recess. |
 |
| I applied automotive polyester putty at the front for filling-in. |
 |
| I decided to widen the fenders. I cut styrene strips for the top of the extensions and glued them. Then I cut along the fender waist line and split it at the very top of the wheelarches. I deformed the fenders outwards with my hands and fixed the parts with glue. |
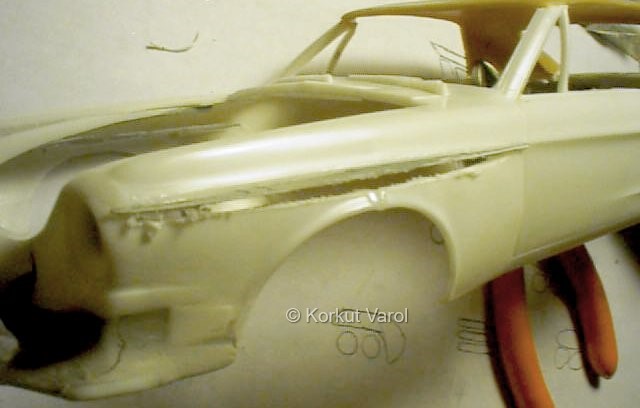 |
| Then, I applied polyester putty again to the front fenders. |
 |
| 25 July 1999: The same was done with the rear fenders. |
 |
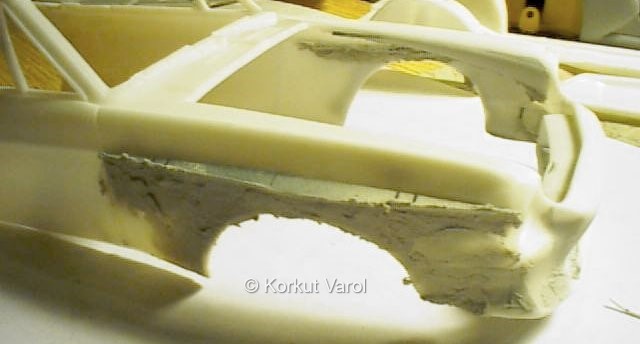
| I sanded the back round, and opened the recesses for the rear lamps. I drilled 1.5 mm diameter holes side by side, then cut the material out with Dremel and finally filed the surfaces. This was a demanding operation, because the profile was full of putty, which was very ready to break in chips if handled improperly. |
 |
| 06 August 1999: At the front, I sanded the putty down and drilled the holes for the front signal lamps. |
 |
| I cut the door top profiles from styrene strip, and glued them in place. You also see the rear fenders at the sanding stage. |
 |
| The drip rails were cut from thin sheet styrene and glued on the body. |
 |
| And the first primer coat. The car required lots of more putty and sanding. |
 |
 |
|
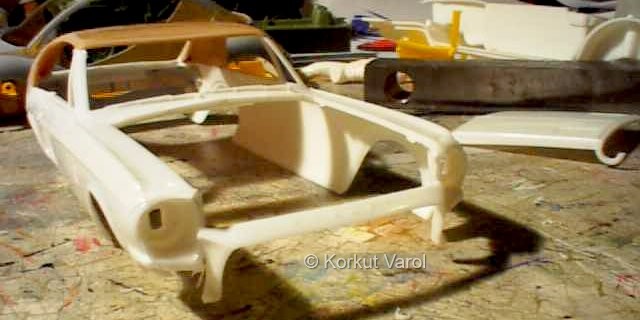
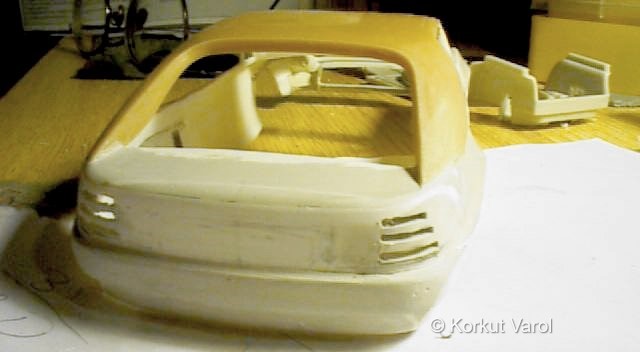
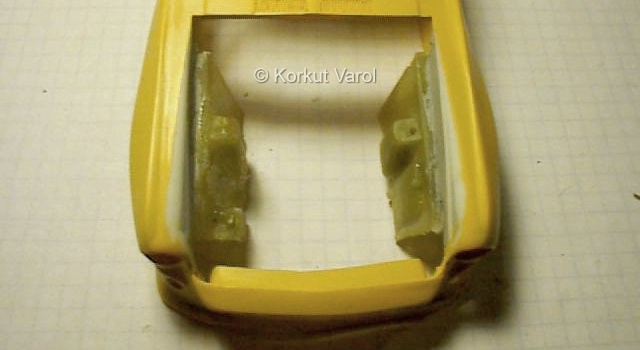
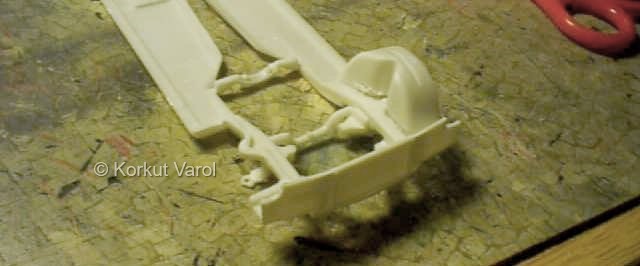
| 16 August 1999: The kit's underhood internal panels were just disgusting as you see in the lower right pic. The body just did not have them, and only the wheel wells served(!) for the purpose. I duplicated the panels of a 67 Mustang kit out of resin and glued them into place. |
 |
| 22 August 1999: I then cut away the wheel wells. |
 |
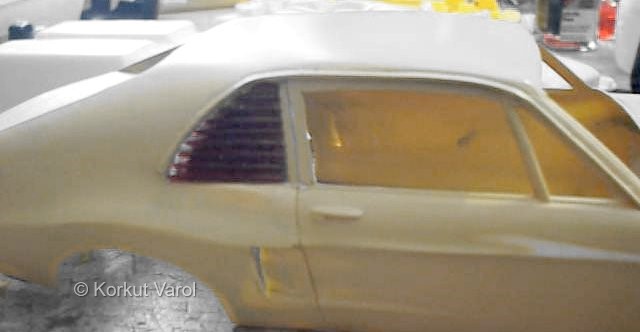
| 24 August 1999: The rear quarter light window gaps would serve as a grille. The grilles were made from the teeth of a comb........ |
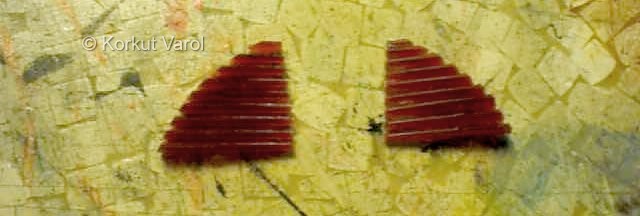 |
| .......and glued with 5-minute epoxy into place. |
 |
|
|
 ........... ........... |