September 18, 2005
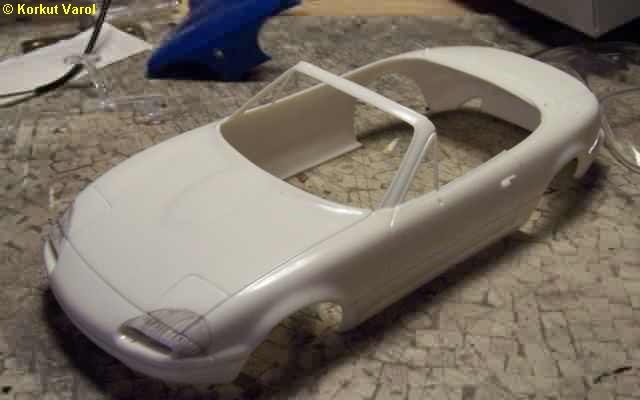
This is how it
was initially. This was a model that had no appeal to me, so
I felt
that I should have some playing with it. I sketched some oval headlamps
instead of the hidden ones. |
|
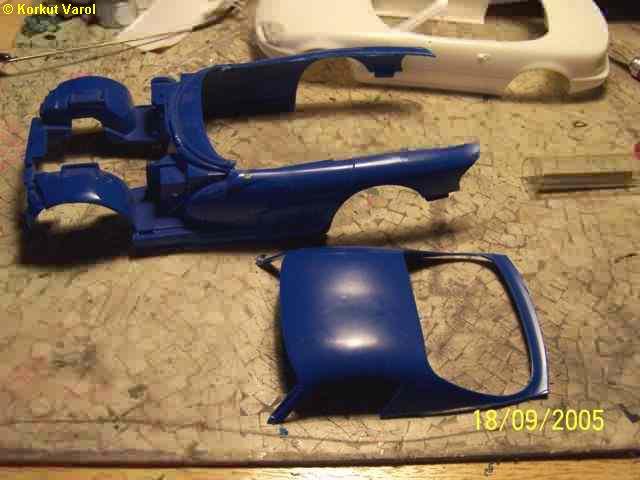
| Then I saw the
remaining parts of a Viper. I figured out that the roof would suit this
Mazda, so I cut the roof. |
|
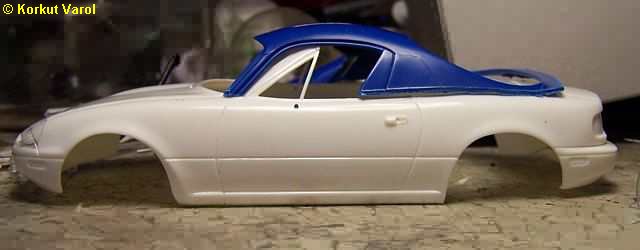
| A test fit showed
positive. |
|
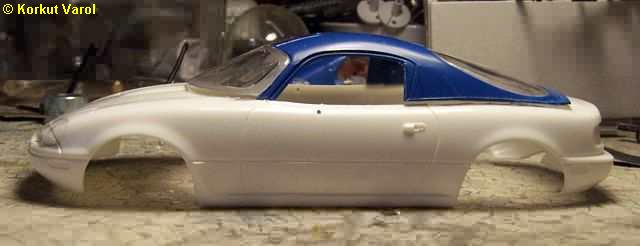
| With the addition
of the glass, I decided to proceed. I cut some plastic to open up the
side
window a bit more, since the seat was placed towards the rear. |
|
| The headlamps
of a PT Cruiser fit in very well, after some minutes of tailoring. |
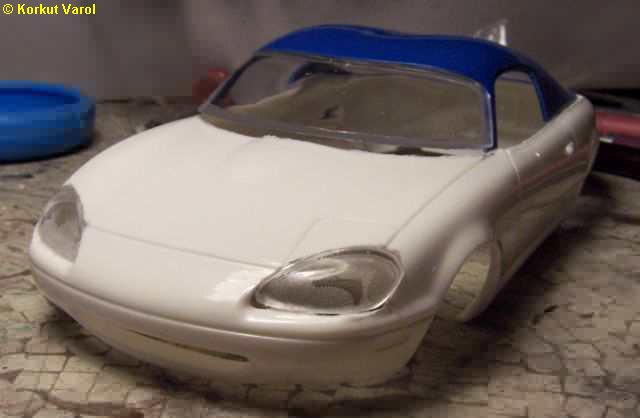
|
| I finalized the
side window opening by cutting out a bit more, covering the gas filler
of the Viper and trimming the new lines for the upper door part. |
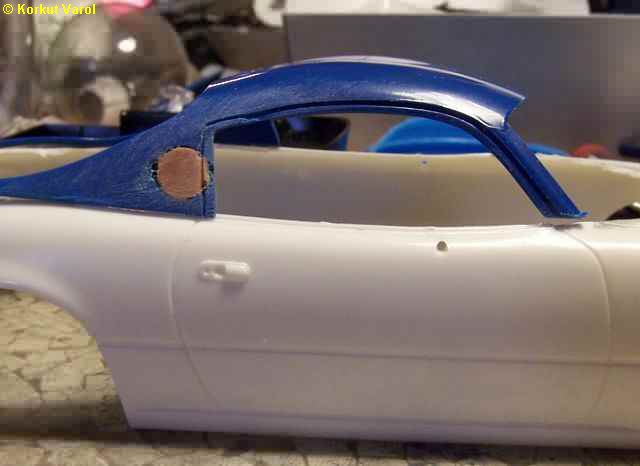
|
| I had to cut
the front part of the chassis and the wheel wells due to the
reflectors,
so I applied some steel putty to hold the body on the chassis. |
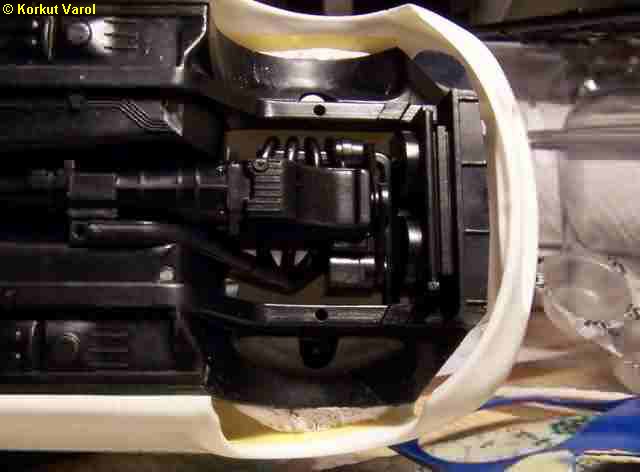
|
| Then I permenantly
glued the roof to the body. |
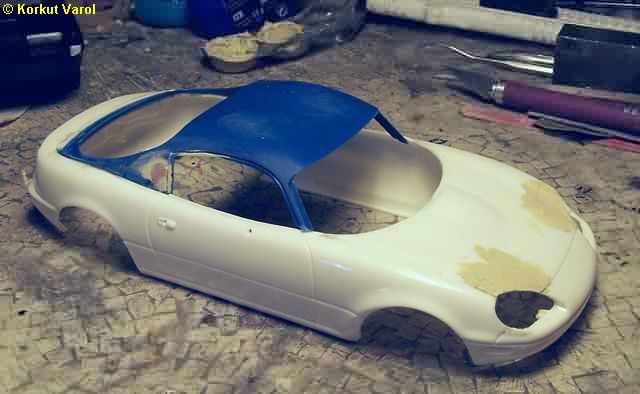
|
September 20, 2005
The dashboard
was RHD, and I did not want it that way, so I decided to change it to
LHD.
Something more to play with! |
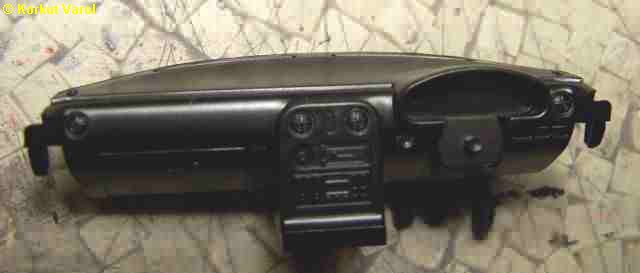
|
| I drilled lots
of 0.5 mm holes around the dash cowl and separated it from the panel. |
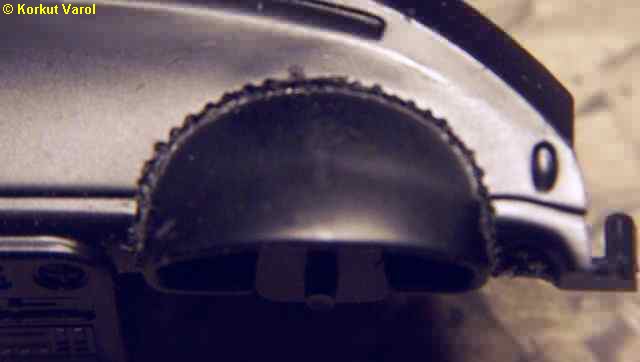
|
| The detached
parts are shown. |
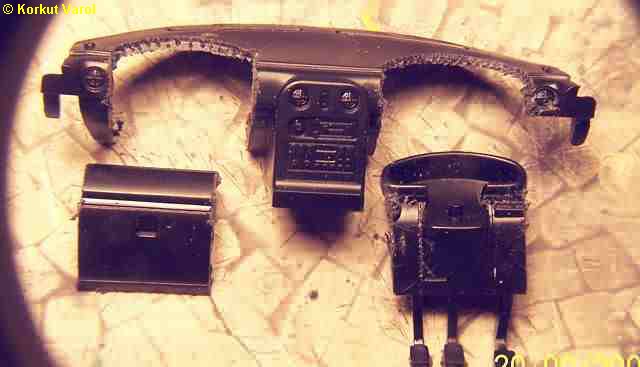
|
September 21, 2005
I glued in the
parts for LHD positions. Puttying will take care of the rest. |
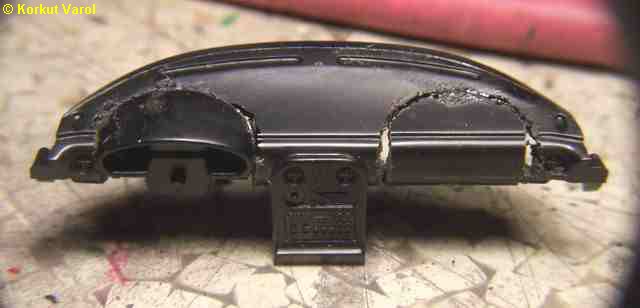
|
September 24, 2005
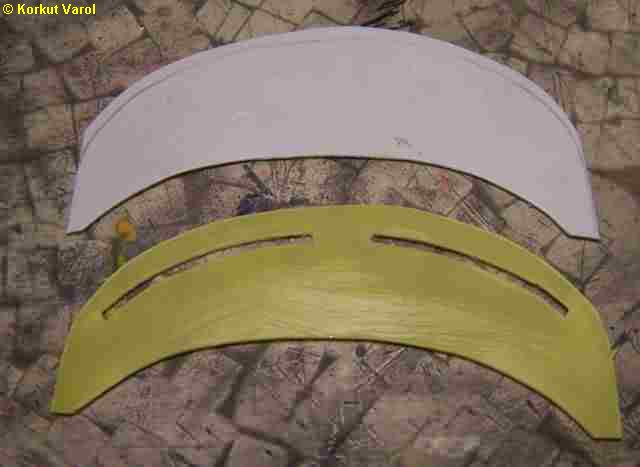
The dashboard
had to be extended due to the new windshield position; so I cut two
layers
of extensions, the lower one for stiffening. |
|
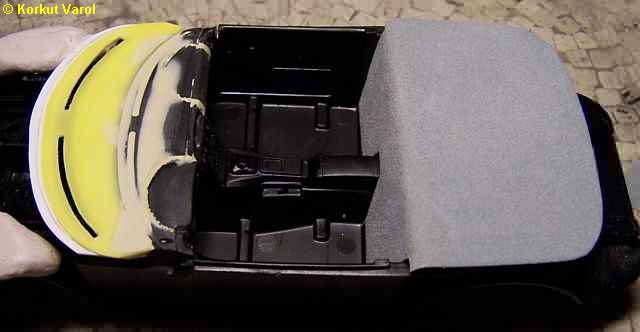
| I glued the extensions
to the dashboard and applied putty. I cut the rear flocked panel from
an
mp3 player box! |
|
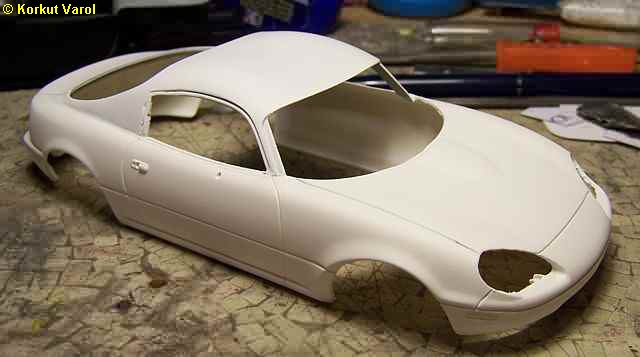
| I sprayed white
base to the body, it needs more care at some points. |
|
September 25, 2005
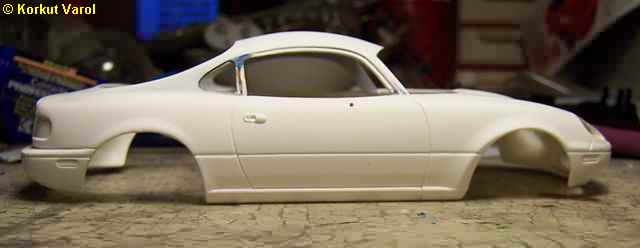
A fellow modeler,
Ceki Erginbas, suggested that I open a quarter window at the back of
the
side window, to blend in better with the smooth shape of the
car.
Well, was he
right! |
|
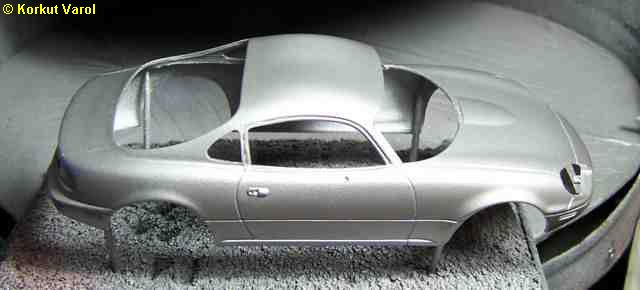
| I applied silver
as a base coat for the clear red in my mind. |
|
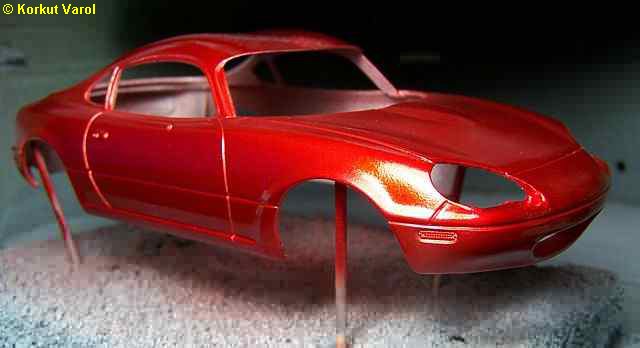
| I sprayed Tamiya
X-27 clear red on the silver, to get a nice shade of metallic dark
orange. |
|
|
|

|

|