|
"MIARRI" |
 |
|
"MIARRI" |
|
|
|
|
|
|
|
|
|
|
|
.
Started:
09 September 2006
Finished:
26 October 2006
Page 2 of 3
| 07
October 2006:
I applied Maskol over the grille to prevent sticking of the putty to be filled in the gap between the grille and the bumper. Then I spread some putty arond the grille opening in the bumper and pushed the grille horizontally inside. This action swept the putty and the gap was filled. |
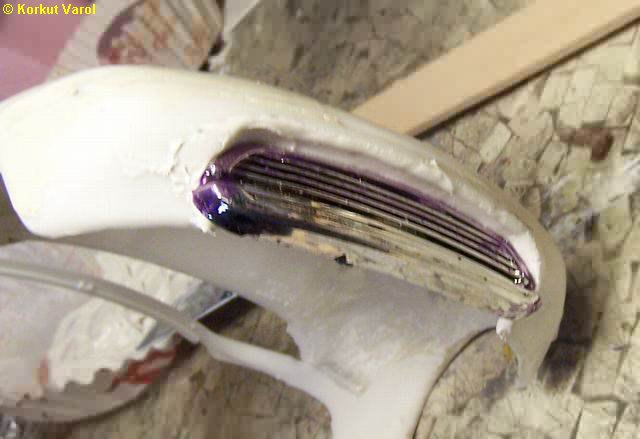 |
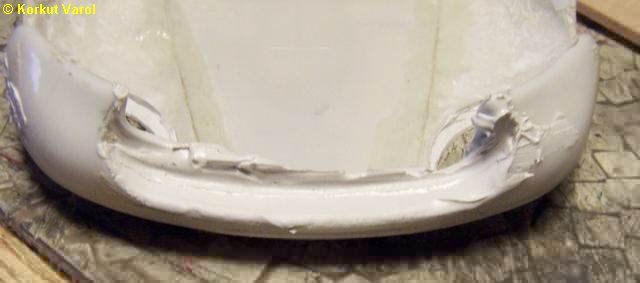
| After curing, I took the grille out and exposed the recess that the grille would finally be fixed within. |
 |
| 08 October
2006:
I cut and glued two side extensions for the central spoiler below the front grille. First with Tamiya green cap, then with CA+activator on the underside... |
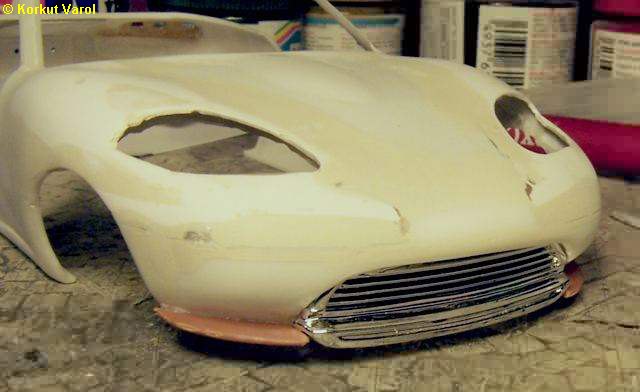 |
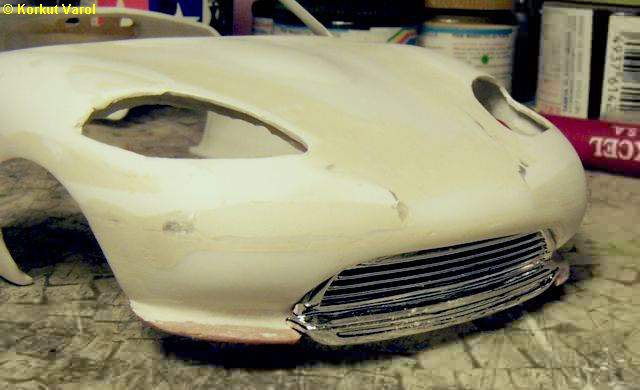
| I filled the joining line of the body and side spoilers with polyester putty and then sanded smooth. |
 |
| 09 October
2006:
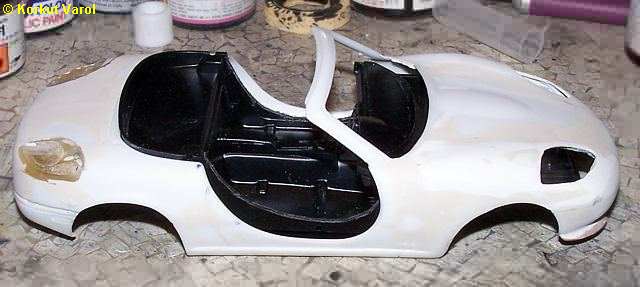
I cut the sides of the inner tub too, carrying the opening lines from the outer body shell with my Dremel. |
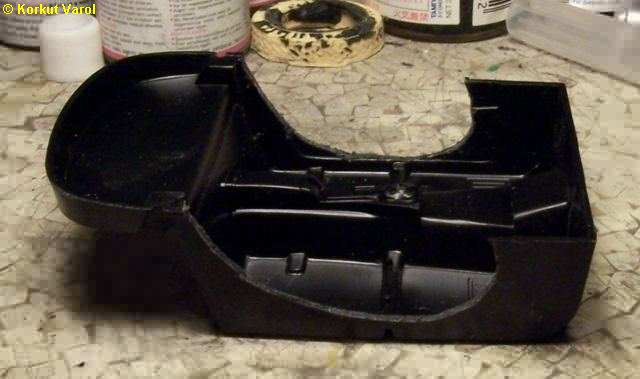 |
| A test fit... The gap between the outer and inner shells will be filled later. |
 |
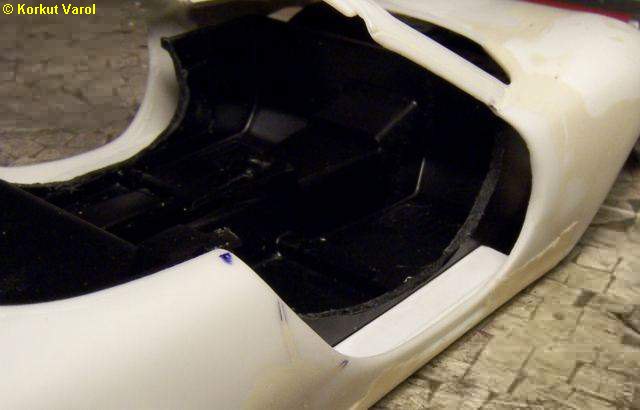
| Since the gap would be filled with polyester putty, the inner and outer shells had to be united. So I cut two slabs and primarily fixed the two parts close to the rocker panel. After this cured, I reinforced the binding at various locations inside. |
 |
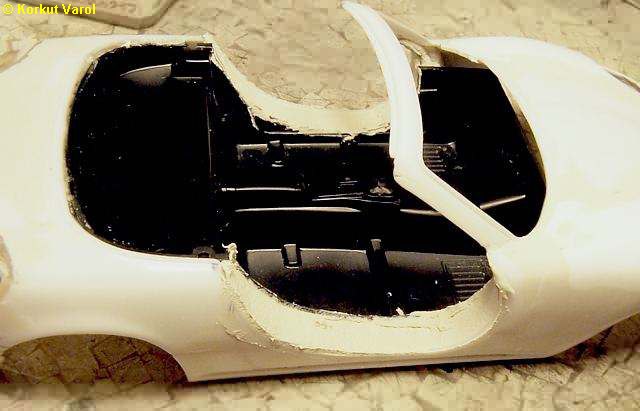
| Then I applied polyester putty and let it cure... |
 |
| 11 October
2006:
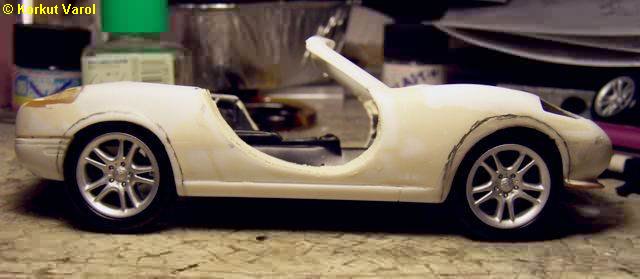
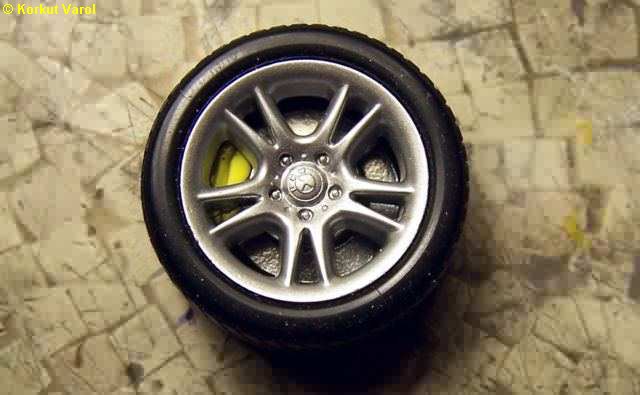
I did not like the size of the original wheels, they looked too small. So I stole the wheels from Maisto's BMW Z8 diecast and they looked good to me. But now the wheelarches had to be enlarged as traced on the body. |
 |
| 14 October
2006:
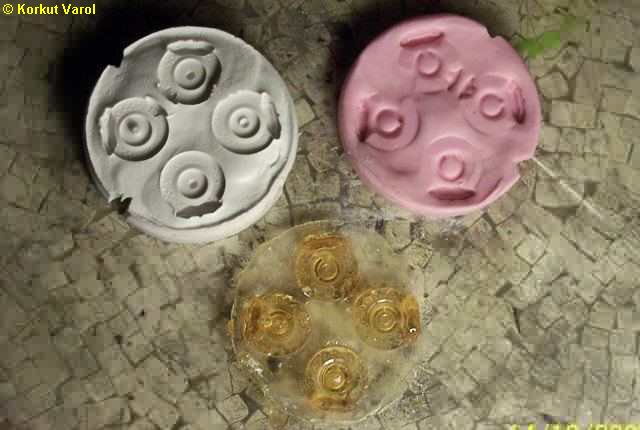
Since the spaces between the spokes were large, the brake discs had to be seen. But the kit's discs were too small and got lost behind the central hub of the wheel. So I resin-copied the brake discs from the Modena. |
 |
| 17 October
2006:
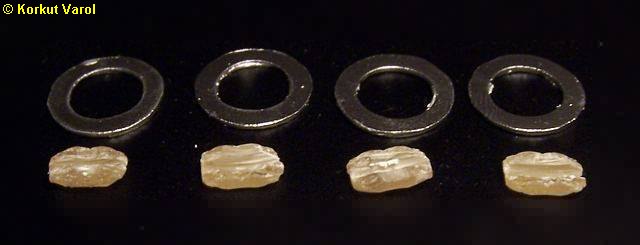
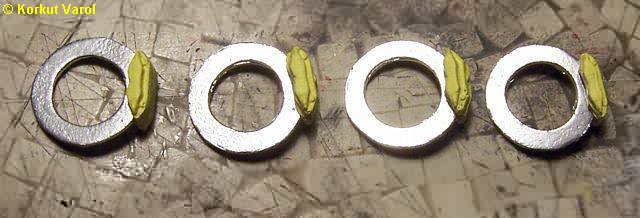
Still, the wheel hubs were too large to drill through the resin discs. So I cut hollow discs from styrene, painted them chrome silver. Then I cut off the calipers from the resin discs, opened the disc space through with my Dremel cutting disc. I painted the calipers yellow and glued them to the discs with CA. |
  |
| This is how it looks now.... |
 |
| 19 October
2006:
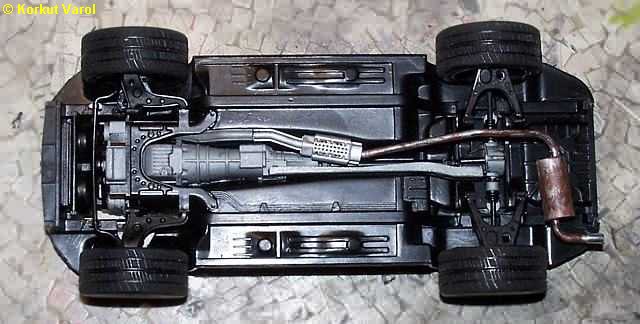
I fixed the underbody. The wheels are not rolling, I had to fix the "stranger" wheels to the wishbones with CA glue... |
 |
| 21 October
2006:
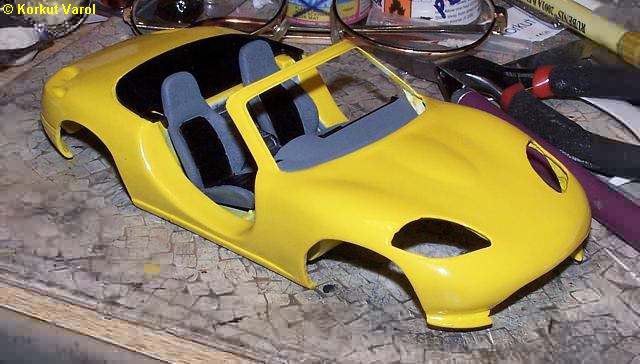
I painted the body, seats and the dashboard. For the seats, I first applied dark red flocking (instead of the grey areas) but then I did not like it. So I sprayed grey paint over the flocking. |
 |
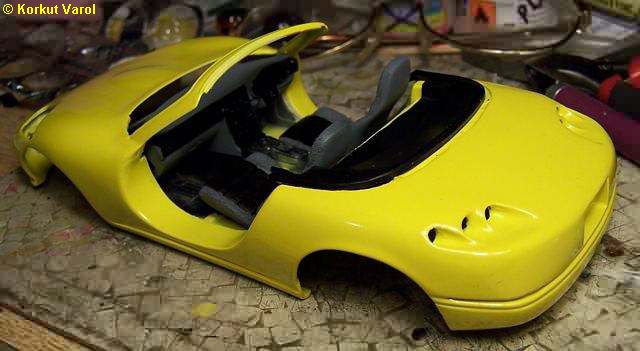
| ..and a 3/4 shot from the rear. |
 |
| 23 October
2006:
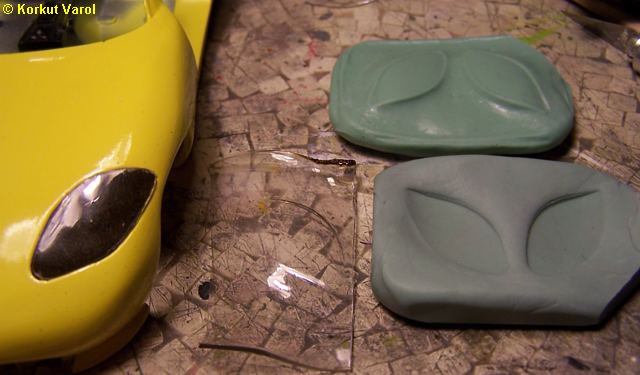
To copy the headlamp glass of the Modena, I made a mold from a hard silicon material that the dentists use for copying the teeth. I made the glasses by heating an acetate sheet over an open flame and immediately sandwiching it between the molds. Then I trimmed the glasses to fit in the recesses on the hood. |
 |
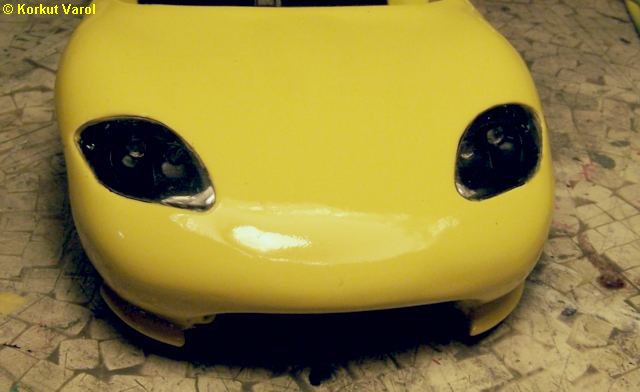
| I took the red rear lamps from my parts box, and manufactured the orange ones from sprue, painted with glass paint. I fixed the lamps with epoxy. |
 |
| I painted the reflectors chrome silver over flat black base and fixed them in place with epoxy glue. |
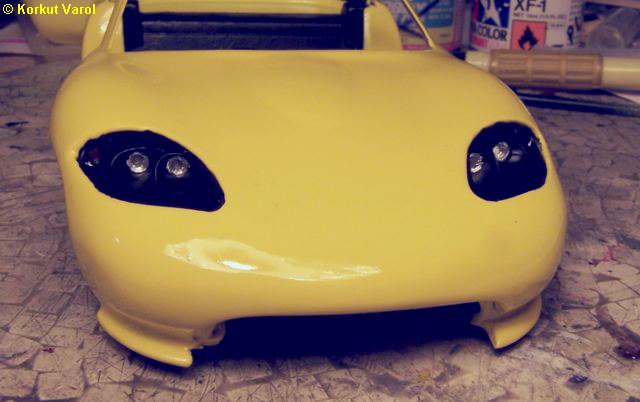 |
| Then I fixed the headlamp glasses with Testors Clear Parts Cement. |
 |
 |
|