|
"MIARRI" |
 |
|
"MIARRI" |
|
|
|
|
|
|
|
|
|
|
|
.
Started:
09 September 2006
Finished:
26 October 2006
Page 1 of 3
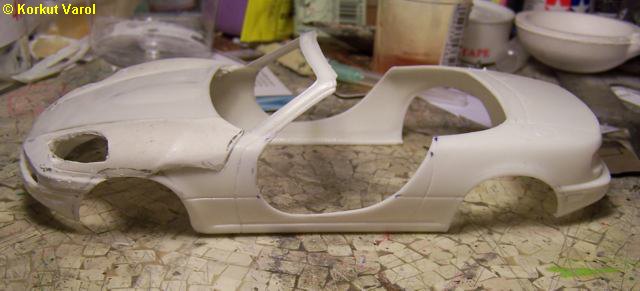
| This model was selected as a theme build base model. The theme rule was to use the body and chassis but free to modify... |
 |
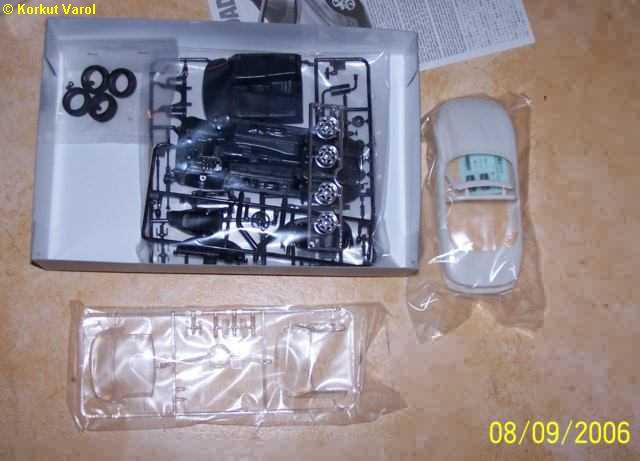
| The parts are displayed as an initial proof that the kit was not started before the theme start. |
 |
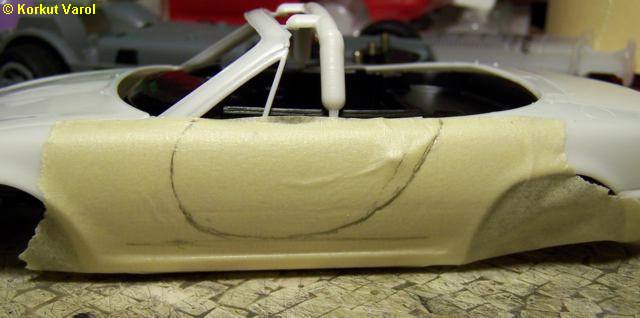
| 09 September
2006:
I marked the door cutout on a masking tape. |
 |
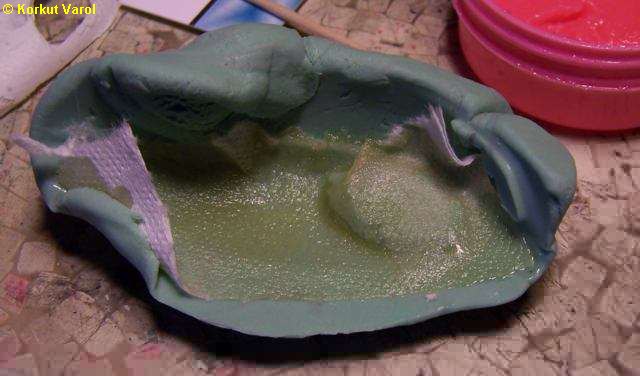
| For the headlamps, I figured that Ferrari 360 Modena's lines were in harmony with the Miata, so I first made a silicon putty mold and duplicated the bulgy side of the hood. I cast a quick CA glue copy and checked.. Yes, it would go. |
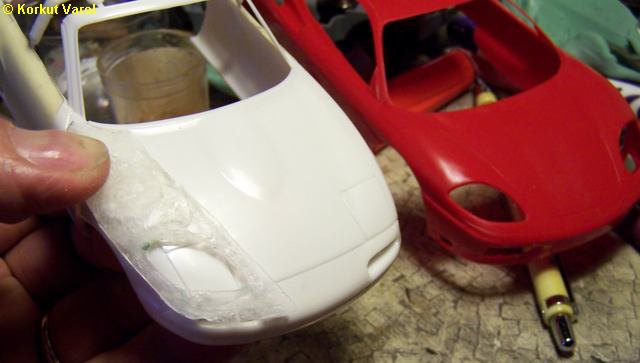 |
| Then I cast a resin copy of the hood side, by impregnating a tissue paper inside the resin. This not only reinforces the resin, but holds the resin from flowing down the inclined sides when still liquid. |
 |
| 14 September
2006:
I trimmed the cast fender and marked where it would fit on the body. Then I cut the body roughly with my Dremel. |
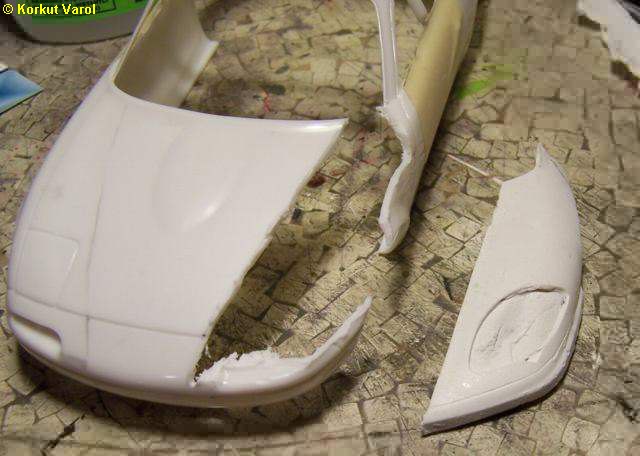 |
| With trial and error filing and sanding, I fitted the fender in the body and fixed with CA glue. |
 |
| 15 September
2006:
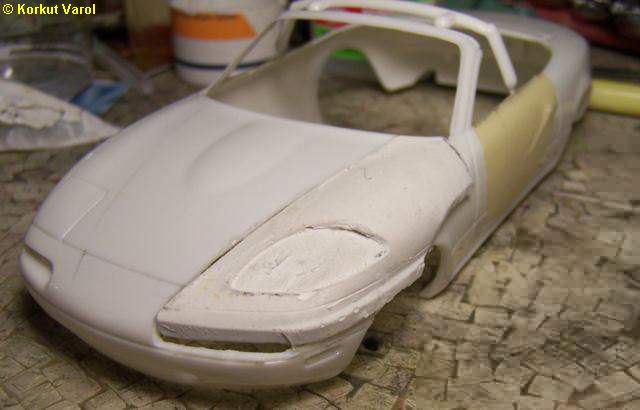
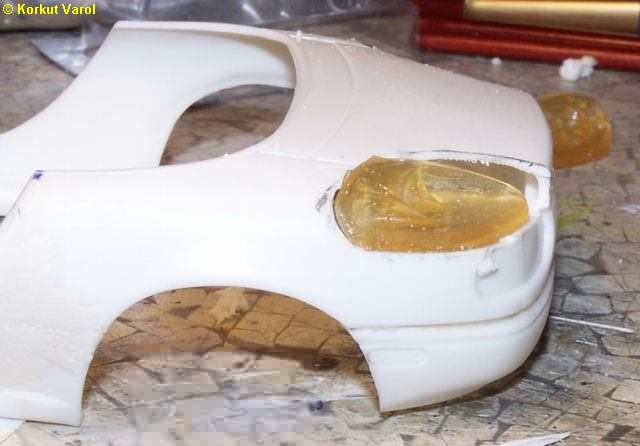
I did the same to the other fender and then opened the headlamp recesses with my Dremel. |
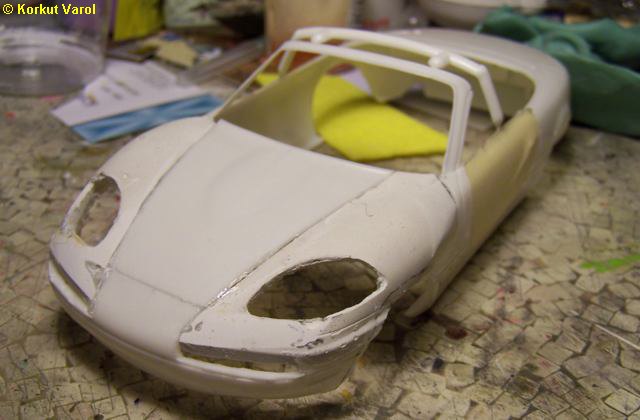 |
| I cut the door openings. There will be no doors, these are "jump-in" areas... |
 |
| 17 September
2006:
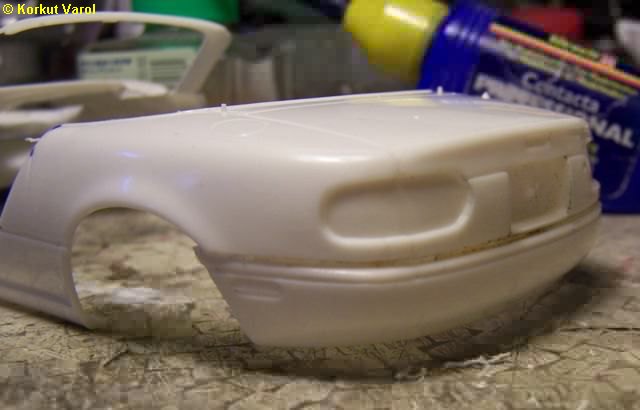
The rear bumper was too much protruding out, so I cut it off to make it flush with the rear panel. |
 |
| I fixed the rear bumper in place. |
 |
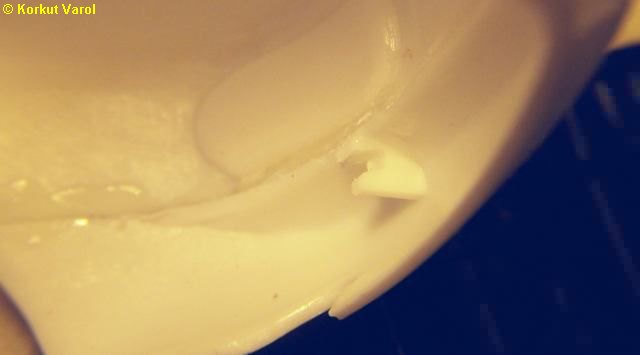
| Since the chassis mounting brackets were inside the rear bumper and now they were also transferred frontwise, I reshaped them so the brackets would not clash with the chassis. |
 |
| 26 September
2006:
I resin-copied the headlamp clusters of the Modena. |
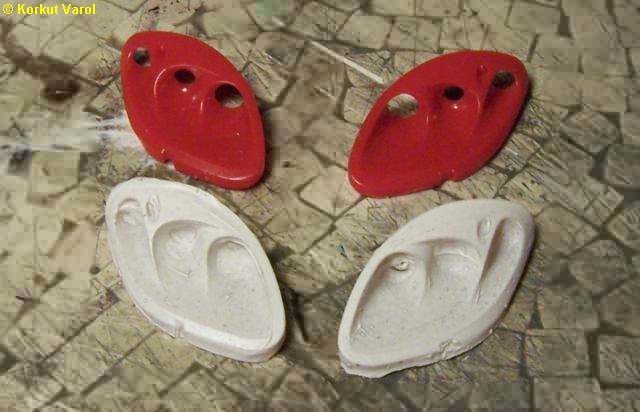 |
| Putting the clusters on the boot, I figured that they could be embedded for the rear lamps... |
 |
| 27 September
2006:
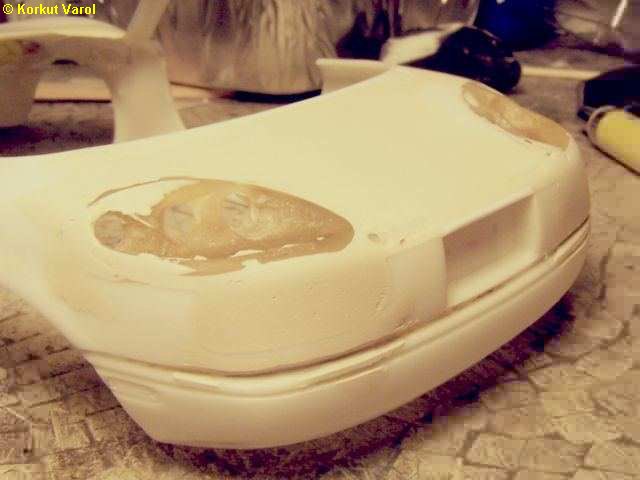
I cut the openings for the rear lamps and I did not like the mismatching of the lamp body and the bootlid. |
 |
| I cut a slab off from the rear and dropped the edge of the boot to match the contour of the rear lamps. |
 |
| 06 October
2006:
I applied polyester putty to the rear and rough-sanded the lamp joints to a flush fit. |
 |
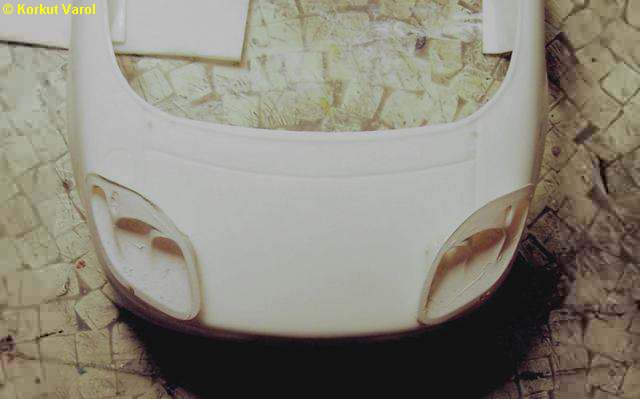
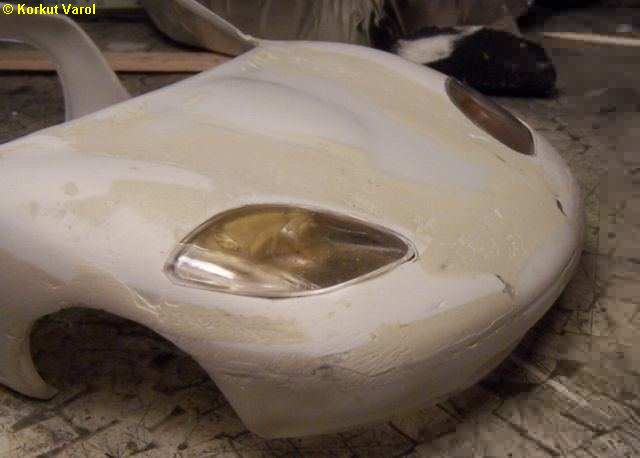
| I temporarily installed the headlamps and made retouches to flush-fit the glasses. These are Modena kit's glasses, I will duplicate them too... |
 |
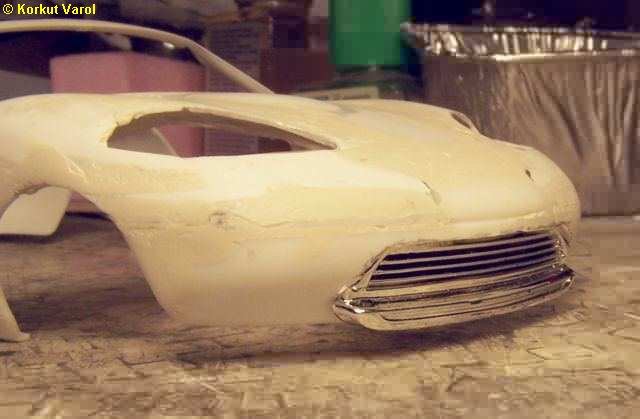
| I liked the way New Mini's front grille looks in the front. I cut out the front part to accept the grille. This is a temporary fit. |
 |
 |
|