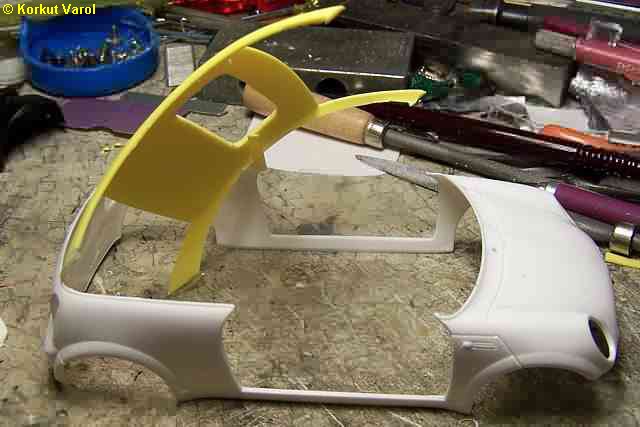
20 June 2005:
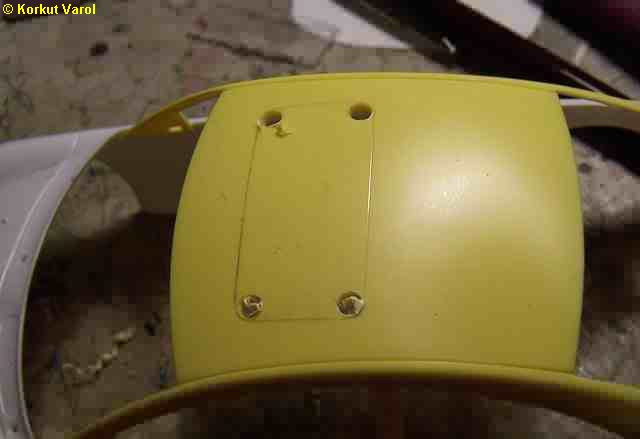
After marking
the area to be opened on the roof, I first drilled the corner holes of
the sunroof. |
|
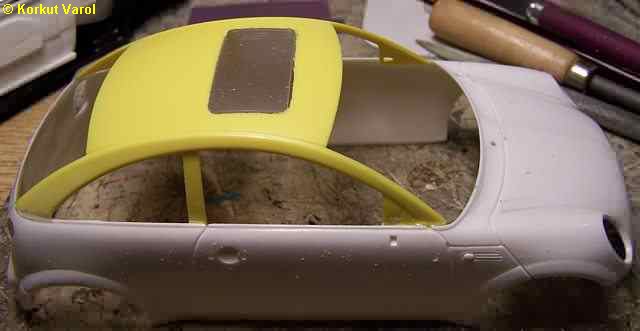
| Then with a saw
I opened the sunroof by joining the drilled holes at their tangents. |
|
| Then I made a
test fit of the glass with the opening and filed the opening edges. |
|
21 June 2005:
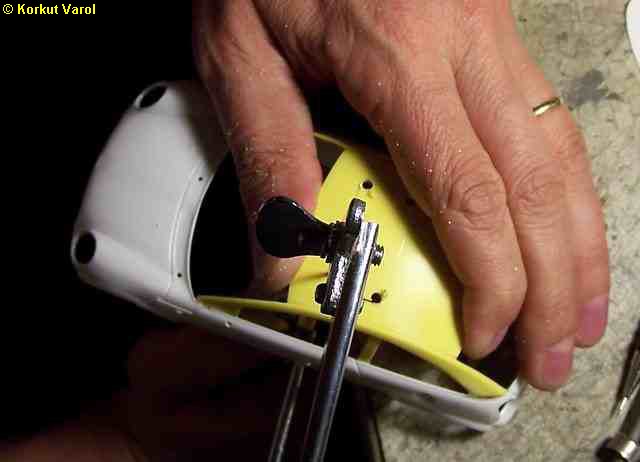
Being a bit restless,
I decided to open the doors.... a bit late but better than later! I had
the risk of ripping the roof off while cutting out the door panels. |
|
| And as I thought,
this was the scene after the door panels were cut out.... |
|
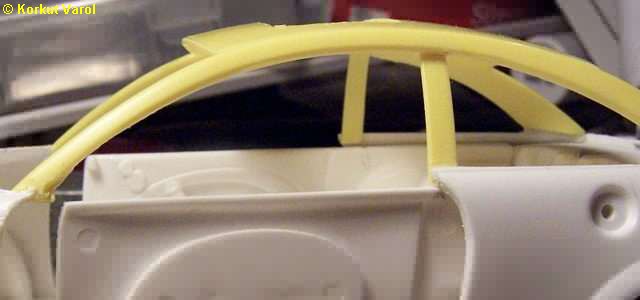
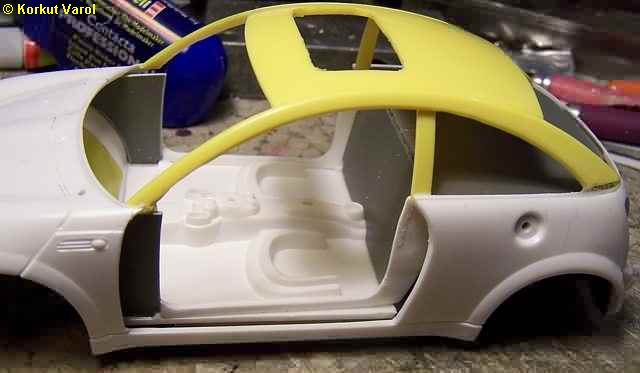
23 June 2005:
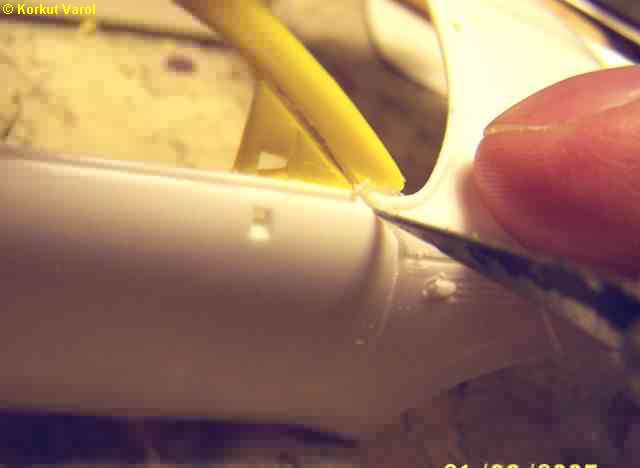
After the roof
was fixed again; making a test fit, I noticed that the upper edge of
the
door panels were about 2 mm below the window lower edges (the original
Mini's complete window unit was resting there). This meant that I had
to
raise the whole inner tub to the level of the window bottoms. |
|
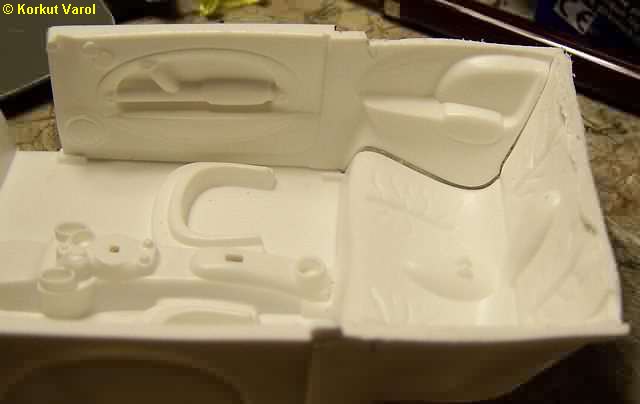
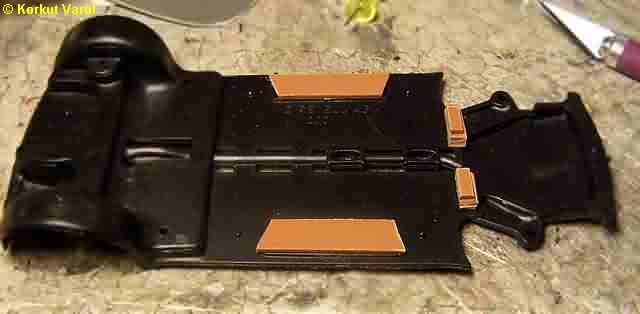
24 June 2005:
So I first shaved
a portion off the rear part, where the rear platform would rest; since
it would be seen from the windows if left resting on top of the inner
panels. |
|
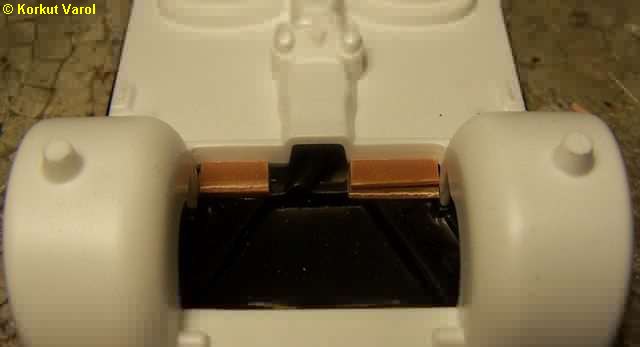
| The chassis
and the floor were mating by a set of pins and holes, which would come
off when the floor was raised. So I glued in a set of guide plastics,
so
that the floor would still be within the correct margins when raised. |
|
| I glued pieces
of styrene sheet to raise the floor. |
|
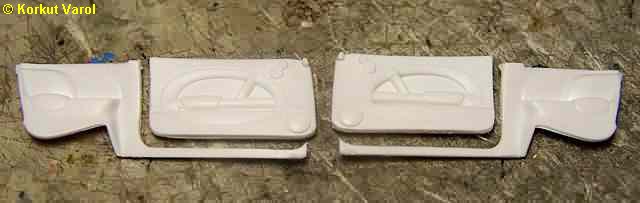
25 June 2005:
I cut the door
inner panels off. |
|
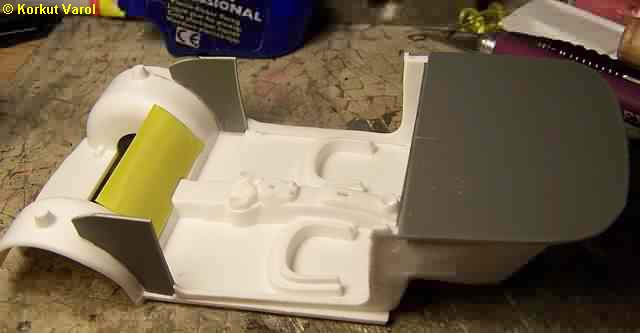
| To prevent the
empty engine bay being seen when the doors are open, I cut a piece of
styrene
to form a partial firewall. I also cut from styrene and glued in the
frontal
inner panels which were not supplied by the kit... |
|
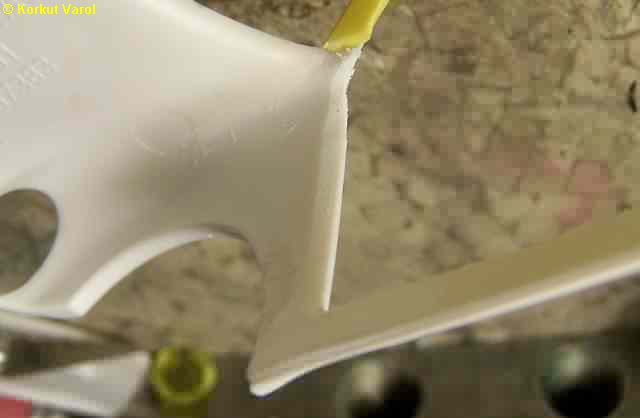
| To make clearance
for the door's sweeping (while being opened), I made a bevel shaving at
the fender rear edge. |
|
| Another compiling
and checking for any misfittings. |
|
|
|

|
 
|