25 June 2005:
Now for the door
hinges....
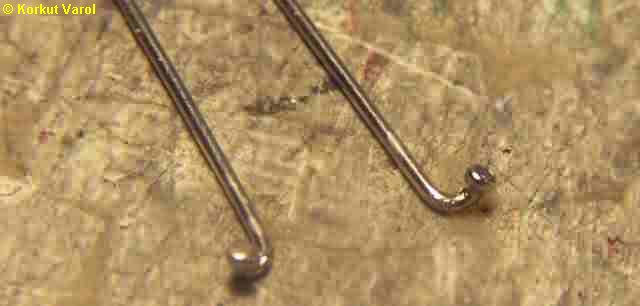
For a realistic
door sweep, the axis of the hinges had to be in a very close position
to
the door panel. So I thought of somewhat different hinge. Bending the
head
parts of headed pins symmetrically as in the photo, I prepared the
upper
and lower arms. |
|
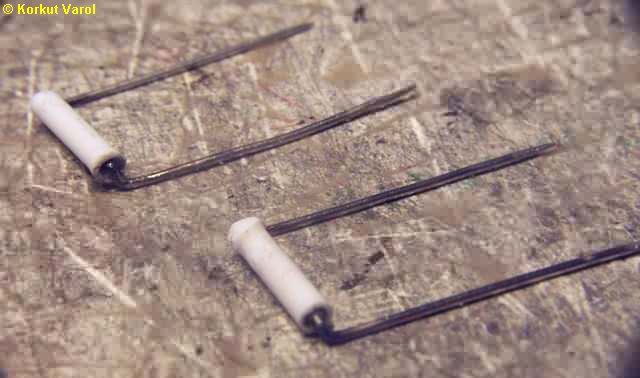
| I took a piece
of styrene tubing, heated the heads of the pins and dipped them into
the
tubing while hot. After dipping, a small squeeze-play with the heated
styrene,
closed the styrene over the pin head, forming a ball-joint. Turning the
pin a few times around made an easily-revolving ball joint. Applying
this
to both ends of the tubing, I got the hinge of one side. Same procedure
for the other followed. |
|
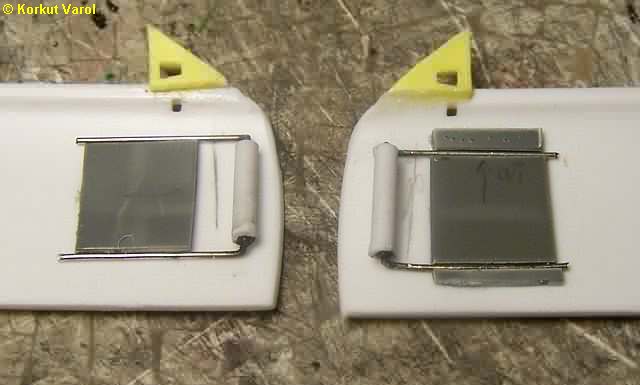
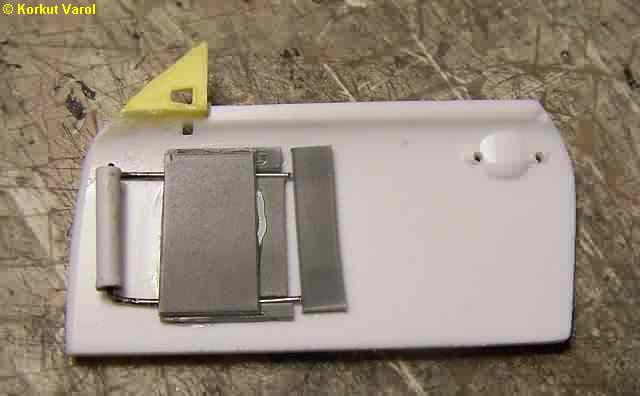
| Then I placed
the hinge on the door panel. The aim was to make a dismountable hinge,
for the hinge itself would remain on the chassis whereas the door panel
had to be with the body. After locating the vertical position, I first
placed a styrene sheet, thickness equal to the pin's diameter, between
the pin arms as shown at the left. Next, I glued in the upper and lower
fixing guides as at the right. |
|
| Finally, I glued
a confining styrene sheet above all. Now the styrene "housing" for two
arms has two tight channels that the arms can be pushed in. |
|
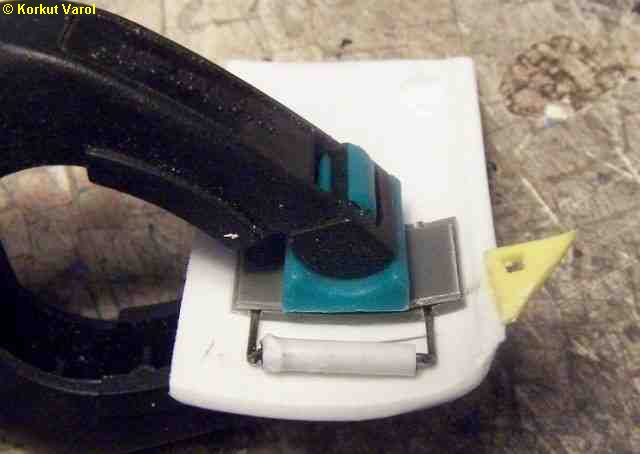
Then I glued
a piece of styrene to be a stop for the positioning of the hinge.
Unfortunately,
this would be a disaster! The styrene tubing was too thick so that the
swing axis could not be very close to the door panel; whereas it should
be. So I had to think of another hinging way. Later! |
|
| I had made reinforcing
brackets before, planning to install the hinge body (styrene tubing) on
the inner panel. Now these are obsolete too. |
|
26 June 2005:
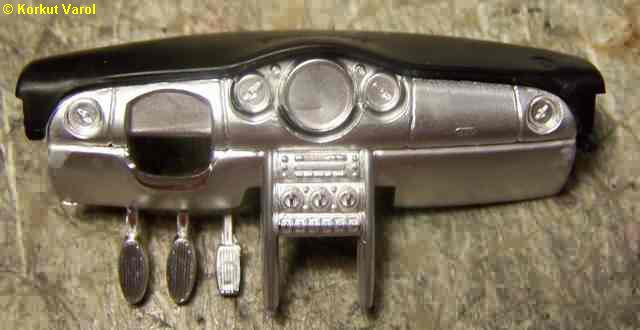
Now the dashboard
had to be taken care of. First, I did not like the pedals hanging right
down from the lower panel. So I cut them off. |
|
| I glued
side panels to the dashboard so that the sides would not be seen as
empty
when the doors were open. |
|
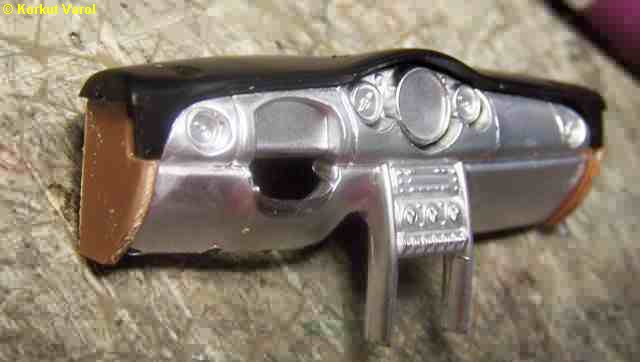
| Here, a test
installation with the final cover layer to the sides. |

|
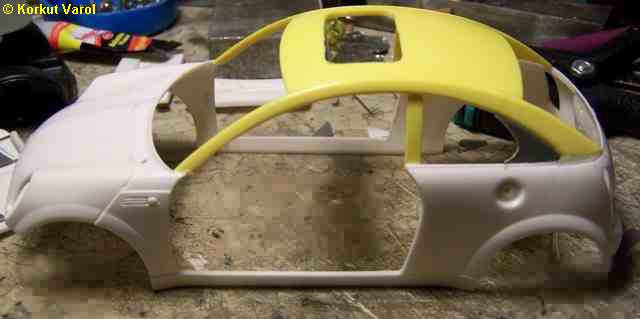
27 June 2005:
A suggestion
came (thanks Stan Seel),
that the C-post be
thicker. So I manipulated with his suggestion to end up as shown. |
|
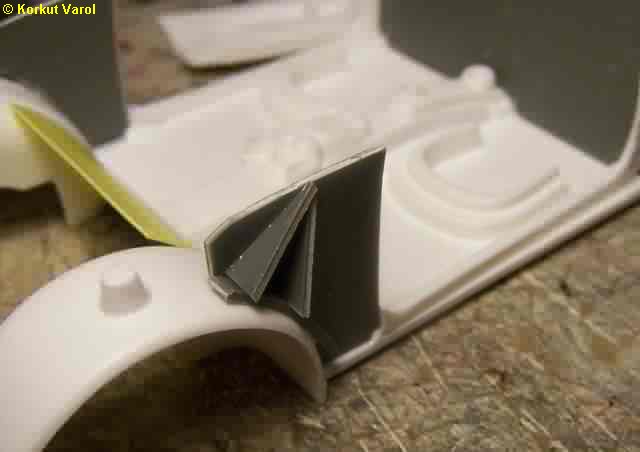
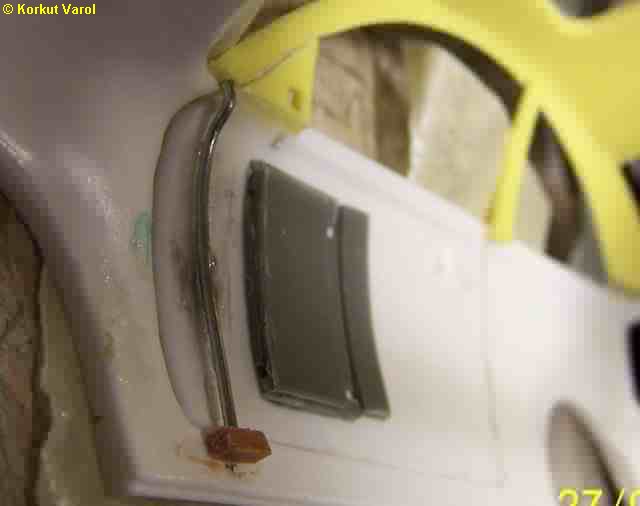
| Another try with
hinging. This time, the swing axis is as close as possible to the body
skins. |
|
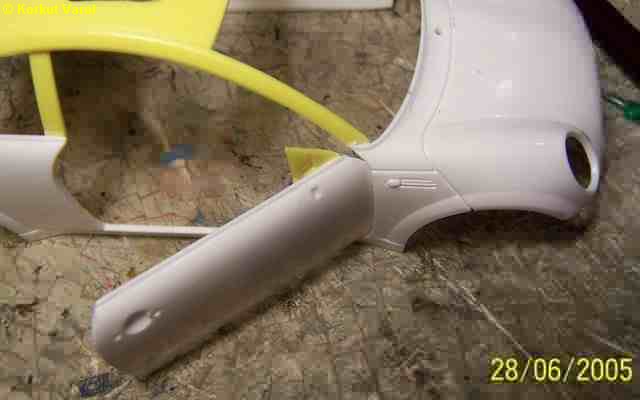
| OK, that was
it! Now the door was opening loyal to the real one. |
|
|
|
|
|

|
 
|